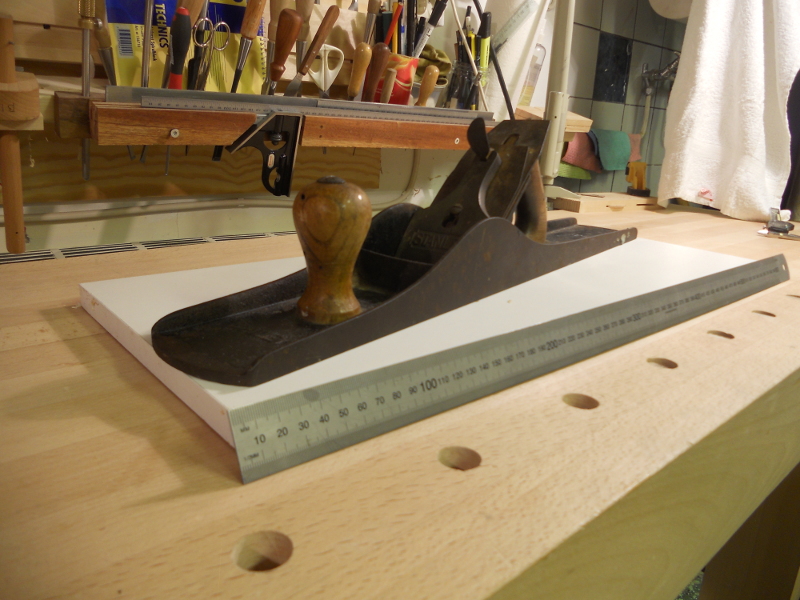
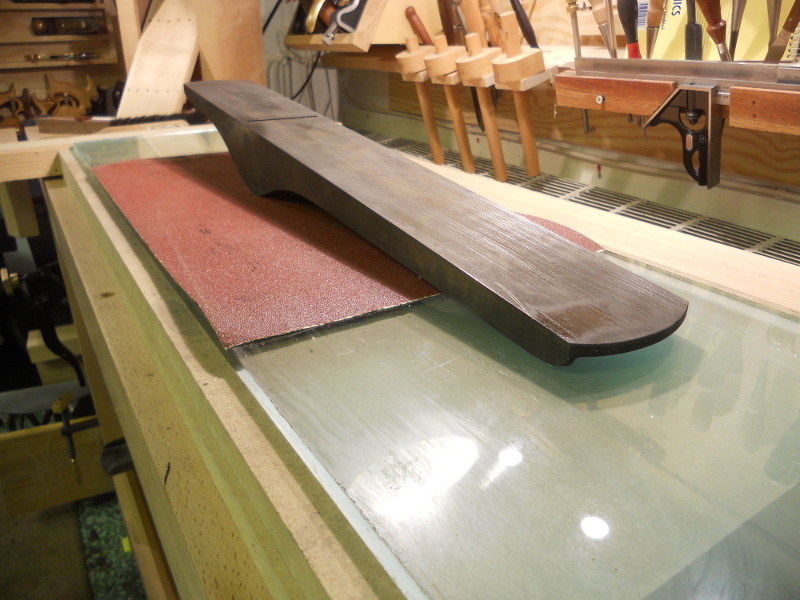
After the derusting bath and a thorough scrub it is time to check the condition of the sole. I won't be able to improve the flatness of a plane this big, but with a little care I won't make it worse either. So the first step is to sand the underside on 80-grit sandpaper on a flat sheet of glass laid on a few flat pieces of MDF. I check with a known straightedge that it is flat and, if necessary, shim the glass with a few bits of newspaper in selected places. Today I was lucky. After a few strokes almost all the rust is gone and the sole shows clear scratches everywhere. So it is completely flat! Perfect. Stanley knew how to do this once upon a time!
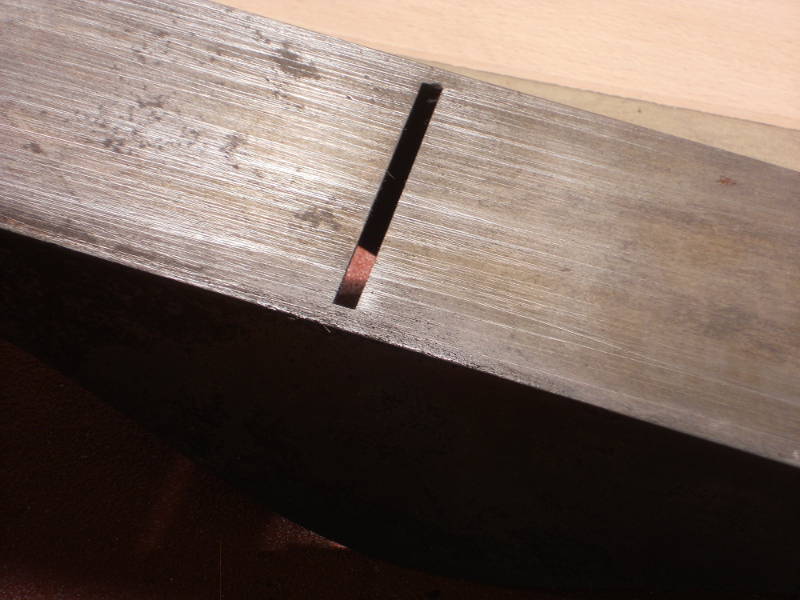
It is particularly important that the sole is flat around the mouth. Then it bears on the workpiece and helps reduce tear-out. Here you can see that the scratches go all the way up to and round the whole mouth.
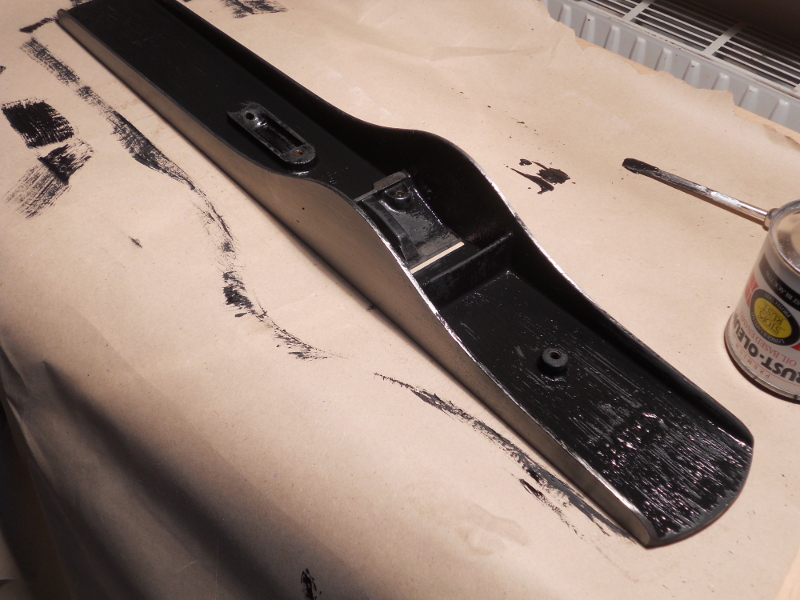
After sanding both sole and sides on 80 grit, I smoothed them with a 180-grit sanding sponge. The inside got a going-over with emery cloth, a brush and acetone to remove all rust and loose japanning. Really I ought to have cooked up asphaltum, linseed oil and turpentine for a proper japanning job, but black paint will have to do.
I use Rust-Oleum, a rust-inhibiting oil-based paint that I think gives a nice matt finish.
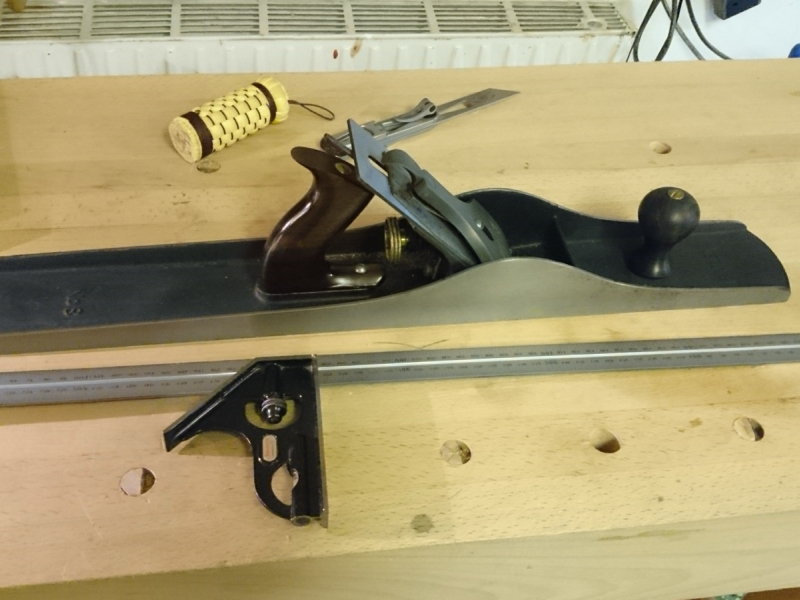
Previous part: Tidying Up the Lever Cap. The finished plane: Fully Restored Stanley No. 8.
Share this content