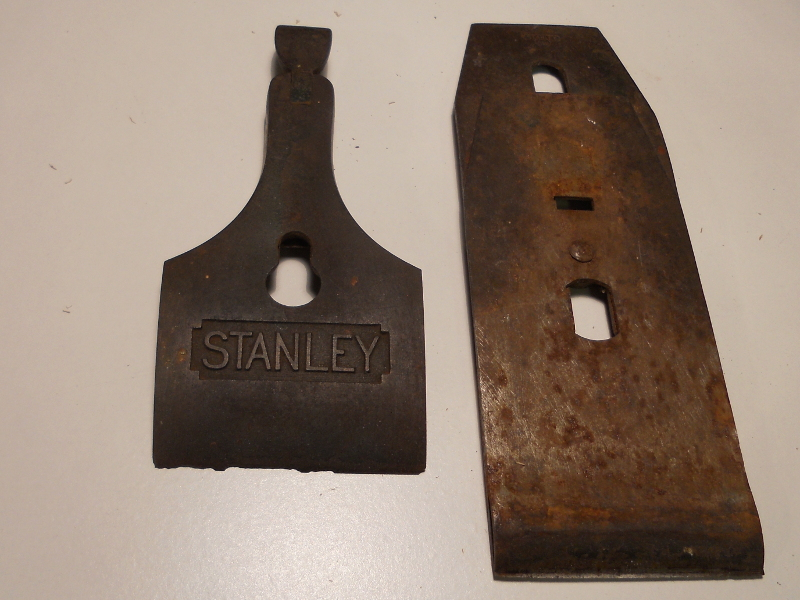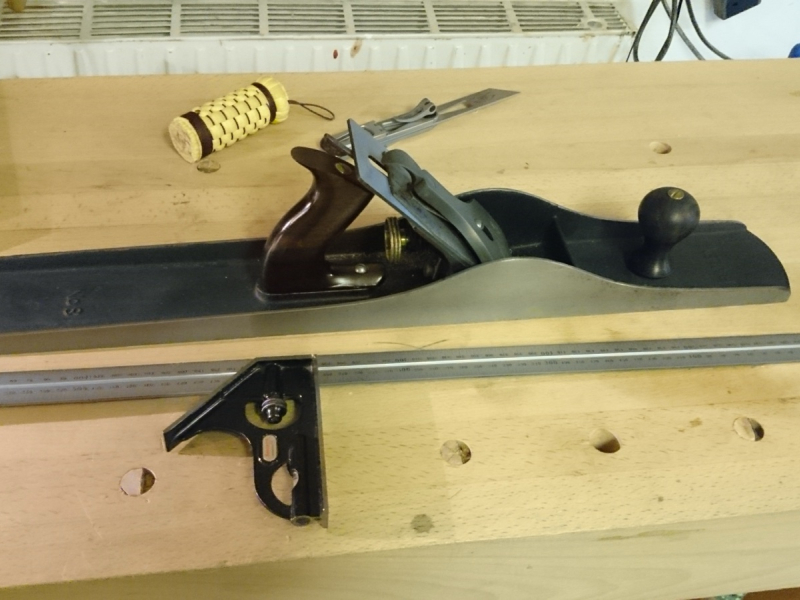
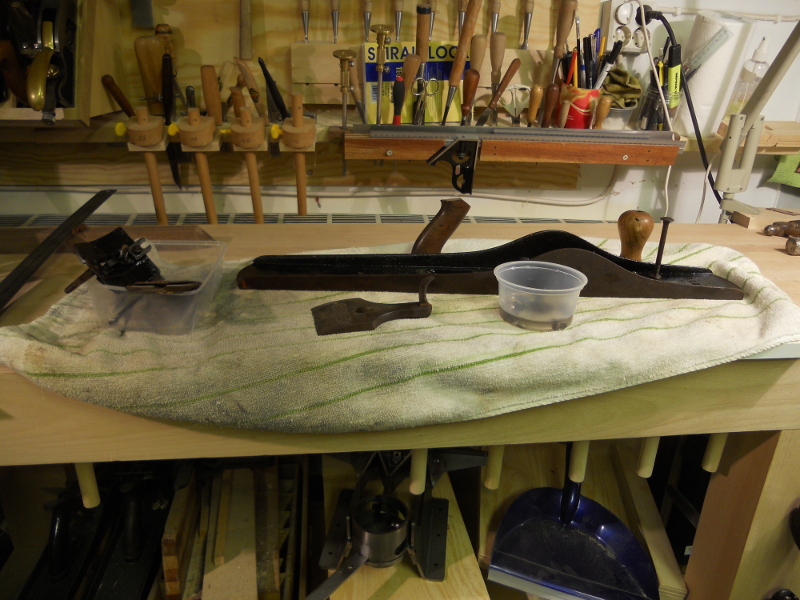
Time to tackle the rust. To start with, all the parts have to be taken apart. Sometimes it is easy, sometimes things are stuck. Here a couple of screws were really stuck, especially the frog adjustment screw. It took a generous dose of WD-40-style penetrating oil, patience and a sturdy screwdriver. In the end, though, I got it loose.
All the parts got a bath in rust remover overnight, then they were scrubbed with white spirit and polished with fine sandpaper followed by 0000 steel wool with Autosol. Everything then has to be oiled so it won't rust. I use camellia oil, a vegetable oil that neither dries nor evaporates. It is the same oil I use on the metal surfaces of all my tools after I have used or sharpened them.
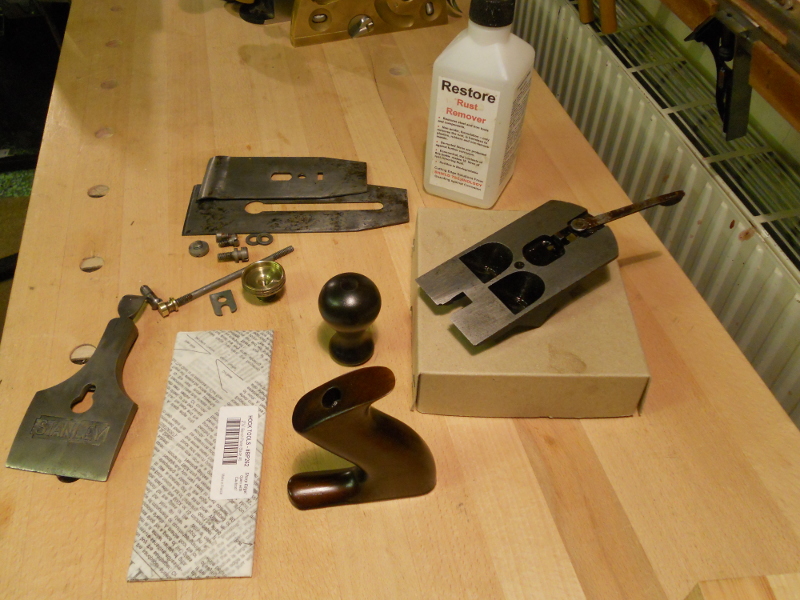
Here are all the old parts together with the new Hock iron and the new handles.
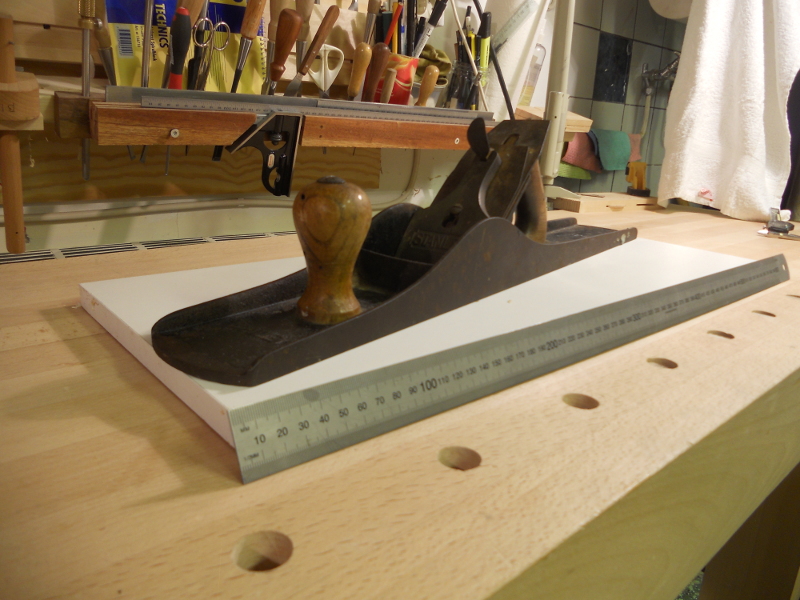
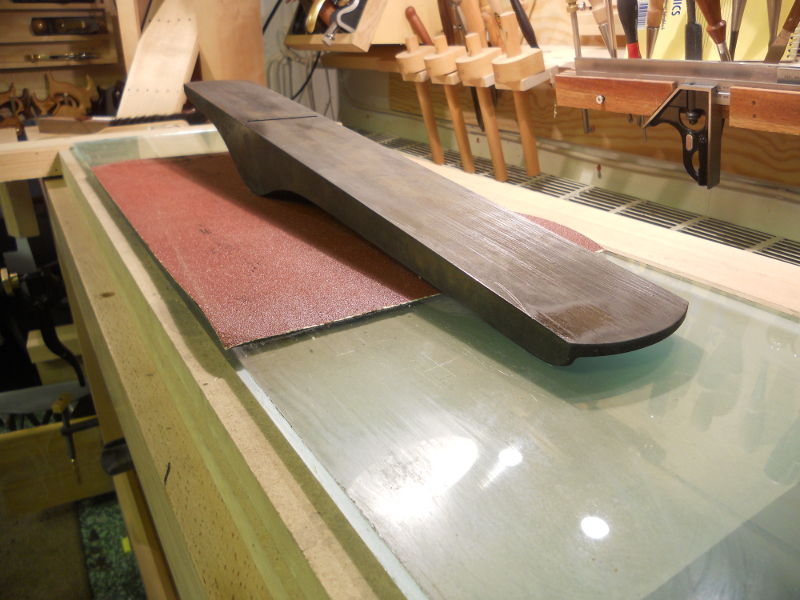
I also took the opportunity to make sure all the bearing surfaces on the frog are flat. Both those at the back, where it sits against the plane body, and those at the front, where the iron lies. It is quite easy: put a sheet of sandpaper on a flat piece of glass and sand. I start with 80 grit and work my way up to finer grits. Today I settled for 180 grit as the finest.
The picture also shows the bottle of “Restore Rust Remover” that I use to get rid of the rust. One bottle is mixed with about 6 litres of water, and the solution can be reused many times, so it lasts quite a while. I have previously tried both electrolysis and citric acid with good results.
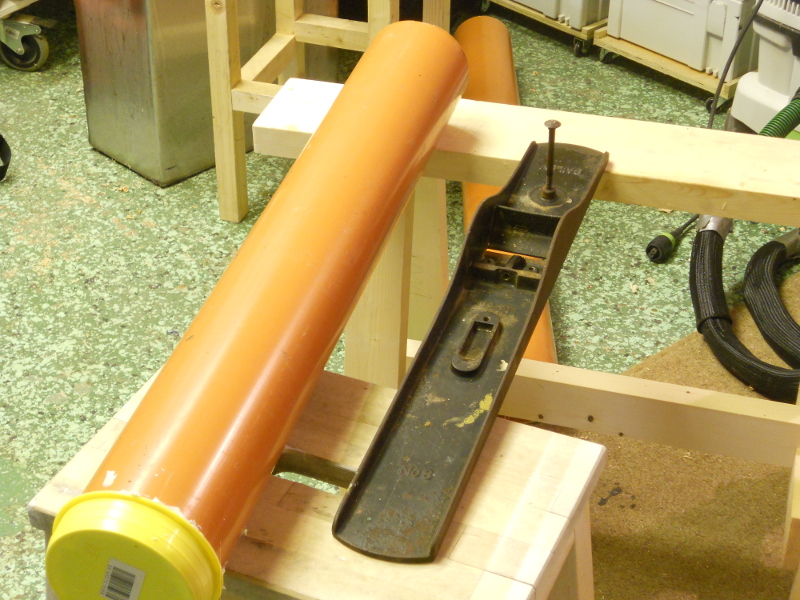
Here the plane body is waiting to be lowered into “the dip”, as Roger Rabbit says. The tube is an ordinary drainpipe with a cap on the bottom, where a plane body fits with a minimum of rust remover.
To be continued… Read part 3: Tidying Up the Lever Cap. Read part 1: A New Restoration Candidate.
Share this content