


One of the most dangerous tools is a dull tool. A tool with a sharp edge is easier to control to get the desired result. Every woodworker must take the time to develop a sharpening technique and choose a sharpening medium that suits them best. This skill is crucial to getting the most out of your tools and succeeding in the craft.
The two surfaces of a tool blade define the edge and how sharp the tool is. Both surfaces must be worked enough for the edge to become sharp. For planes and chisels, working the back of the blade is just as important for the quality of the edge as working the front or bevelled side; both must be worked to get a truly sharp edge. The back of the blade is the tool's reference surface when it is used, and therefore it must be flat. Two correctly prepared surfaces meet to define the edge required for a tool to be able to do its job. Everyone has their own sharpening method and their own sharpening medium. Most media, when used correctly, can give you a sharp edge, whether it is oilstones, an electric grinder, waterstones, ceramic, diamonds, sandpaper or abrasives. Find a method that suits your work. Sharpening can seem intimidating to the inexperienced woodworker. There is a profusion of different jigs and media to choose between, and it can be hard to choose right. Sharpening consists of three different steps, of which only the last is used often. How to lap, grind and hone the blade is what you need to know to achieve the perfect edge.

Step 1: Lap the blade
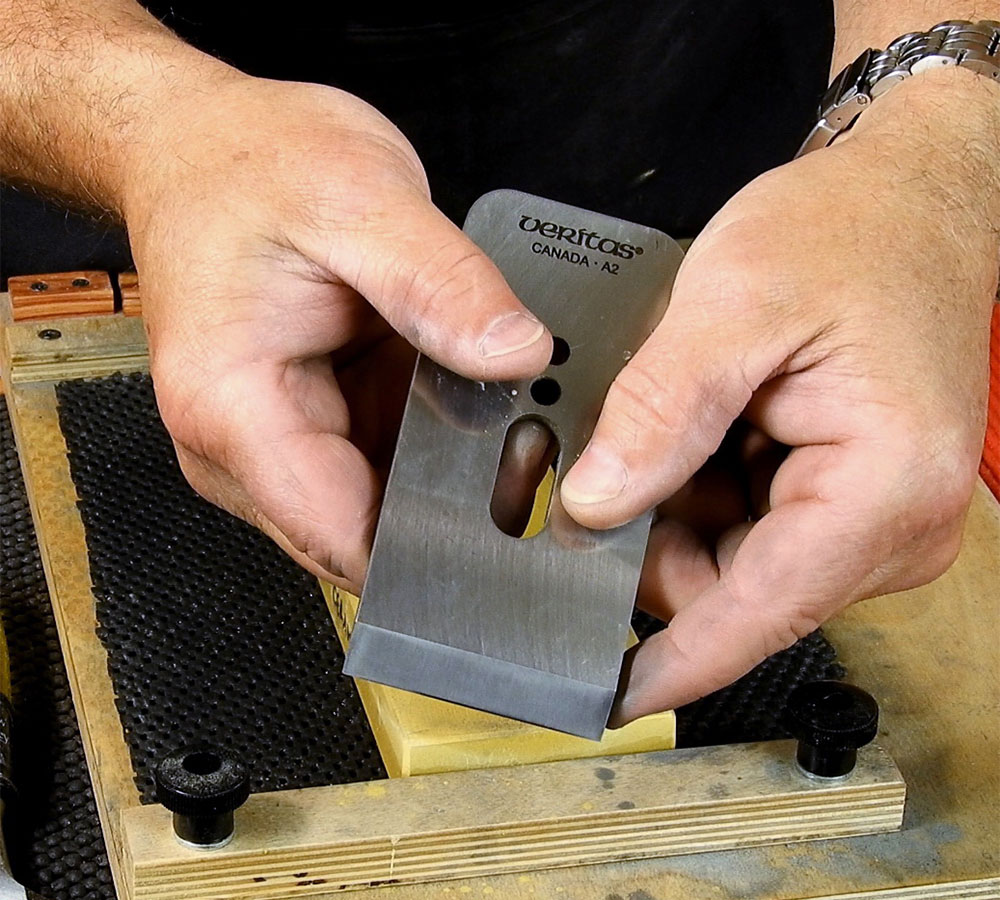
The first step in sharpening a plane or chisel blade is to make sure the back is properly prepared. This lapping provides the reference surface for the edge. It is important that the back of the blade is treated with the same grit as the front, and that the finest grit used on each edge defines the quality of the edge. Most new blades are delivered already ground, but factory grinding is no substitute for proper treatment on a high-quality sharpening stone. Vintage tools often come with blades that must be flattened properly before they can be used. Whatever the type of blade, the process for sharpening or flattening a blade is the same. It is not necessary to lap the entire back of a blade; only the section that is used needs to be flat. If you flatten the first half centimetre of a plane blade you can do many hundreds of sharpenings before the blade needs to be lapped again. This differs from chisels, which require a completely flat back. It is only the last bit near the edge that needs a full sharpening. First determine how flat the blade is by drawing a crosshatch pattern on the back of the blade with a marker pen; then lap the back with a swirling motion on a flat fine stone, for example a 1200-grit diamond plate or an 8000-grit waterstone. A couple of passes along the length of the stone is enough for now. Most new blades need only a small amount of work on a fine stone to become flat enough to be sharpened. Blades that show significant hollows or unevenness should be flattened on a coarse stone. Work your way up through the grits to remove the scratches left by the previous grits. It is important to prepare the back of the blade to the same level as you plan to hone the bevel. If you routinely use a ceramic stone of 8000 or 10000 grit for honing, the back must be prepared to at least the same level near the edge. Many suggest preparing the back on the finest stone you have; that is good practice, but not mandatory. Nothing beats that mirror-bright back of the blade that shows it has been prepared to the maximum! When you have properly prepared the back of the blade by lapping, it is ready for sharpening.
Step 2: Grind the bevel
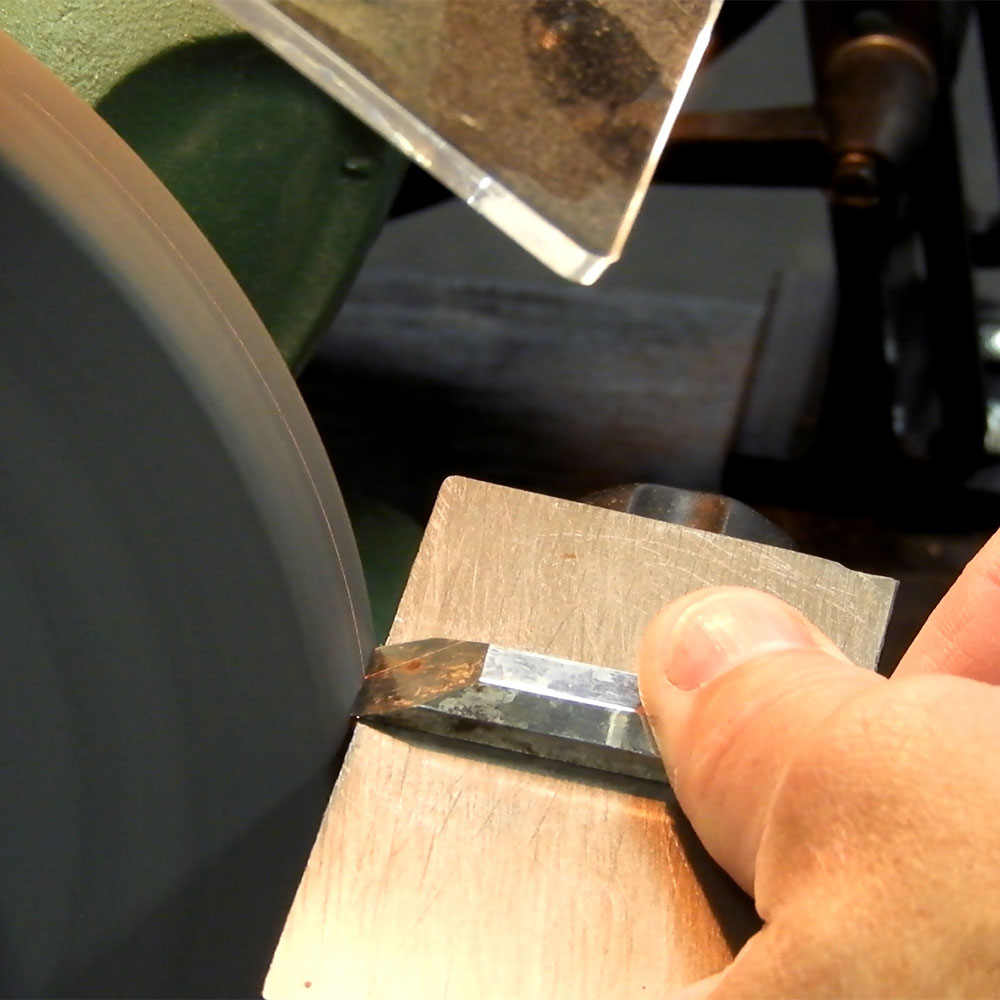
If it is necessary to regrind the primary bevel on a blade, either to repair damage to the blade or to recreate a new bevel for honing, coarse grits or force are usually needed to remove the amount of material required to reshape it. The grinding process is complete when you have raised a burr (the metal lip that forms on the back edge of a blade you are grinding) along the whole edge of the bevel. The coarser the grit, the larger the burr becomes as it pushes the steel over the edge being ground. Grinding to remove a nick in the blade can be done on a grinder or with a coarse abrasive, such as a diamond stone or sandpaper. Be careful to hold the blade square during the process to avoid the blade becoming skewed. Grinding is also required to restore the primary bevel after the secondary bevel has become too big to be honed. For many woodworkers this means that the bevel may need to be reground every 10-15 honings.
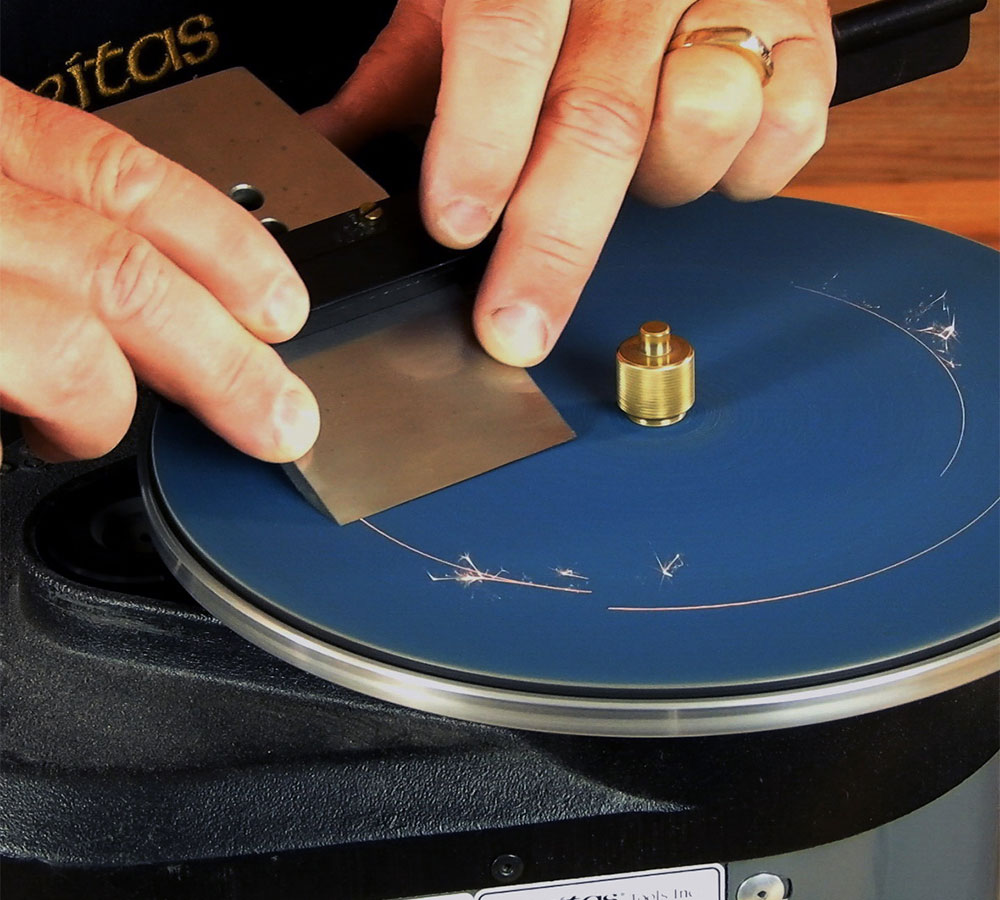
The amount of material to be removed when grinding is much greater than in ordinary honing, so coarse abrasives are the way to go. Among the powerful options are purpose-built grinders that are effective at quickly removing the material required to achieve a correct bevel. The biggest risk is that the blade overheats and loses the temper of the steel. This can happen long before the steel changes colour. When the blade becomes too hot to touch, a cooling period is recommended. Bench grinders can also be used, with many options for tool rests and adjustment aids to ensure the perfect primary bevel is achieved. In workshops where grinding is done several times a day you need an efficient solution to minimise the time spent on it. Manual grinding methods use the same media and fixtures as honing, so it is often the method most woodworkers start with. Hand methods can be slower, but you are less likely to damage your blades. These slower methods also provide plenty of opportunities for correction.

Set the blade in the honing guide at the desired angle for the primary bevel and get started. The time it takes is related to the coarseness of the medium used. If you choose to use an ordinary stone of around 1000, it can take a very long time to regrind the bevel, which is why a coarser medium is needed. A coarse diamond plate is an option that can also be used to efficiently flatten waterstones or ceramic stones. A cheaper alternative is to use sandpaper stuck to a flat surface, for example glass. Use PSA paper or a quick spray of adhesive to keep the paper in place. Make sure to remove the swarf as it collects so that fresh abrasive can be exposed. Which grit to use is a trade-off between how fast the grinding goes and how long it takes to remove the scratches produced by very coarse grits. For this reason the coarsest grit should be 80 to 100. Be sure to switch to a finer grit when the bevel is close to done, which will complete the grinding and remove the extra-deep scratches at the same time. Which grit to use for grinding the primary bevel is a personal choice, as it is the secondary bevel that actually does the cutting. Remove deep scratches from grinding so they don't interfere with the secondary bevel. It is often recommended to finish the primary bevel with at least a medium stone, for example a 600 diamond grit or a 1000-grit waterstone or ceramic stone. When the primary bevel is done it is time to hone the edge.
Step 3: Hone the edge
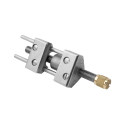
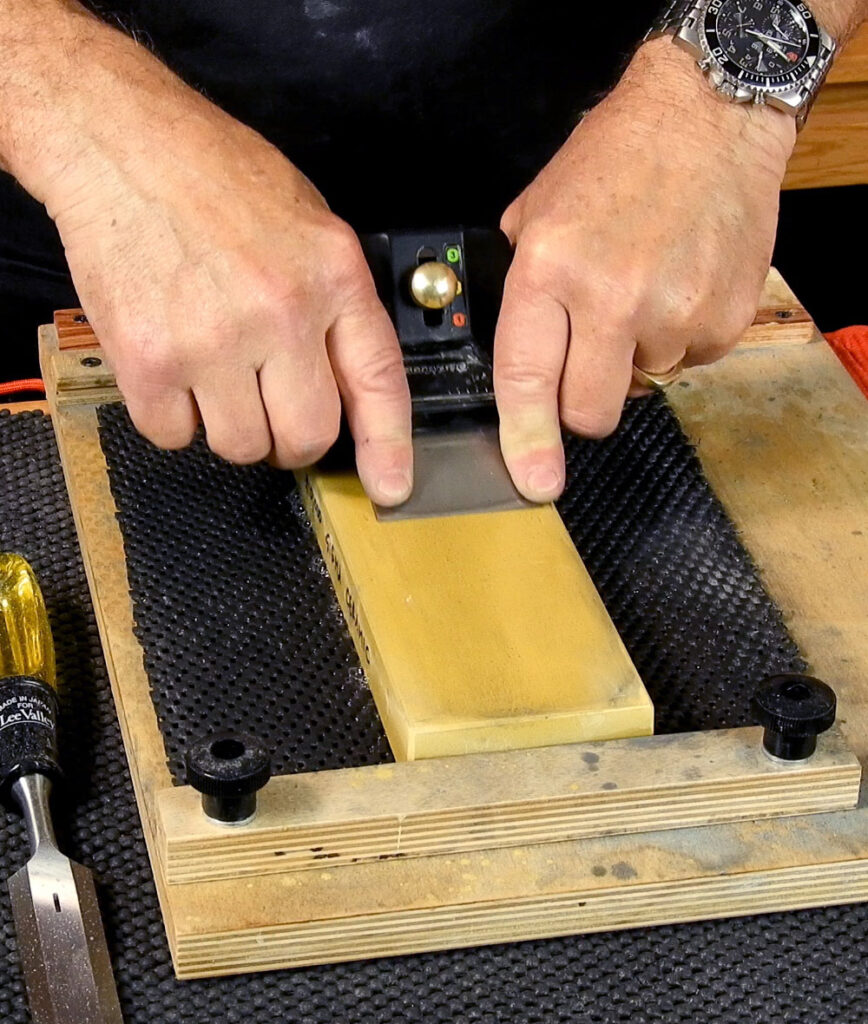
The third and final step is to establish the edge. Honing can be done freehand or with the help of a honing guide. Freehand honing is admittedly faster, but requires regular use and practice to maintain the muscle memory needed for optimal results. We strongly recommend using a honing guide to achieve consistent and repeatable results. To hone the primary bevel, mount the blade securely in the honing guide and work your way up through the grits from coarse to fine. When you are done with the finest grit, polish the back on the finest stone to remove the burrs. To create a secondary bevel, if desired, increase the angle slightly and make a few passes on the finest stone. Polish the back of the tool again on the same stone to remove any burr, and the tool is ready for use. Knowing when to sharpen a blade comes with experience. When a chisel gets harder to push through end grain, or a plane begins to drag a little when you plane or joint a board, you know it is time for sharpening. To streamline the process, most choose to hone a secondary bevel or micro-bevel on their blades so that you don't have to regrind the whole primary bevel every time. You can achieve a micro-bevel by increasing the angle of the blade relative to the sharpening medium by one or two degrees and polishing only the end of the bevel. By polishing only the first millimetre, an extra-fine stone will remove enough material in a few passes to create a very sharp edge. Only a few passes should be needed to create a burr on the back of the blade. When the burr has formed, remove the blade from the honing guide. Lap the back on the same stone and get back to work.

For most plane irons and chisels you should be able to hone the micro-bevel between 10 and 20 times before you need to regrind the primary bevel. The wider the micro-bevel becomes, the longer it takes to hone the edge, since more material has to be removed each time. A good method when honing the micro-bevel is to make just enough passes on the stone to create a burr on the back of the blade. This minimises the amount of material removed and extends the number of honings before the primary bevel has to be reground. Whether or not you use a micro-bevel, the process for honing an edge is the same. Normally the honing is done on the finest stone you have; many hone up to 8000 grit on ceramic or waterstones, which is good for most woodworking. For harder species or species with particularly difficult grain, some use finer grits – 10000 grit or finer – up to 30000 to put an edge on a straight razor. Although these ultra-fine grits give a sharper edge, which actually borders on a razor edge, they are much more delicate and wear quickly in use regardless of material. That is why it is often recommended to hone only to the level the job requires.

If you hone your blade to 8000 grit you get an edge for most plane and chisel work that is durable enough to give a reasonable working time. When it is time for the final smoothing with the plane or paring with the chisel, it can be worth going up one more level to get the perfect edge. Always keep in mind that the finest grit used when honing the back of the blade determines the sharpness just as much as the bevel of the blade. If you intend to hone the bevel to an ultra-fine grit above 10000, the back must be lapped on the same stones. Always remember that the perfect edge is the intersection of two fully prepared surfaces. Place the blade in the honing guide at the angle for the micro-bevel setting. If you draw the blade towards you a few times on the finest stone, a burr will form on the back of the blade showing that the edge is honed. Remove the blade from the honing guide, turn it over and hone the burr off the back of the blade, and then back to the bench.

With a finely honed blade you can get the most out of your tool. Few things are more satisfying than the sound of a plane effortlessly taking a thin shaving and leaving a glass-clear surface. Once you have found suitable techniques and media, you will get the most out of this ancient craft.
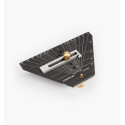
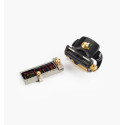
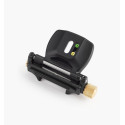
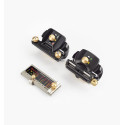
We stock a range of honing guides, such as the Veritas Mk.II honing guide and the Veritas side-clamping honing guide, and a wide selection of water and oil stones.
© Lee Valley
Share this content