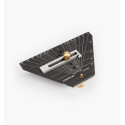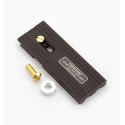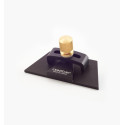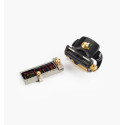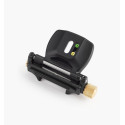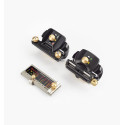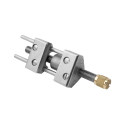
The strength of a side-clamping honing guide lies in its simplicity. Adjustable jaws hold the blade square to the stone and enable a quick and easy setup for sharpening. A side-clamping honing guide is both proven and easy to use for any craftsman who wants sharp edges. It also provides an efficient and repeatable setup for any sharpening workflow.
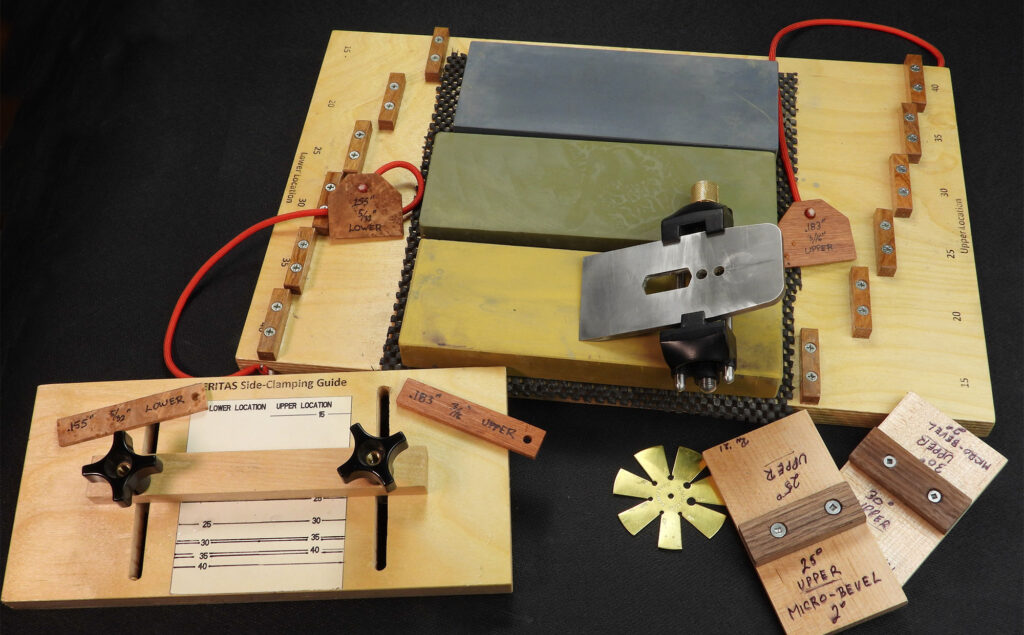
There are many different protrusion jigs that suit almost every type of situation in the workshop and every type of woodworking. The Veritas honing guide has a design from the mid-1900s and updates it with modern machining and manufacturing tolerances. Like all Veritas products, it will give many years of reliable service in any workshop. When using a honing guide it is important to determine exactly how far the blade protrudes from the guide to define the honing angle. Careful measuring every time ensures the blade is at the right angle and, more importantly, at exactly the same angle as the last time it was sharpened. This is best done by constructing a jig that makes it easy to set the right protrusion for the blade to be sharpened. Jigs come in many different shapes and every woodworker will adapt a design that best suits his or her situation; many will in fact benefit from building different types of jigs for different situations, for example in the workshop and out in the field.
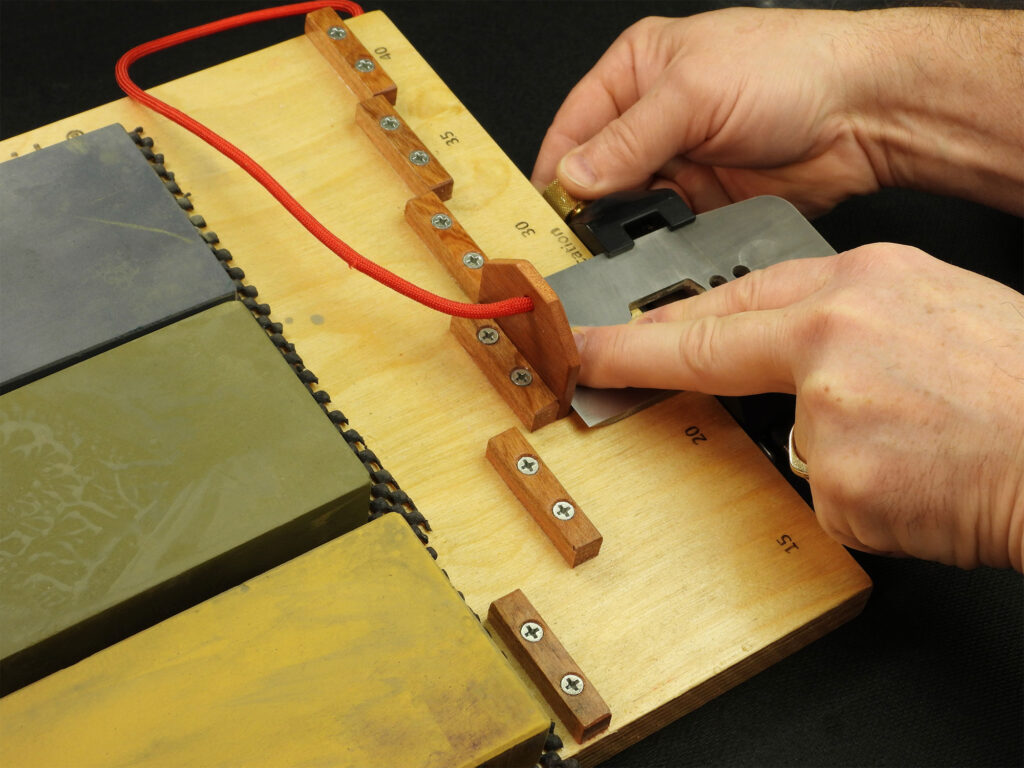
With a jig you can set the angle for the bevel or micro-bevel in a quick and repeatable way in your sharpening workflow. The Veritas side-clamping honing guide has two blade positions, which makes it possible to set a variety of protrusions in the honing guide. You can experiment to see which position suits your situation best. Alternatively you can simply choose the upper position, which meets most needs and makes it easiest to align the blade in the honing guide, with the upper jaws and gravity holding the blade in place while you set the protrusion.

This handy angle guide from the instruction sheet shows the protrusions for most of the angles needed. This article focuses on three types of protrusion jigs. One type is a small handheld unit that can be as small as a smartphone. The jig has one or two protruding stops for the most commonly used angles. The other end of this type of jig can have more angles or protrusions for micro-bevel settings. The instruction sheet that comes with the guide has all the measurements for the most-used angles on a single sheet.
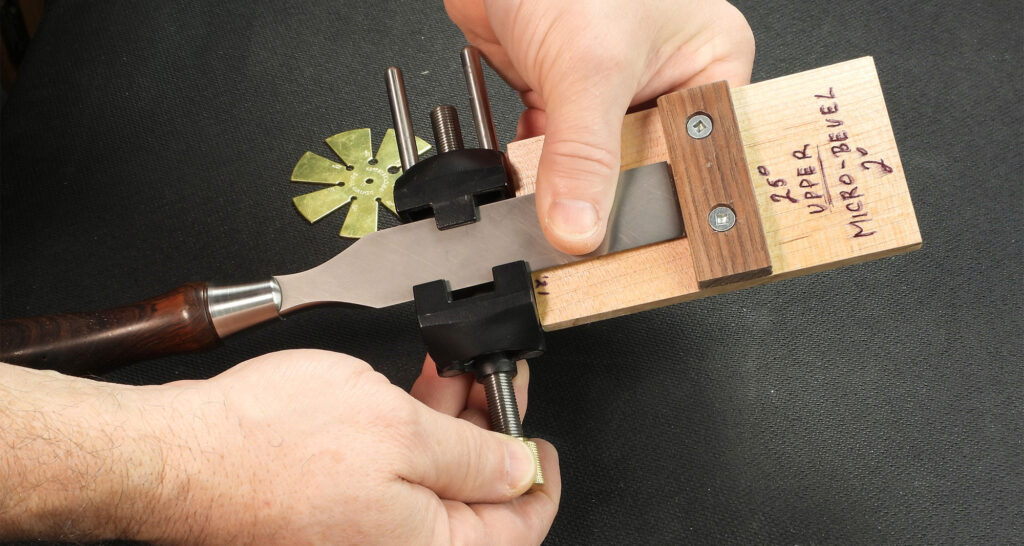
With a couple of pieces of wood you get a portable jig for measuring an angle in the workshop or out in the field. Another type of jig uses the template from the instruction sheet to define the protrusions, while a movable fence acts as a stop for the blade. Attach the printed template to the jig material (Baltic birch plywood works well) with a little spray adhesive, and make sure the template's baseline is exactly positioned before the glue sets. I found it good to extend the lines for each setting across the full width to make it easier to align the fence parallel to the jig's edges. The adjustable fence is made from 1/4"-20 jig hardware. The screws slide into relief slots on the back of the board and are tightened with knobs. You may also want to give the paper a quick spray with a clear finish to prevent water from staining it over time.
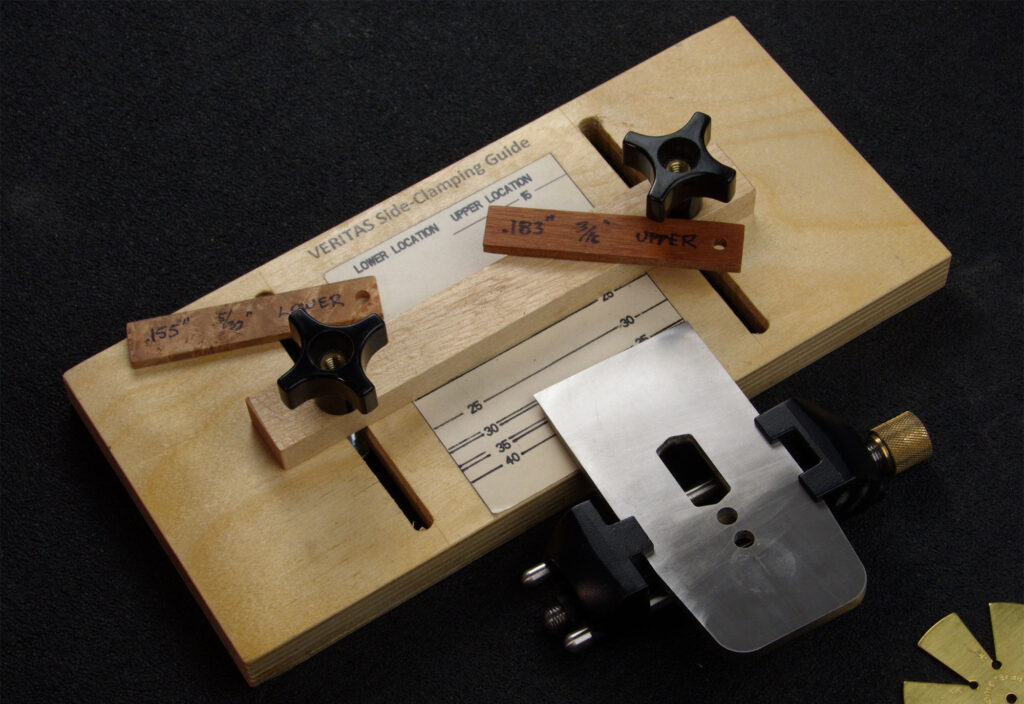
Using standard 1/4"-20 jig hardware, a handy all-in-one guide with a movable fence and shims can be adjusted for any angle the guide can handle.
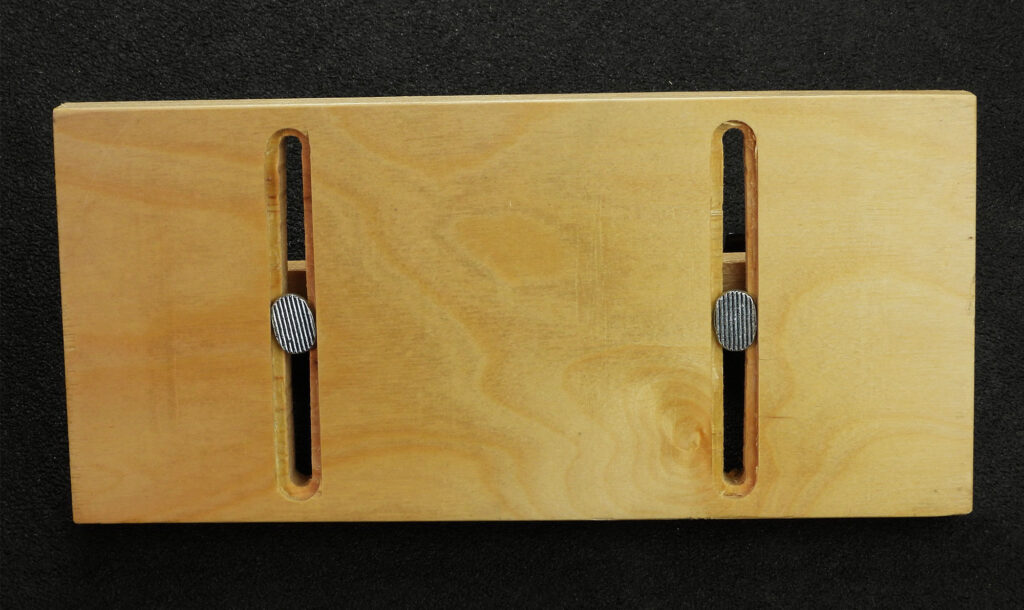
The underside of the jig with the fence. The third type of jig – and perhaps the most popular – is made by adding stops to a board for the angles used most frequently. Many use a board with a stop to hold the stones in place, together with protrusion stops on the edges closest to the user. Use the template page from the instructions and keep the baseline aligned, then use a knife cut to transfer the measurement to the board below. Many woodworkers set stops only for the angles they use, while others set all the angles the honing guide can handle. This is a personal preference.

A jig in stop form with all angles for both the upper and lower position of the honing guide covers almost every situation that can arise in the workshop. Whatever type of jigs you build, they will improve the usability of the Veritas side-clamping honing guide and bring efficiency and repeatability to your workflow so you can achieve the perfect edge. Setting the micro-bevel is for many an important step in the honing/polishing process, and therefore there must be a way to do this in the jig. Woodworkers often add a micro-bevel of 2° - 5°, based on personal preference. Due to the geometry, the protrusion for each blade angle to set a specific micro-bevel is different. The diagram below shows all the offsets needed to achieve a 2° micro-bevel. A simple shim of the desired thickness gives the offset required to set the right protrusion for the micro-bevel. It is not necessary to create a specific shim for each angle, since the actual angle can vary, as mentioned earlier. A simplified method is to create a shim for the stops for each blade position on the honing guide. Choosing a thickness between the two most common angles, 25° and 30°, is a good compromise. As a suggestion, the shim thickness for the lower blade position would be 0.155" or about 5/32" thick and 0.183" or 3/16" thick for the upper position. Since the key issue is repeatability and not the actual specific angle of the micro-bevel, this approach works well.

One way to precisely set the protrusion on your jig is to print the page at full size and use it as a reference. Be sure to put a ruler on some of the printed measurements to make sure the printout really is full size (1:1) to avoid any problems later. Fold the sheet at the baseline so it can easily be aligned to the material in the jig. A good tip is to place some masking tape on the jig and cut through the template with a knife and a straightedge into the tape below. When you remove the tape you get an edge as a reference for the stop, and the thickness of the tape makes it easy to align the stop. A couple of drops of medium CA glue on the underside holds the piece in place while you drill and screw it down. When the stop is permanently fixed, the tape can be removed. Be sure to mark the specific angles you have built into your jig with a permanent marker or label printer.

Image on the left: Marking the placement of the stop blocks. Image on the right: Jig in stop form with glued blocks.
You will find the Veritas side-clamping honing guide and more honing guides in our shop.
Translated from Veritas, written by Richard Wile.
Share this content