This is the story of the bed I built for my son when he was almost three. I wrote about the build as a diary on the Byggahus.se forum during the winter of 2016, and here it is gathered in one place.
The bed would stand in a small space that he would "live" in until we had finished the part of the house where his real room would be. It would be used for perhaps three years, until he could get a "proper" bed. The idea was that it should feel like a real bed, just a bit smaller: no more than 150 × 70 cm.
The idea
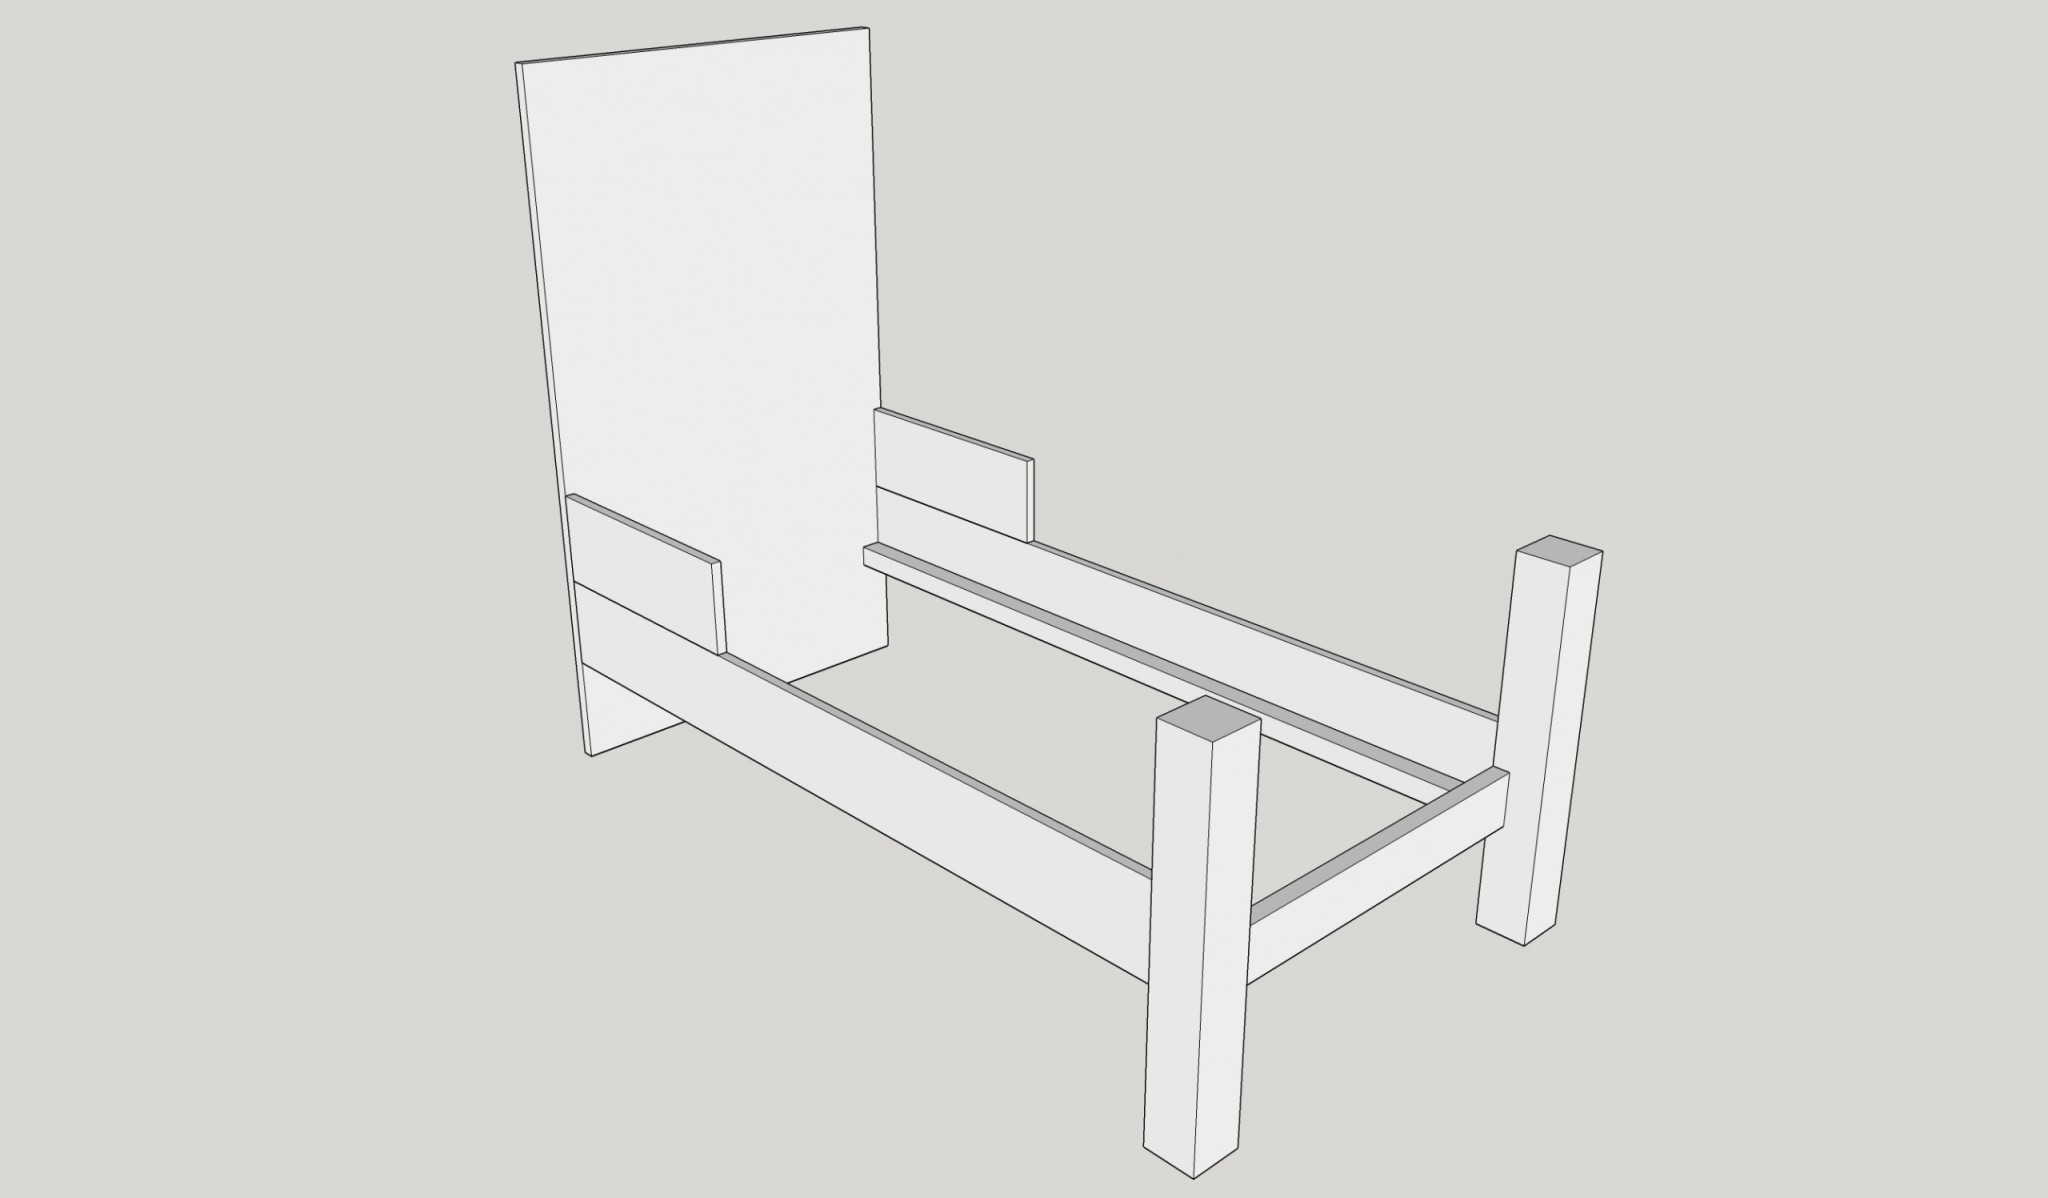
This is how I pictured it, first assembled with the timber as it was:
And here with the details I planned to add:
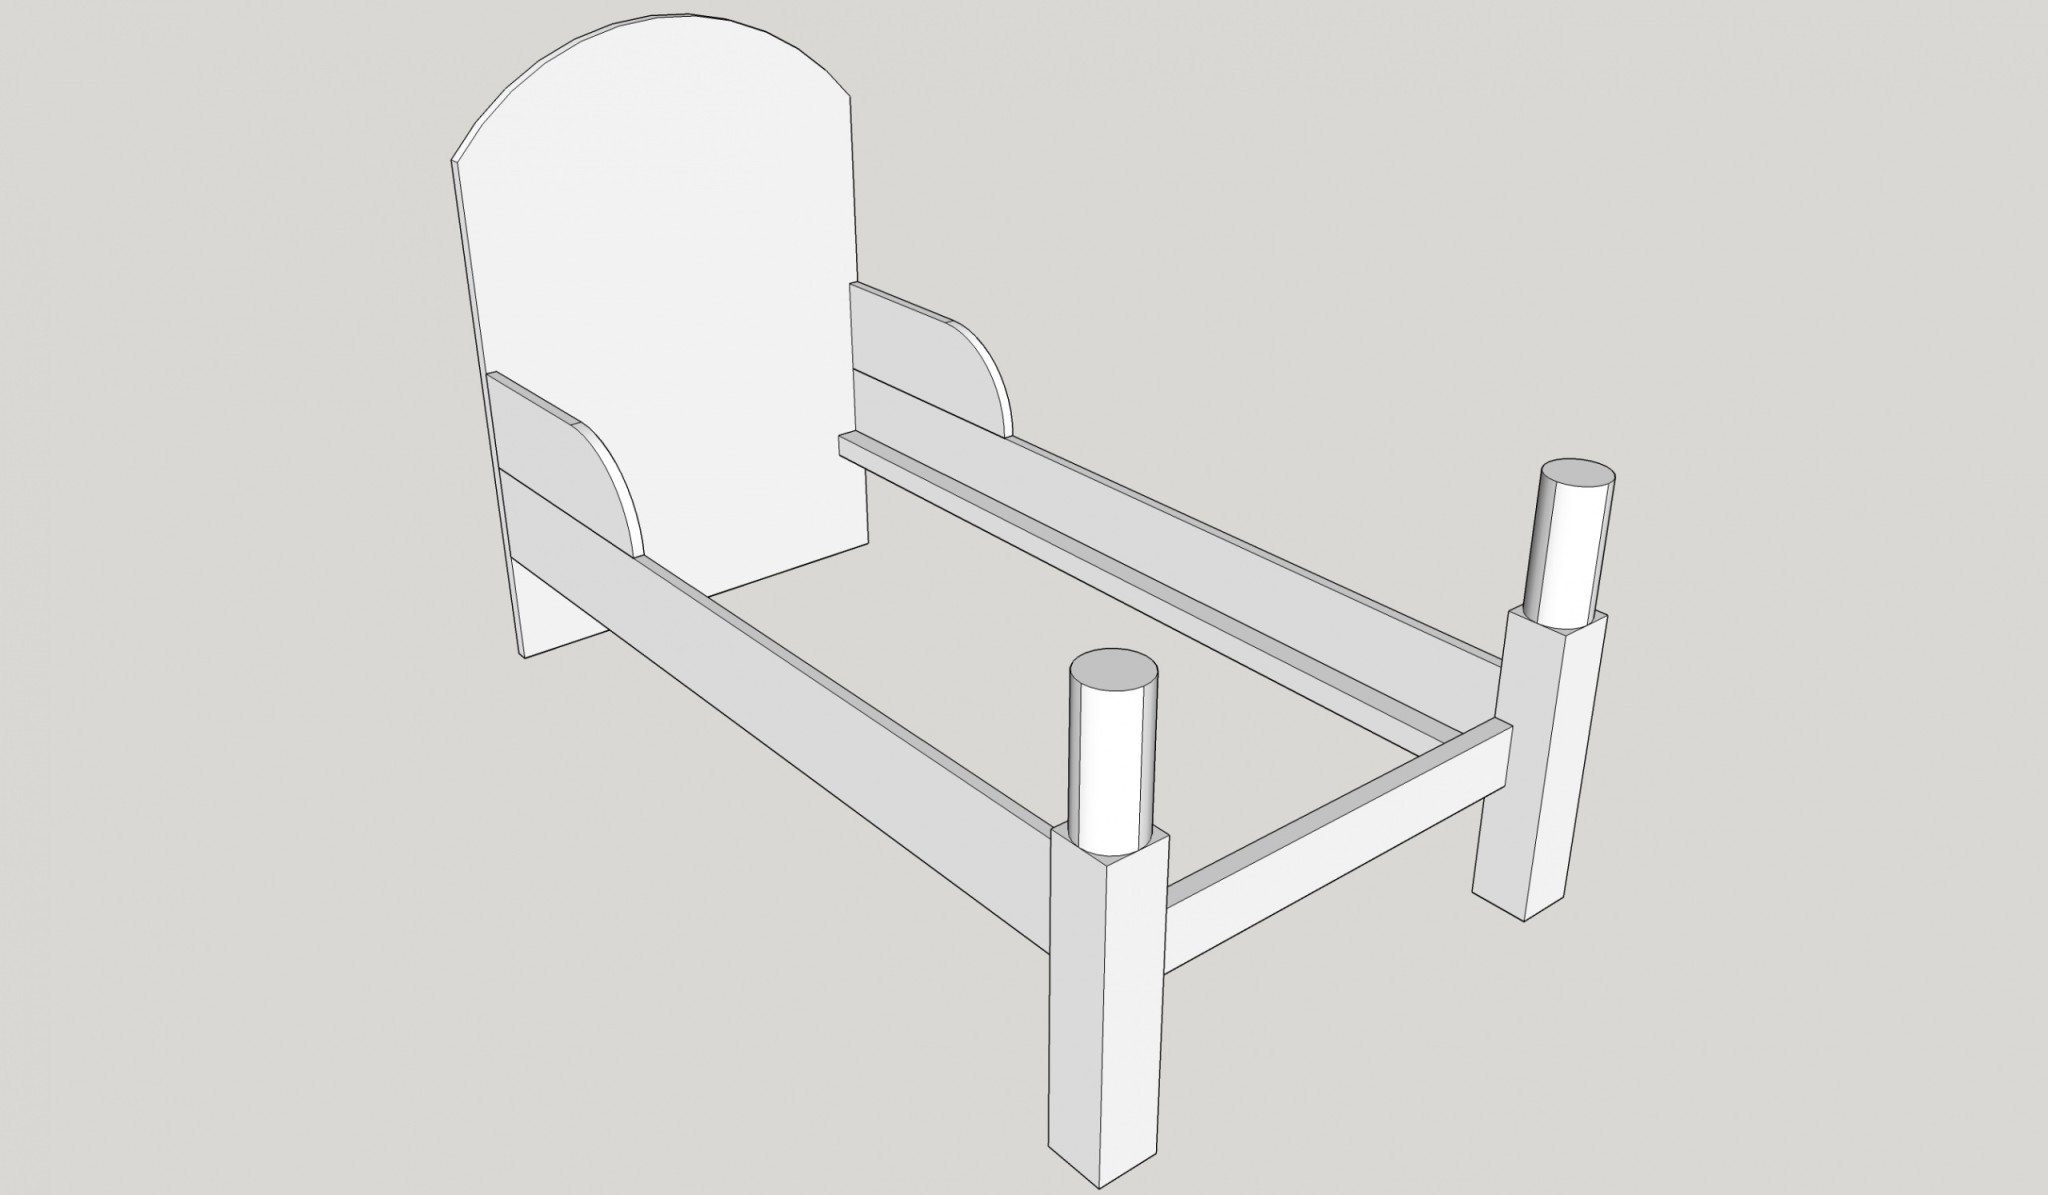
The bed would stand so that he climbs in over the end, hence the longer rail there. A solid headboard sawn out in a pattern (the picture shows just one variant; I was thinking of something more "cloud-like"). A wide rail along the sides, doubled at the head end, and a batten in the rail for the slatted base to rest on. Maybe a routed "picture" in the headboard; he likes trains, for example.
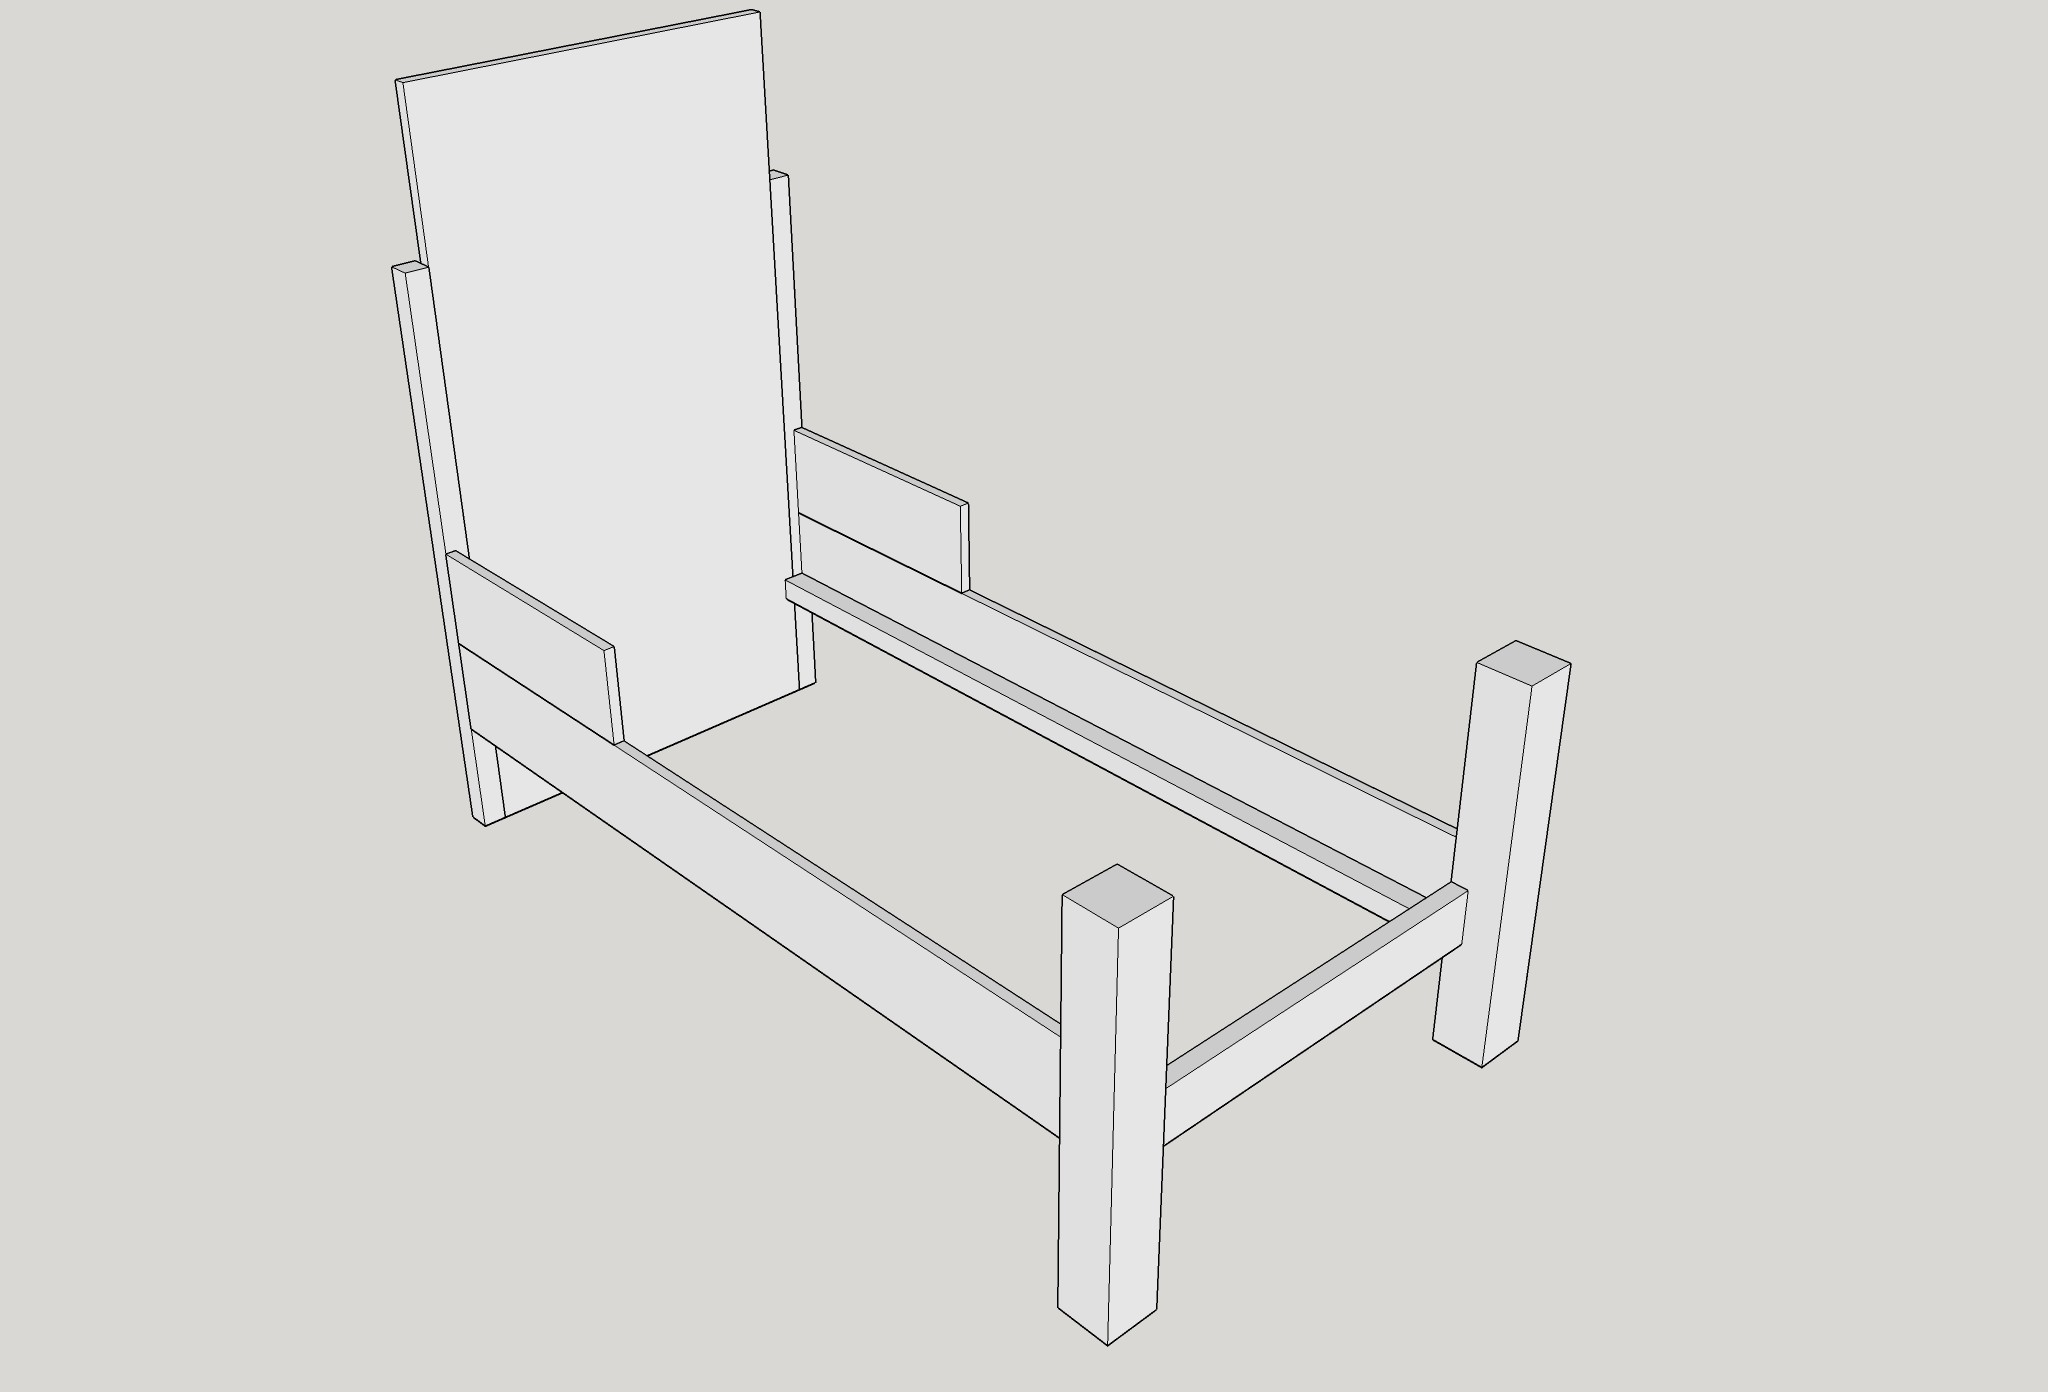
The rail is about 165 × 18 mm and the headboard about 22 mm thick. What I thought about most was how to attach the rail: dominos (6 or 8 mm) or a 40 × 40 mm batten along the edge of the headboard.
Timber and glue-up
The bed would be painted white, so builders' merchant timber was fine. I found almost everything in the offcut bin, so the cost was under SEK 150.
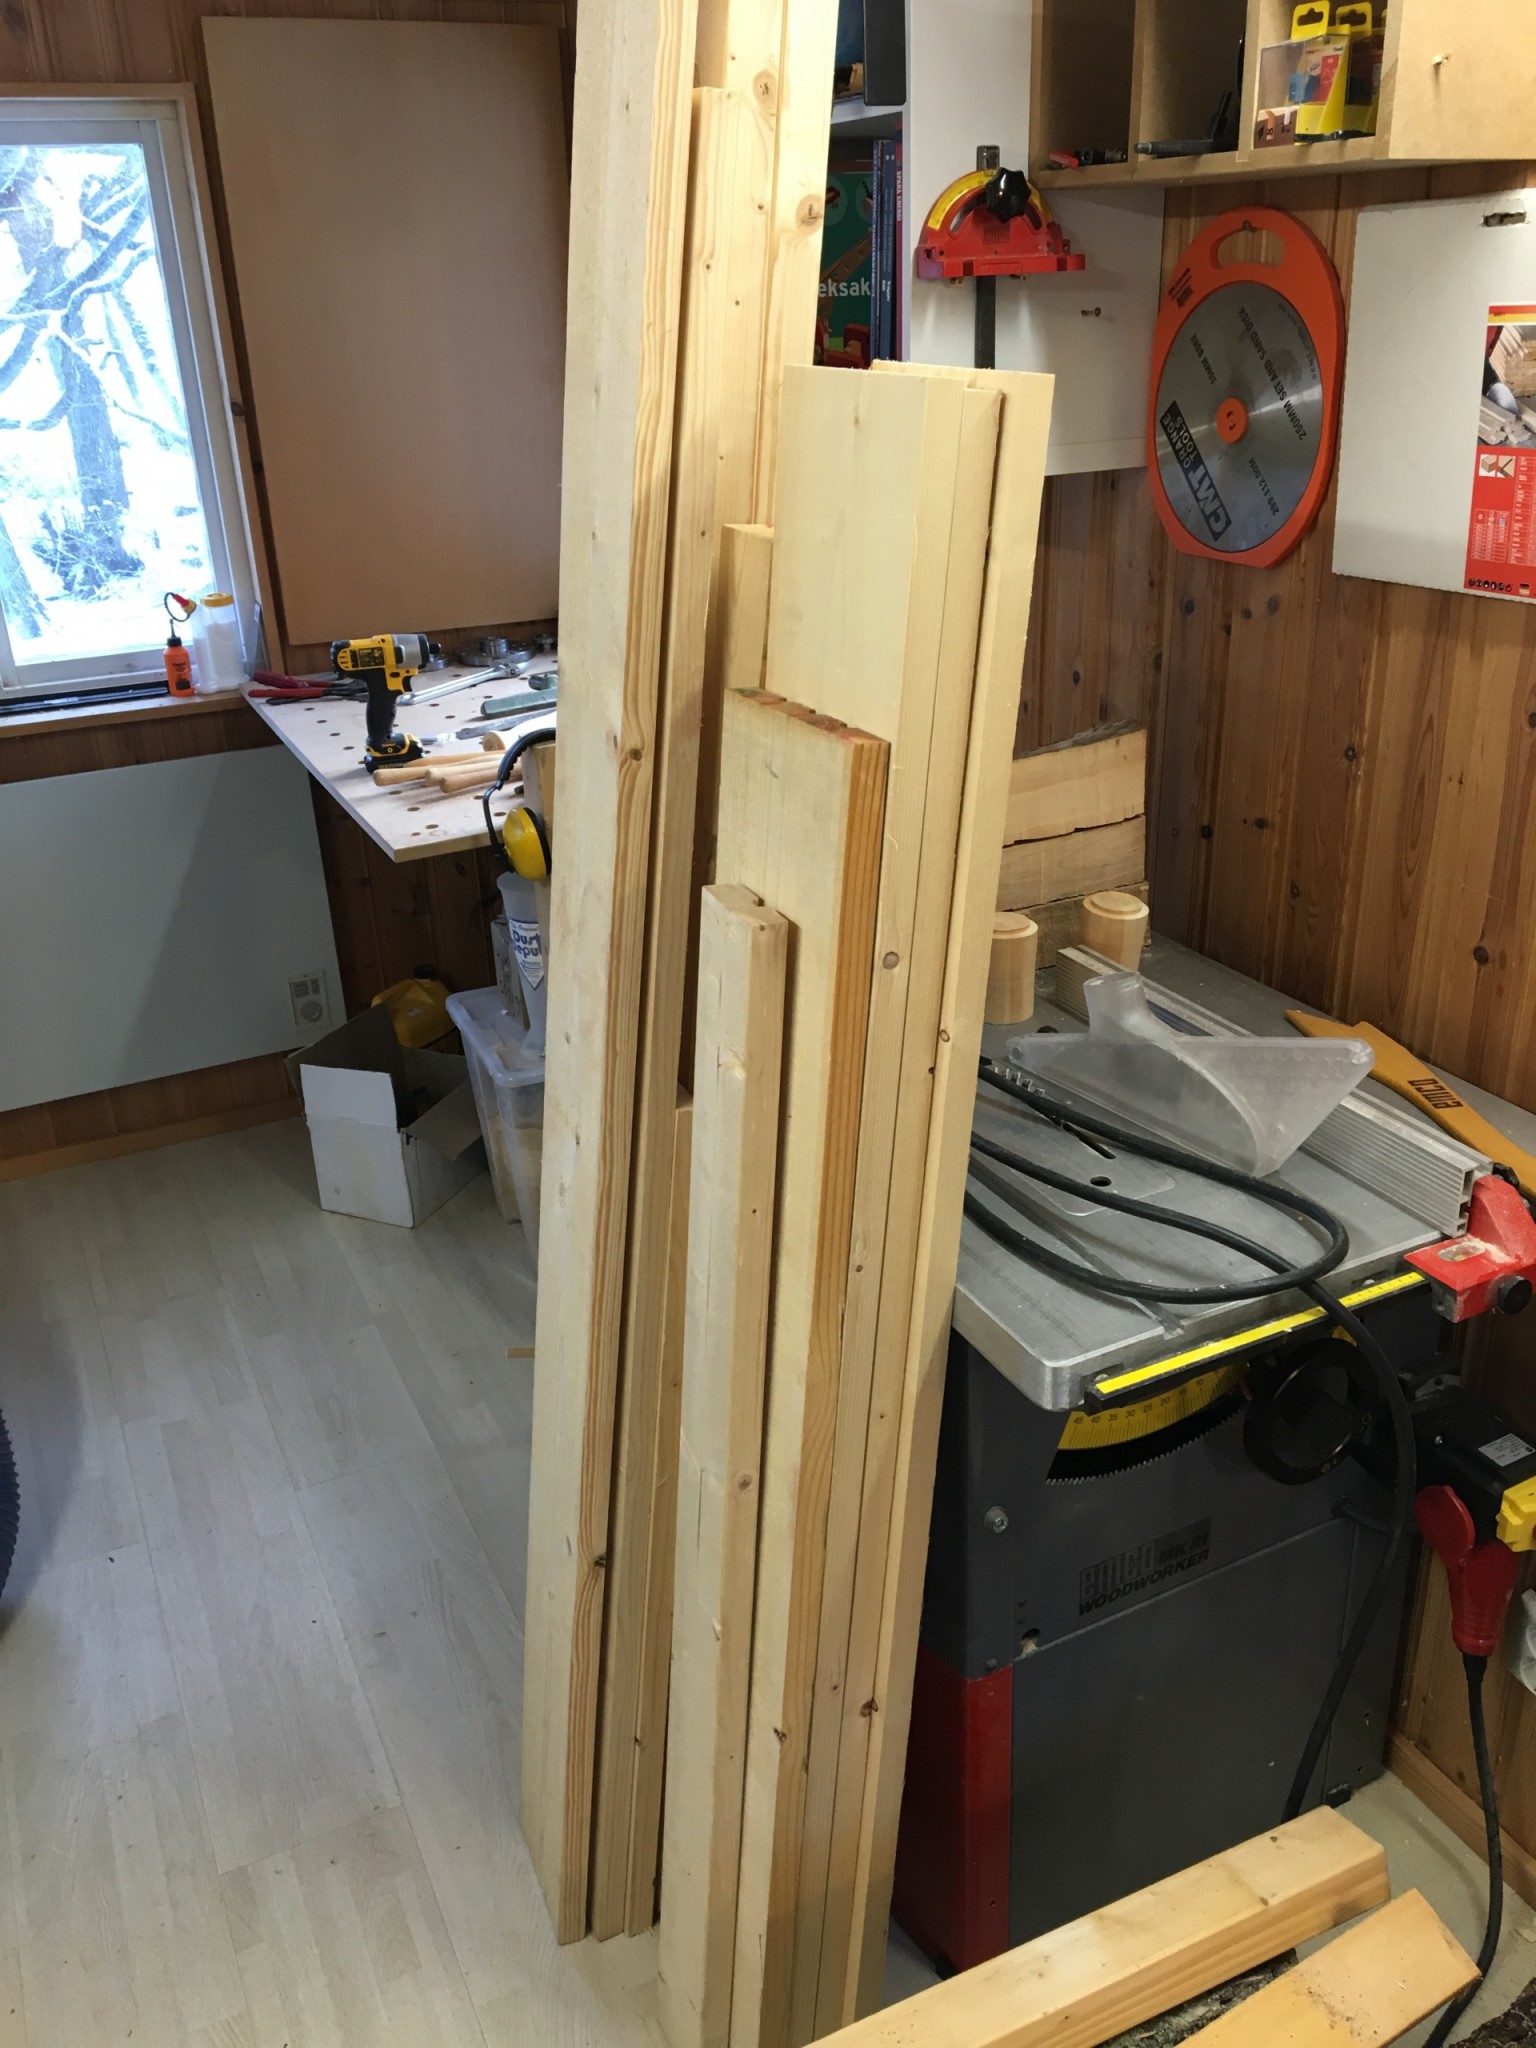
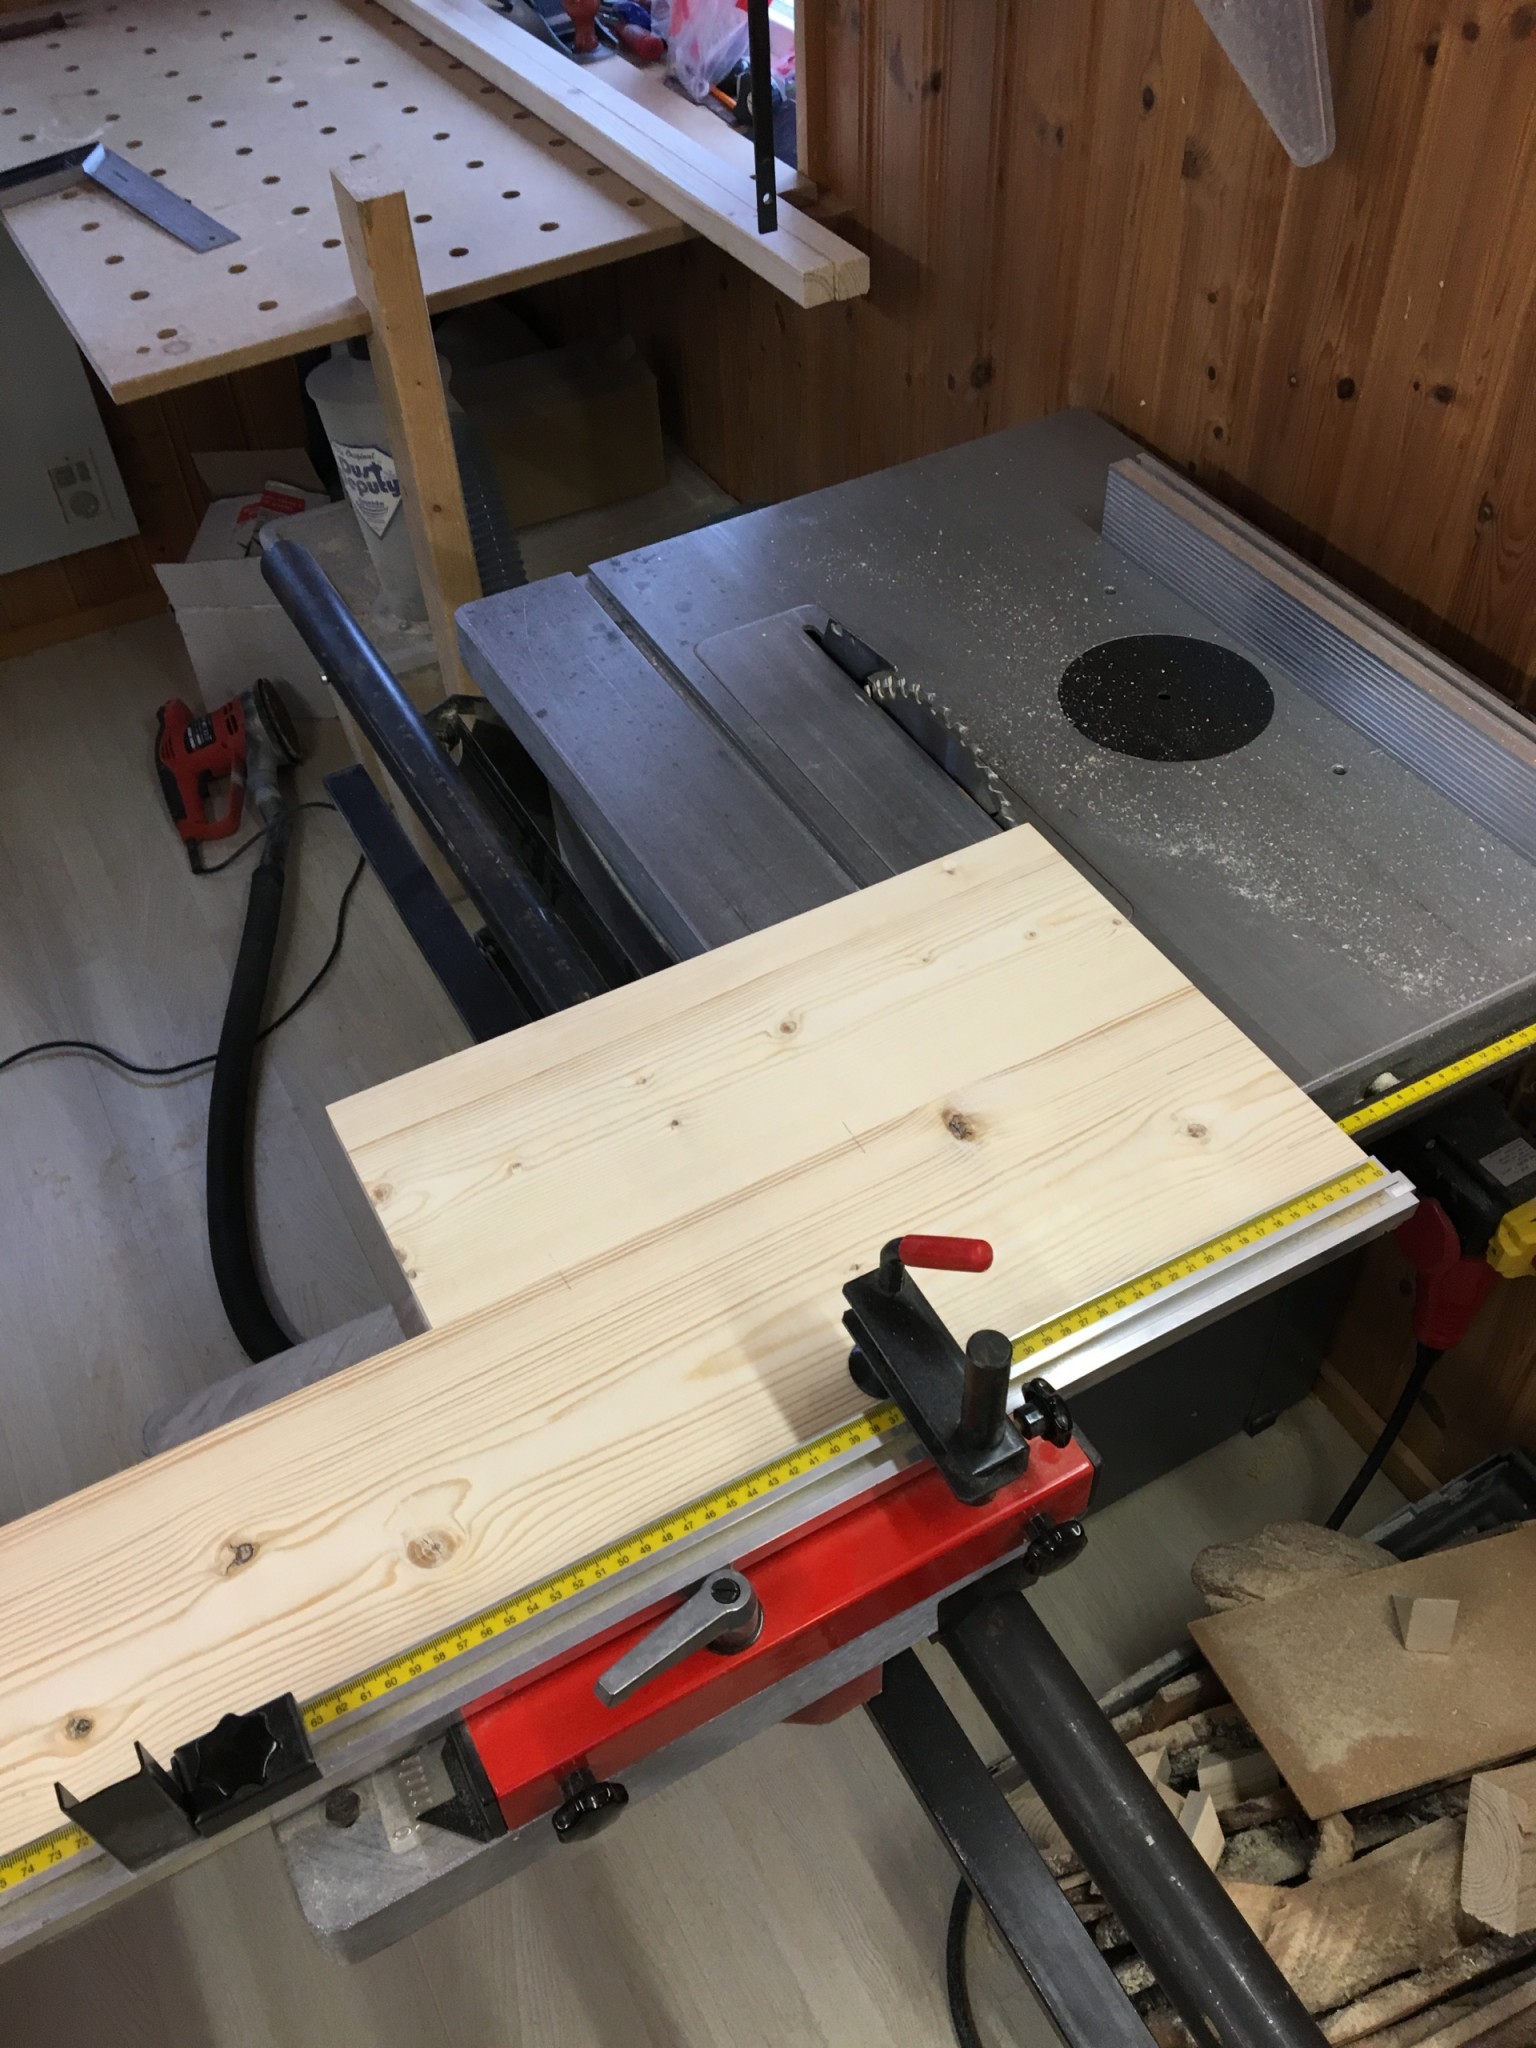
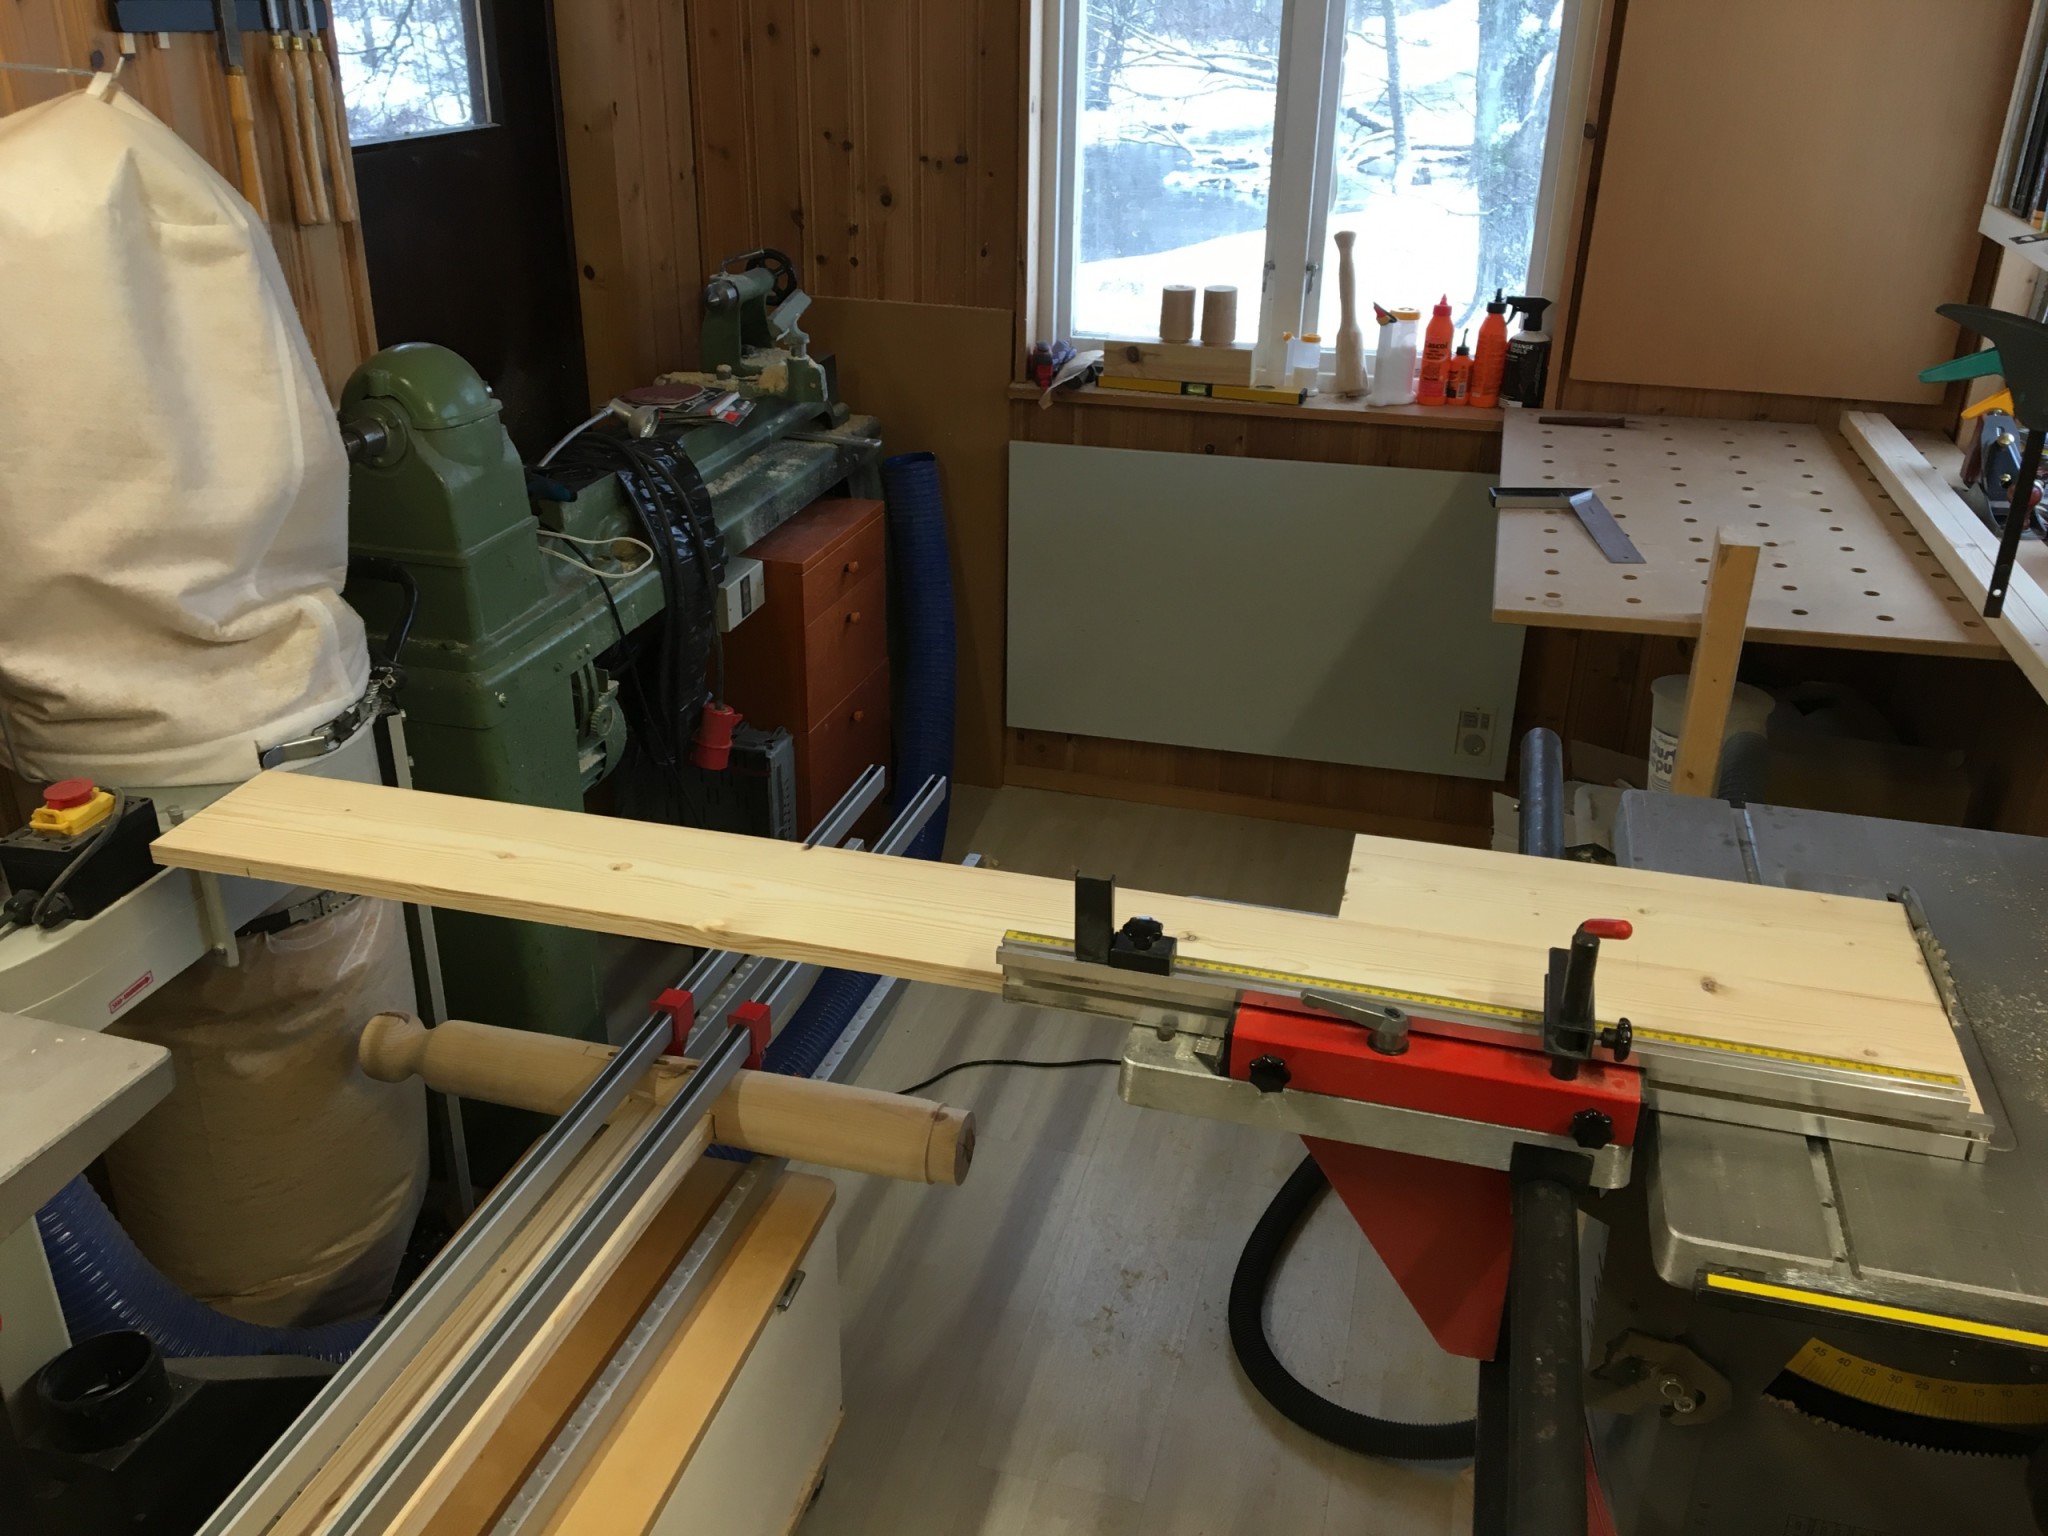
I jointed and planed the rails and headboard, and glued up the headboard from the pieces I would use. It came out at about 1280 × 750 mm at the shortest piece. The top would be sawn into some fun shape later.
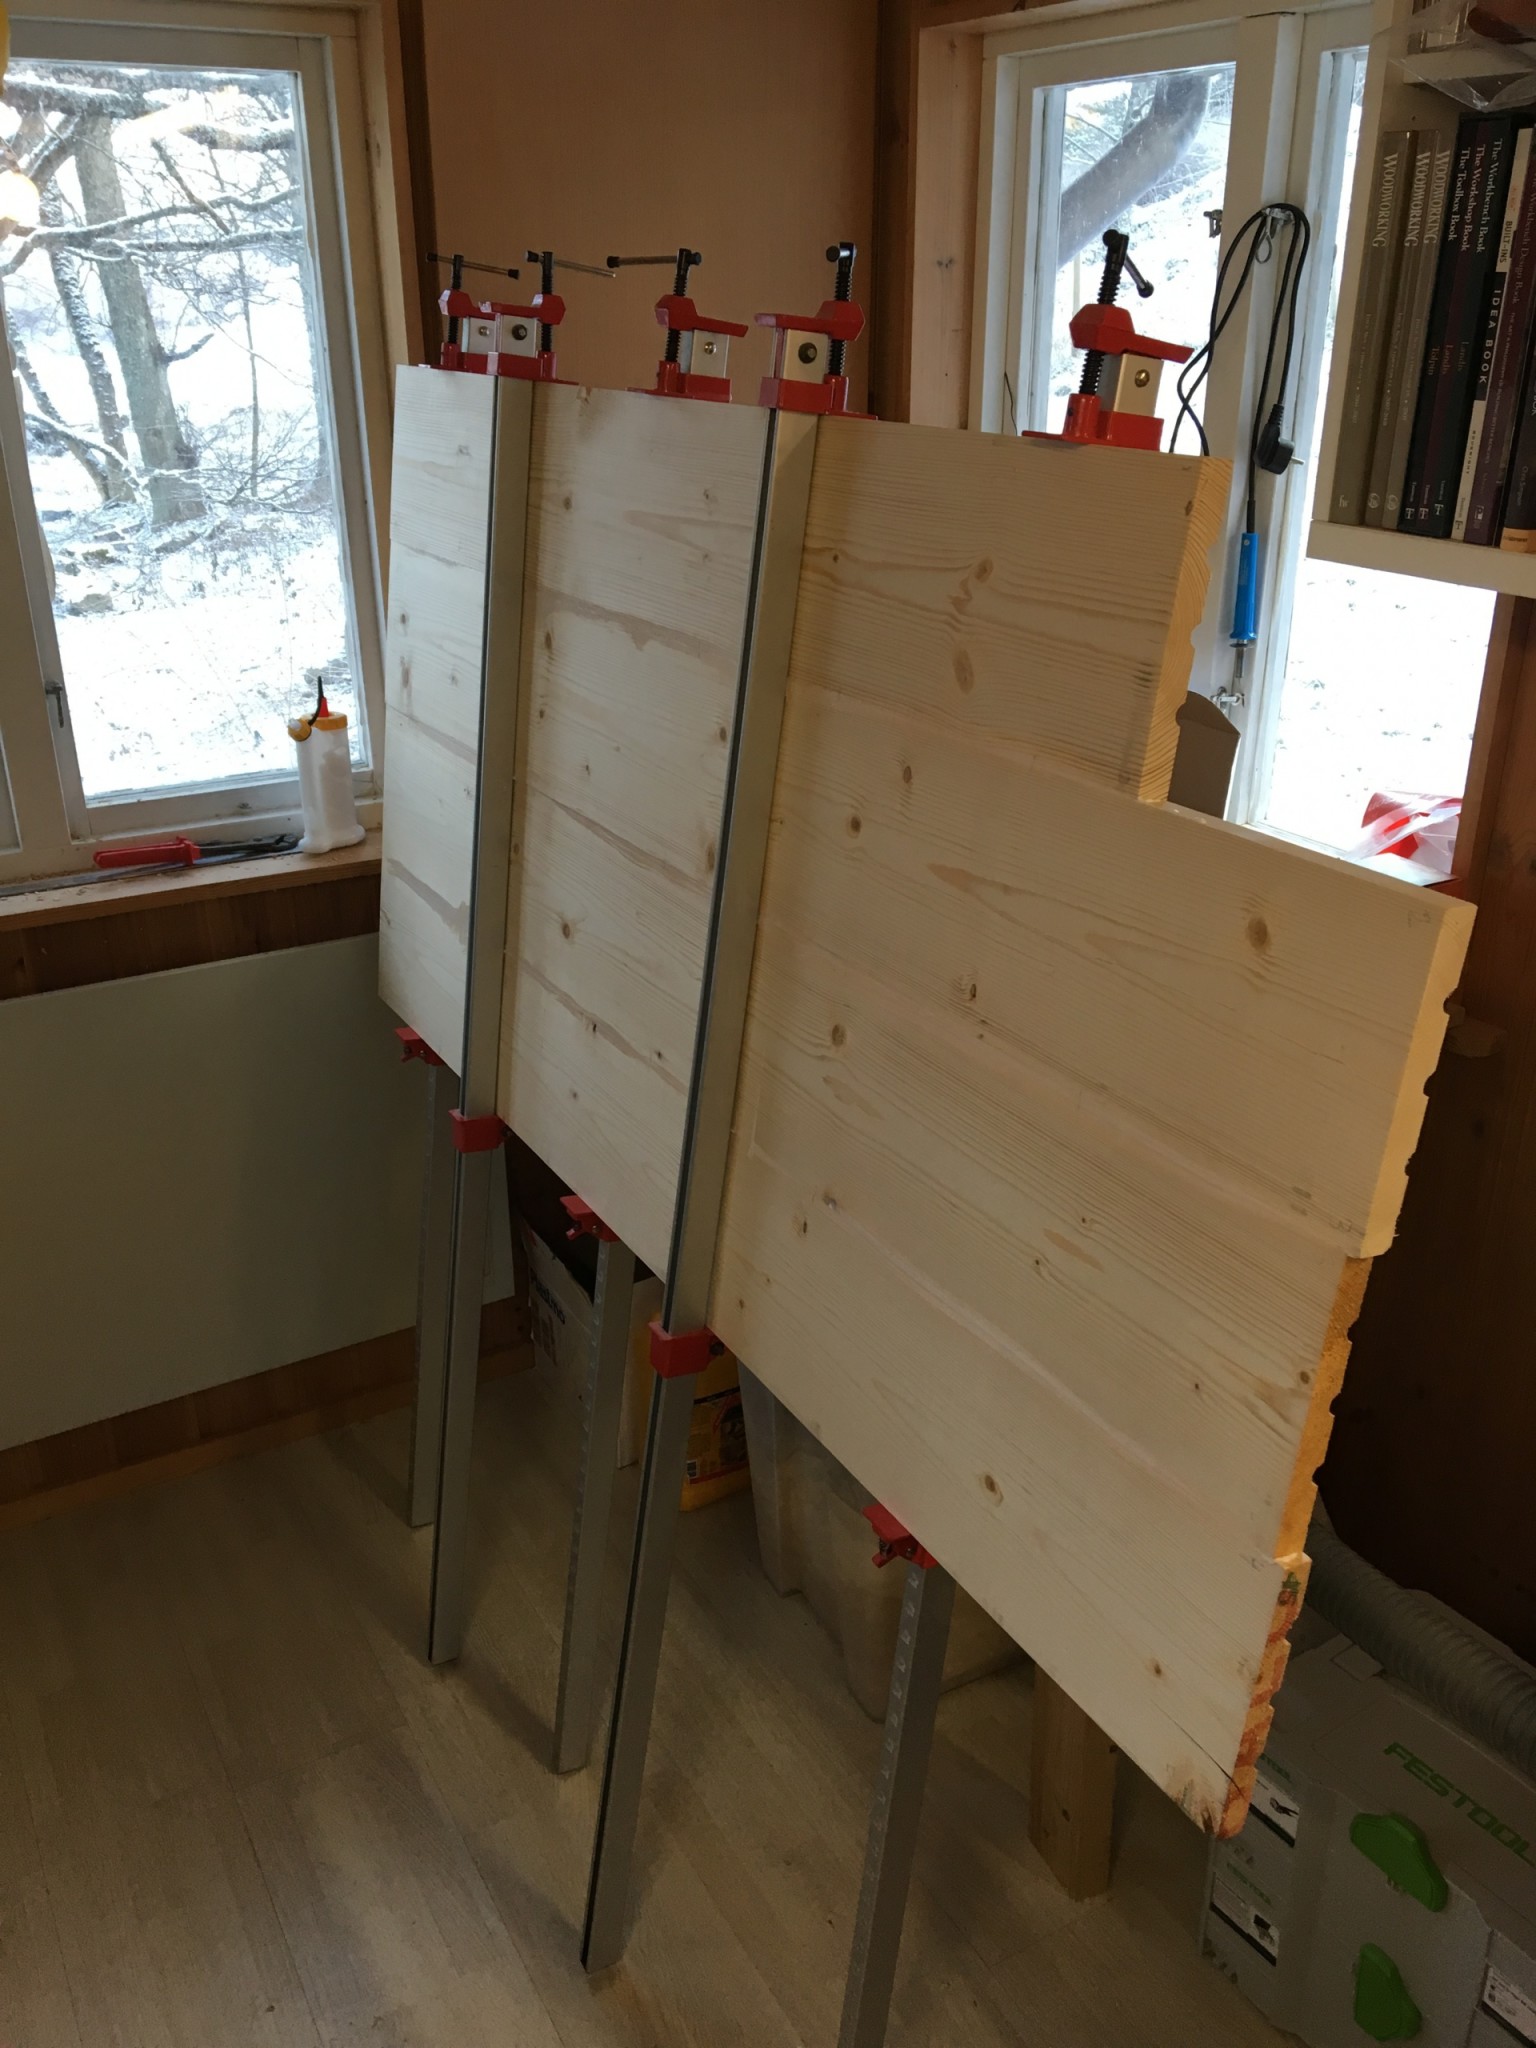
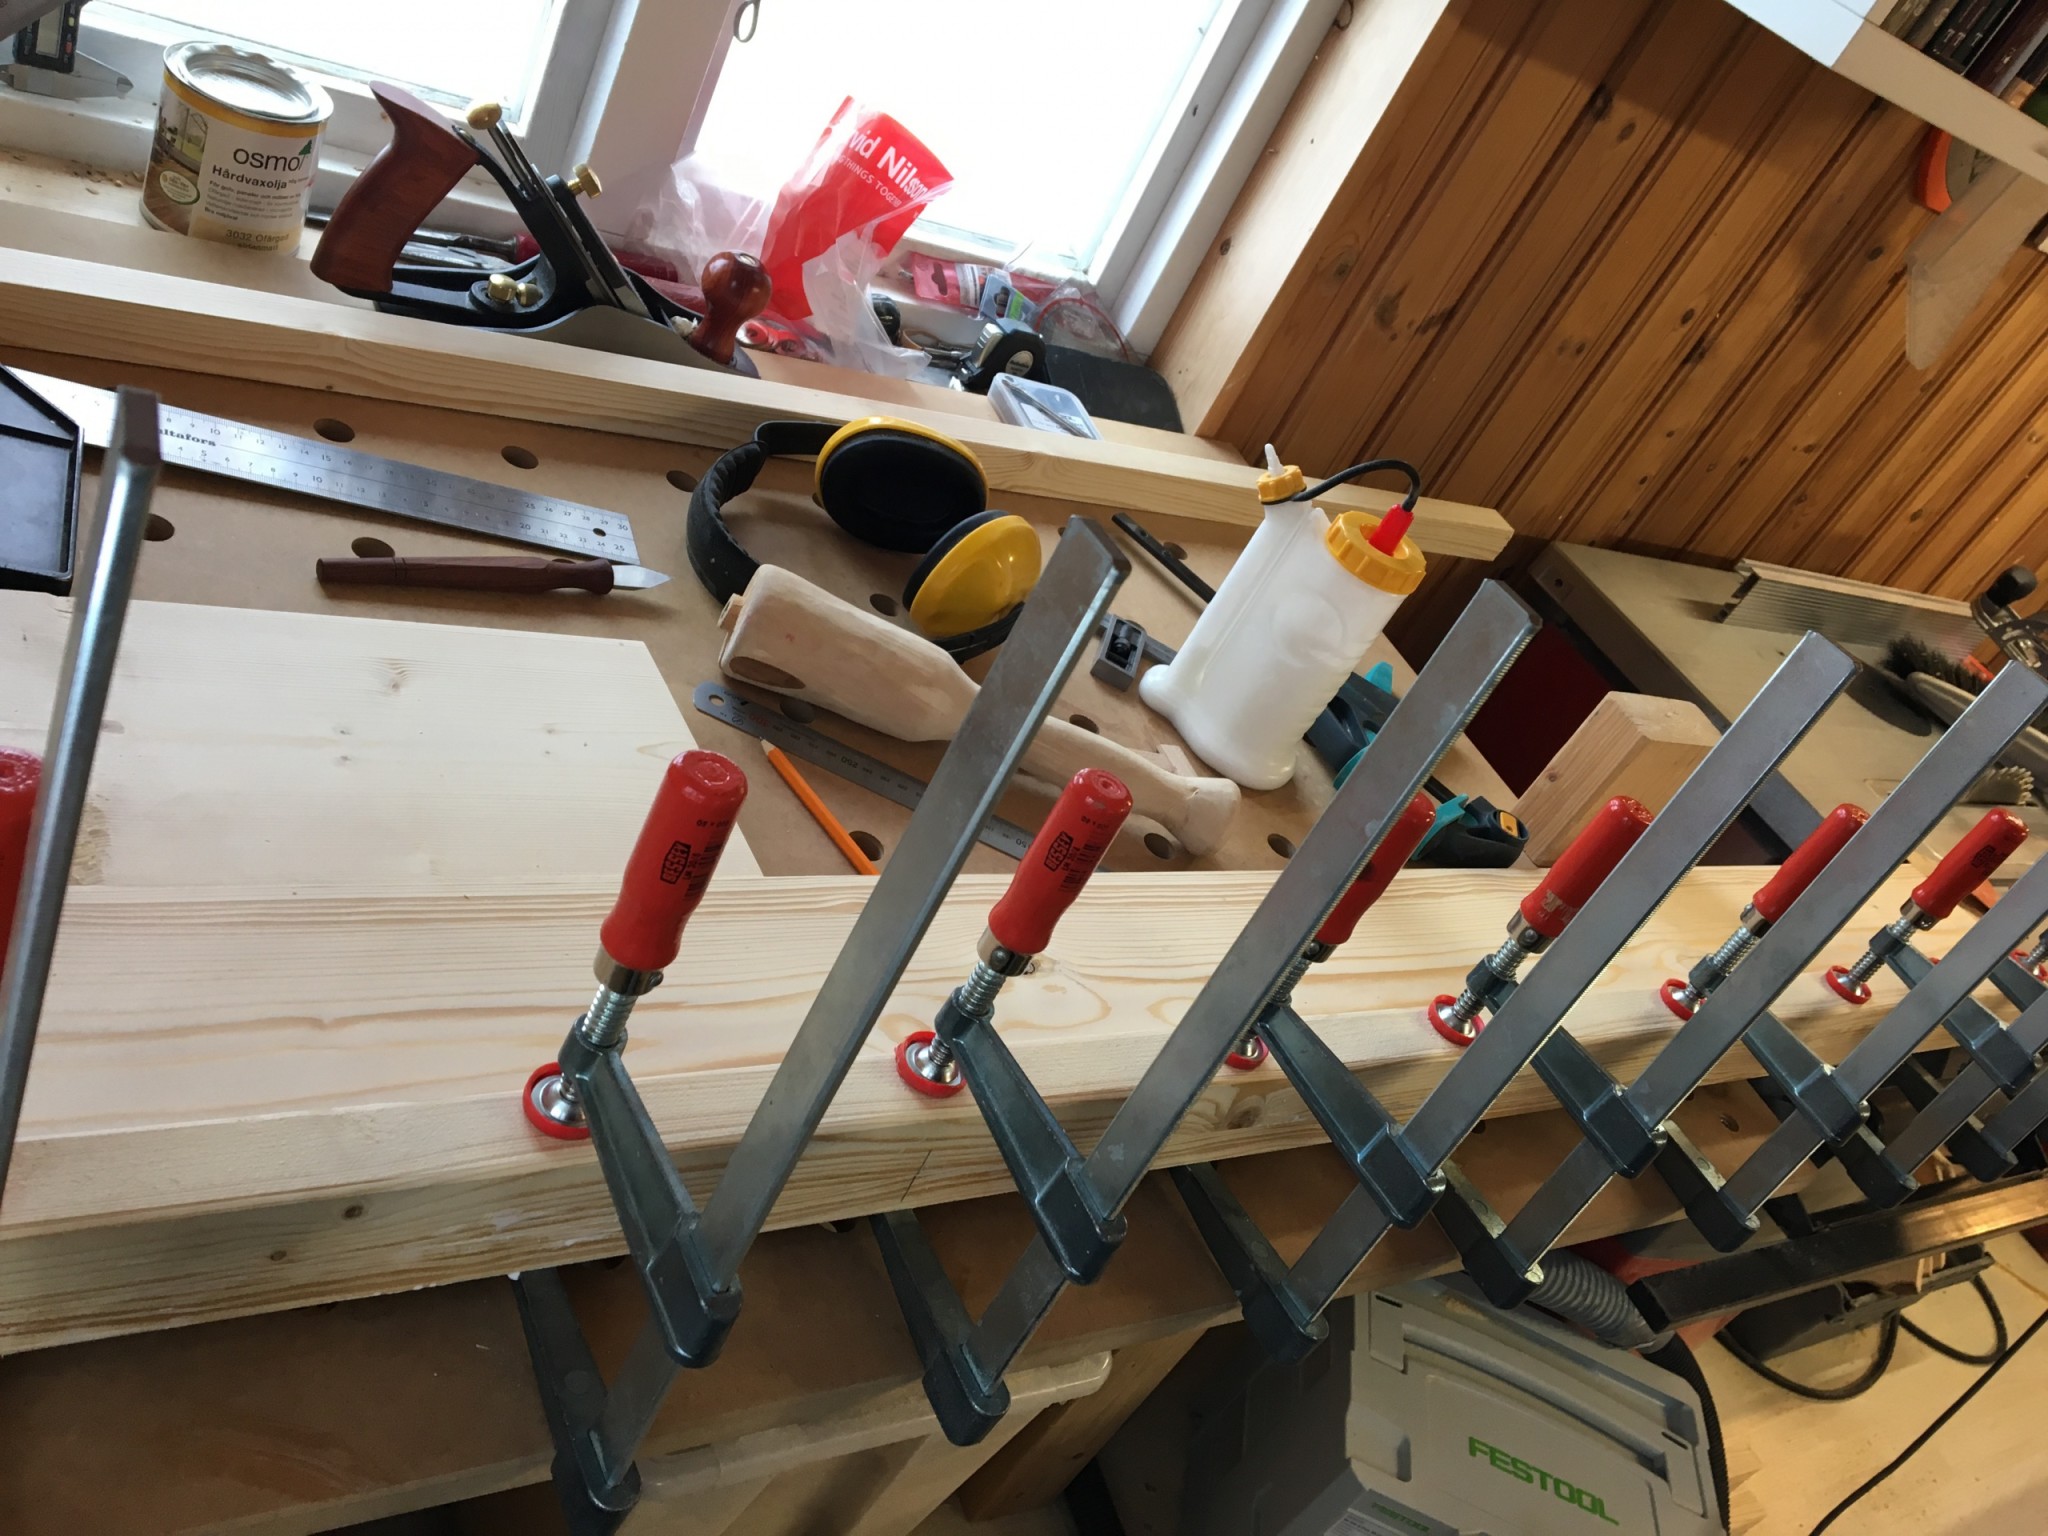
The next day I glued up the rails for both sides:

The foot posts
The foot posts ended up about 690 mm tall.
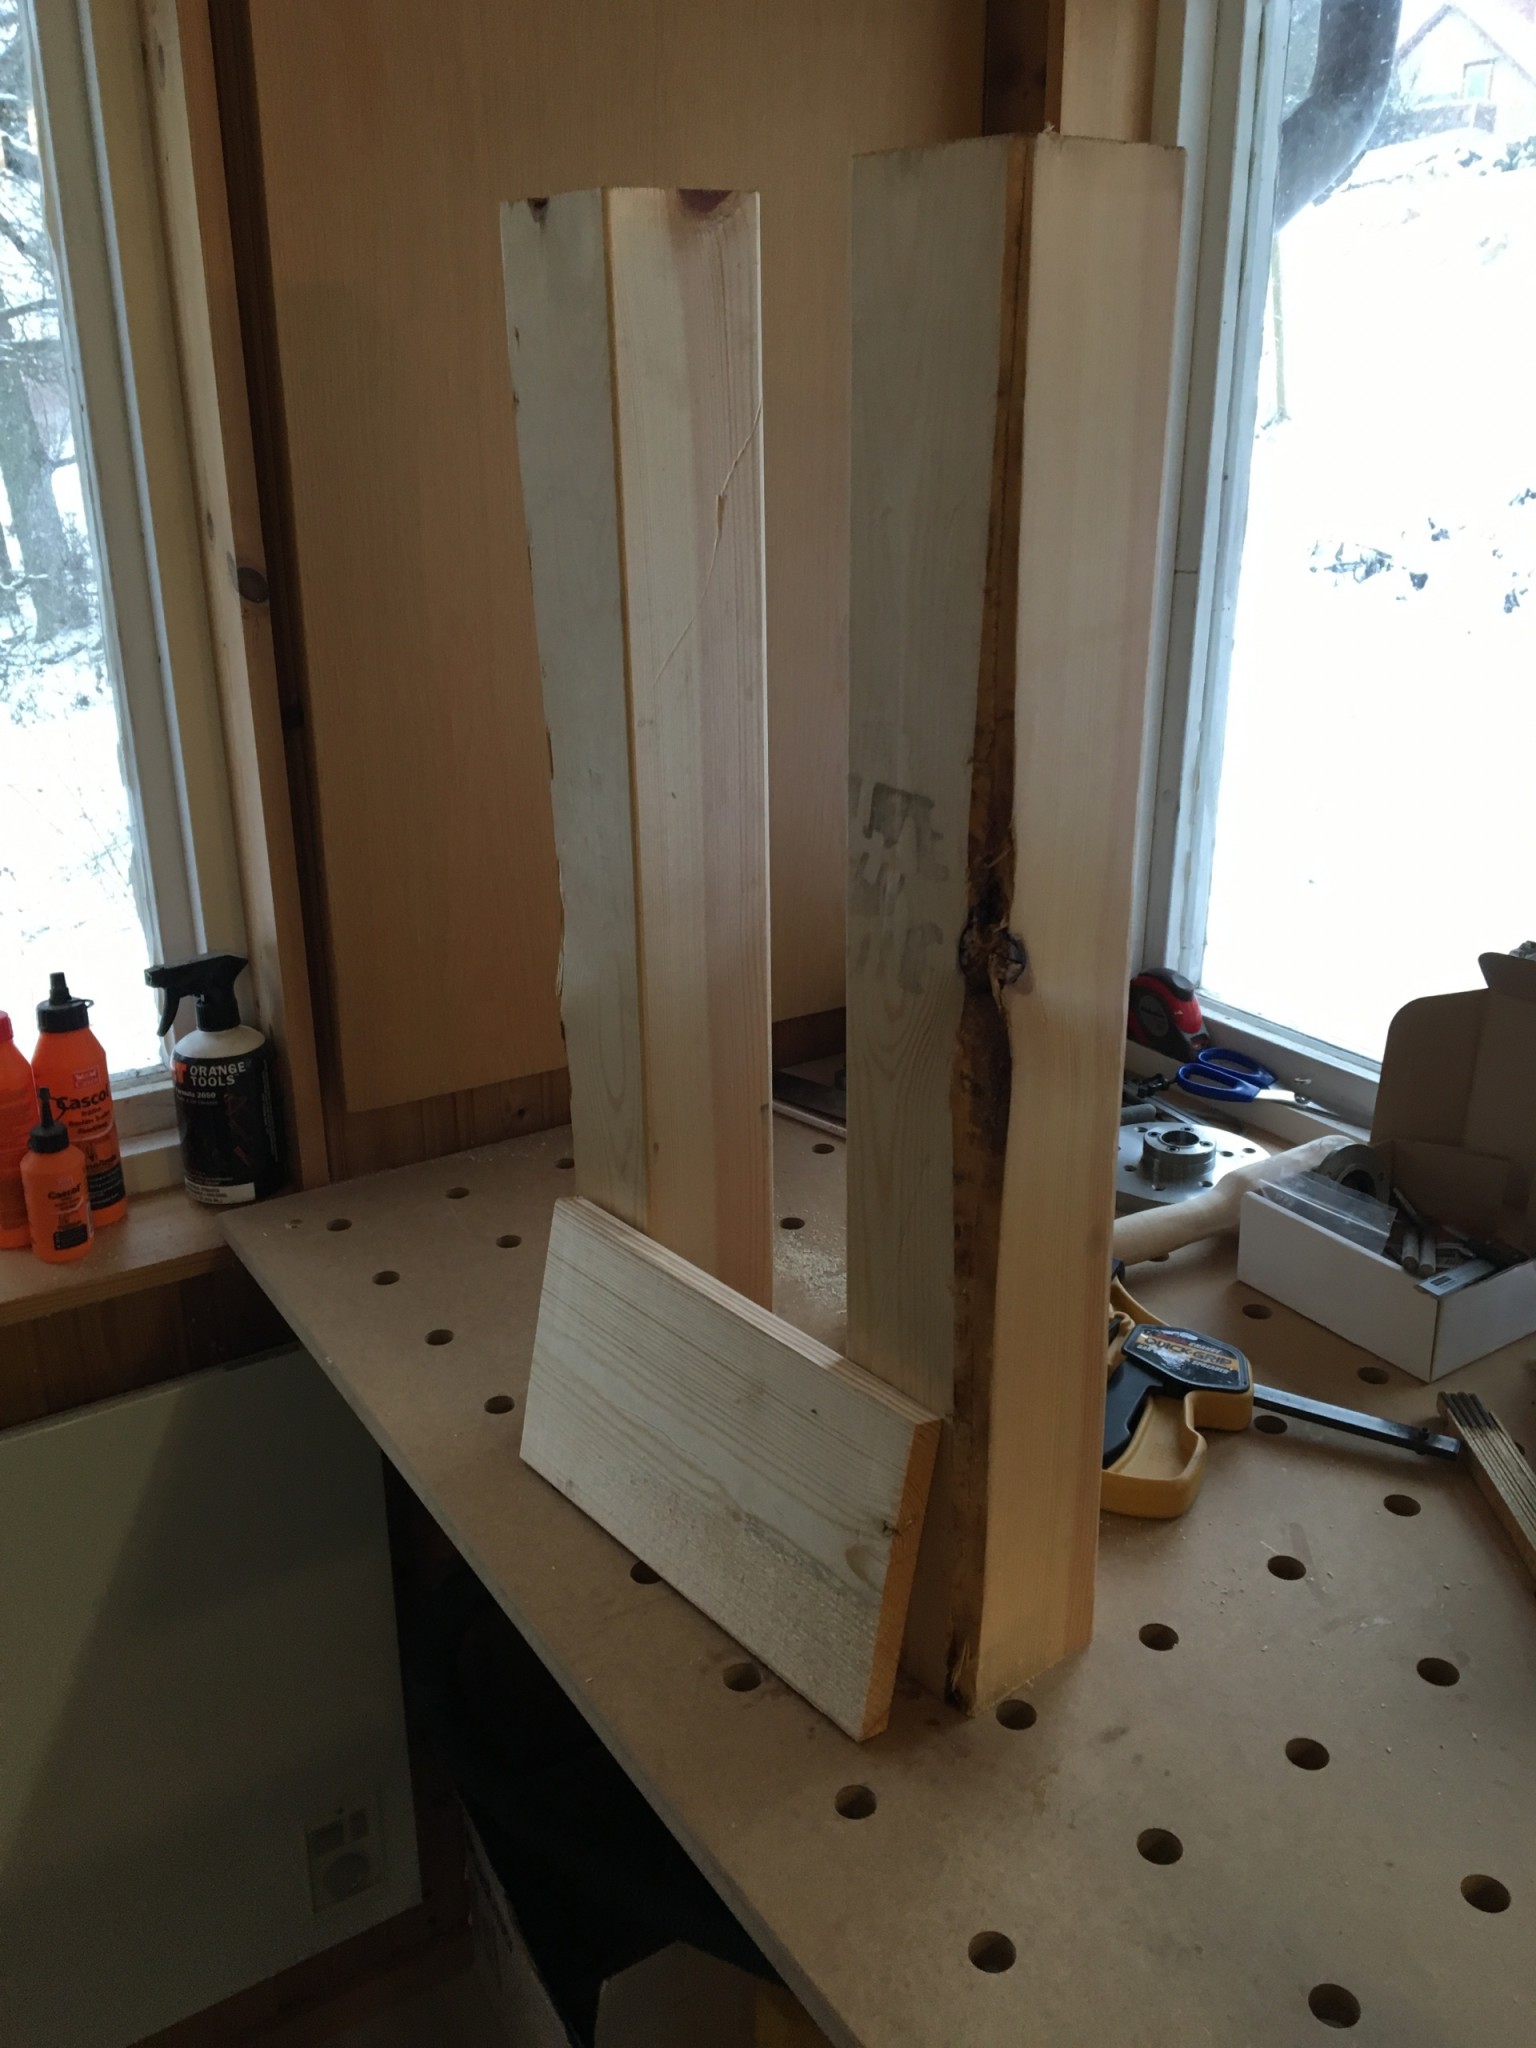
I marked the bed base 260 mm above the floor. That leaves room for things under the bed without making it too high to climb into.
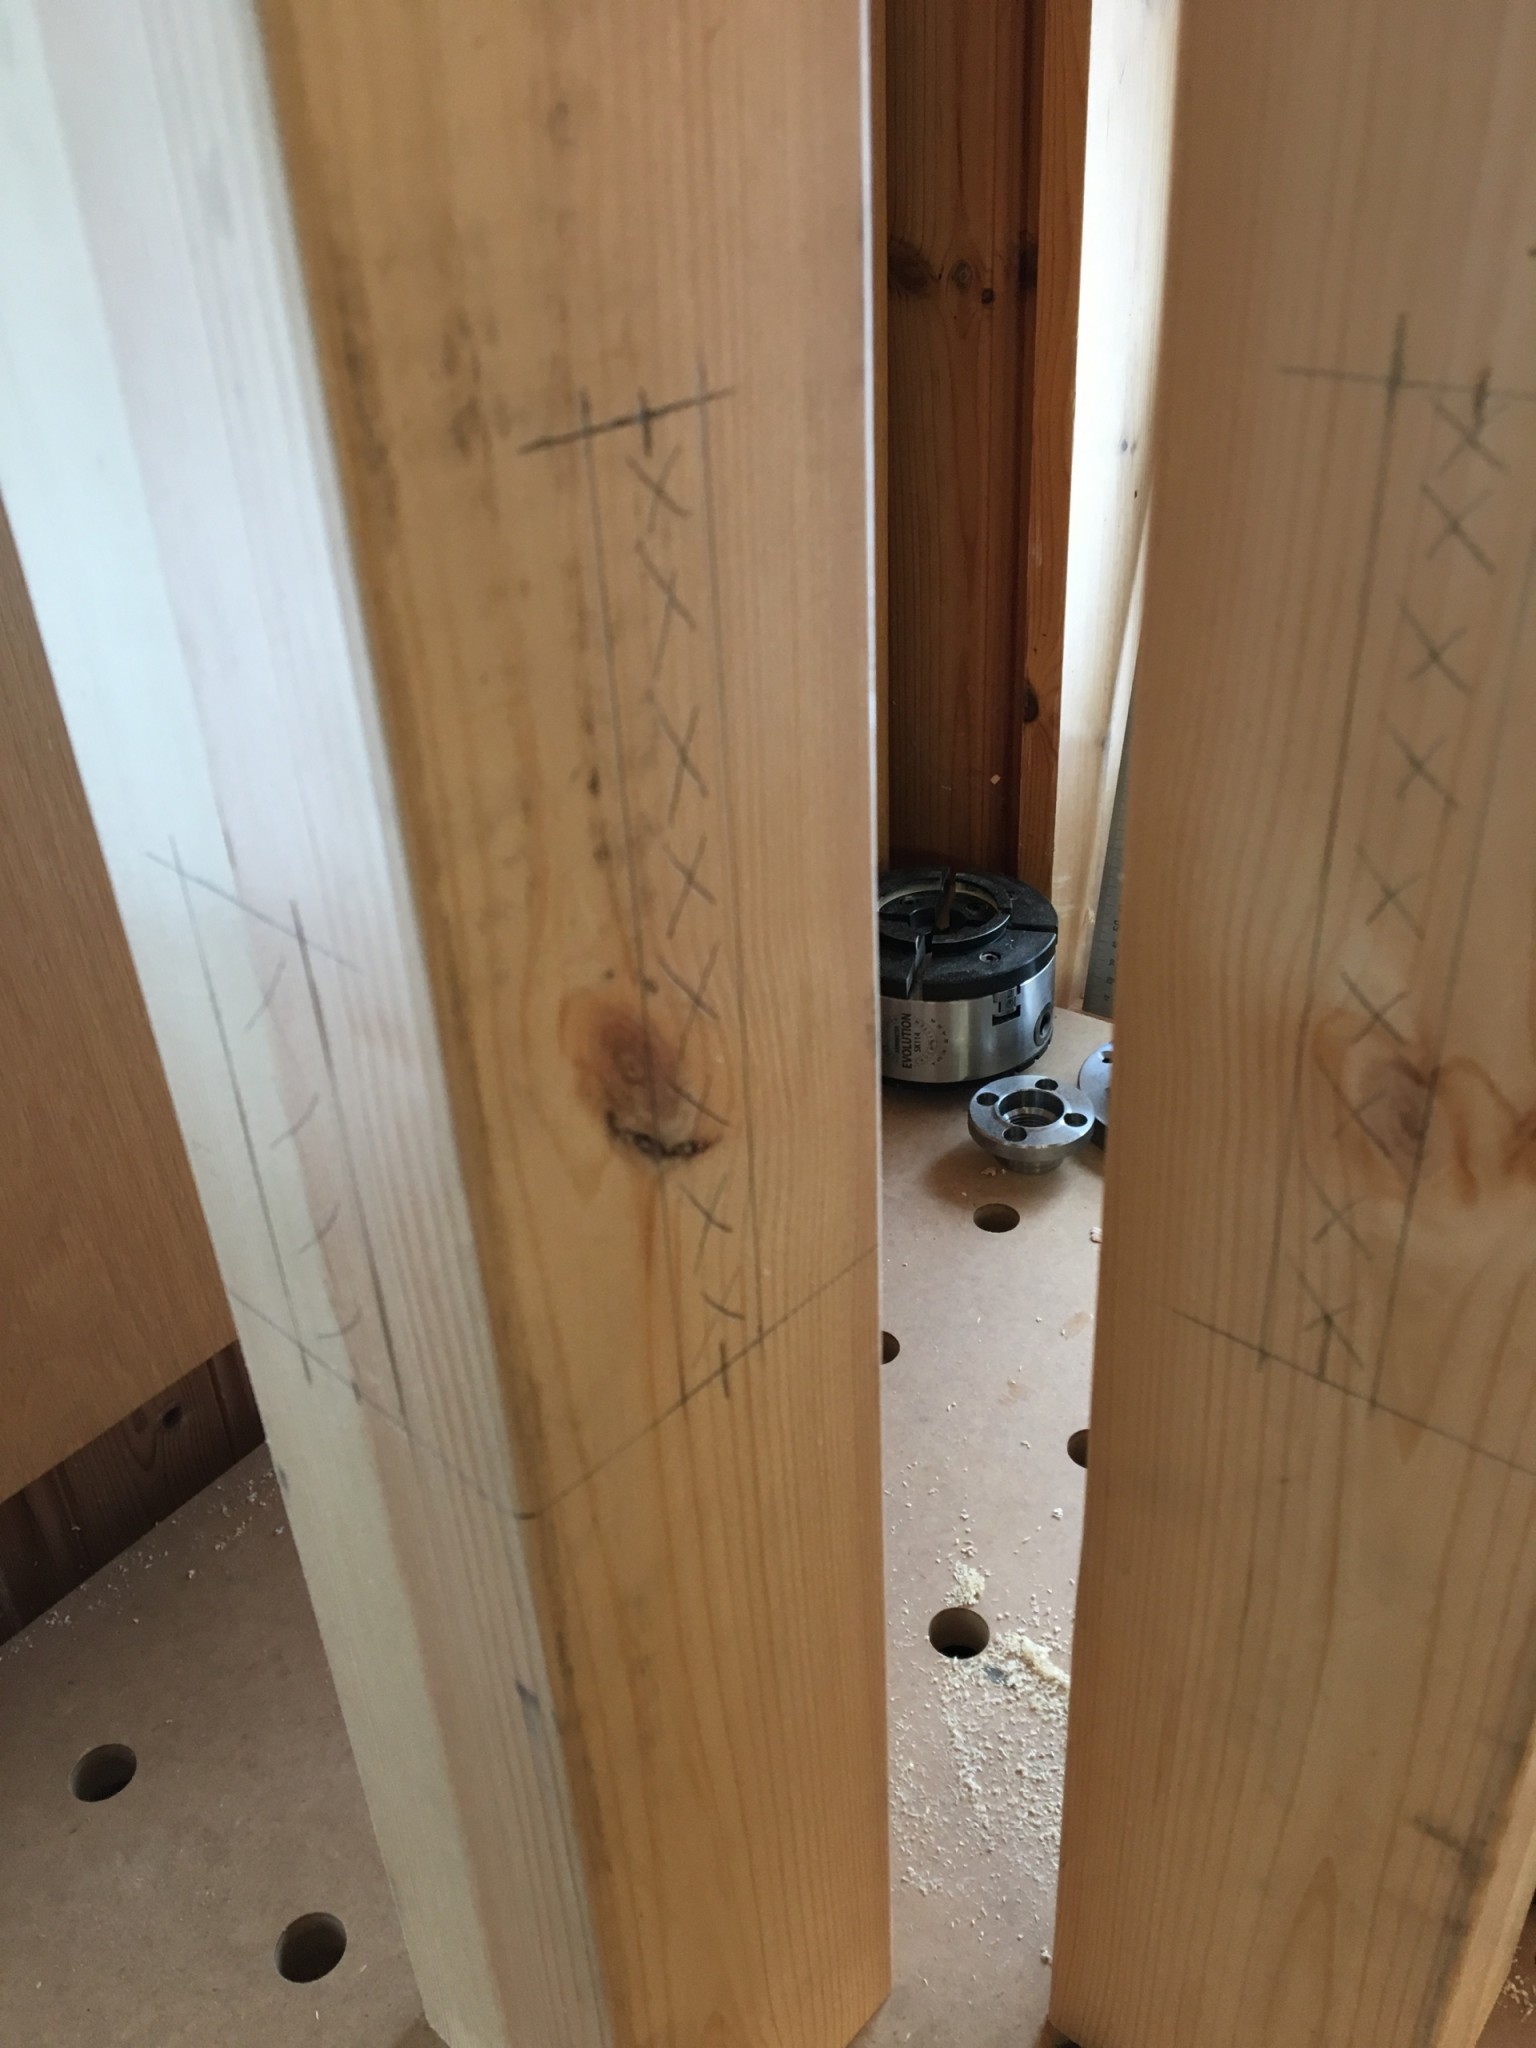
The posts were going to be turned round, so the joints for the rails had to be made while they were still square. I decided to bore out a mortise for the end rail and fit it inside the post.
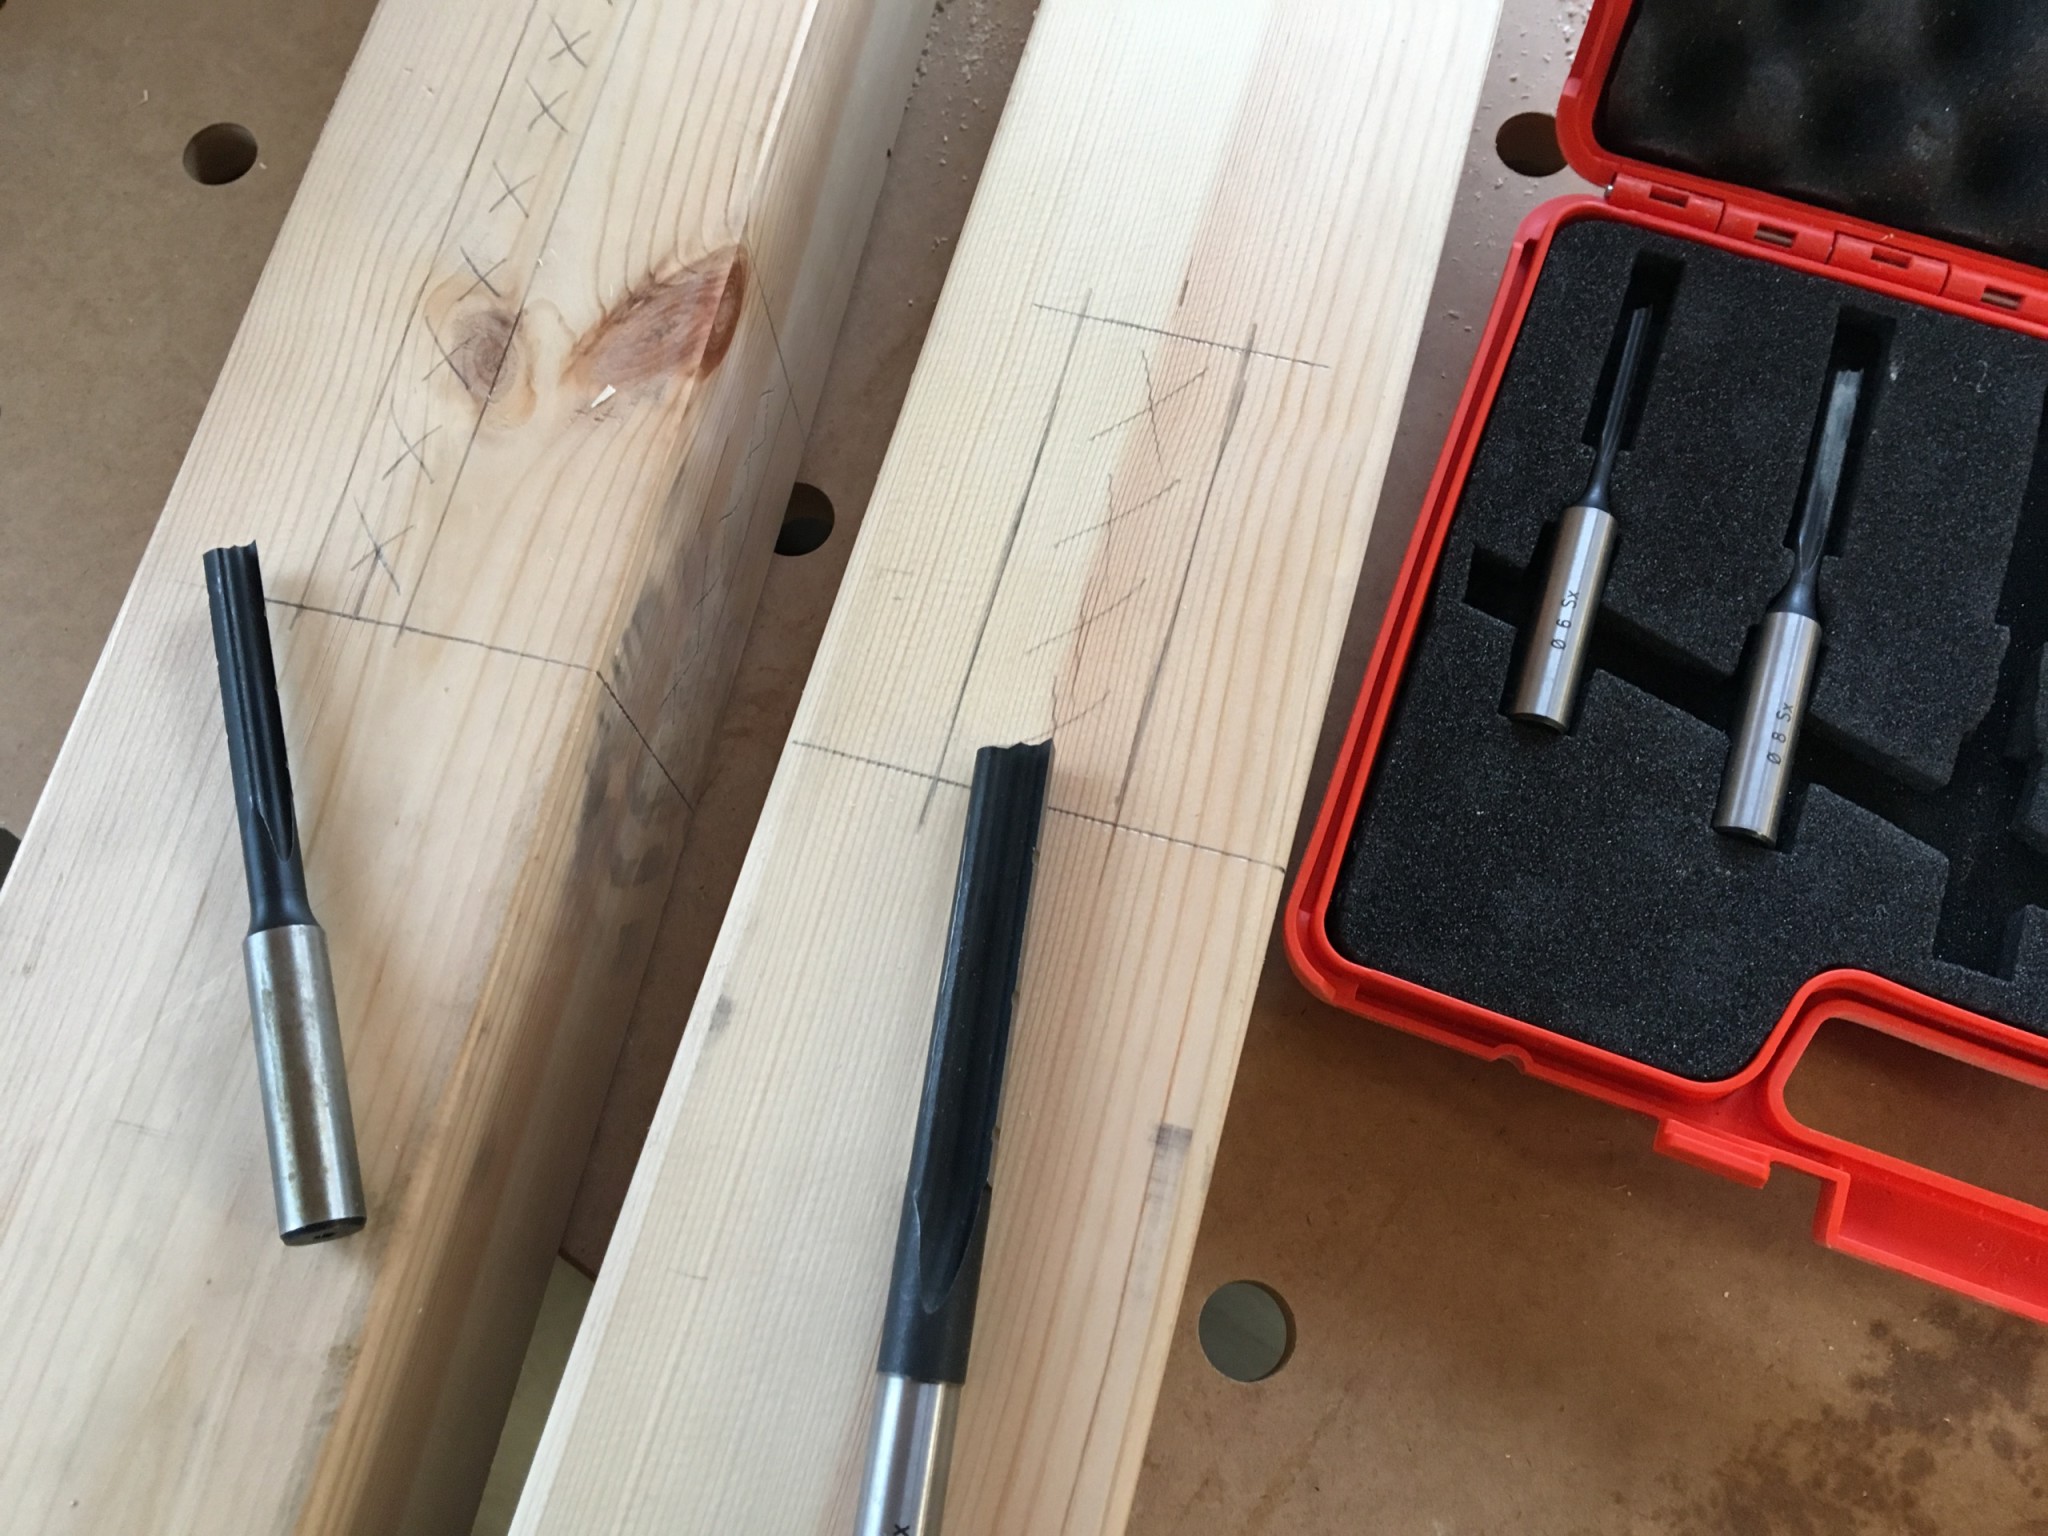
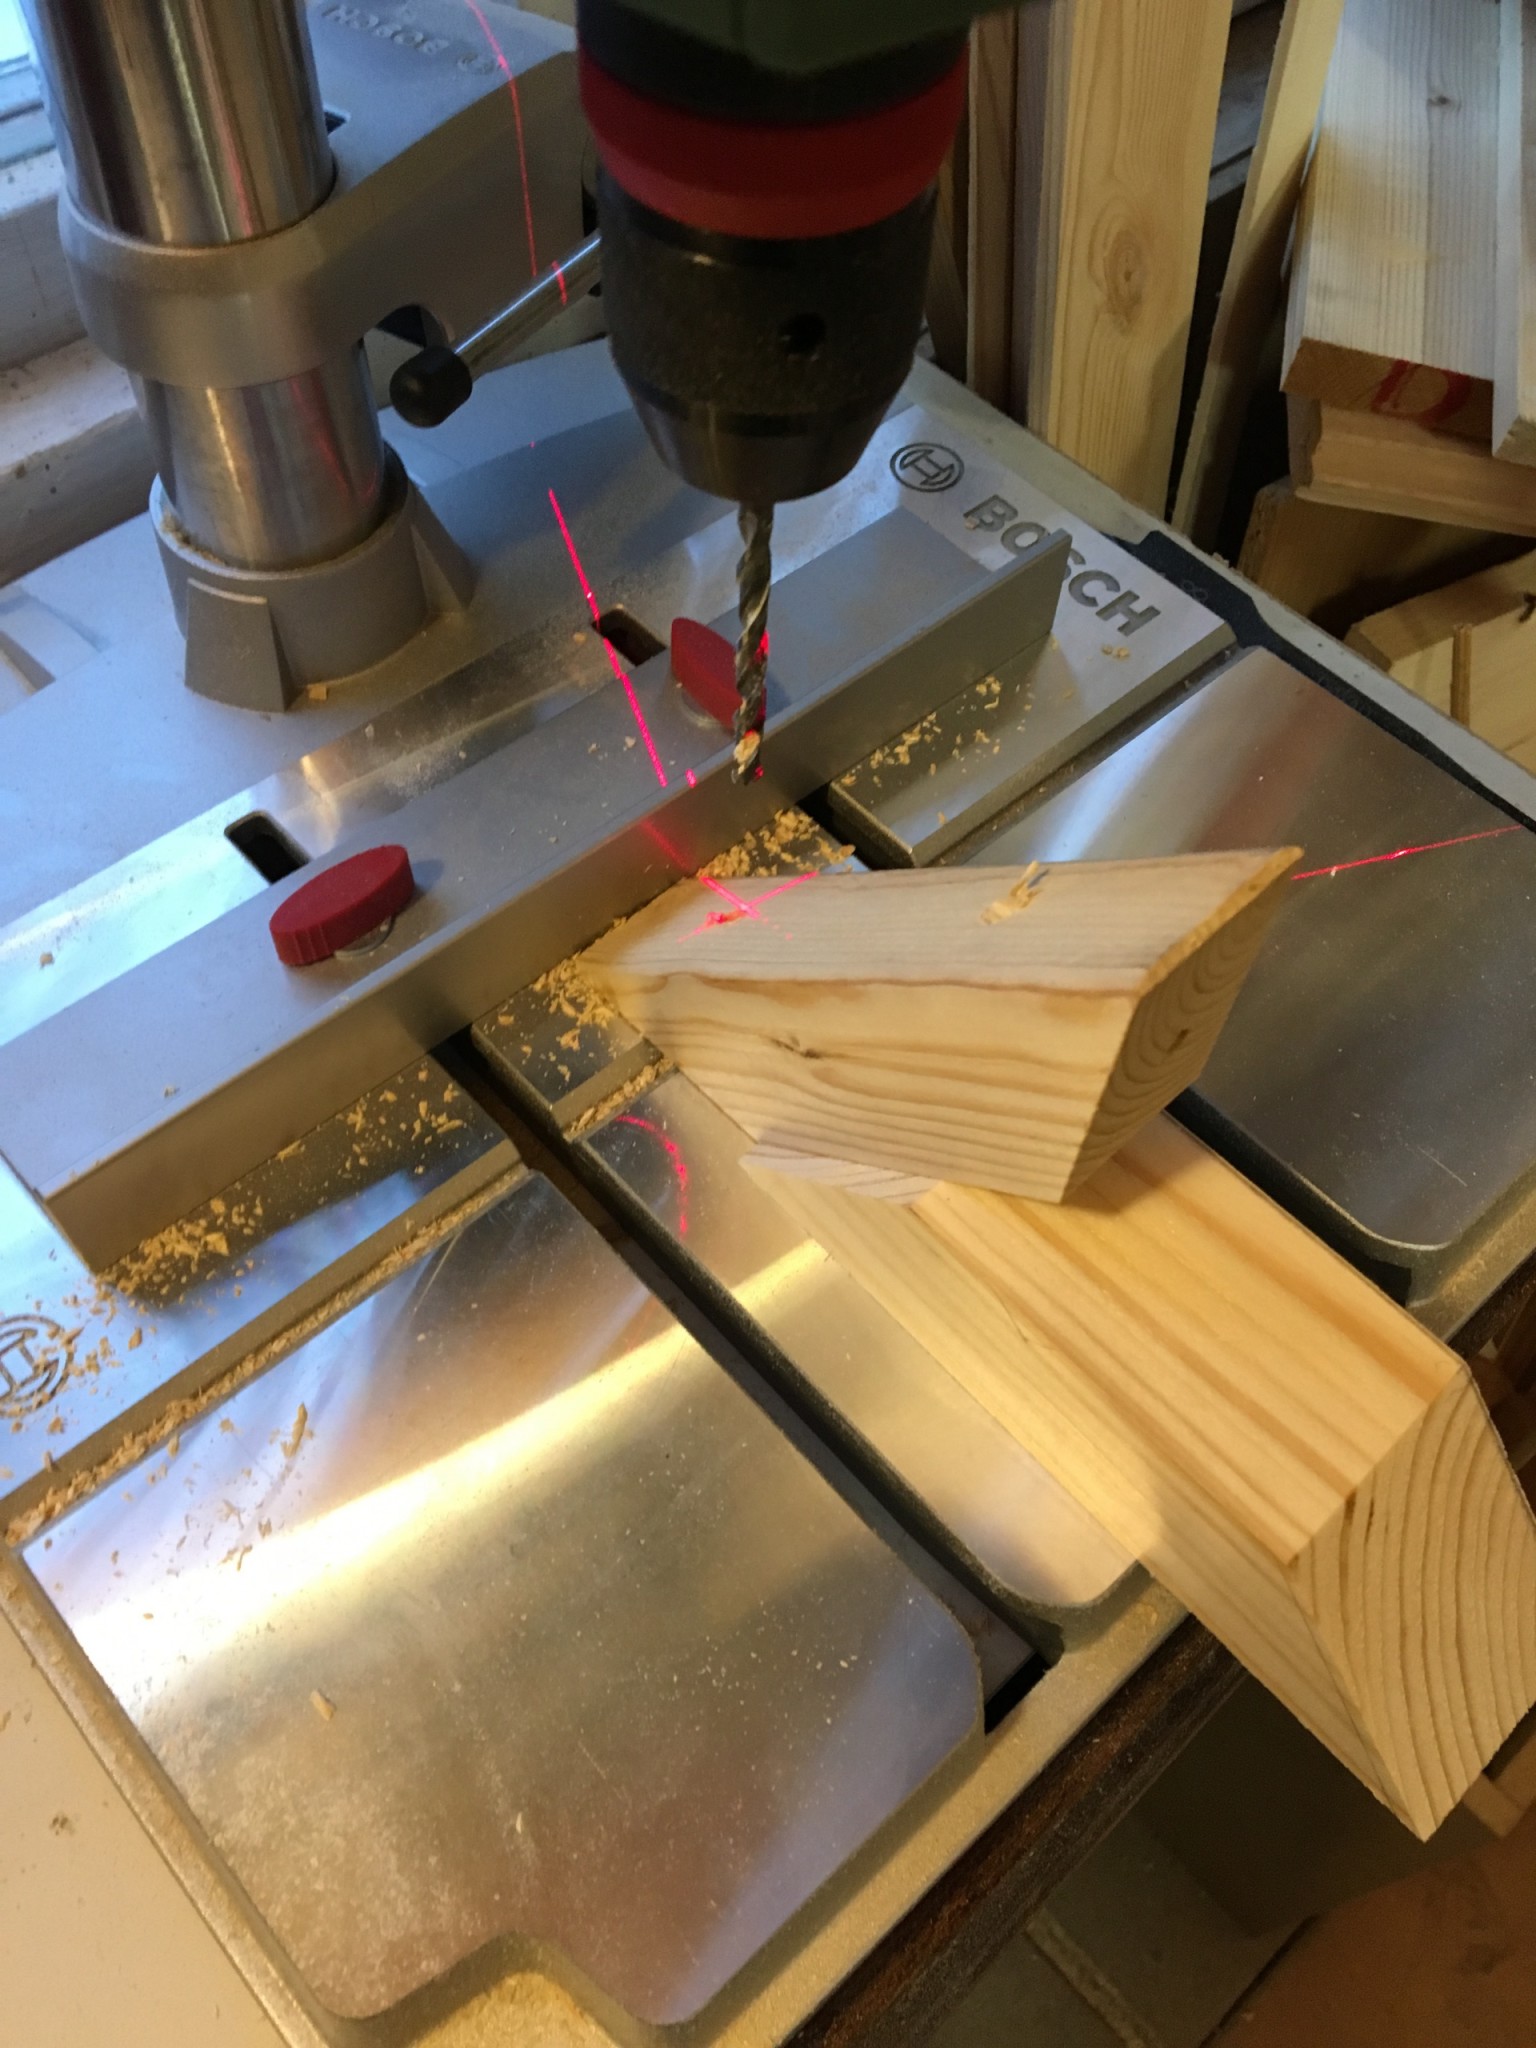
That meant an afternoon with the slot mortiser, actually the first time I had done a proper job with it, and it worked very well.
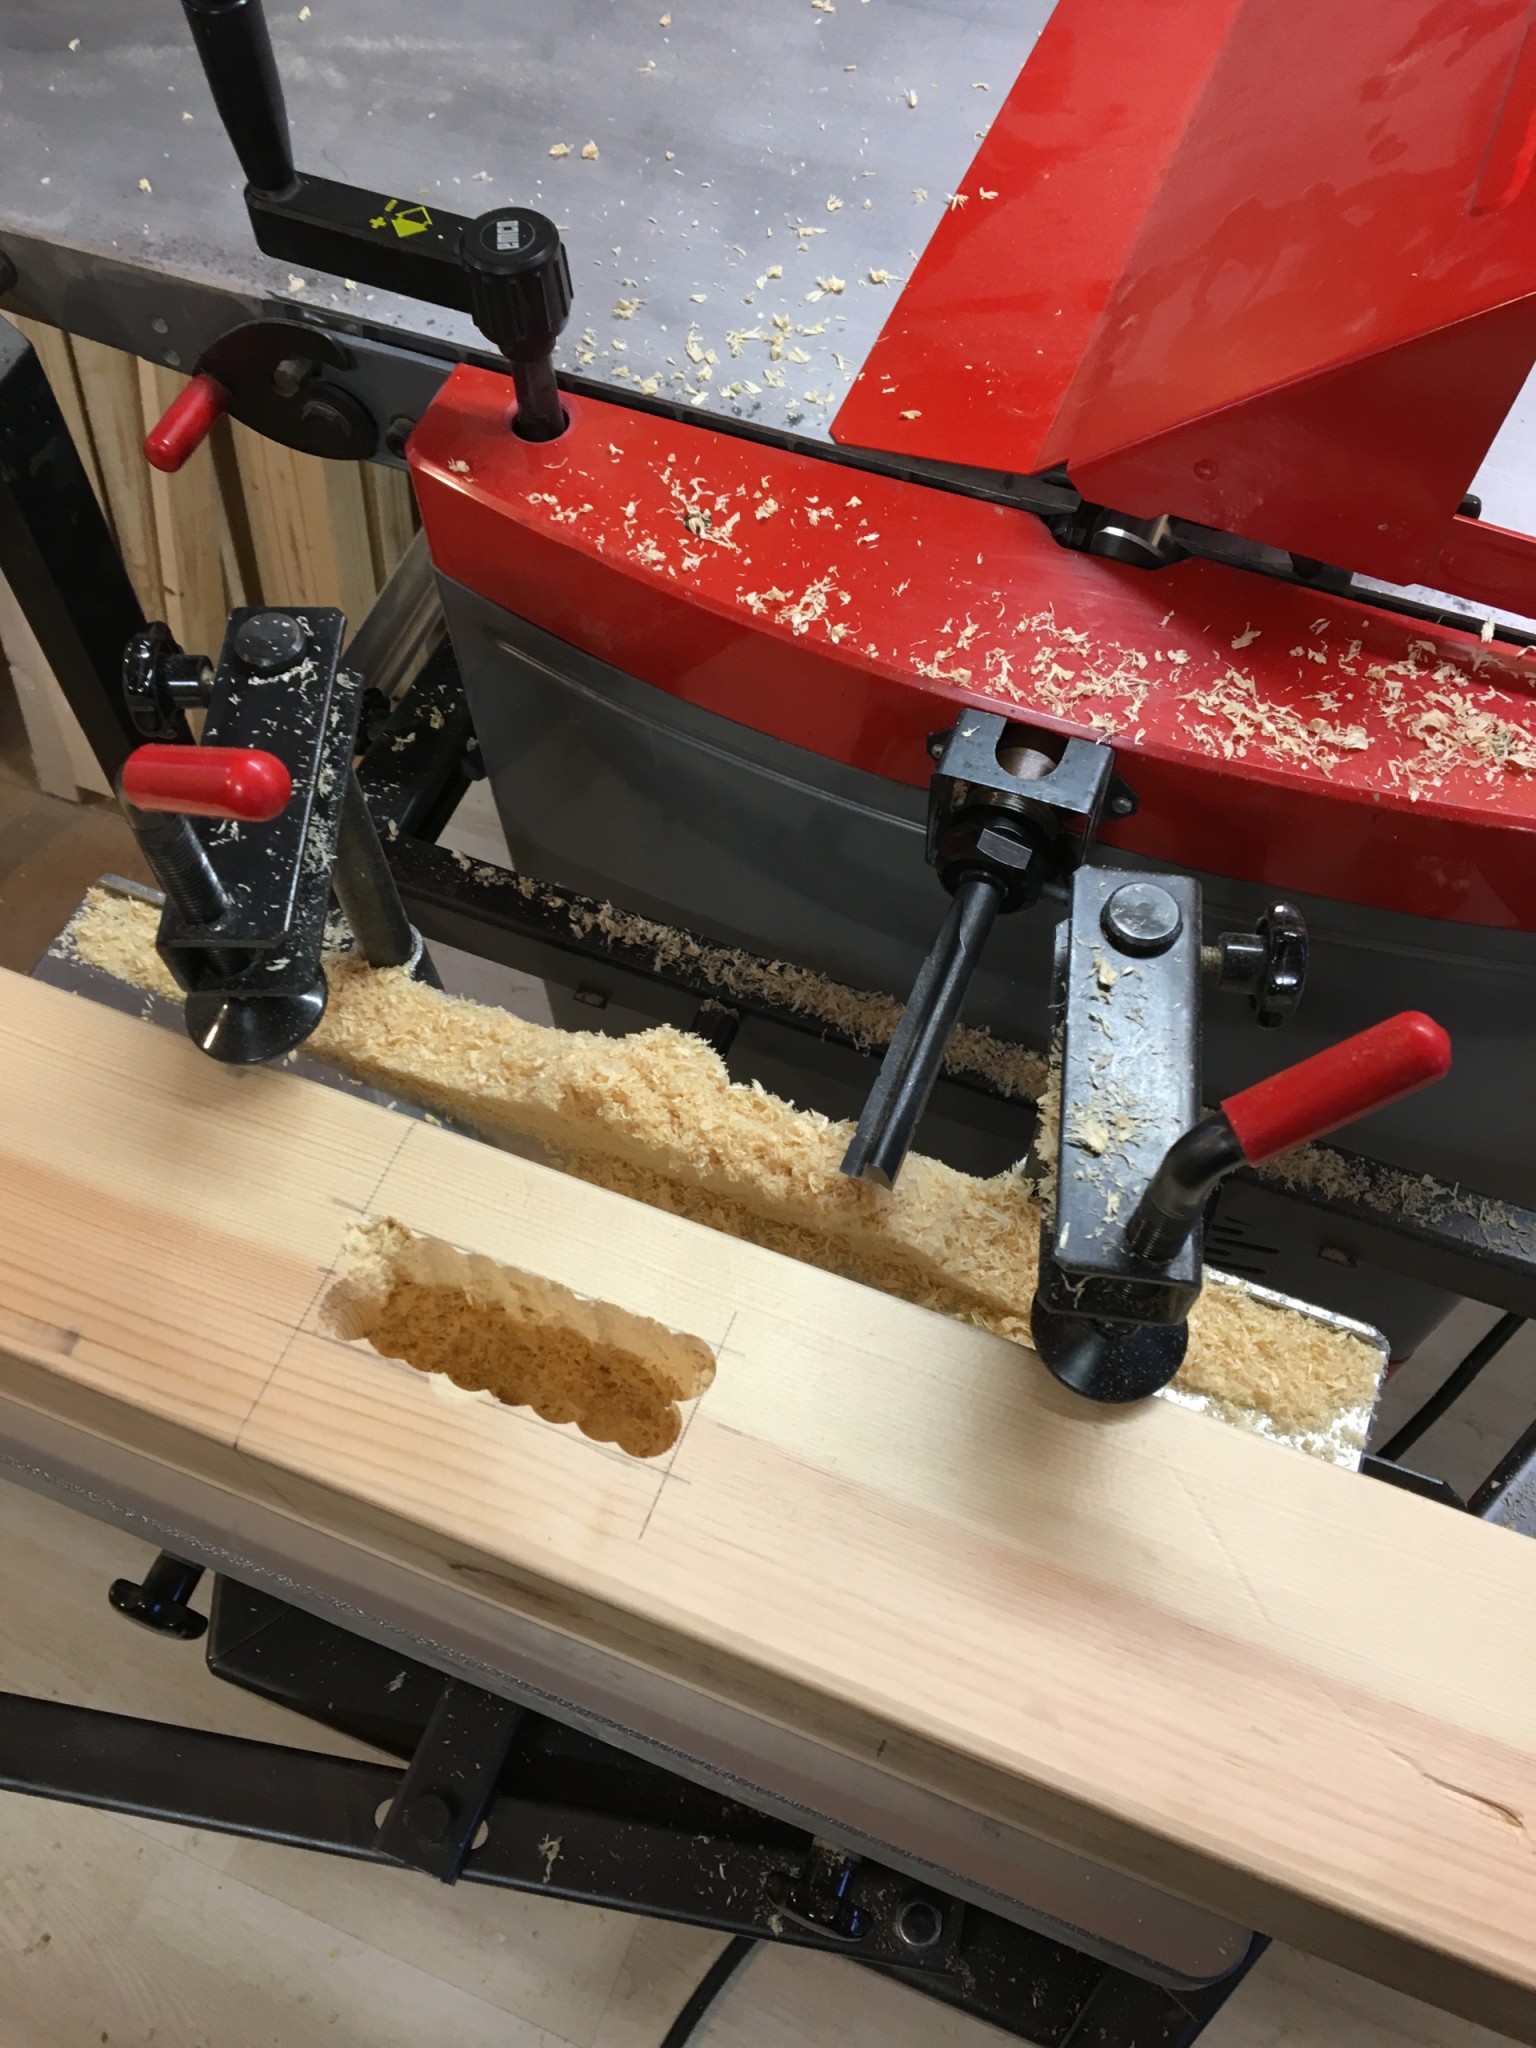
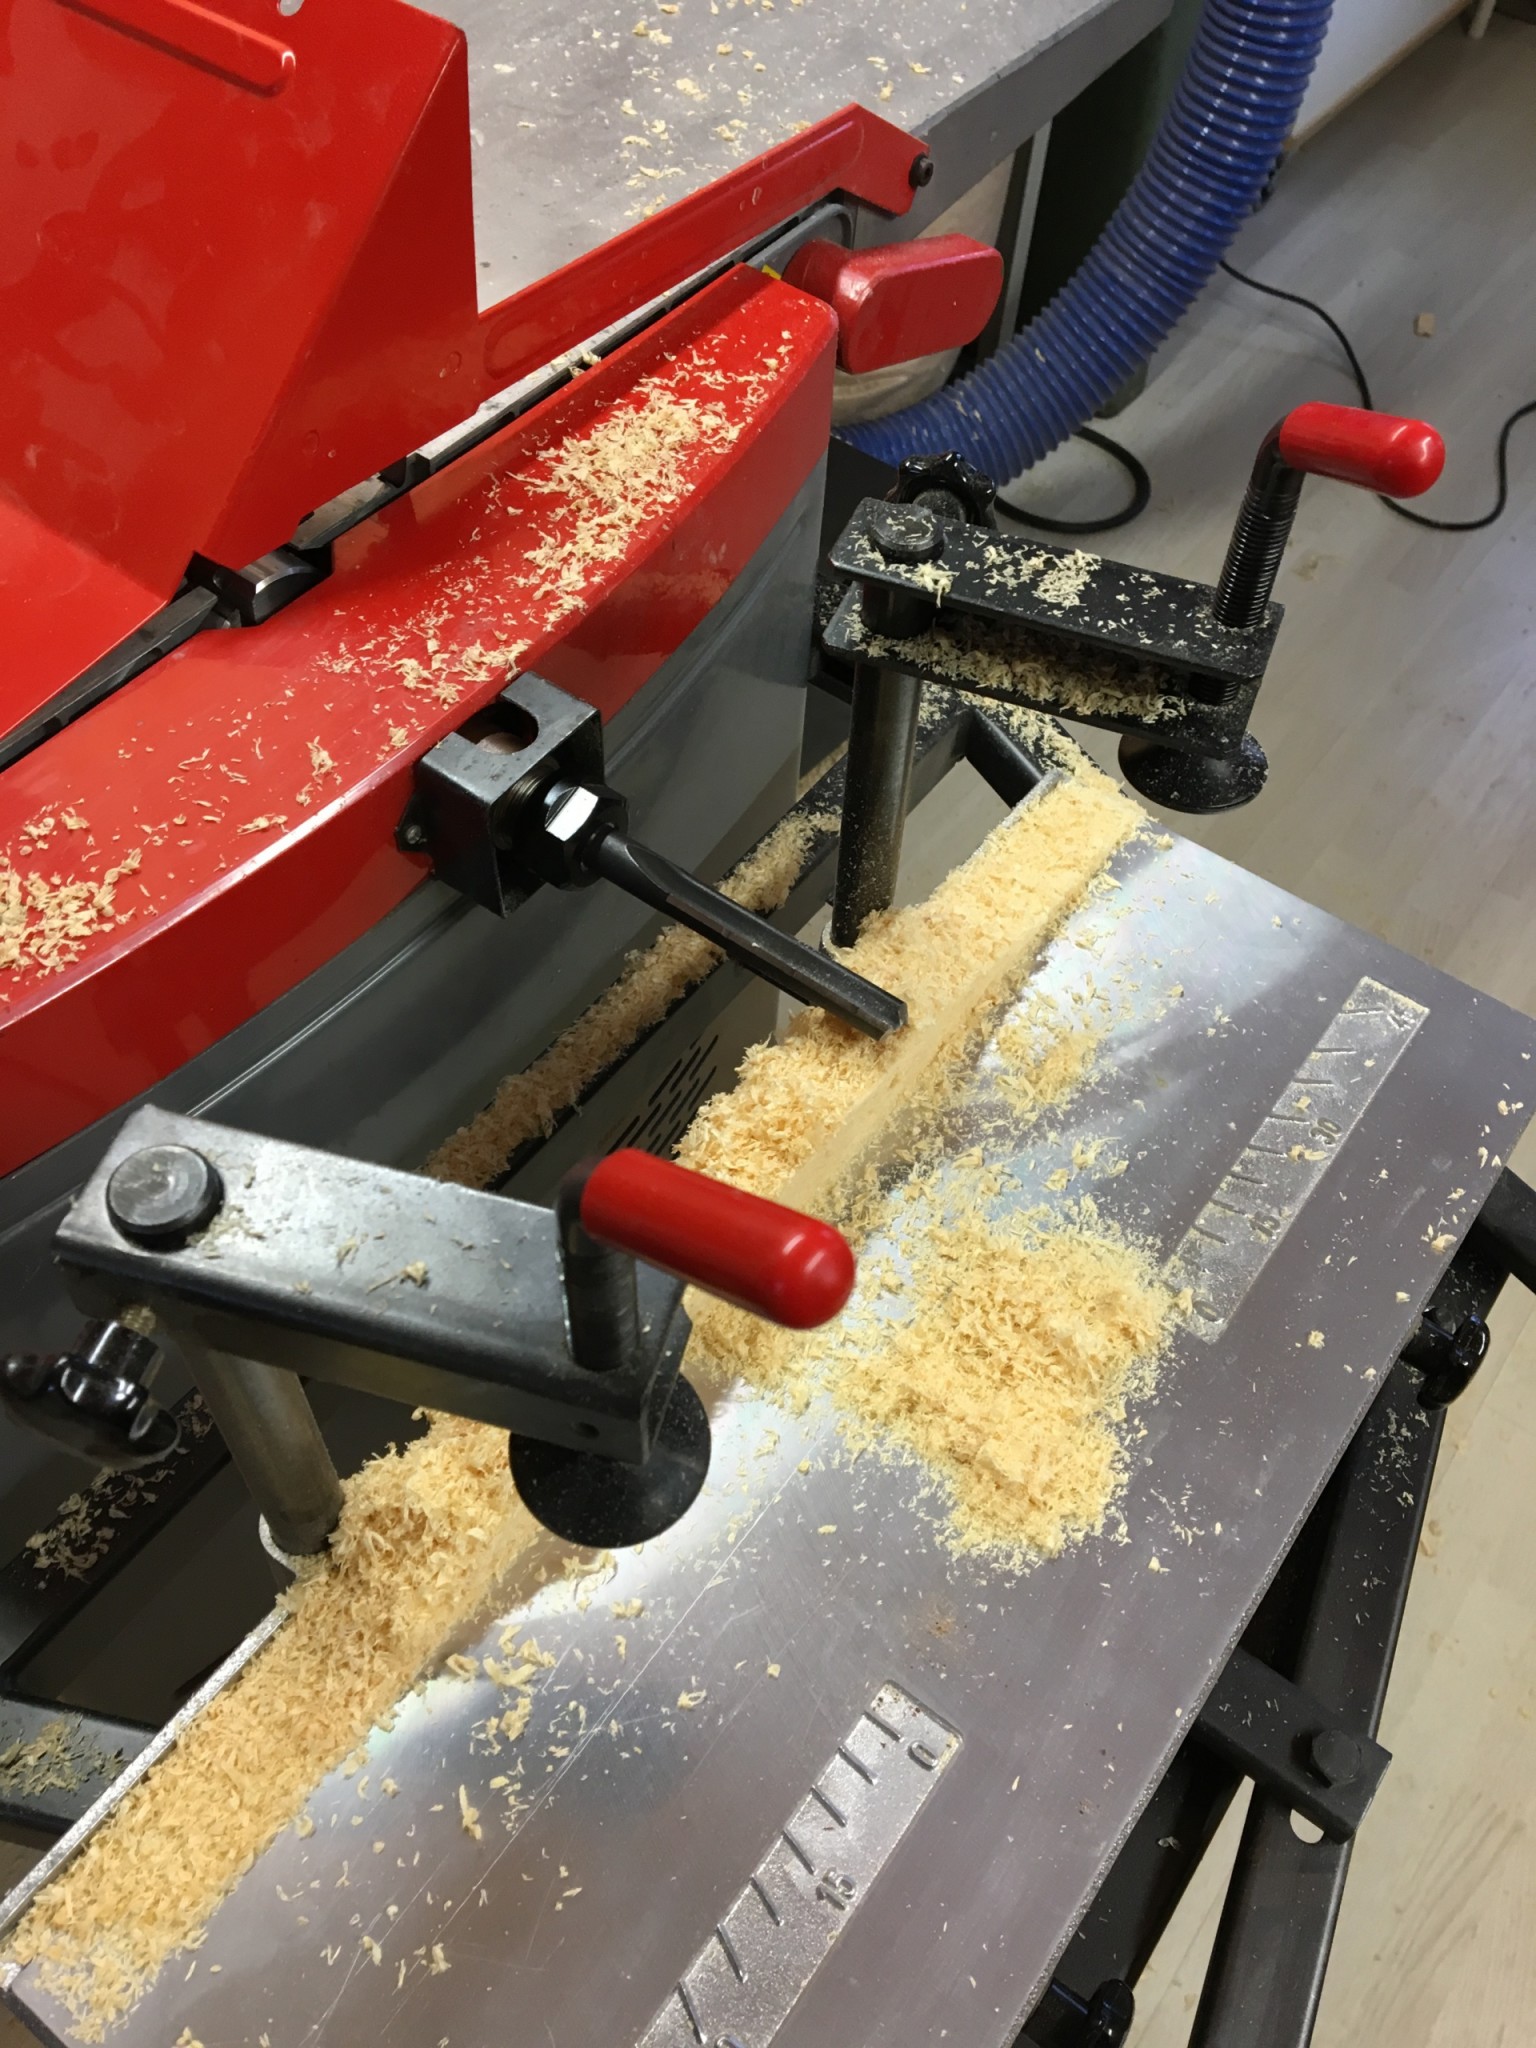
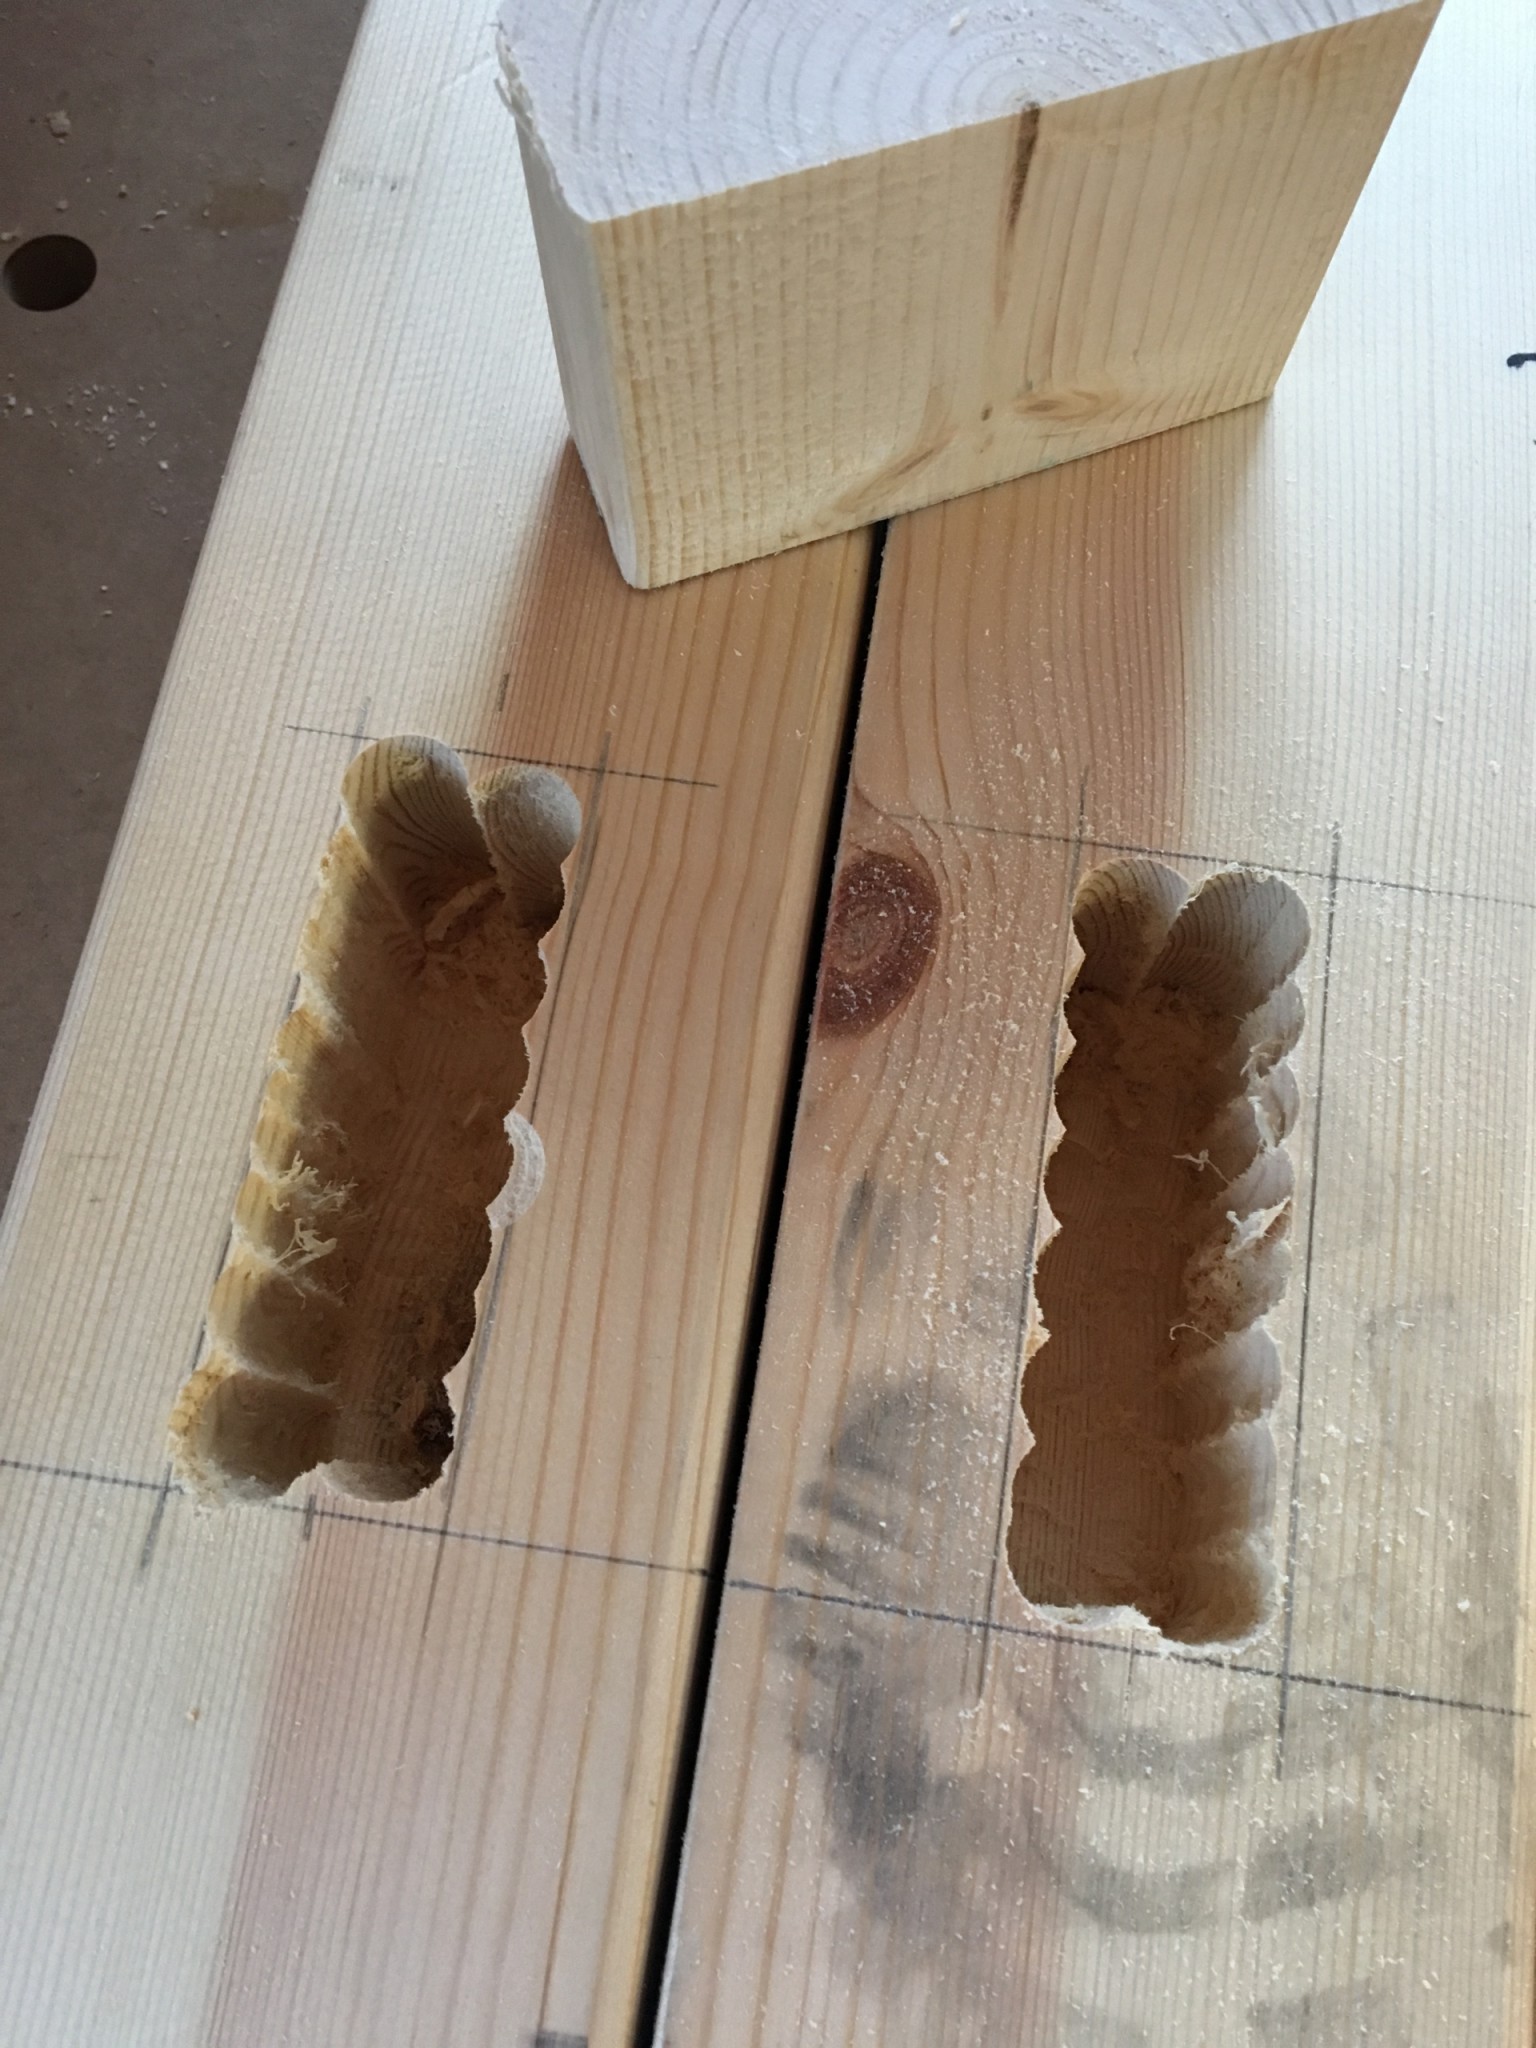
Then it was just a matter of chiselling out the mortise until the end rail fitted.
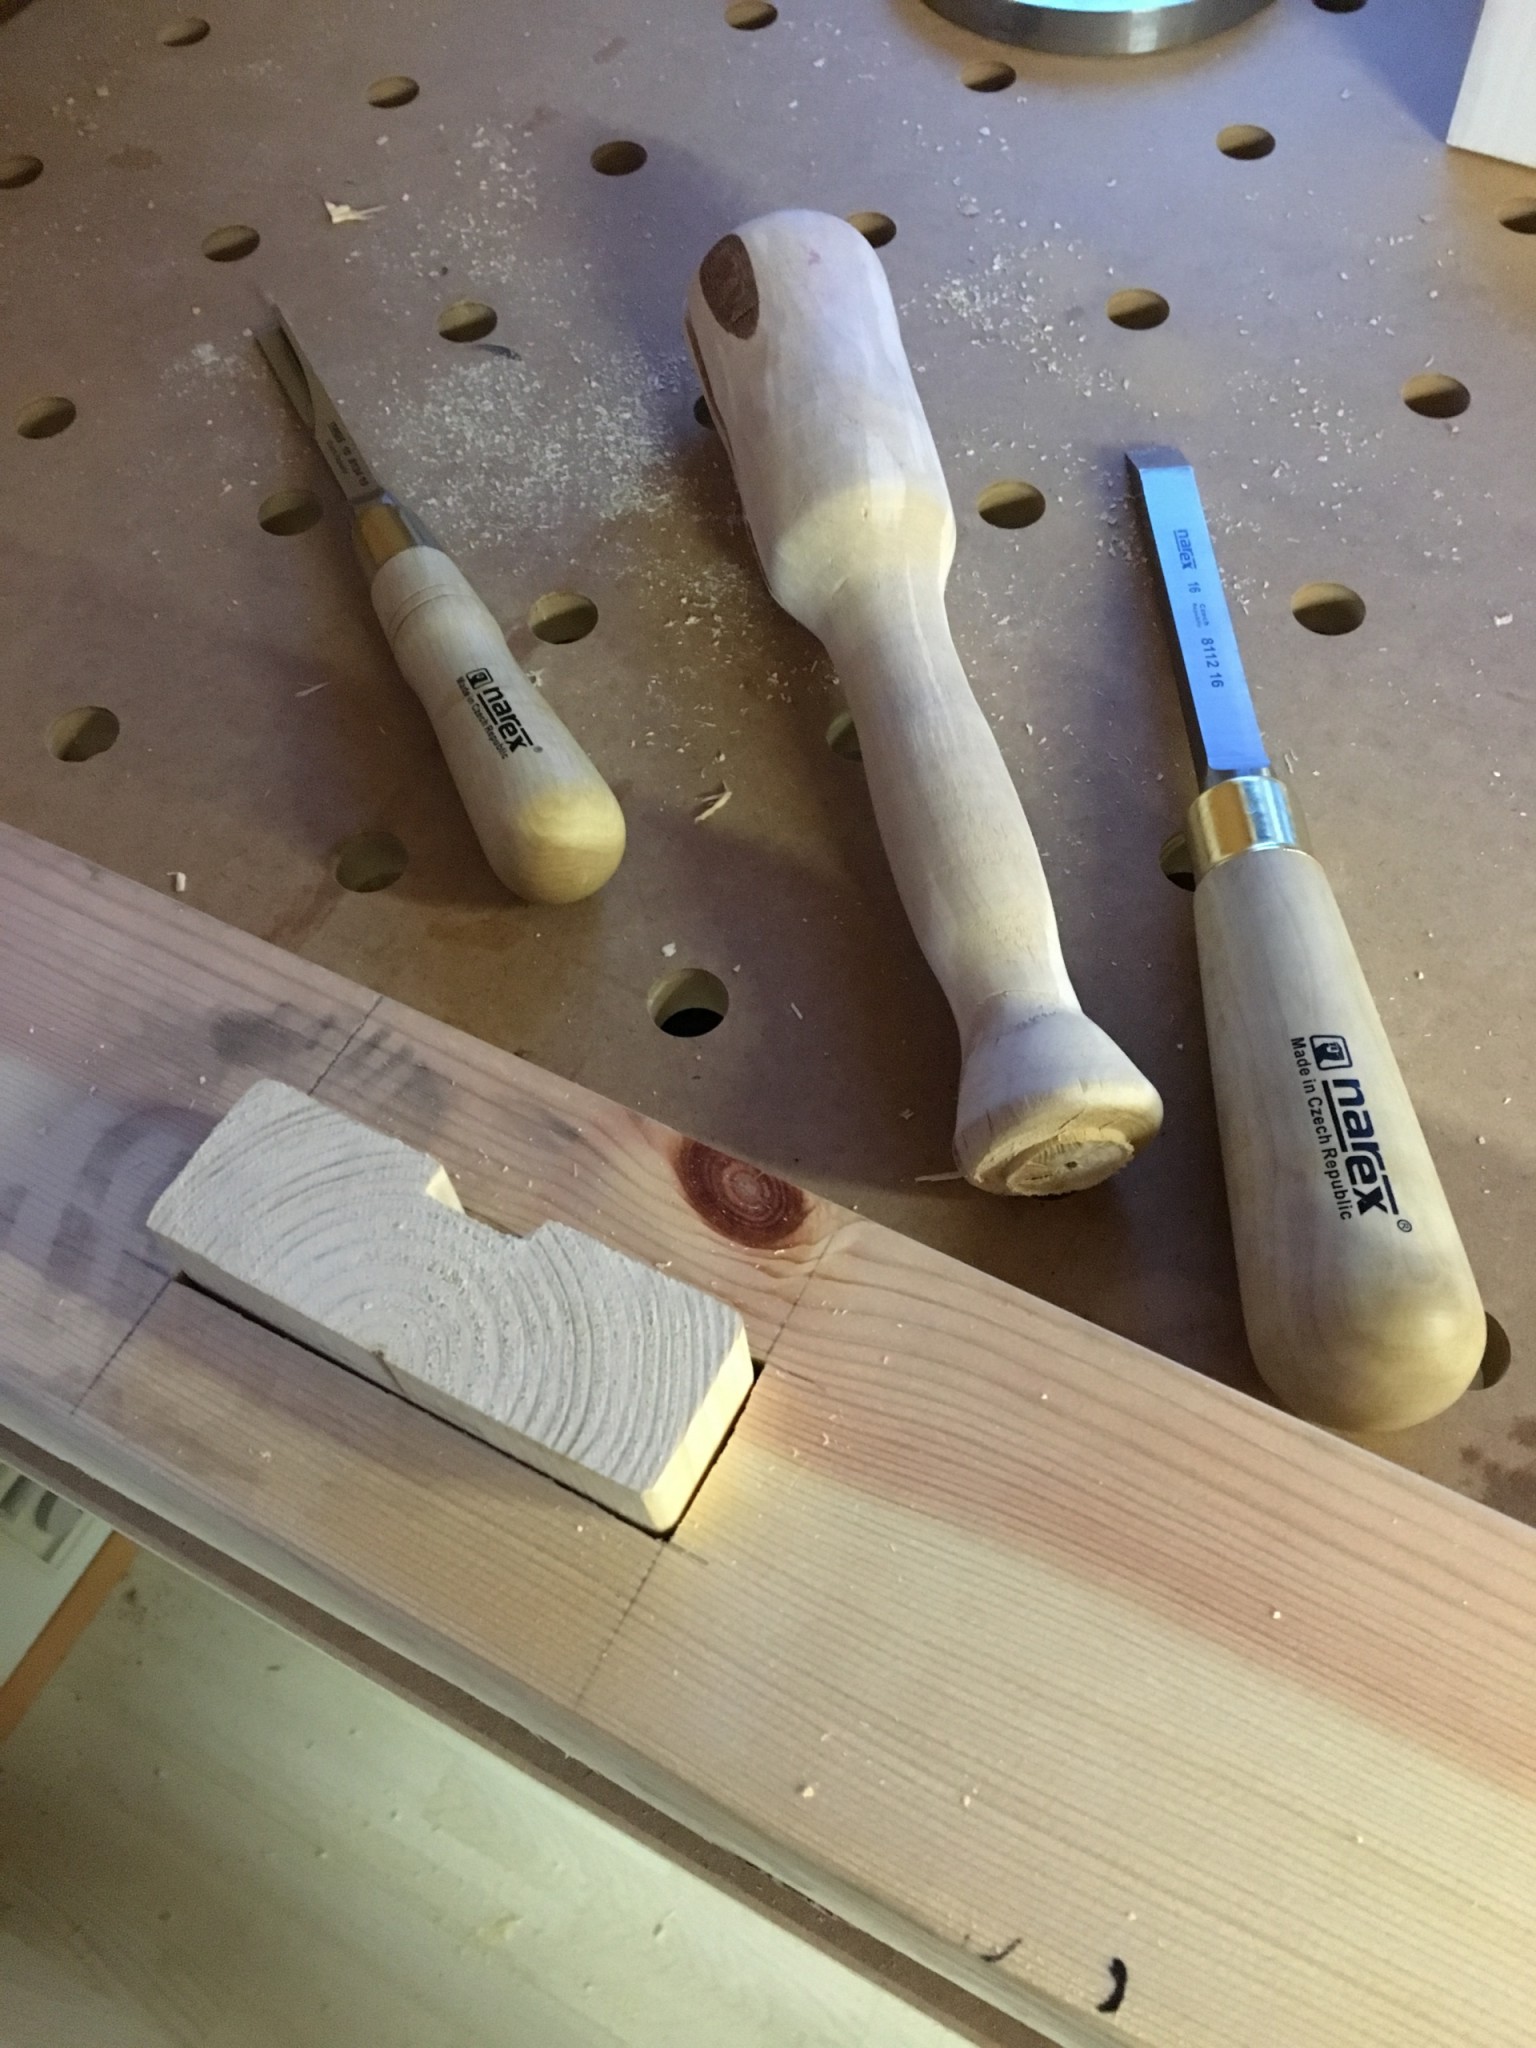
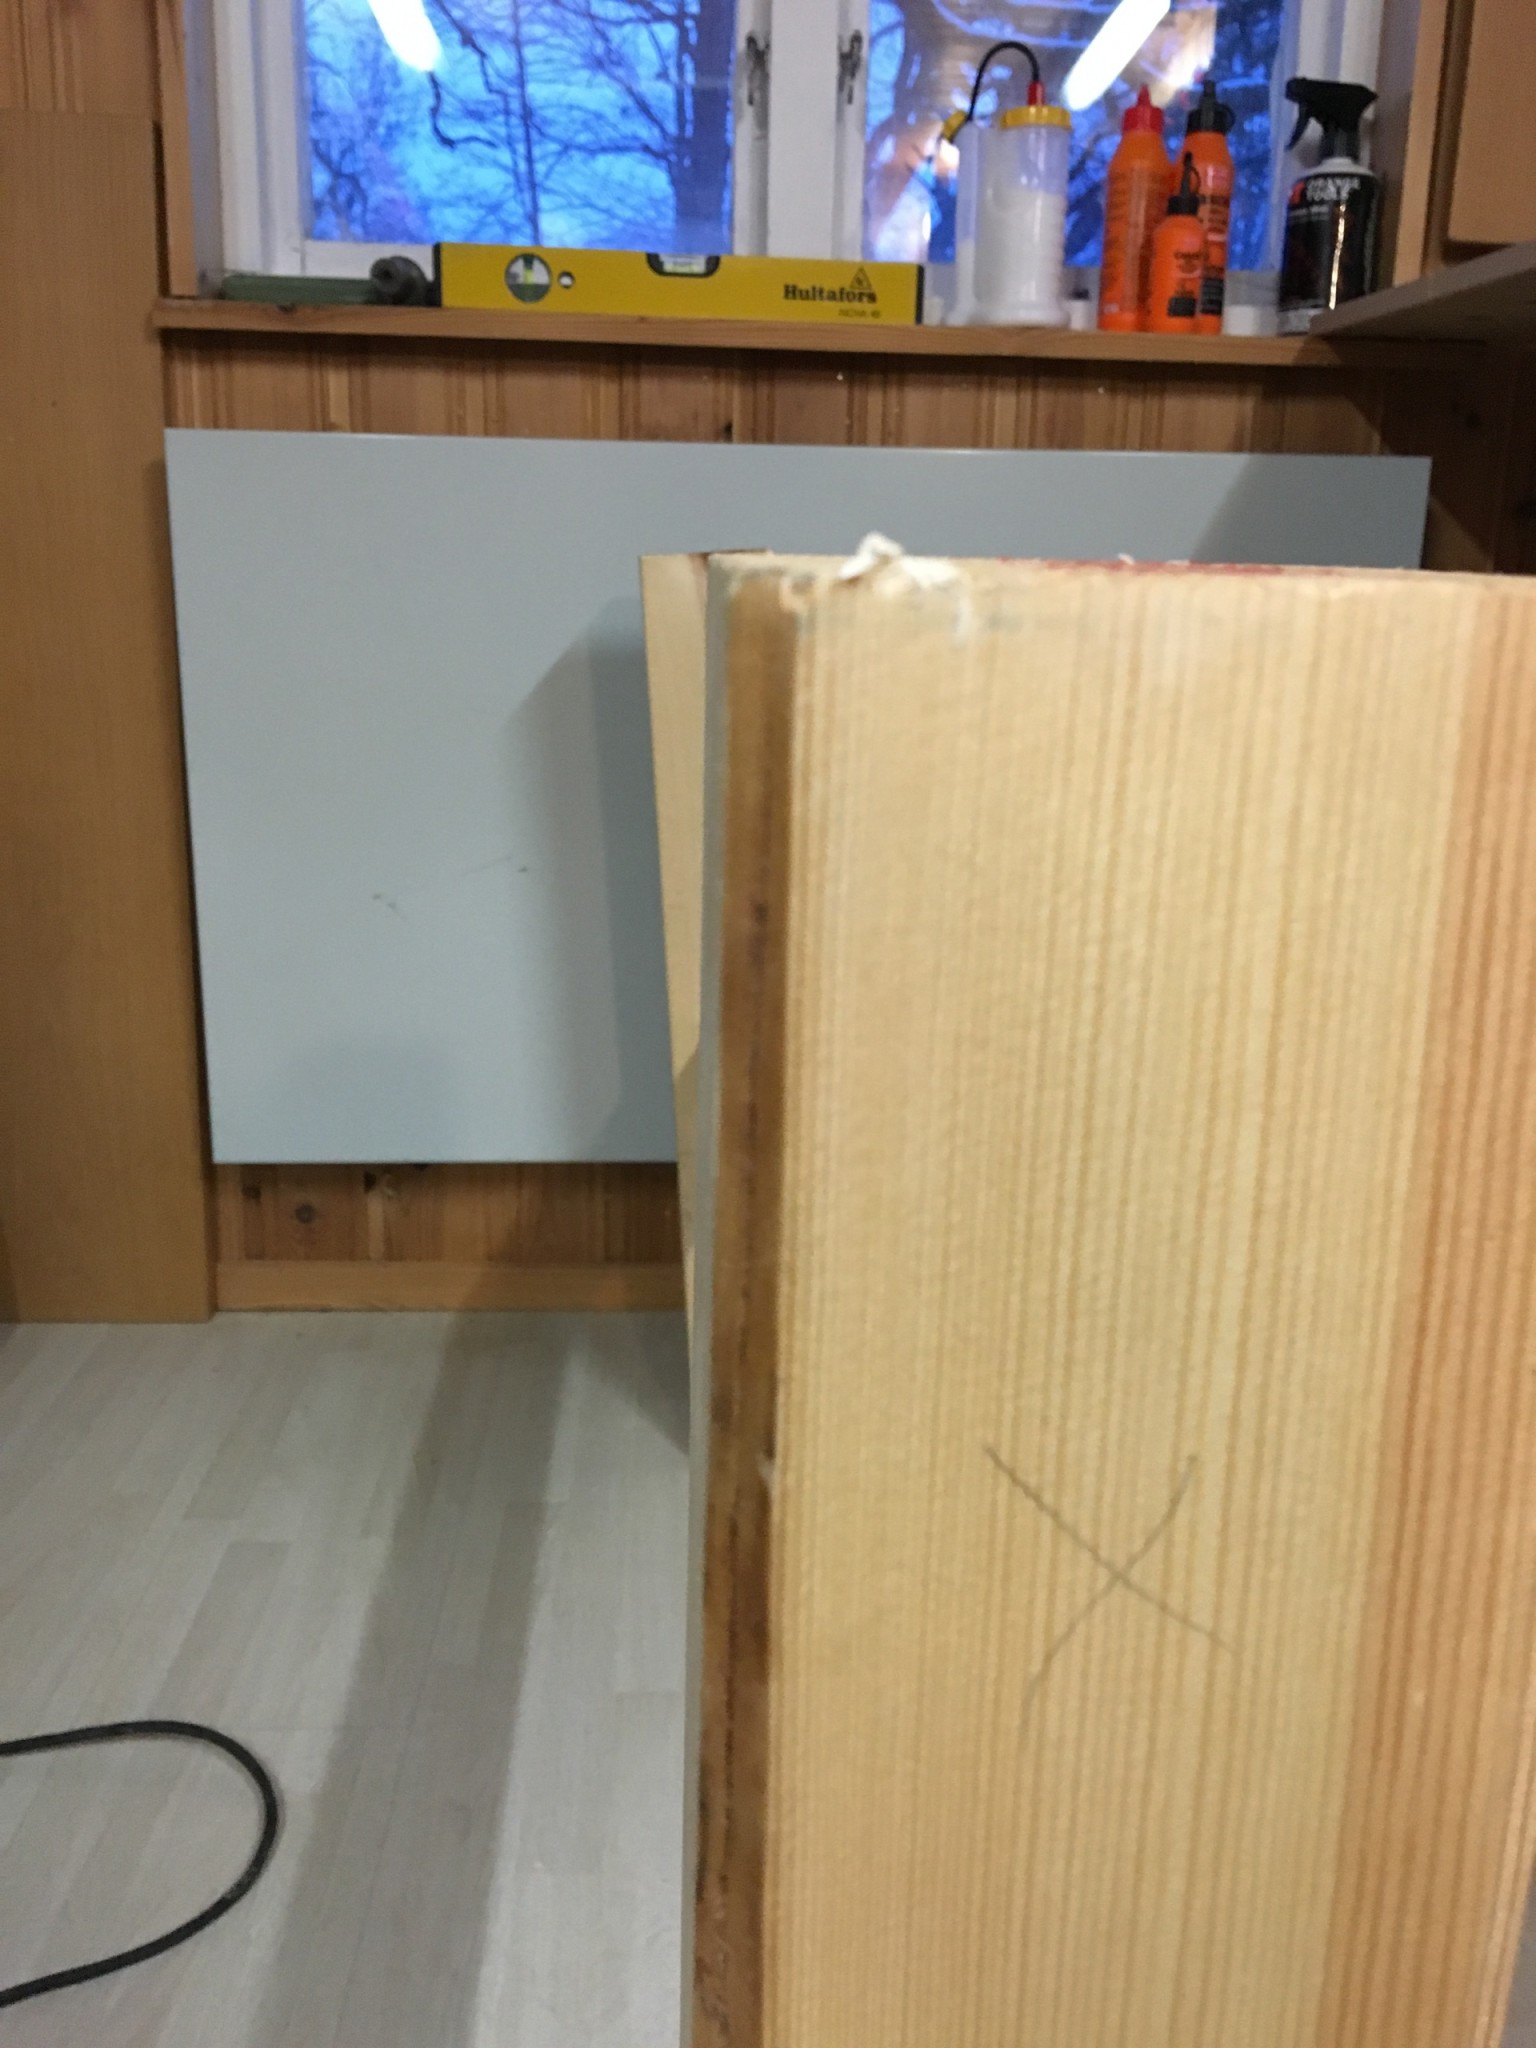
All was well until I test-fitted the piece and saw that it had warped. Back to the timber yard for a new board.
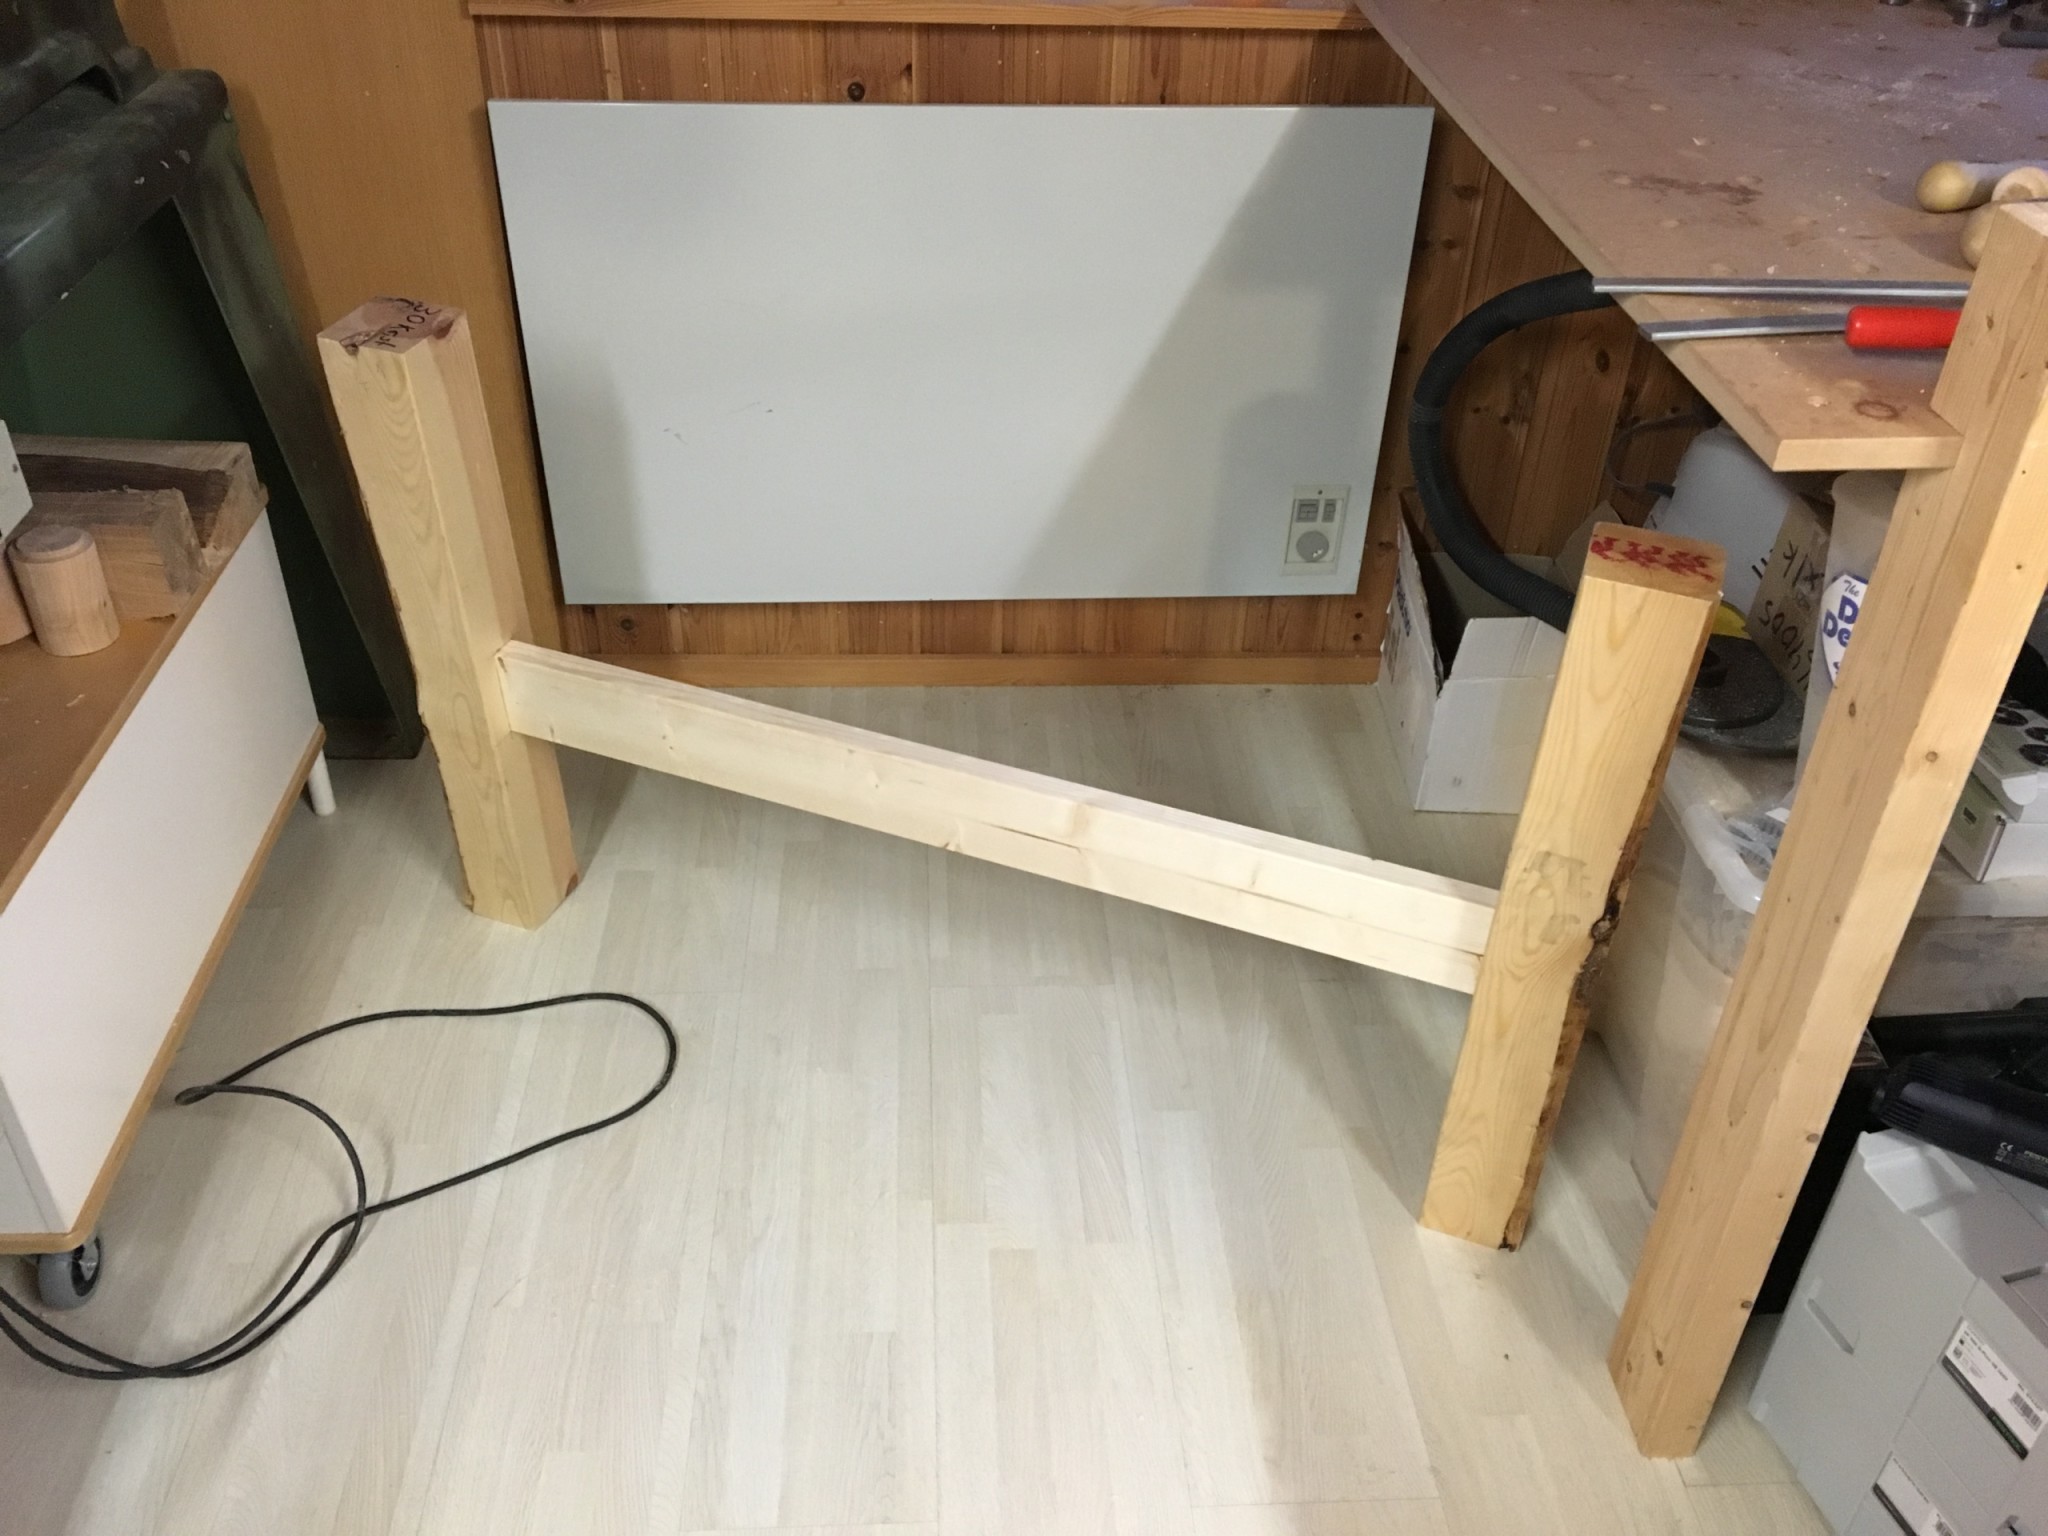
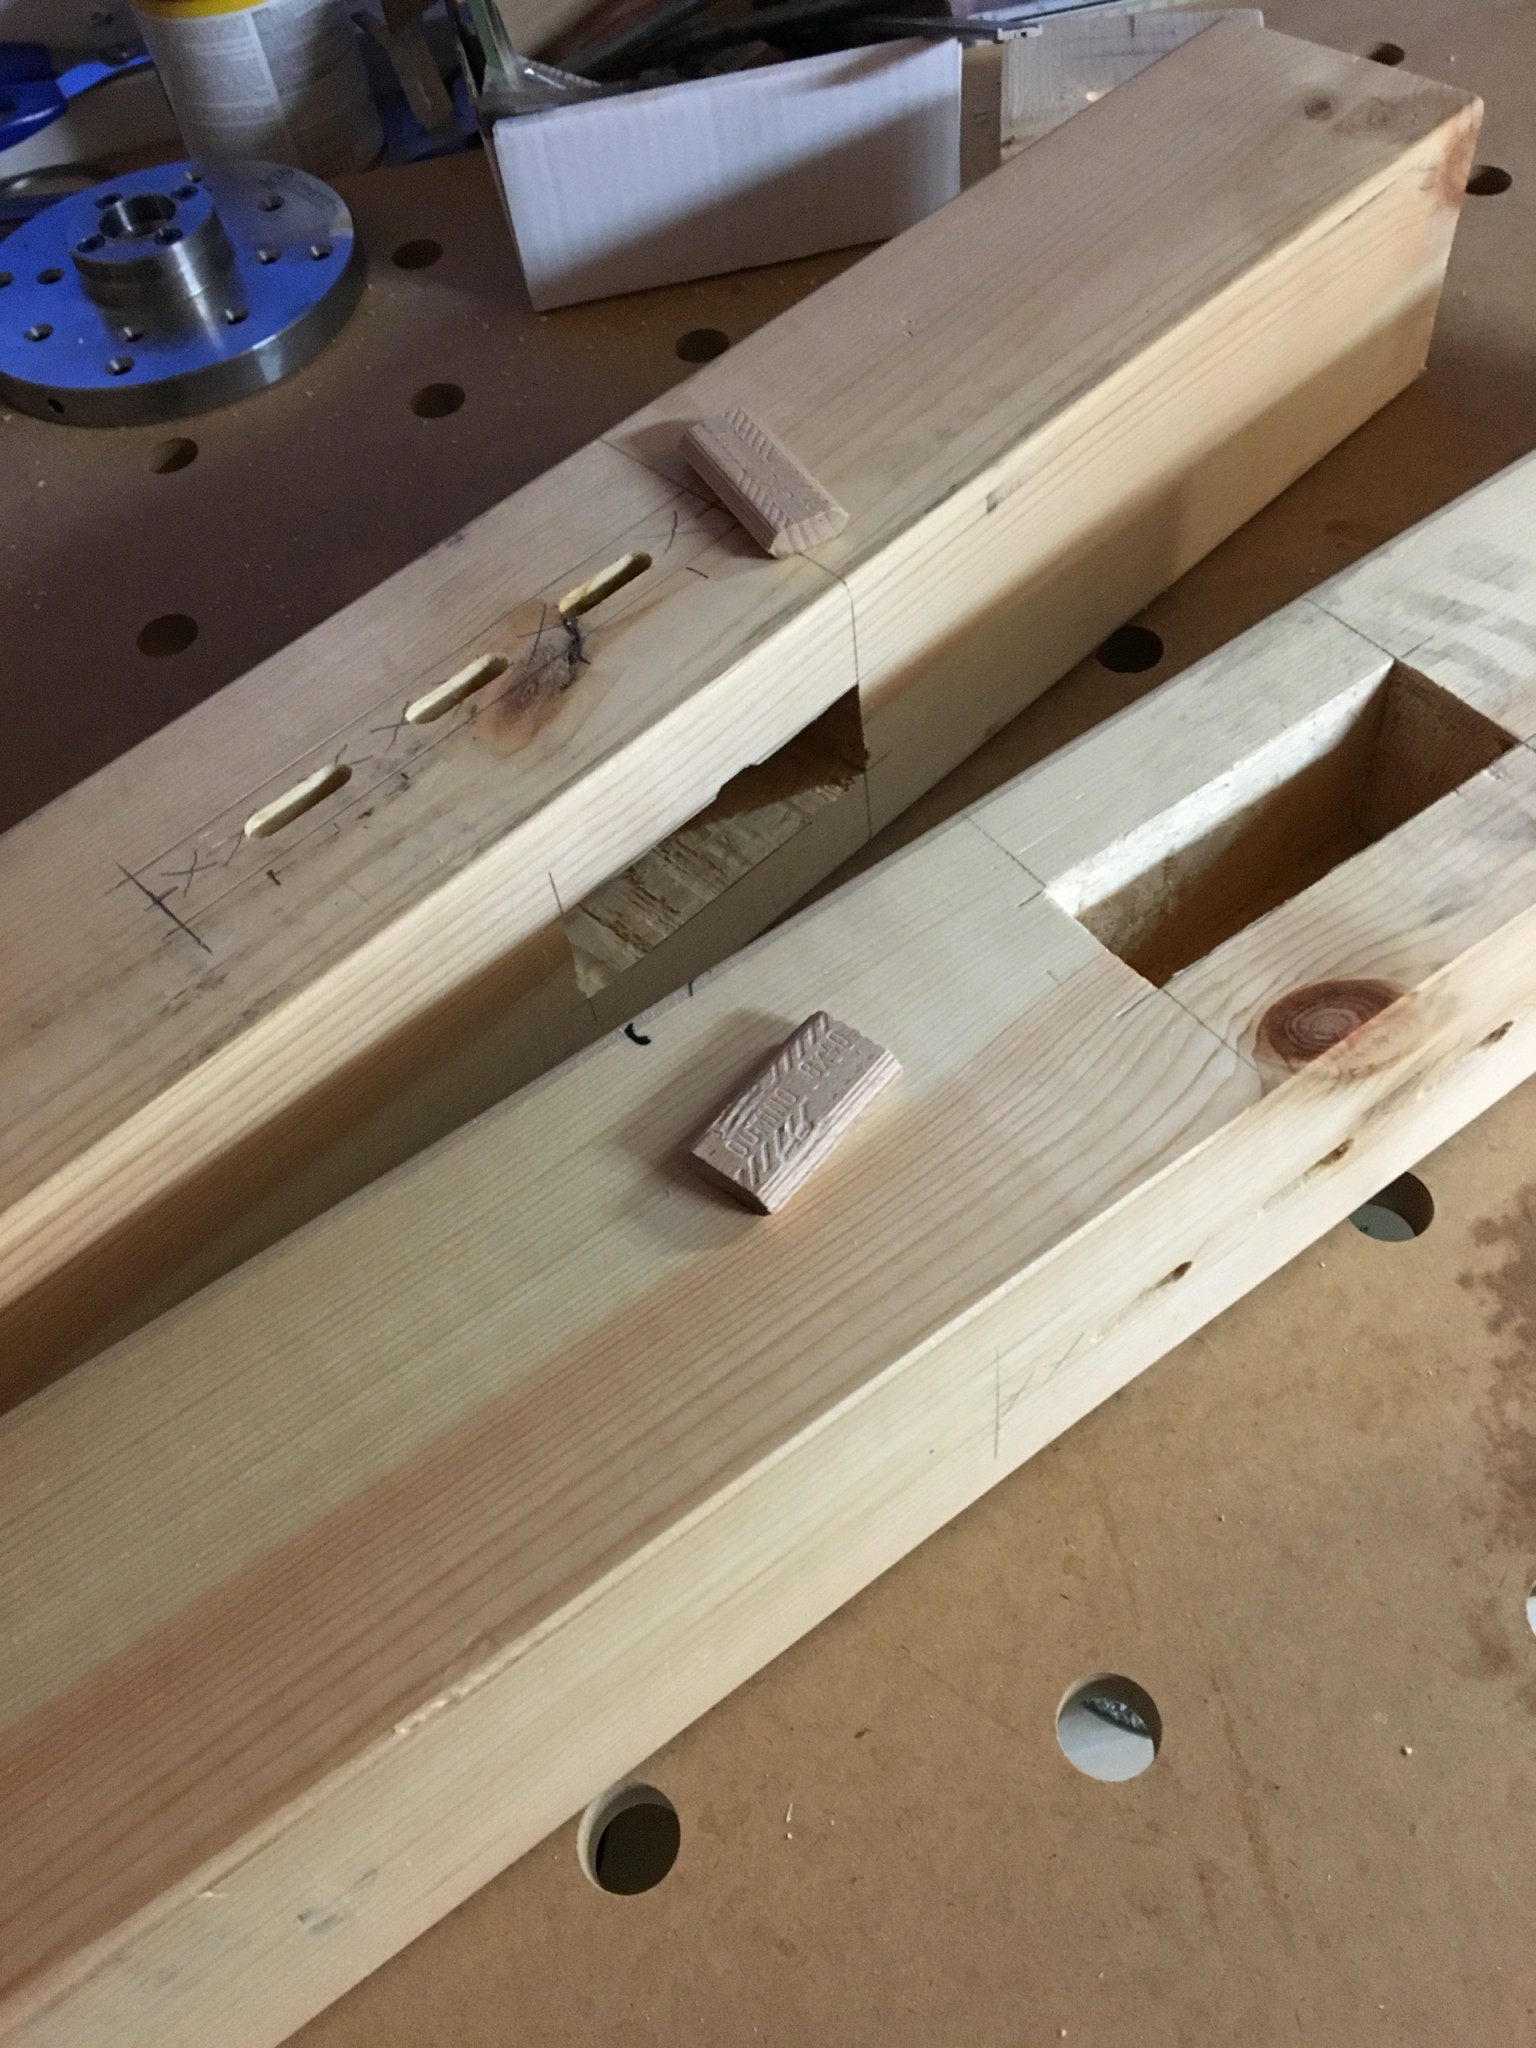
I cut the domino mortises needed for the sides, and then it was time to turn the posts.
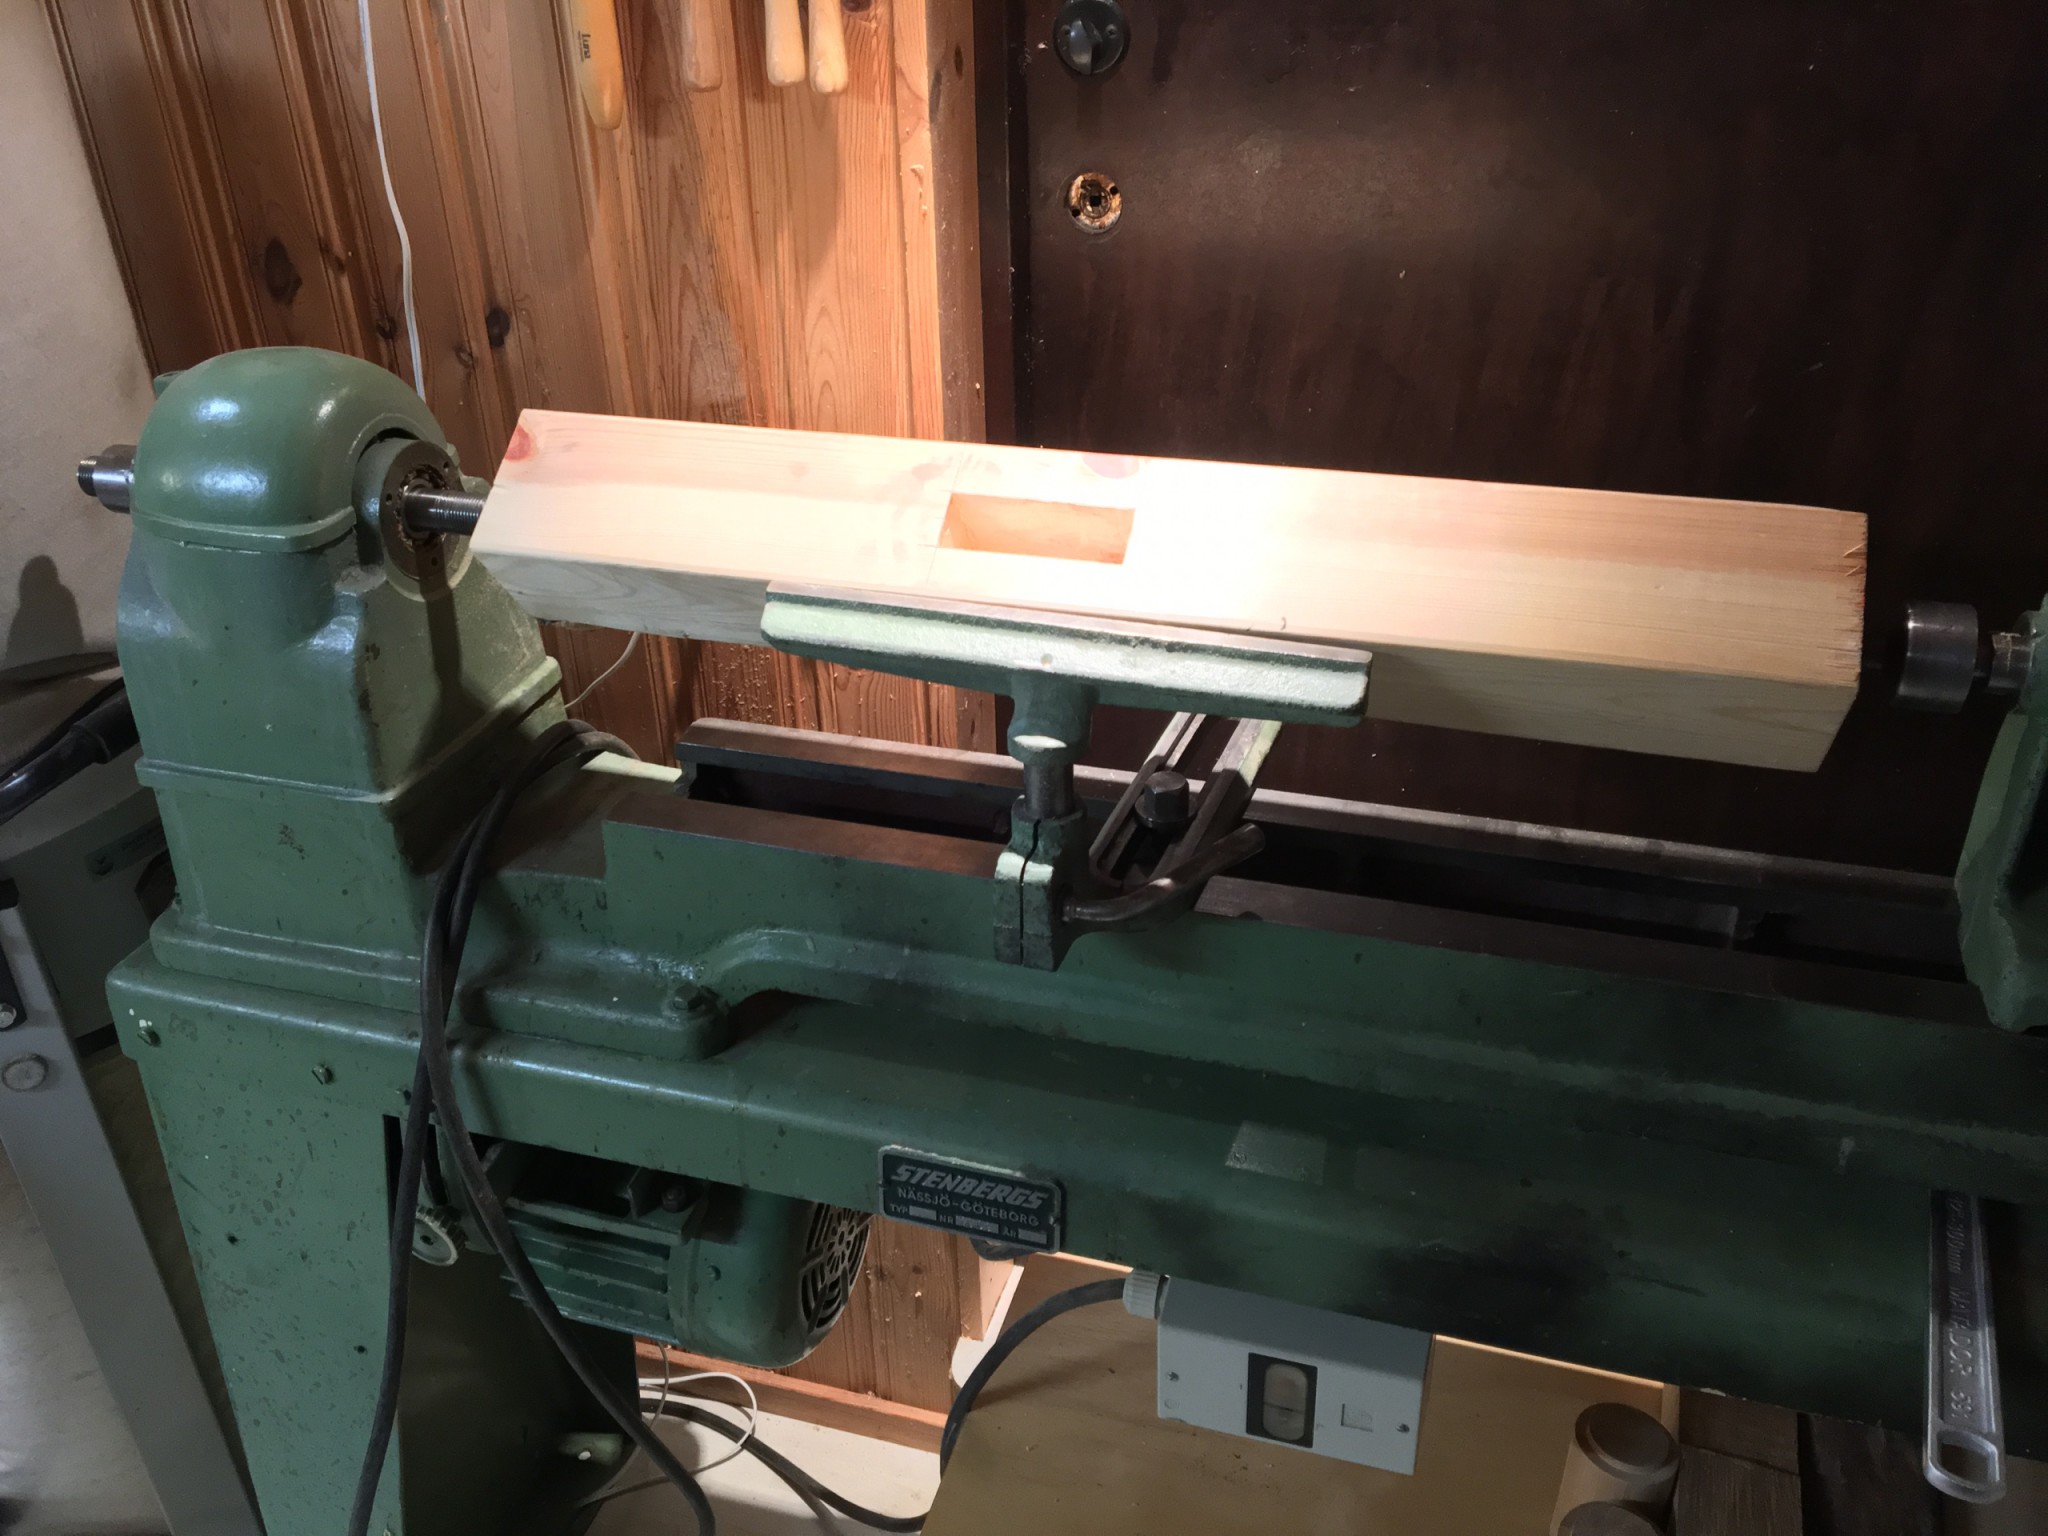
Sometimes you notice that you really are a beginner and make simple mistakes. But the result was fine, and the first post turned out roughly as I had imagined. It is the one against the wall, so the worst flaws probably won't show.
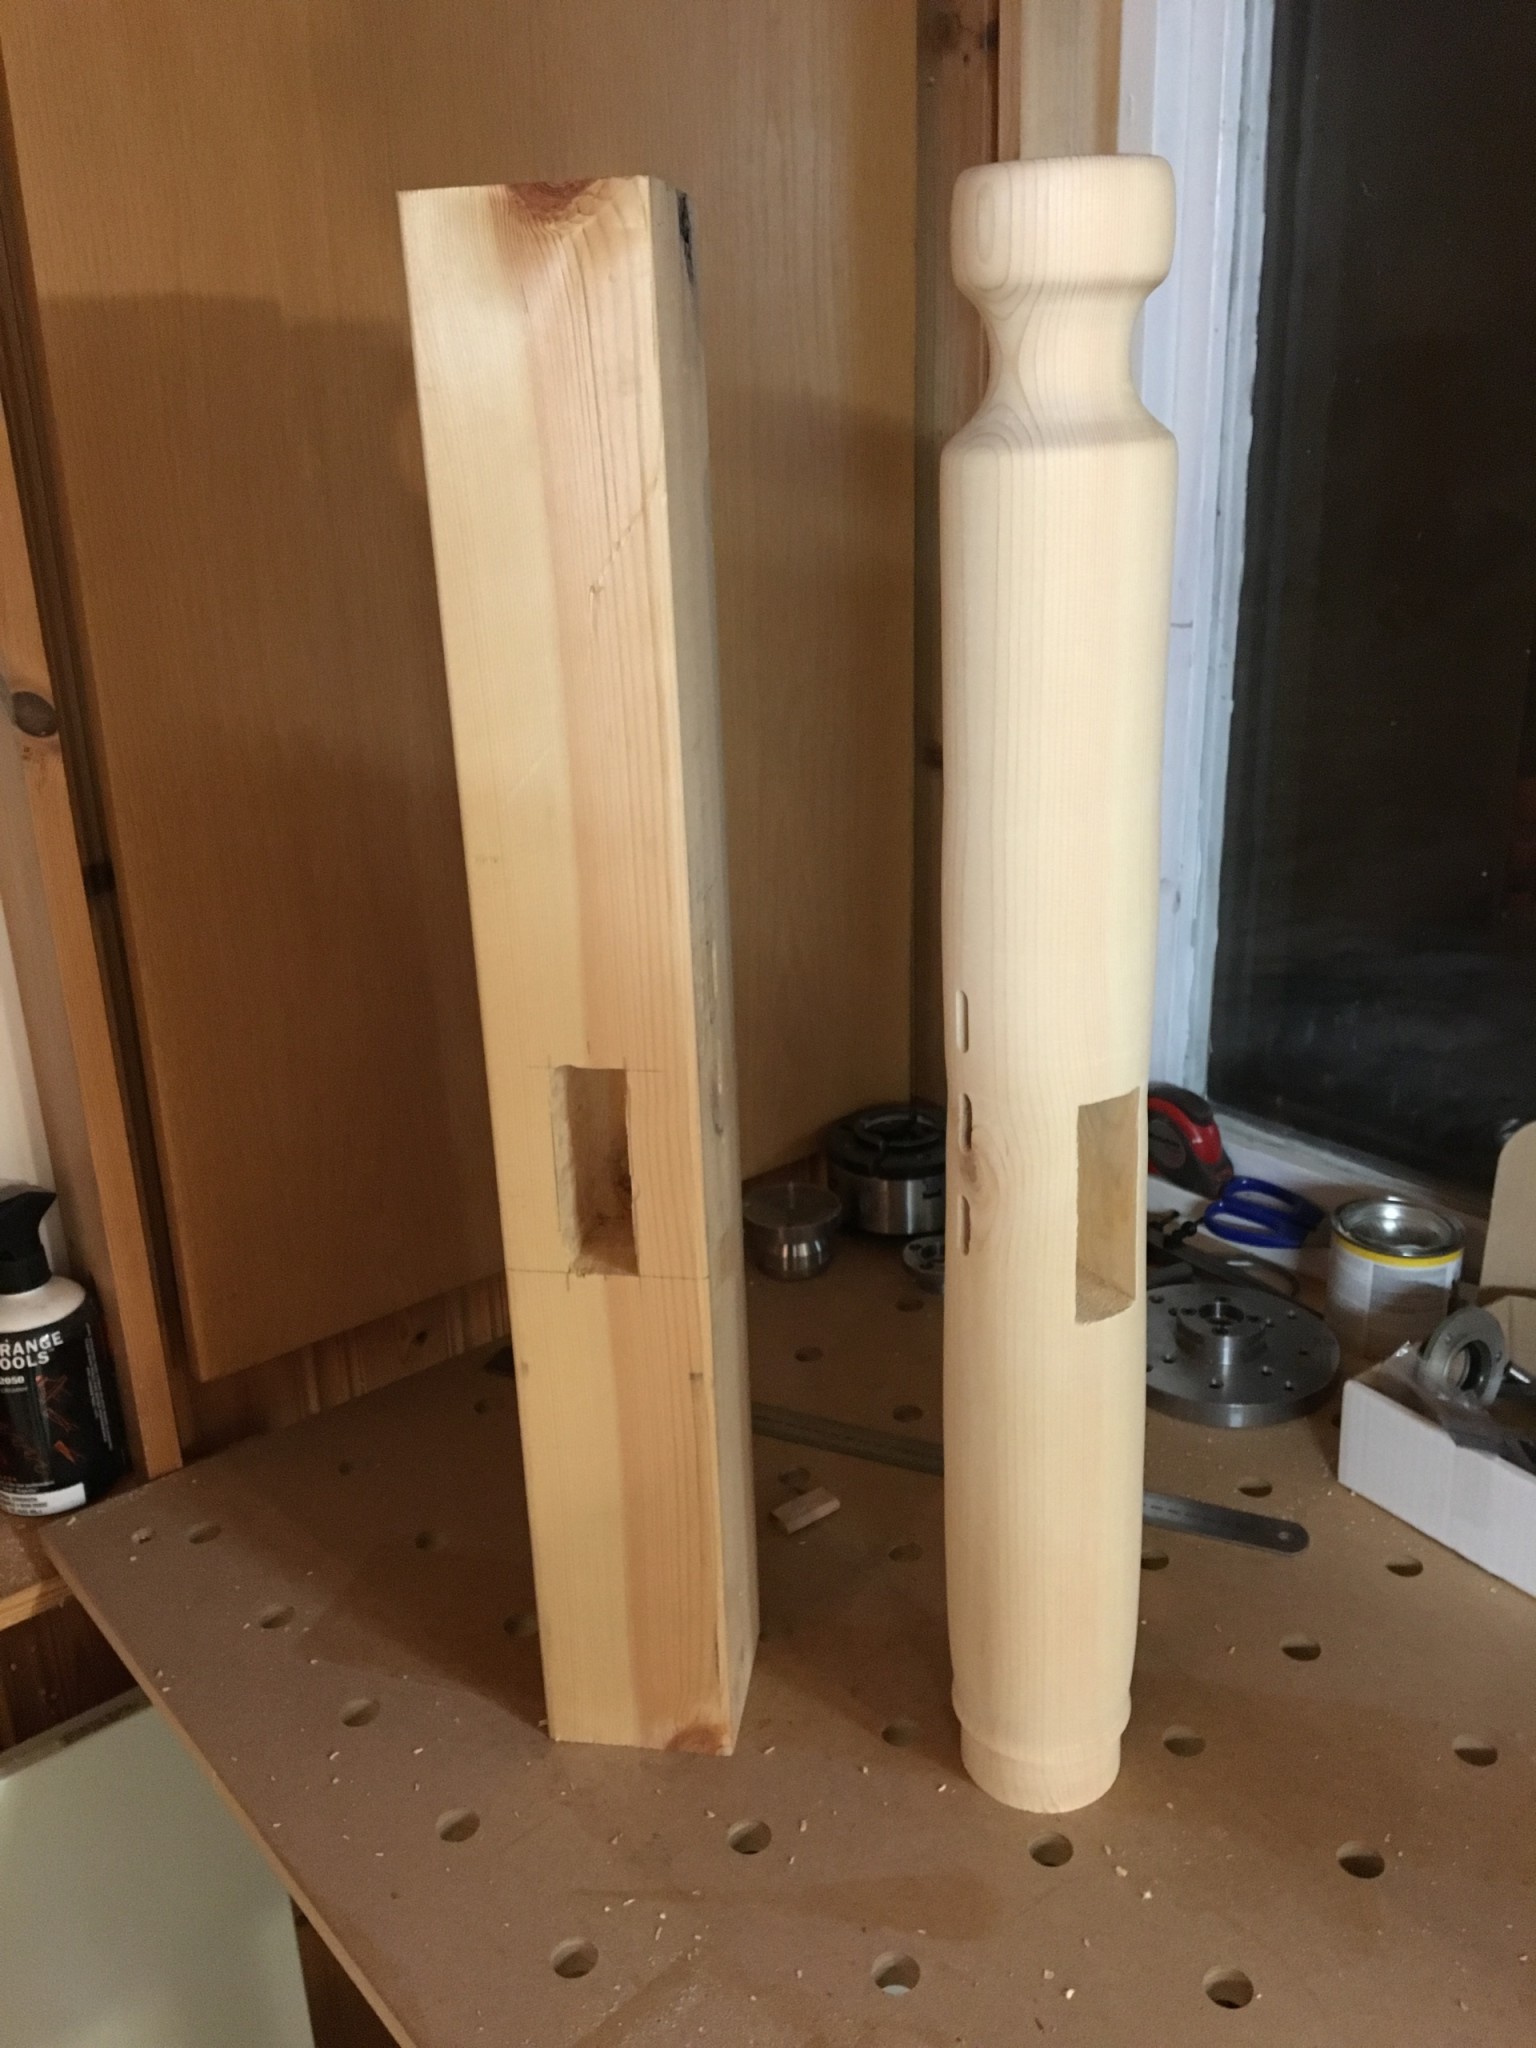
The second post was fun to make, trying to copy what I did on the first. It came out quite similar and took much less time, even though I measured and fiddled more.
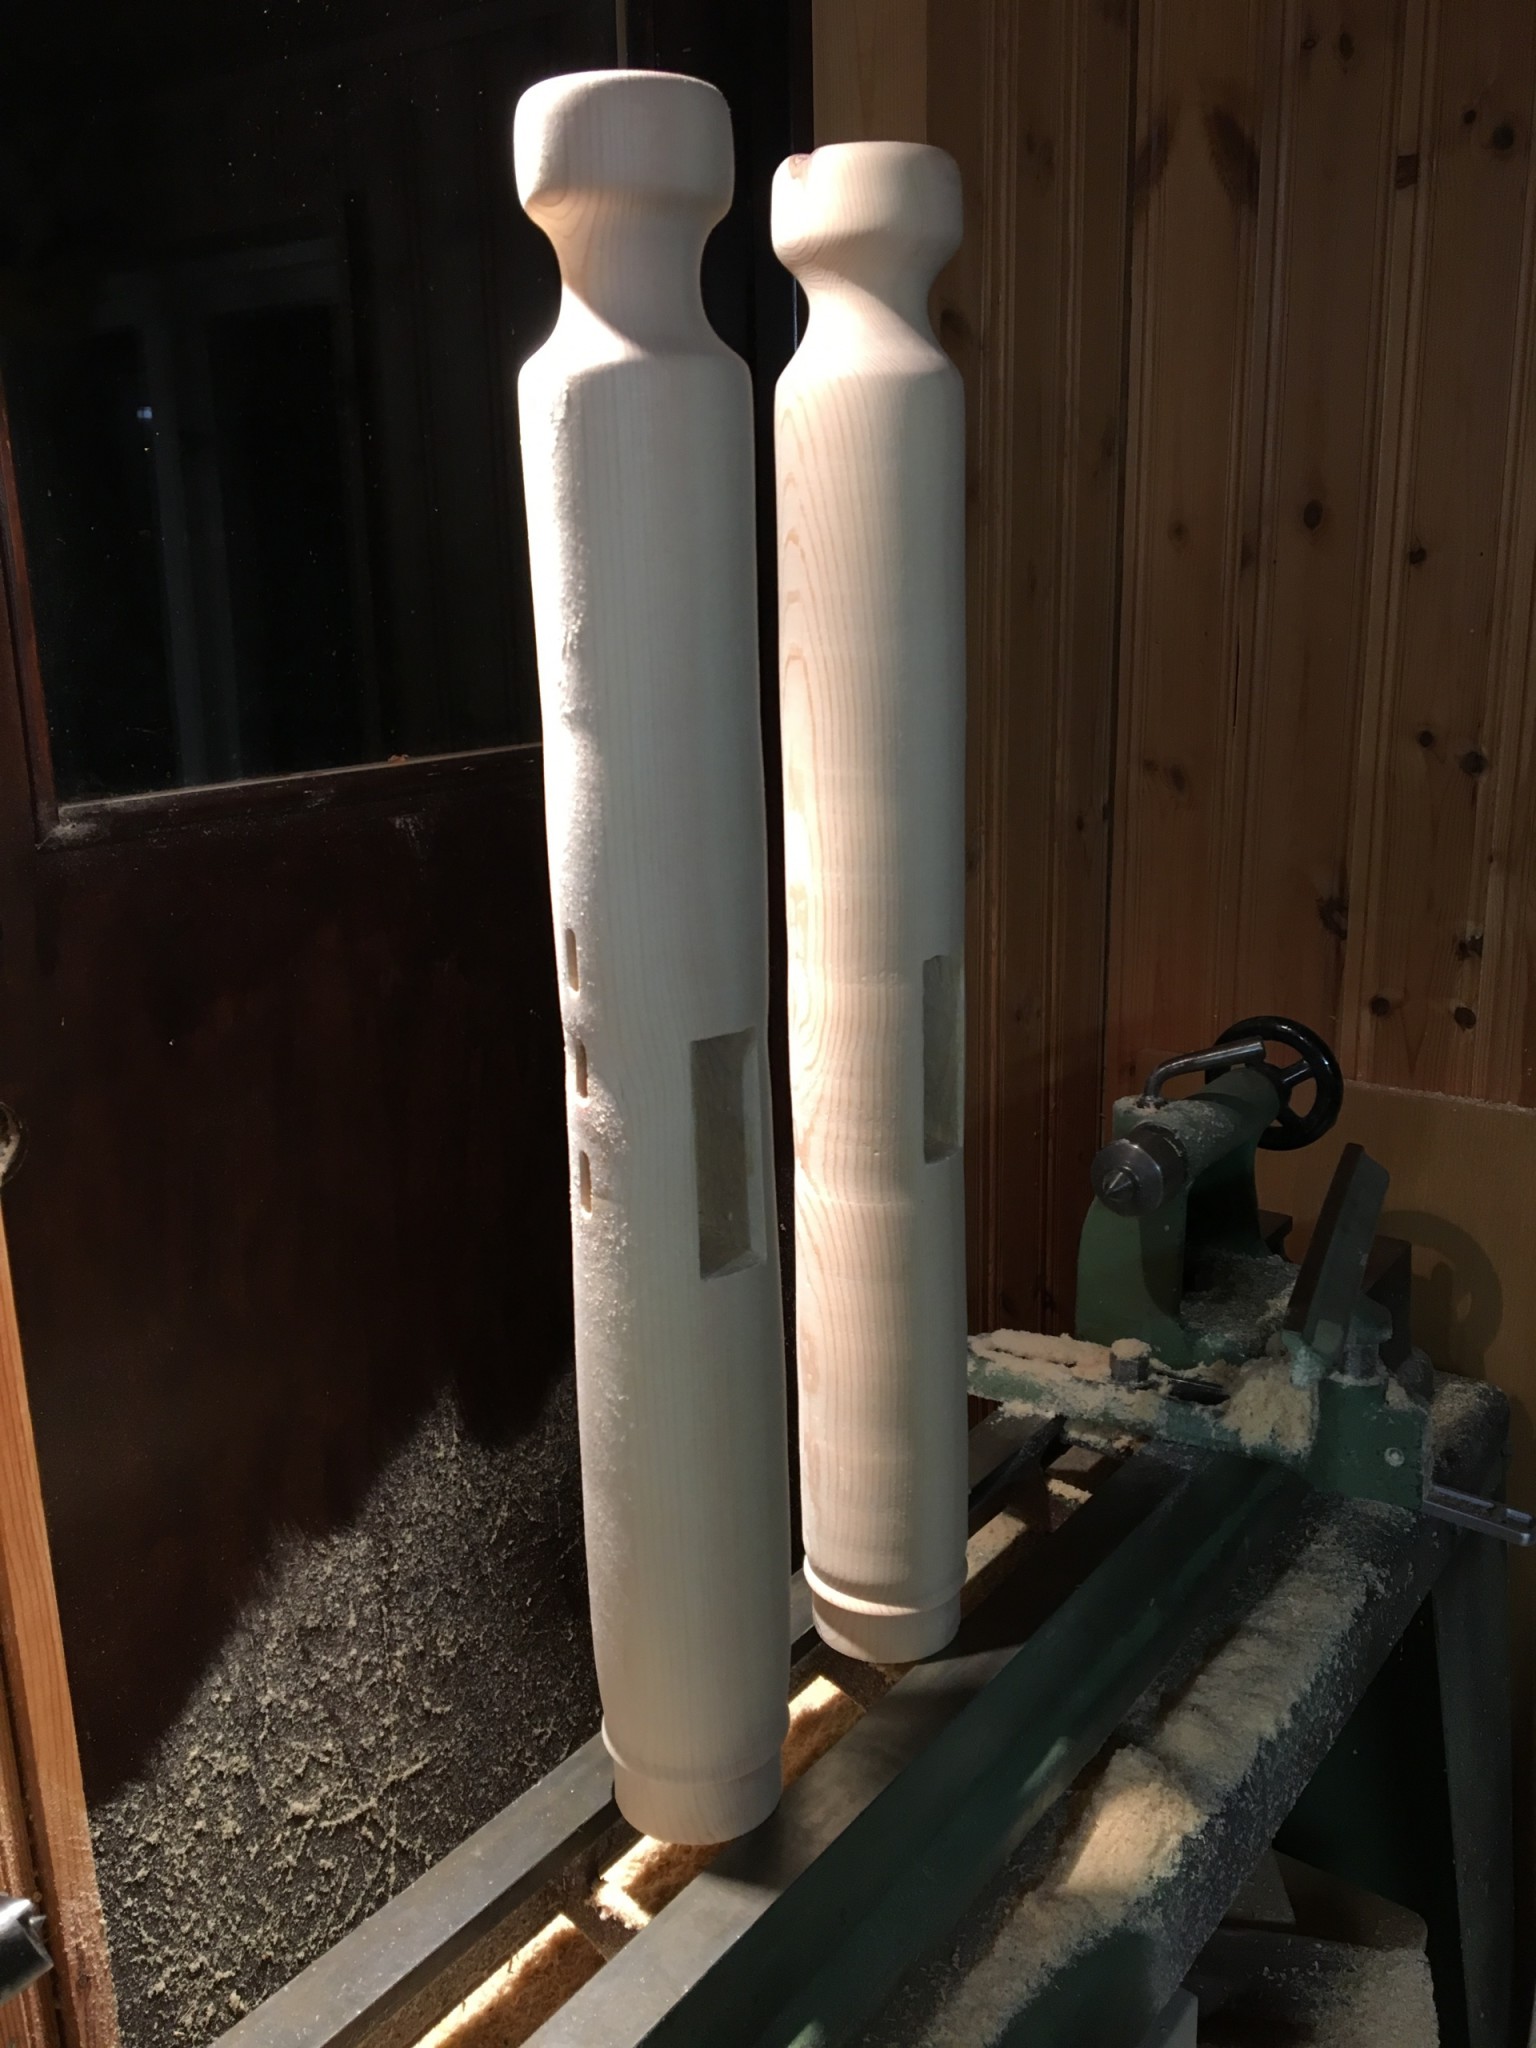
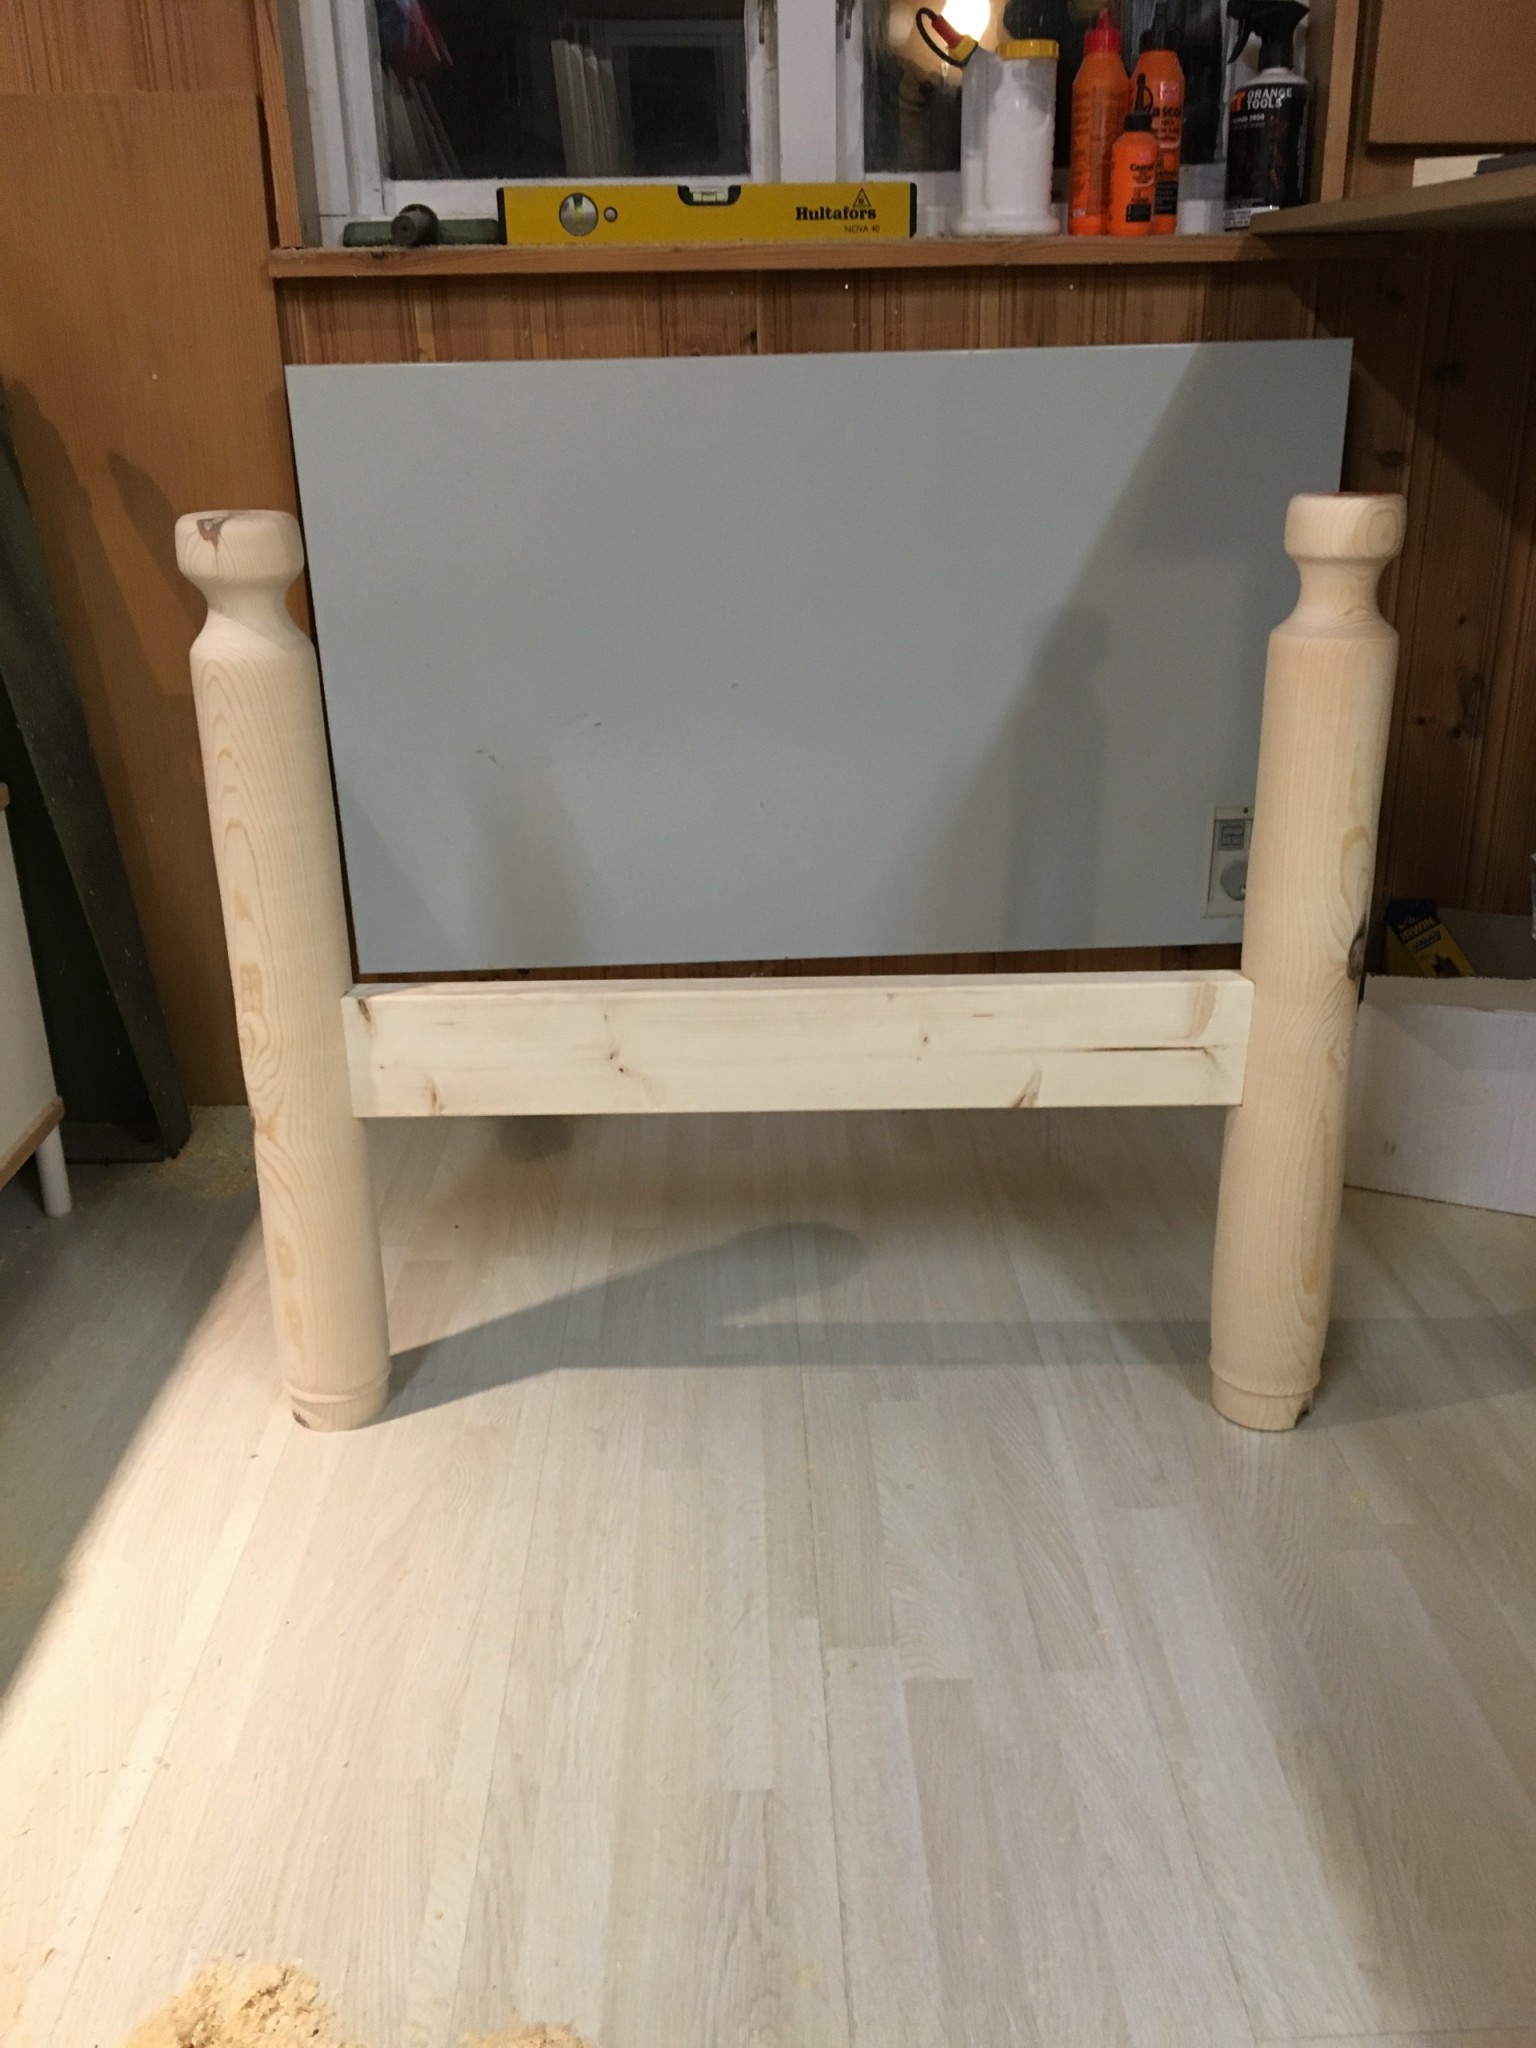
Then I played around with the rail a little. Some kind of rounding could work well.
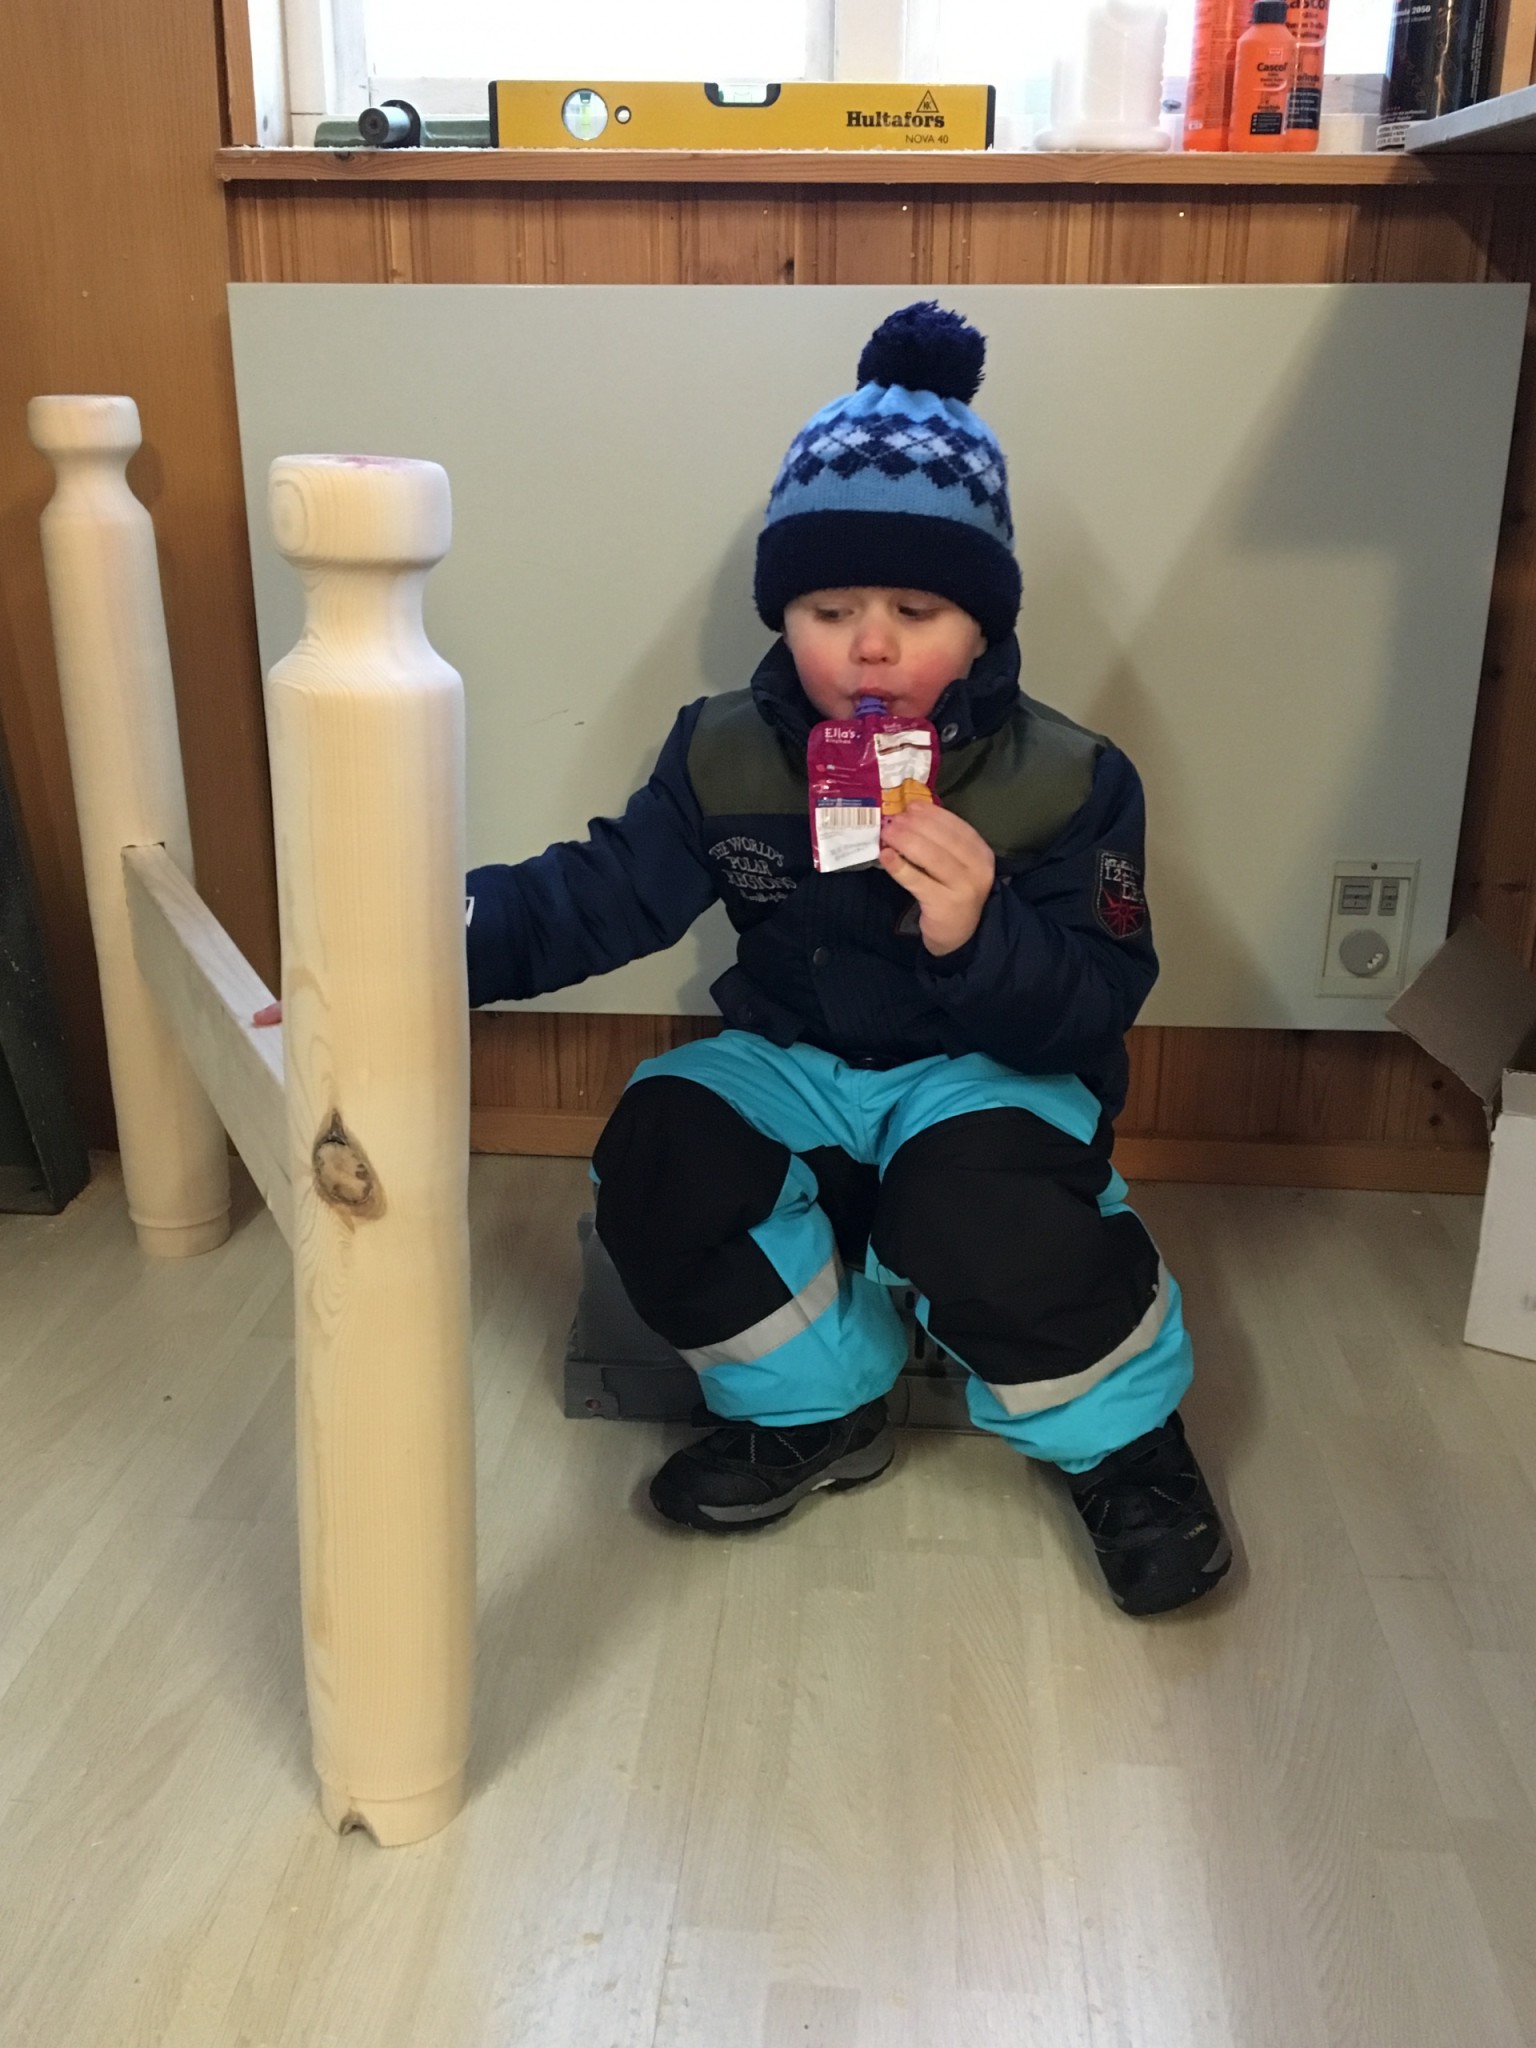
My son came to inspect his bed. He wasn't terribly impressed with what Dad had done so far and had a snack instead.
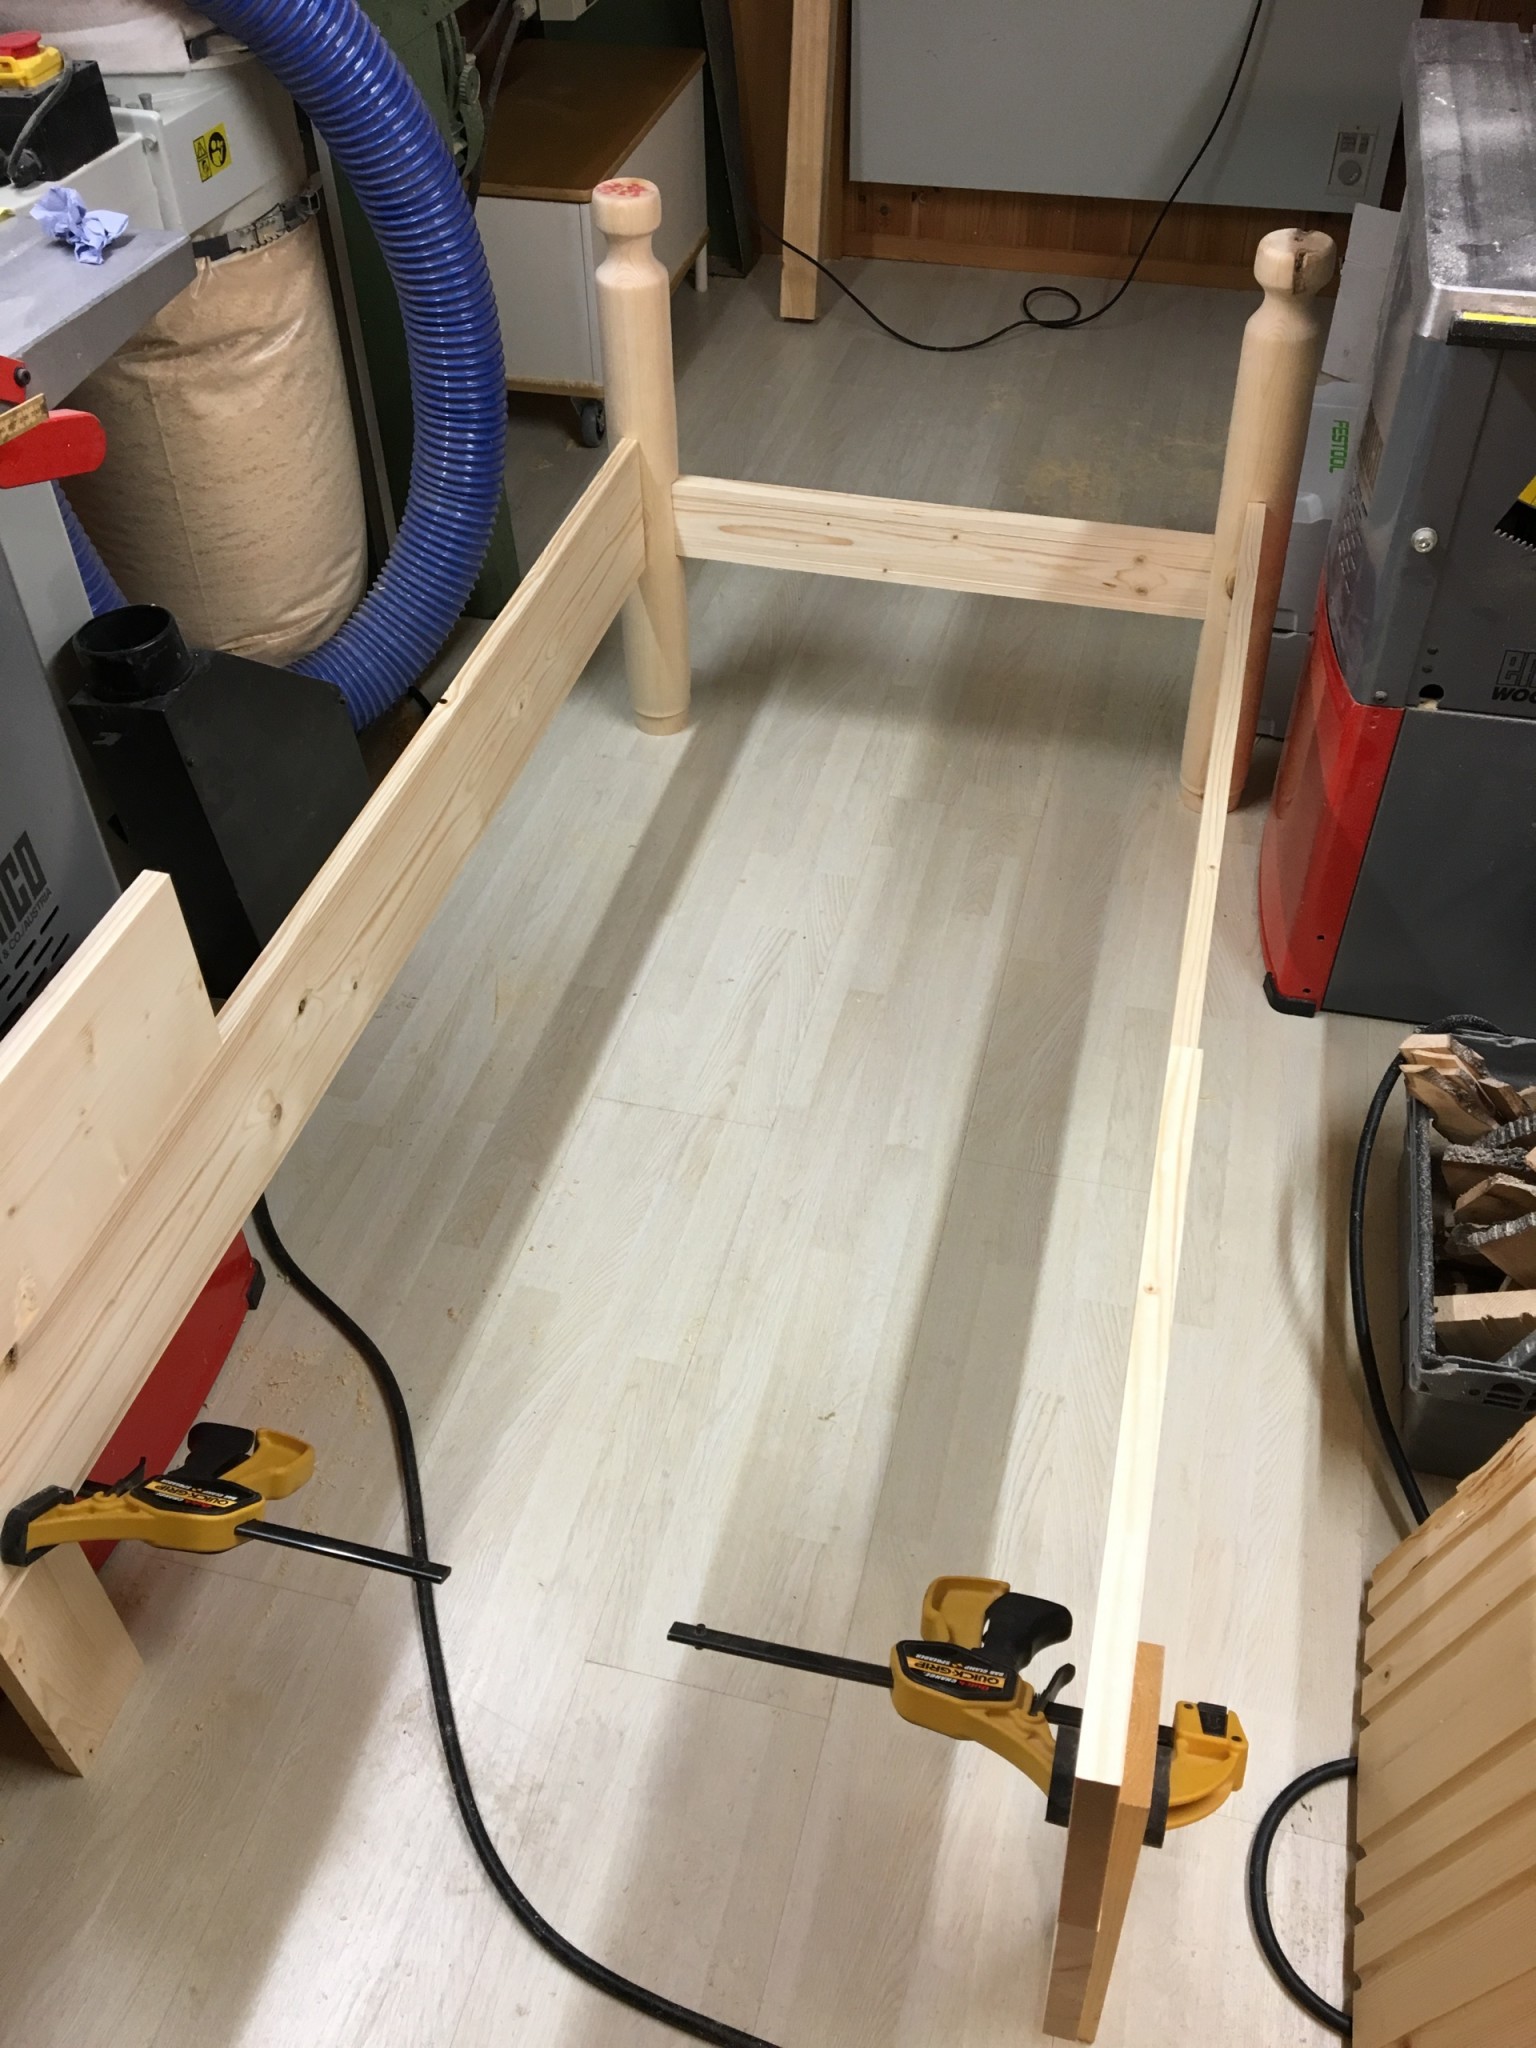
First dry fit
After two rather too chilly weeks I was back at it. I made a new straight foot-end piece, cut the domino mortises in the side rails and assembled the parts for the first time.
Next I made the two posts that act as "feet" at the headboard and marked out for the dominos holding the head end together.
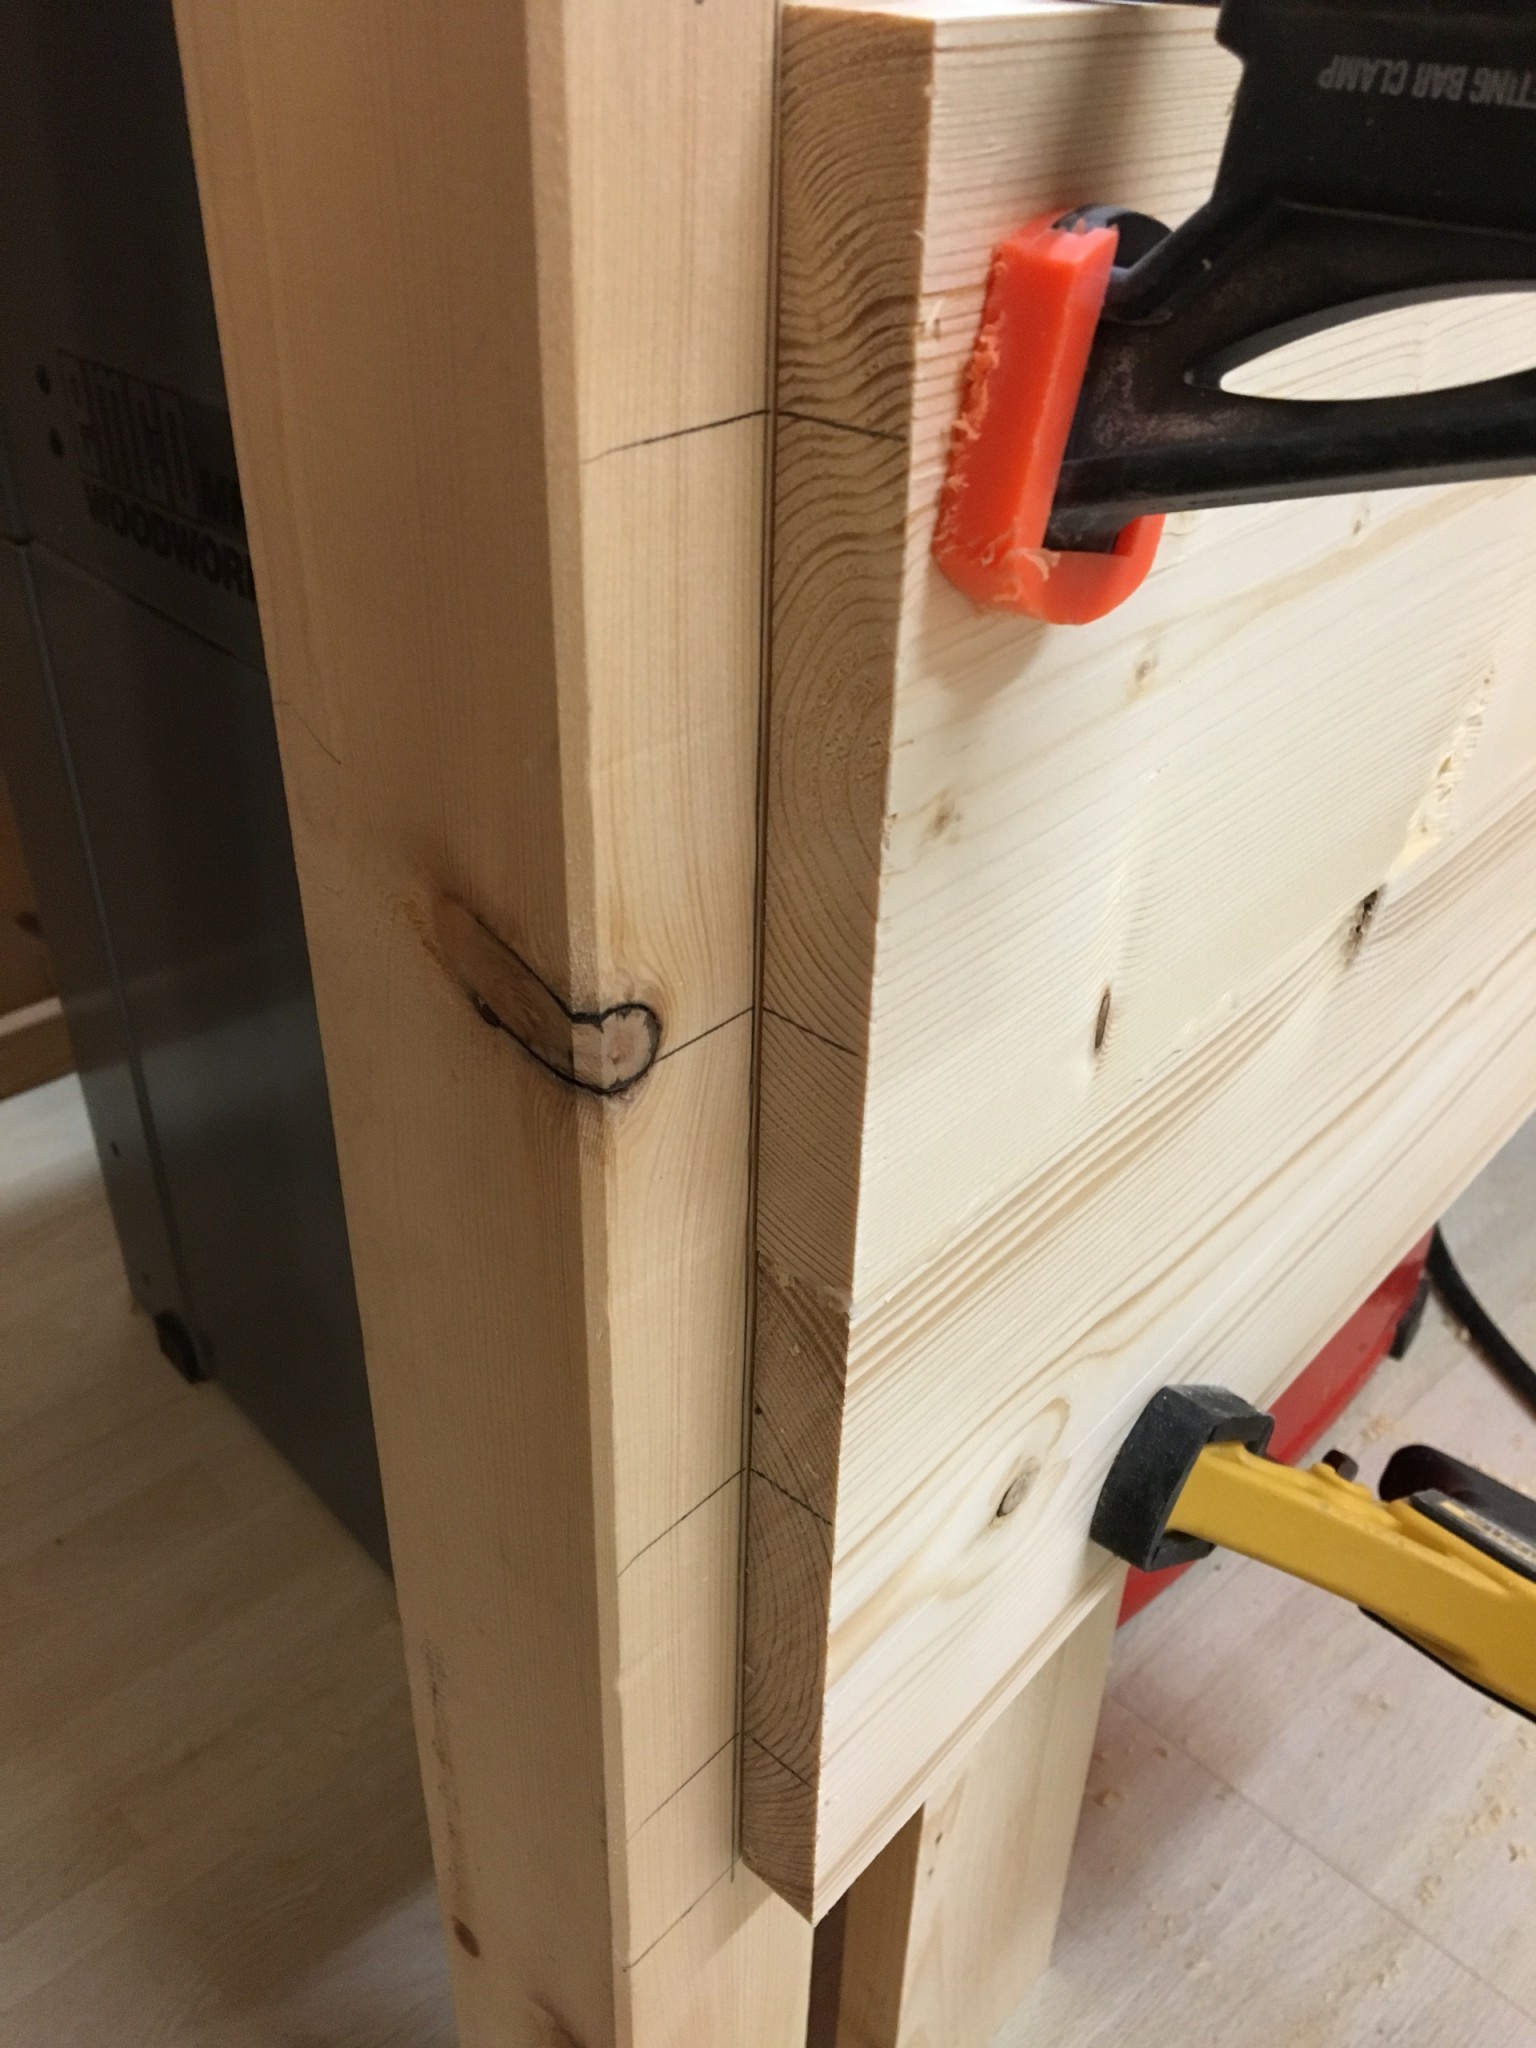
A batten was also needed between the posts, holding the headboard together and acting as a stop for the large panel between the posts.
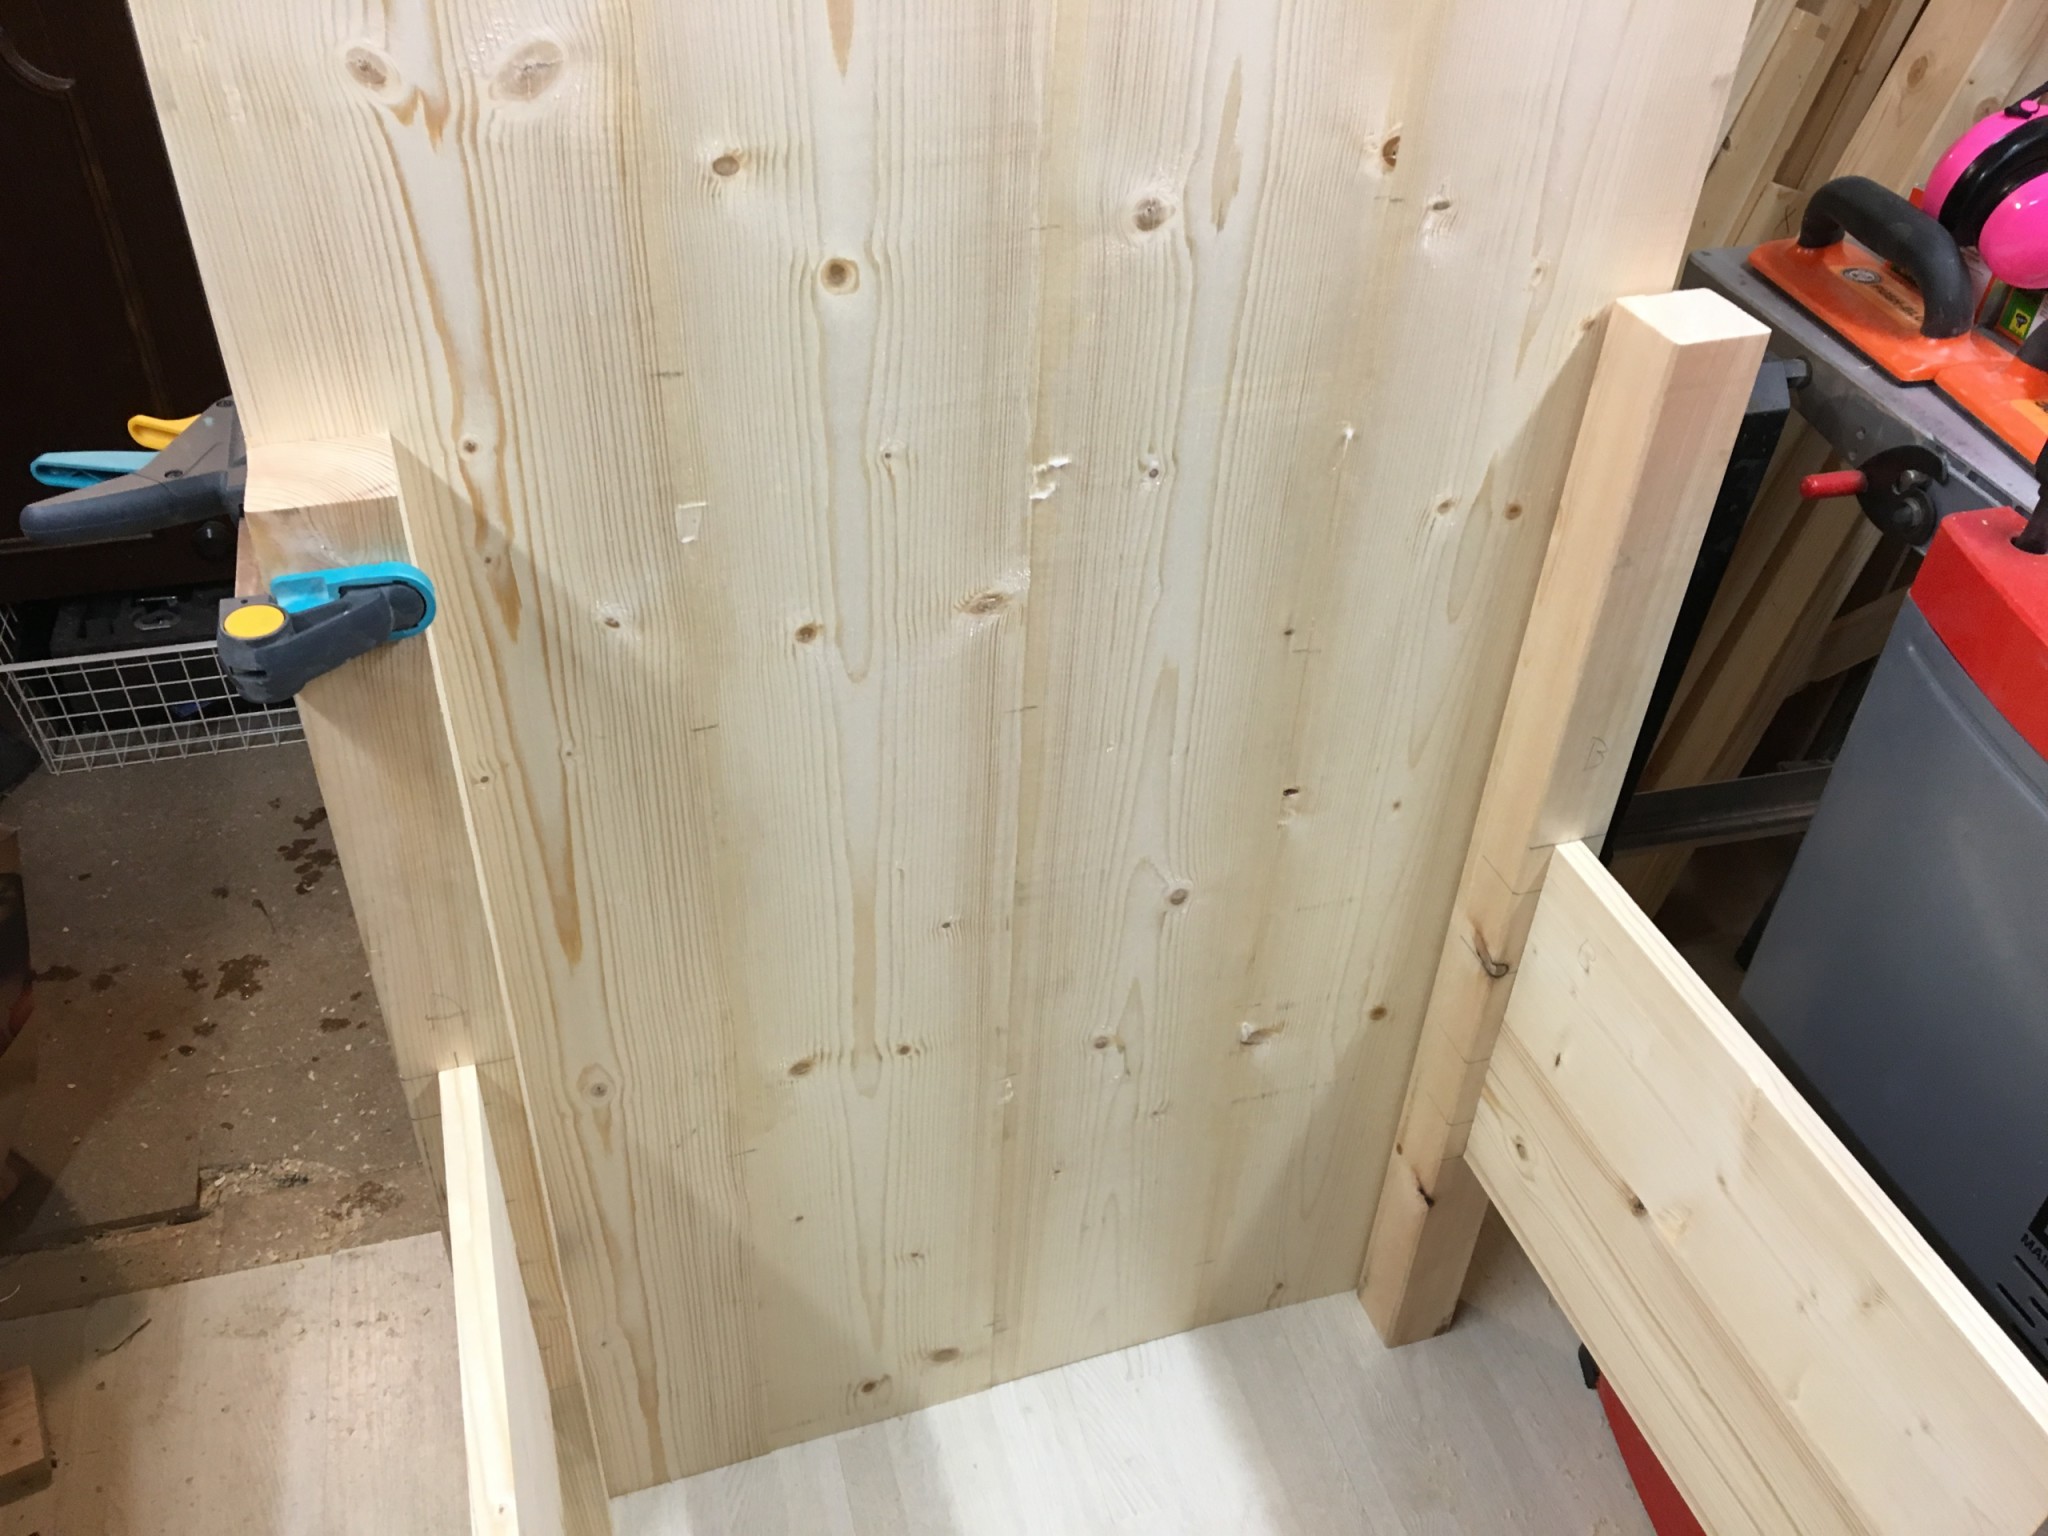
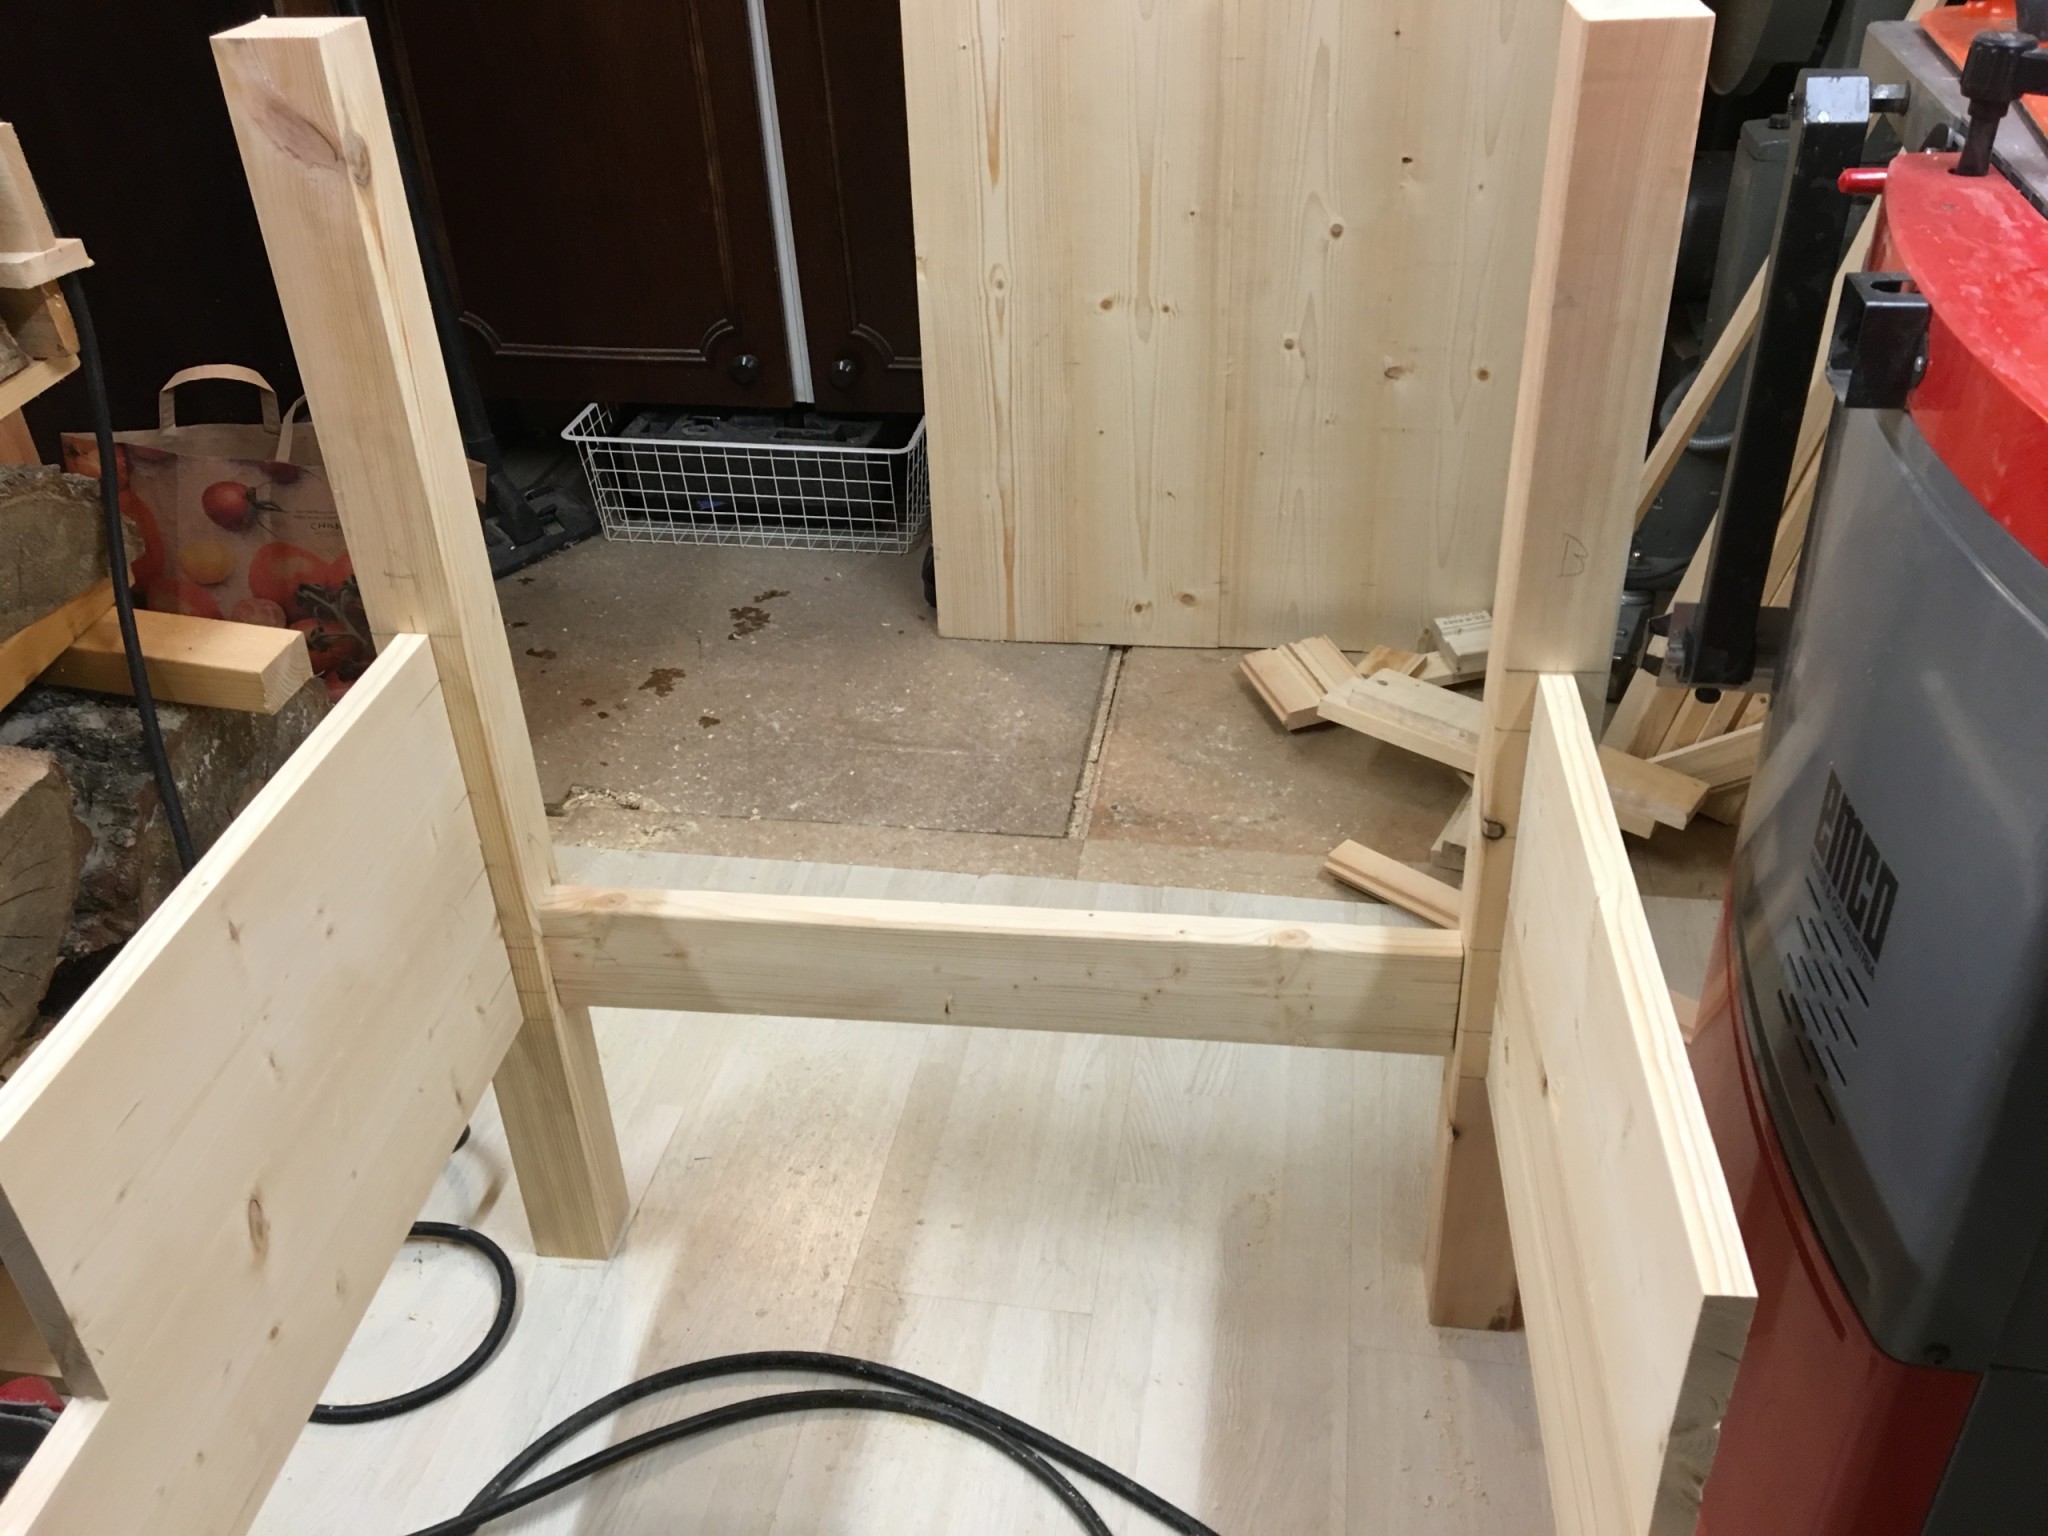
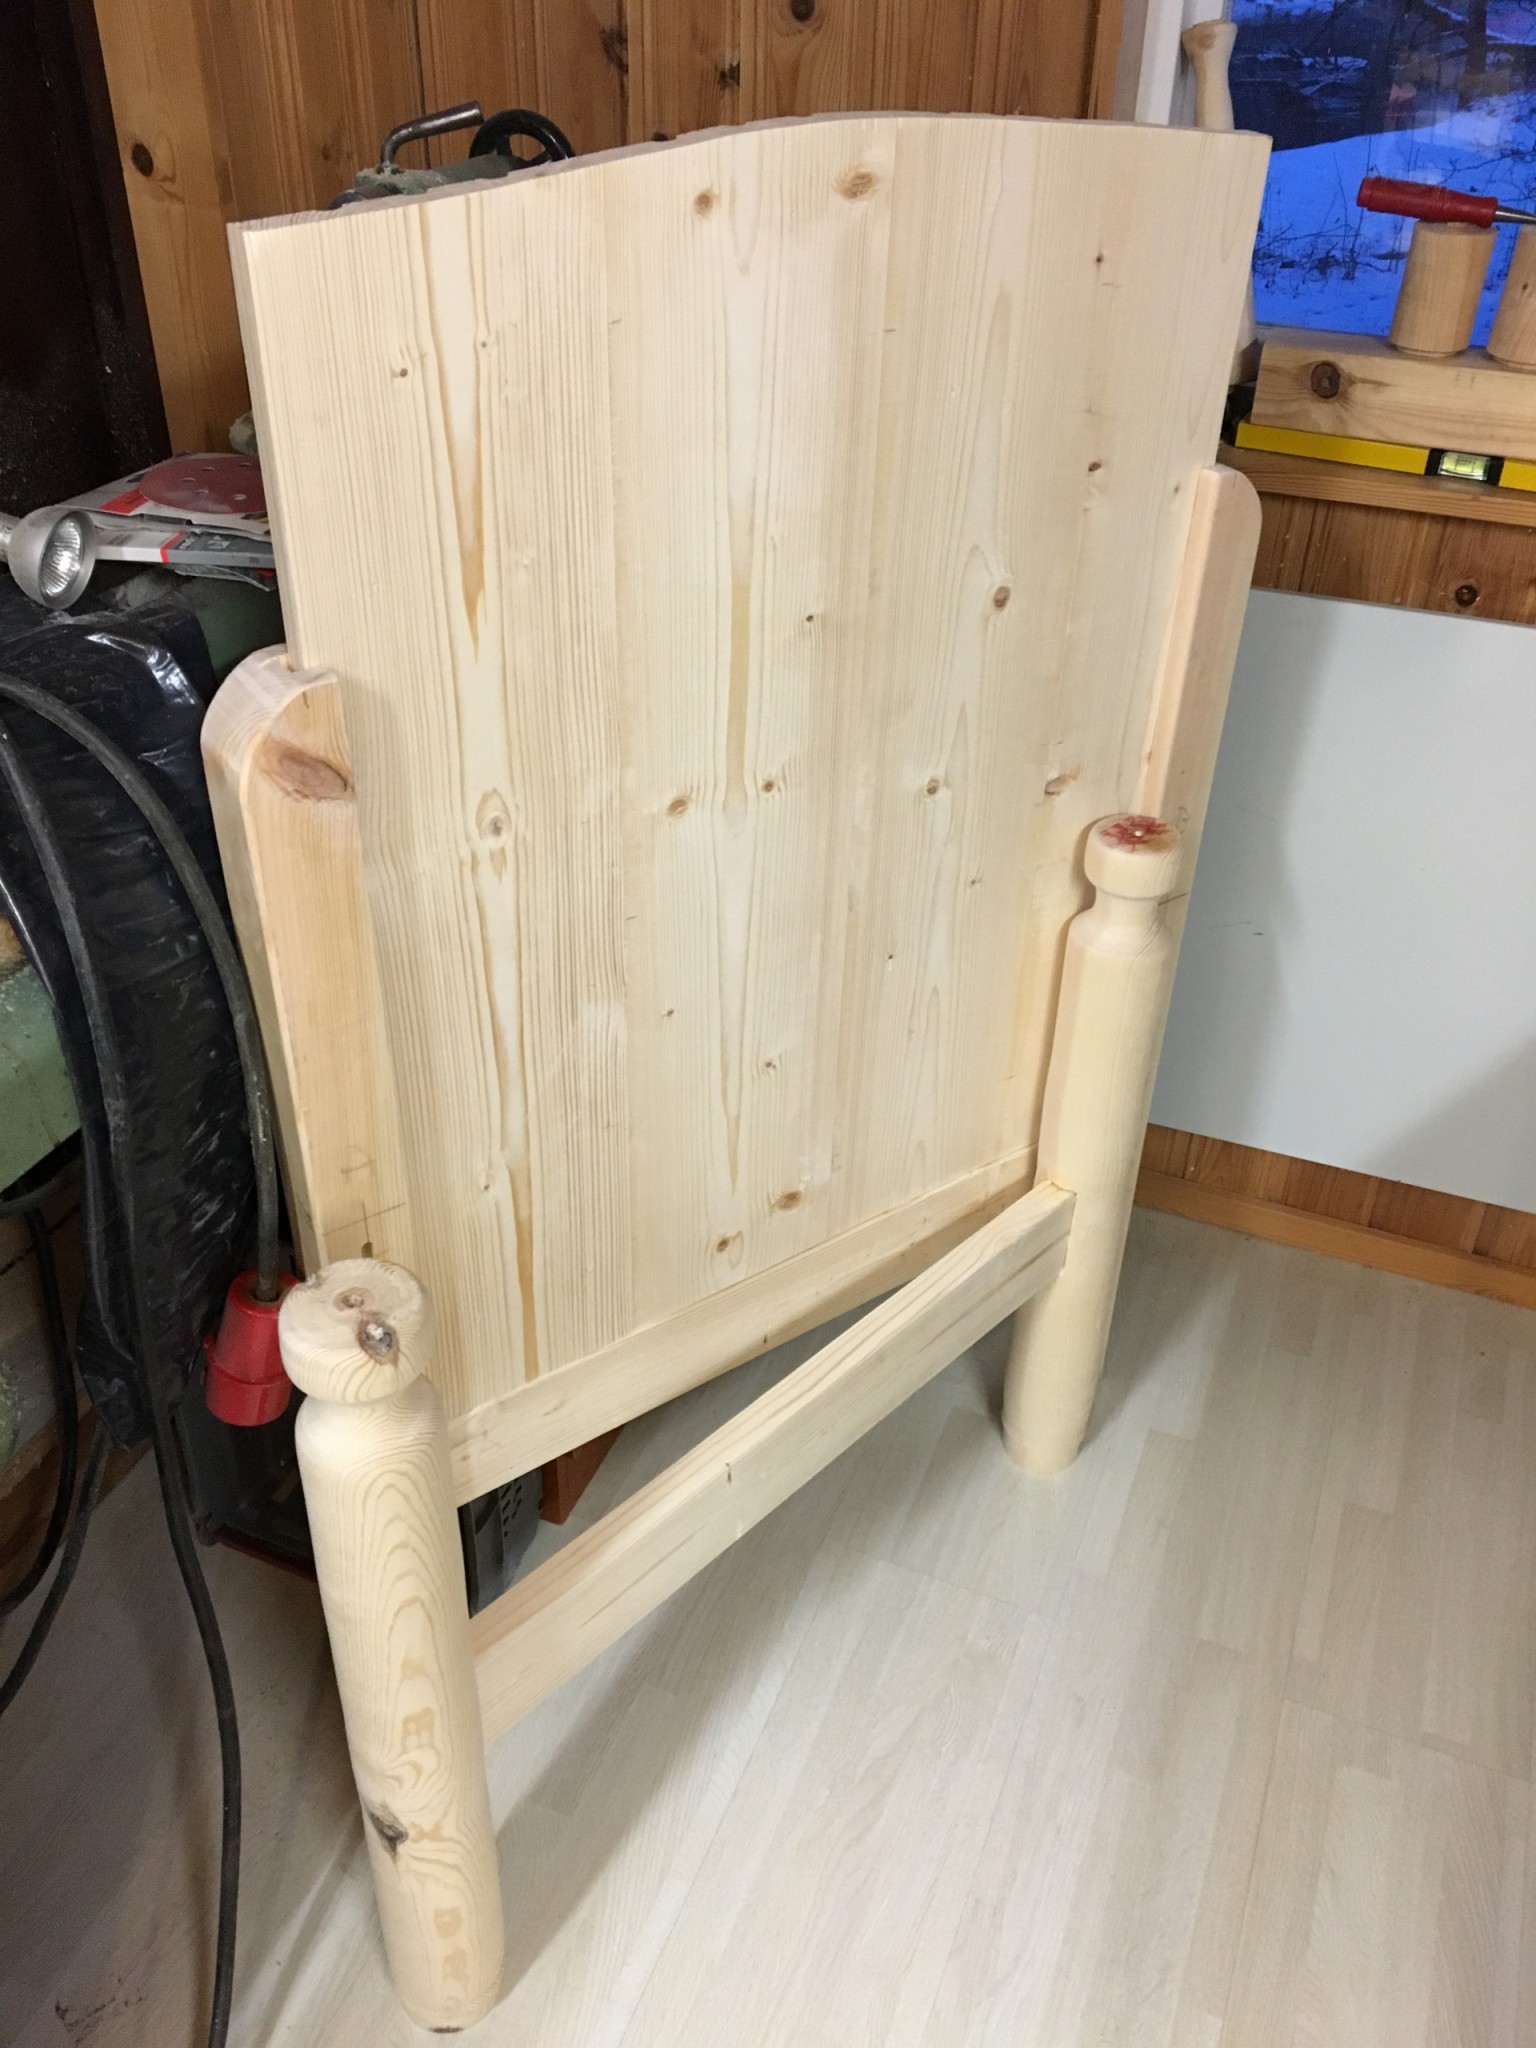
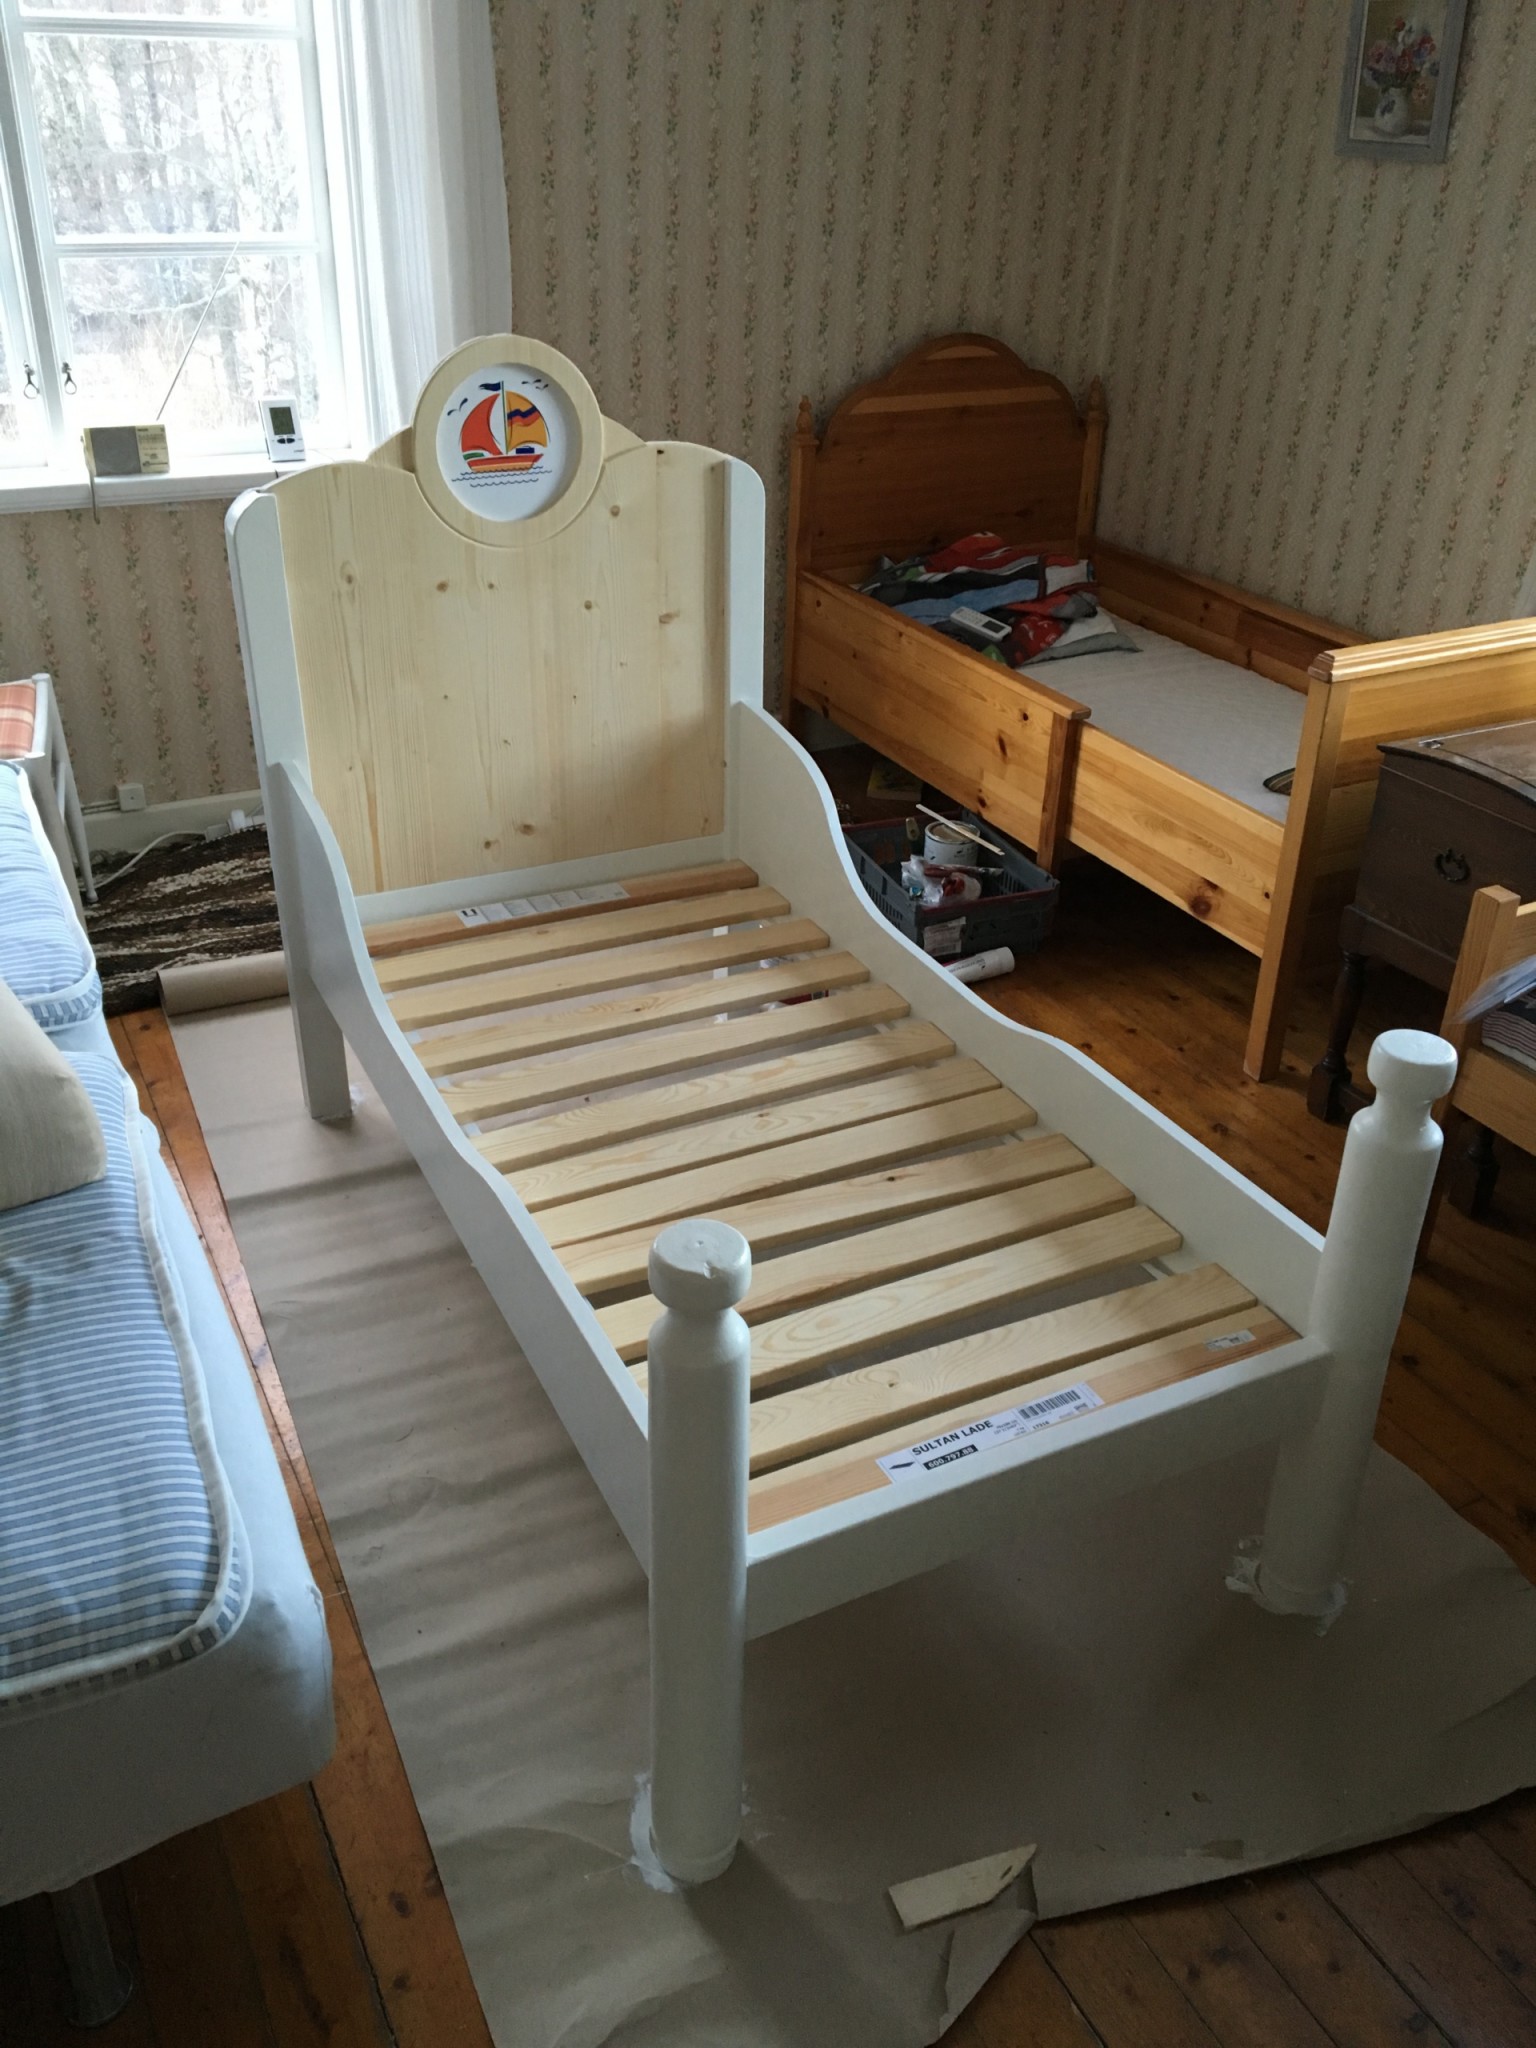
I assembled the whole bed and fixed the headboard panel to a batten behind the posts. This could turn out really nice.
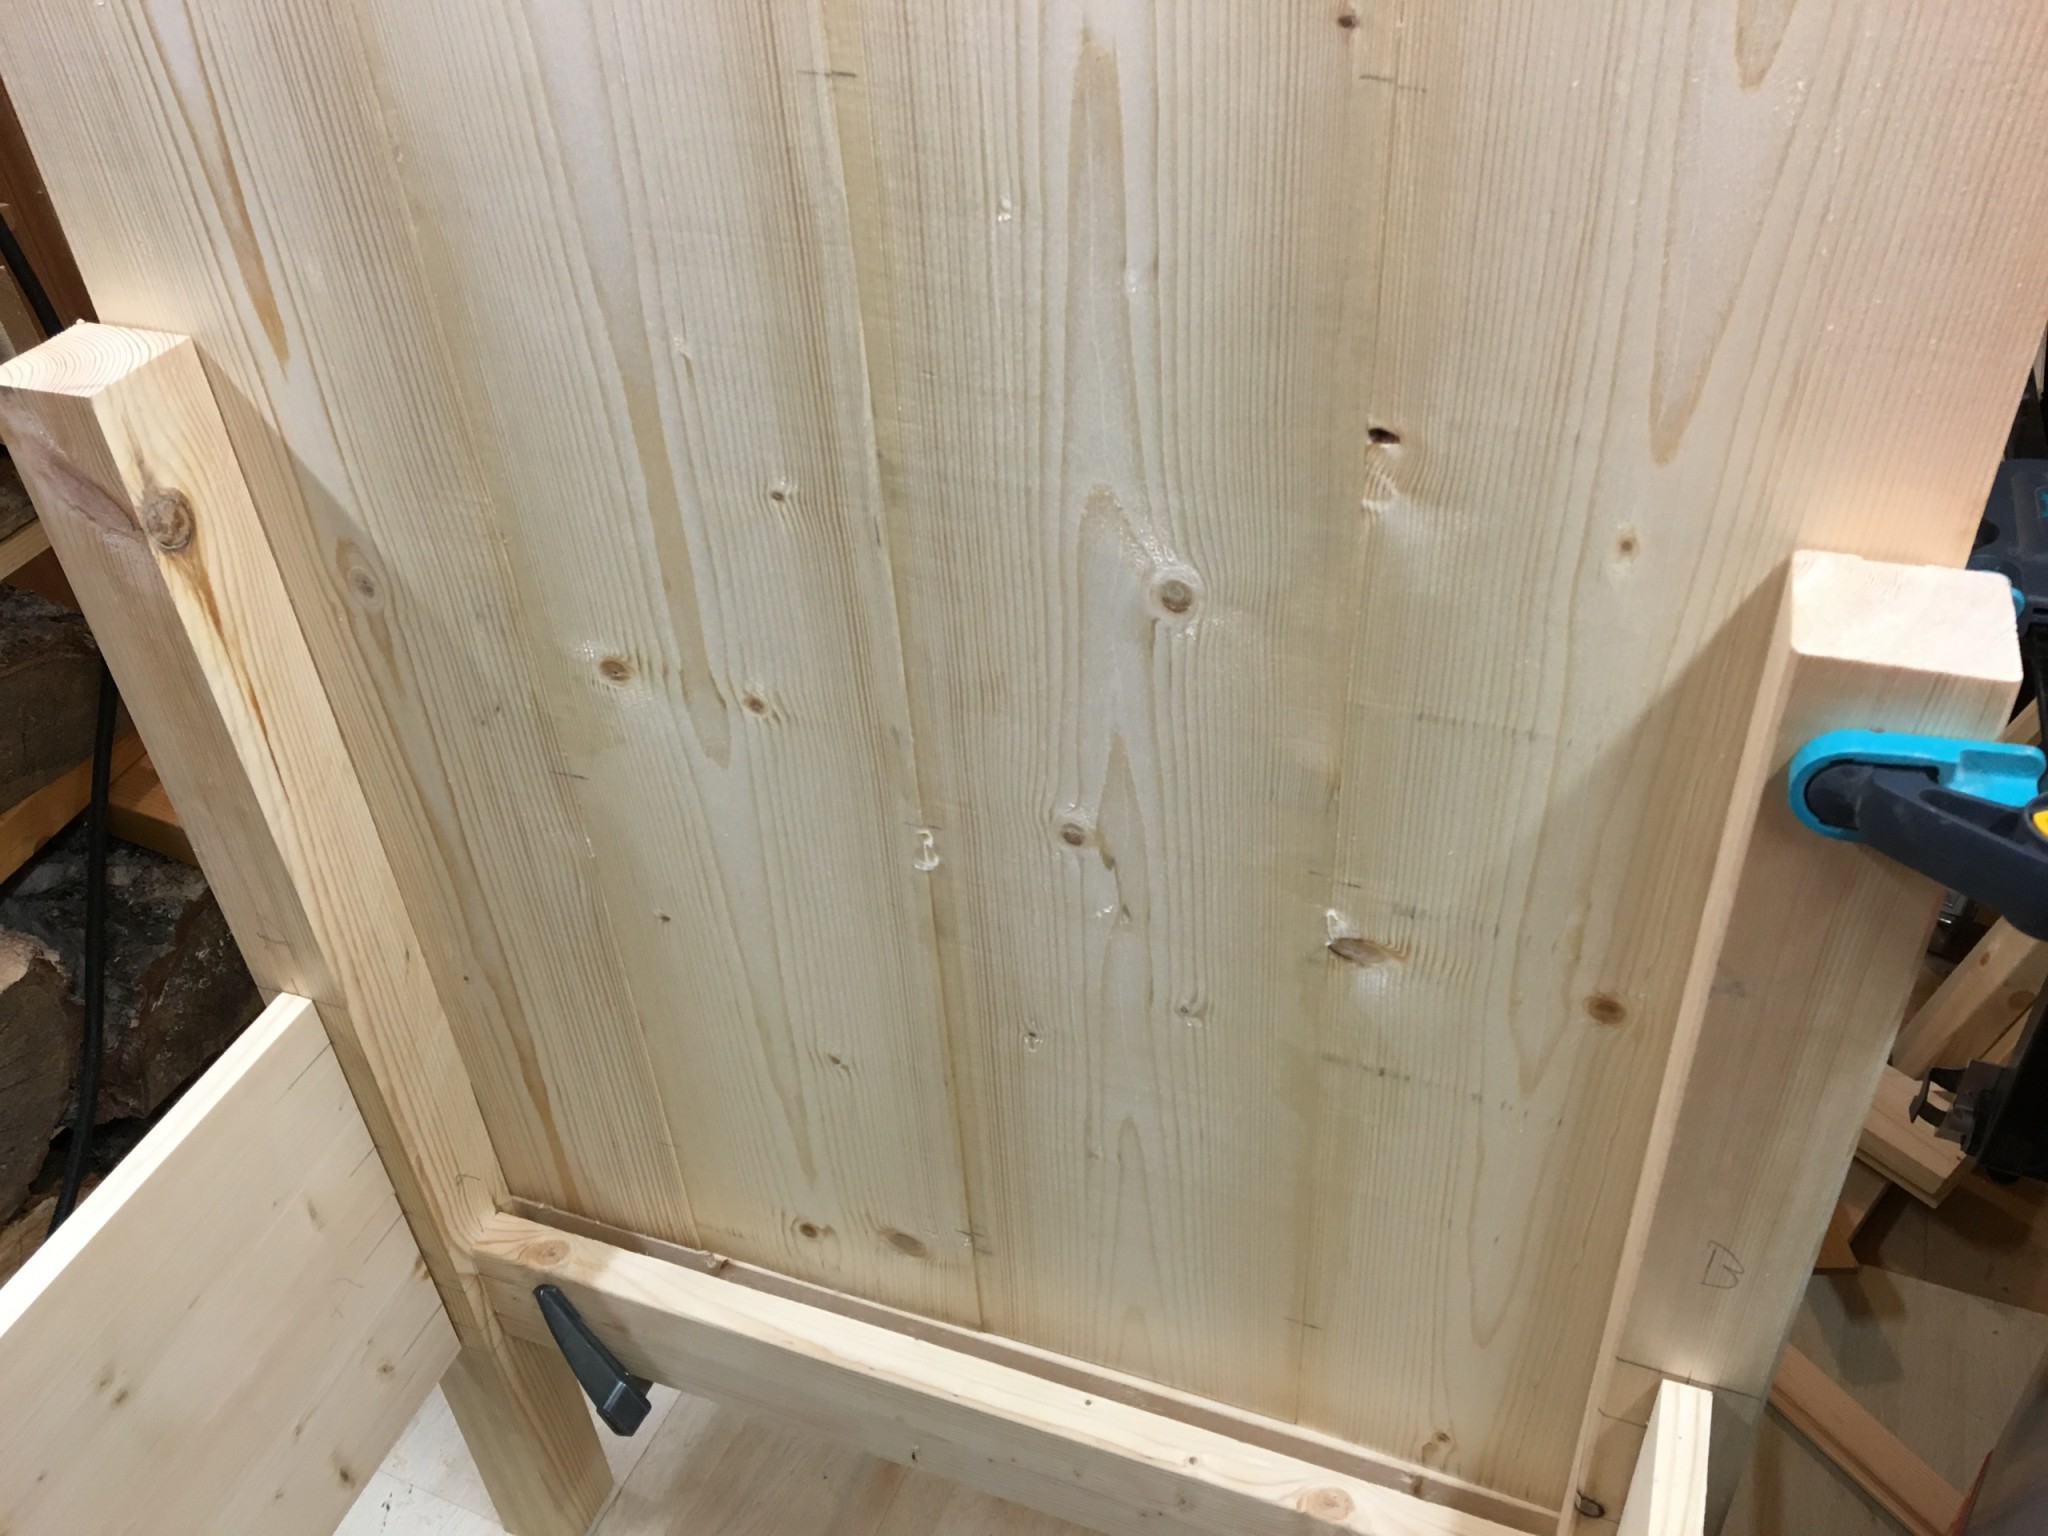
The panel would be notched for the posts, cut to width and set down. Then the measuring and drawing of the details could begin.
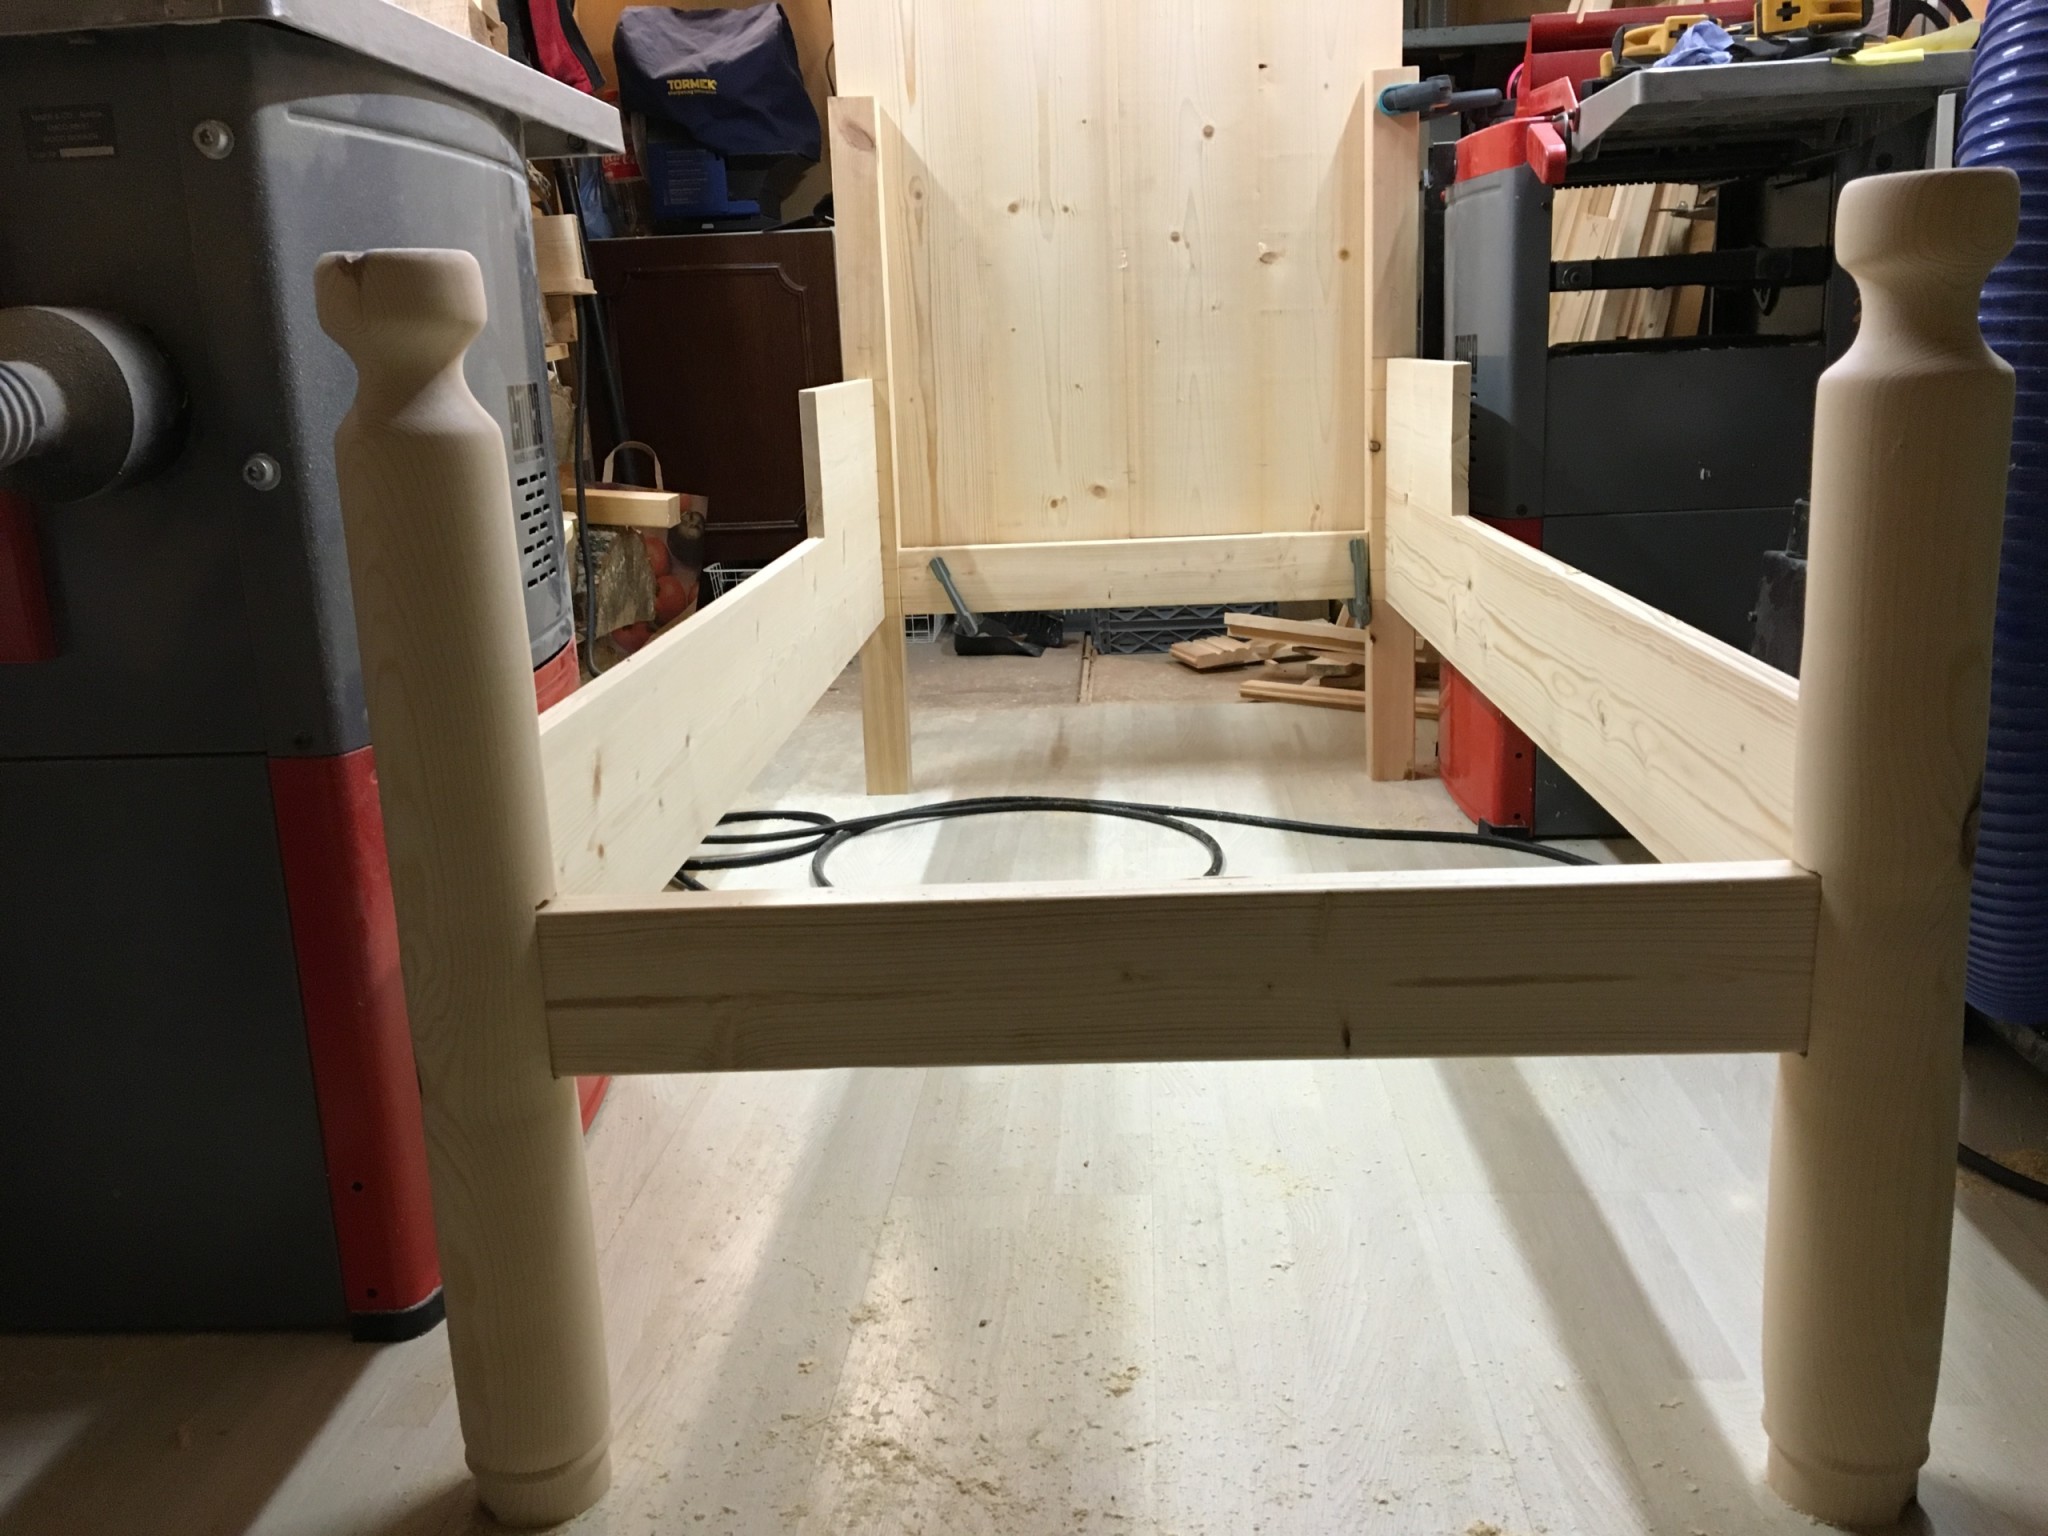
You notice how small your workshop is when you build furniture this size. The bed was the most that would fit.
The base and the glue-up
A slatted base usually rests on a ledger along the long side. I wondered how to fix it without the edge getting too high, or whether two loose pieces fixed to the ends would be better.
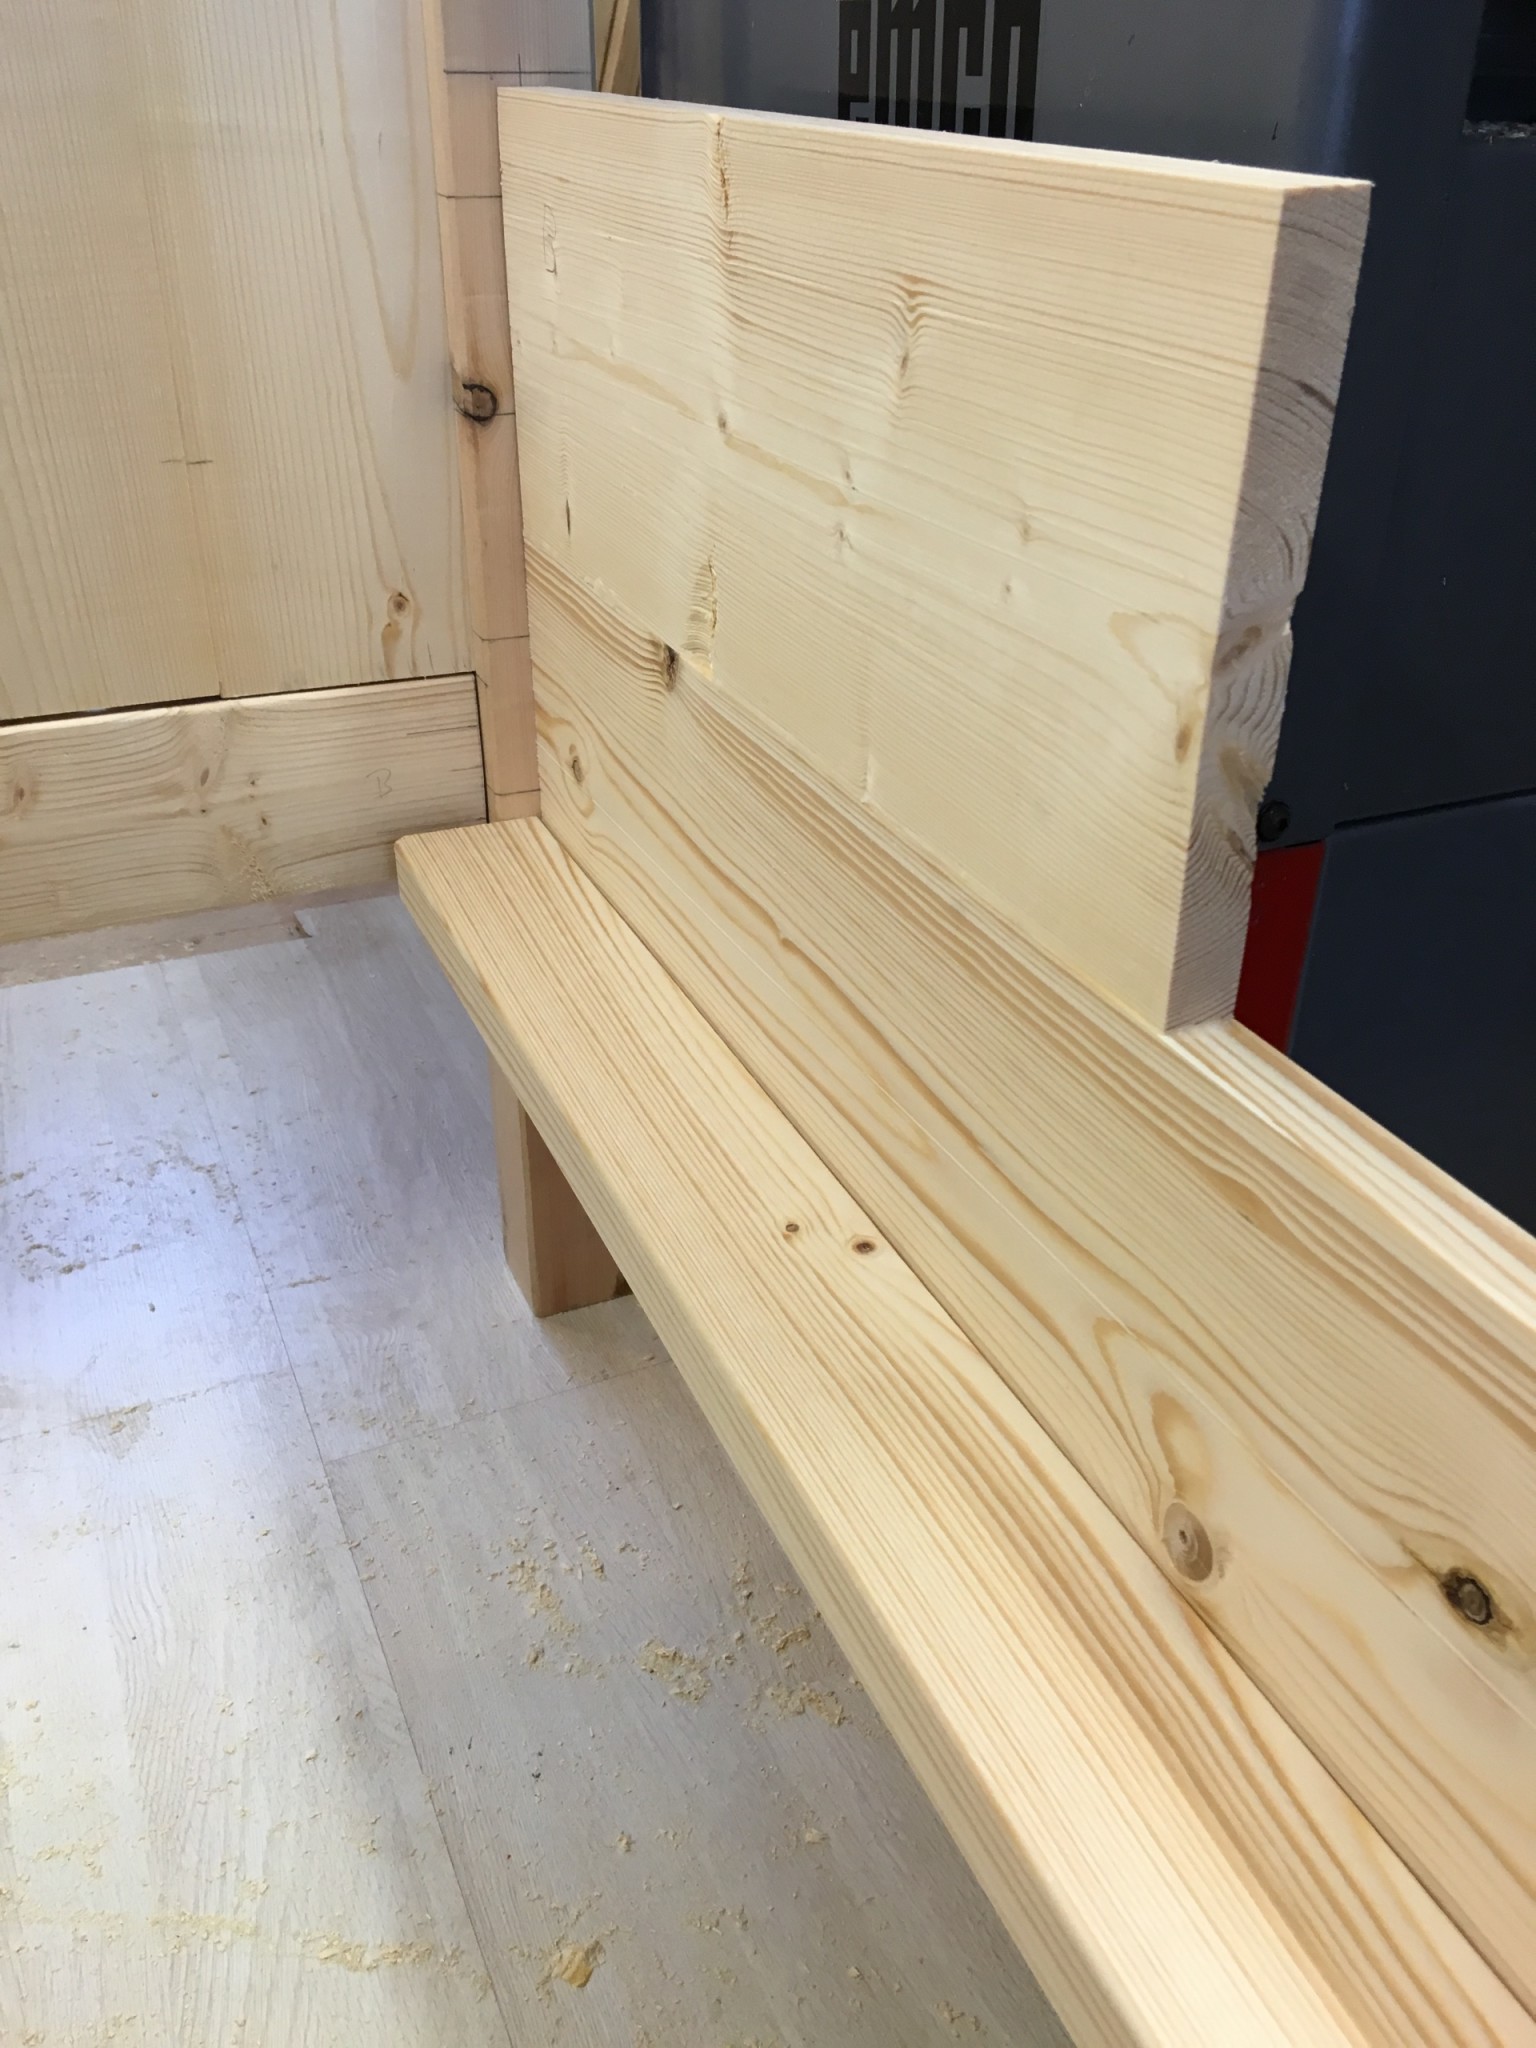
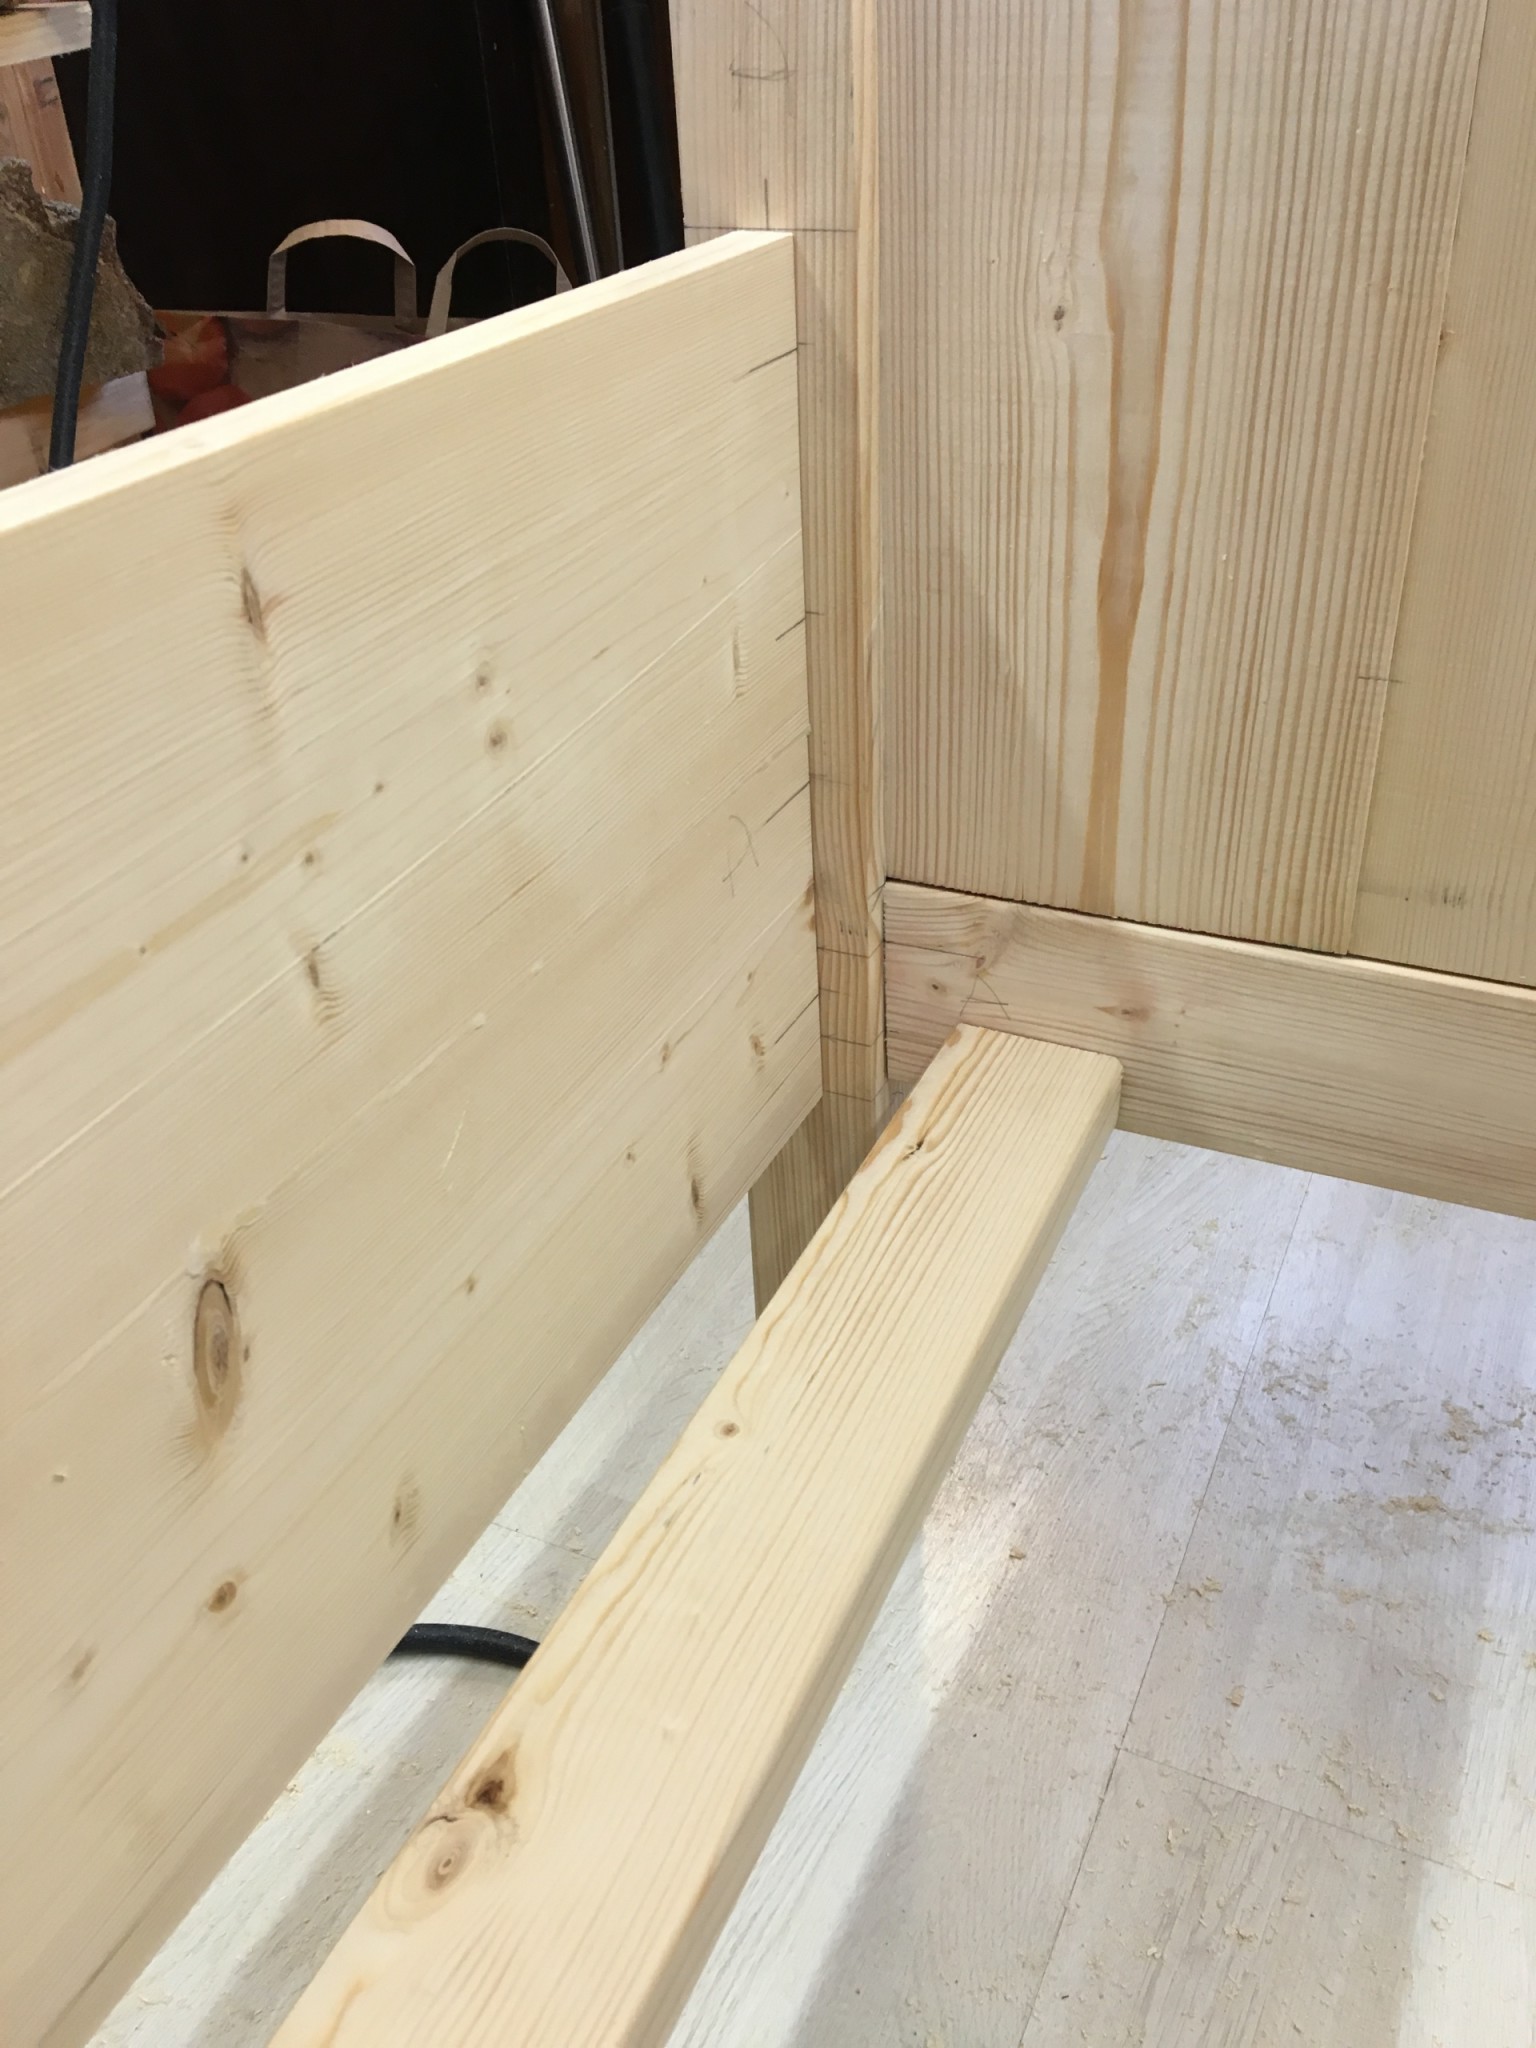
At first I thought the bed should come apart: the ends glued, the sides loose, with corner blocks so the bed always stays square and can't rack.
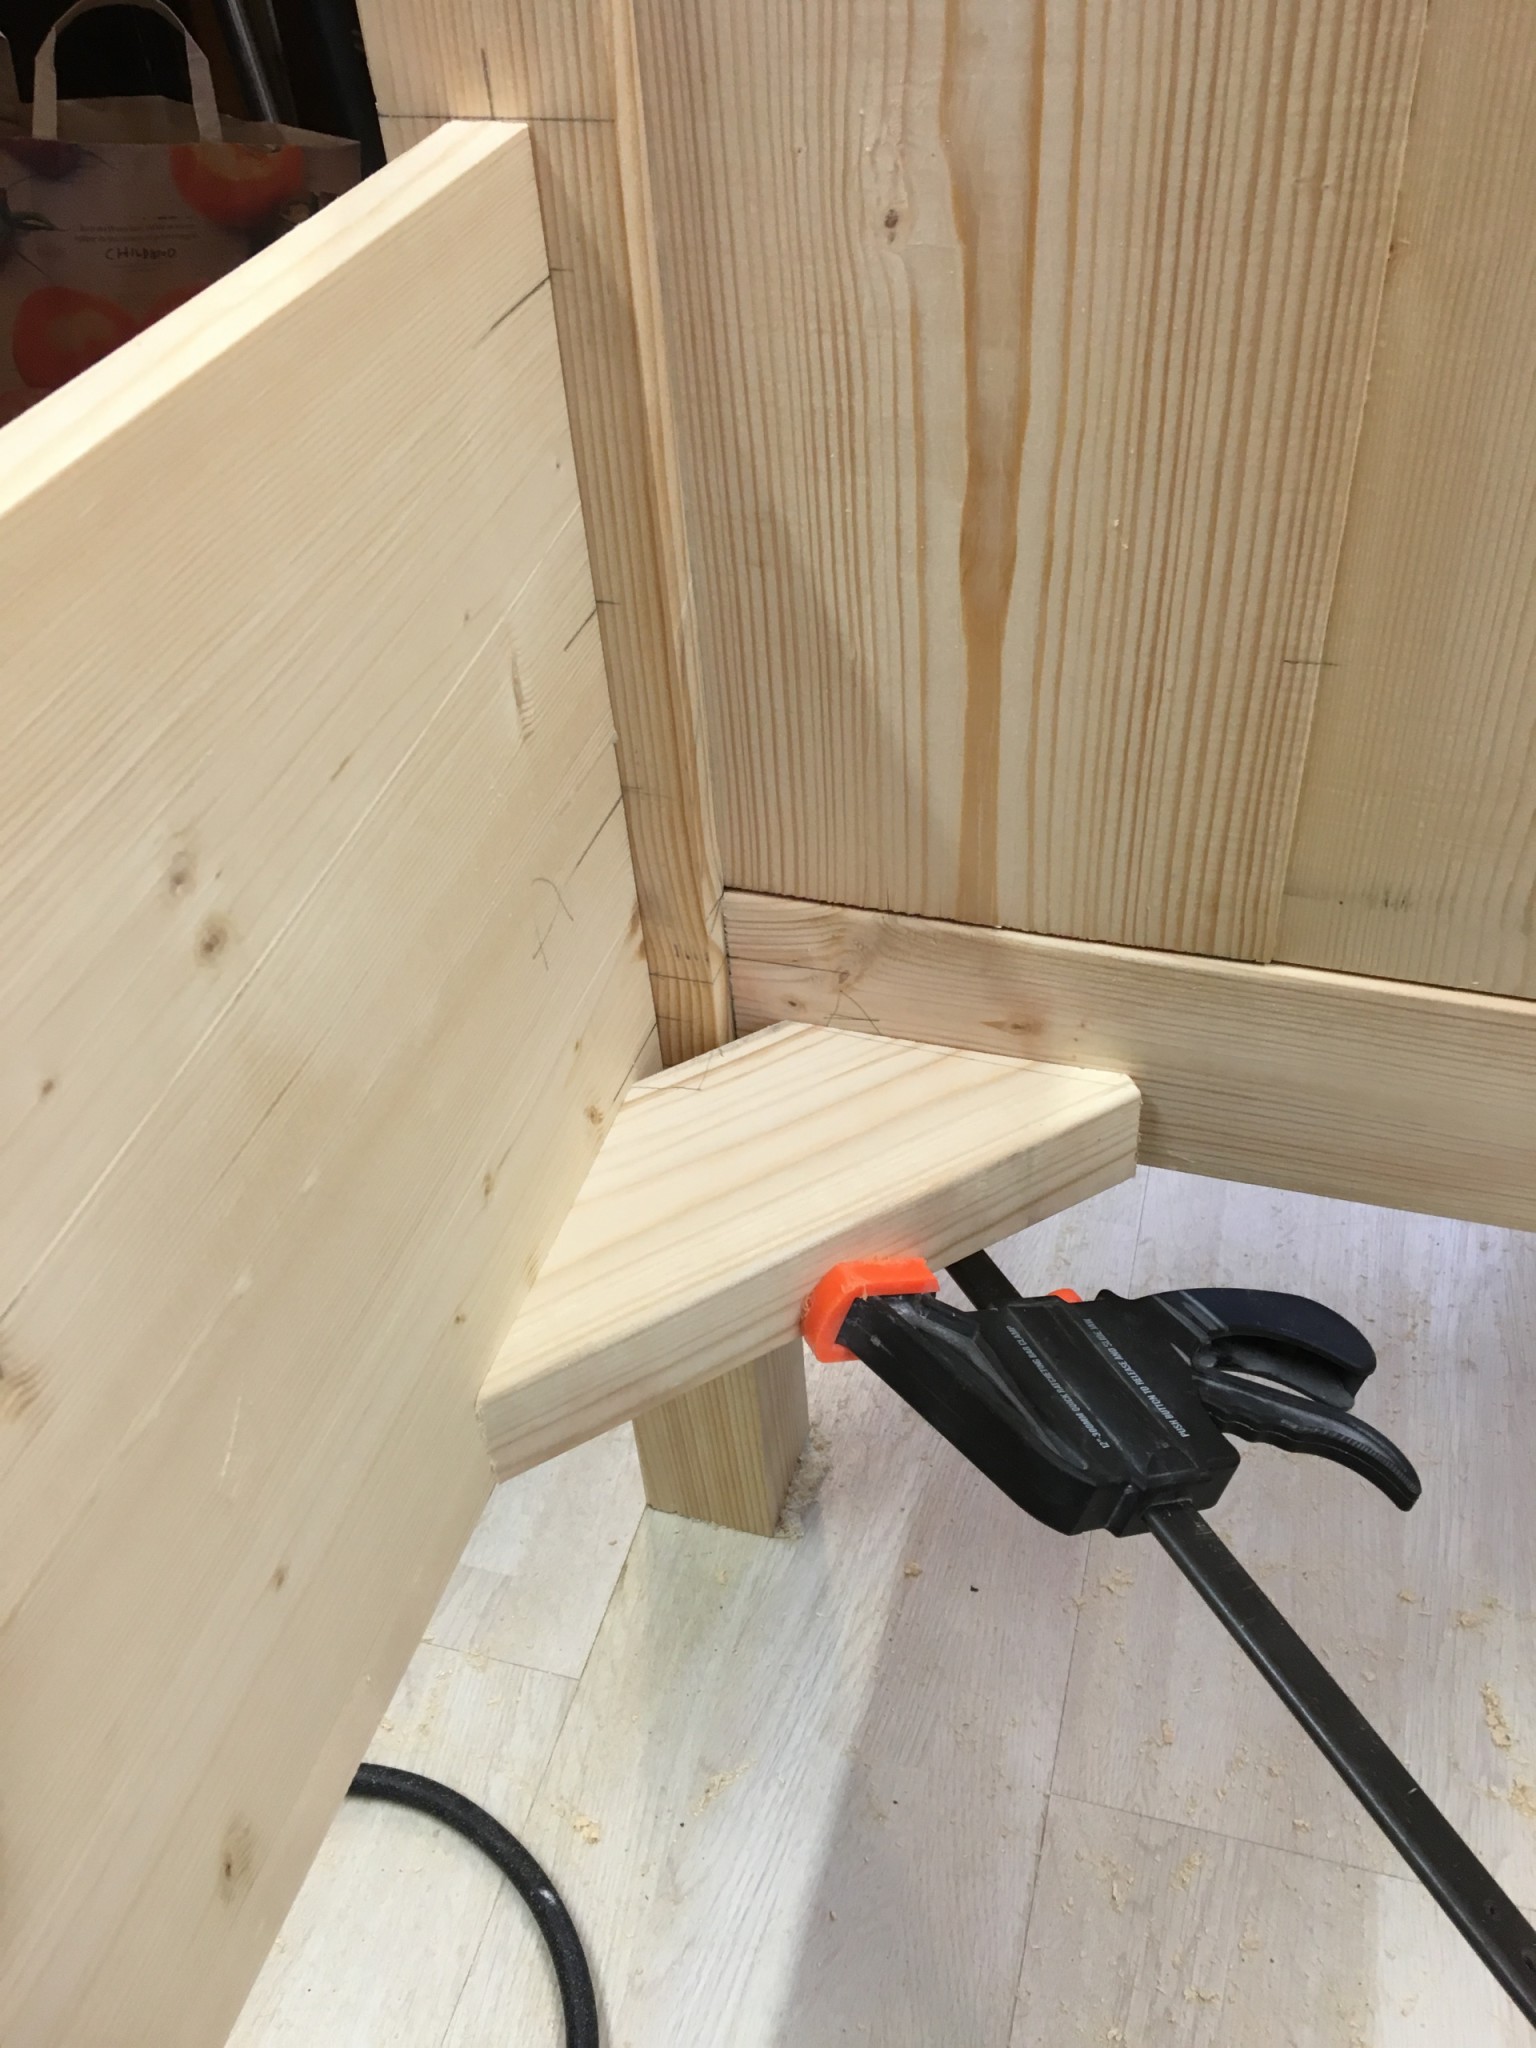
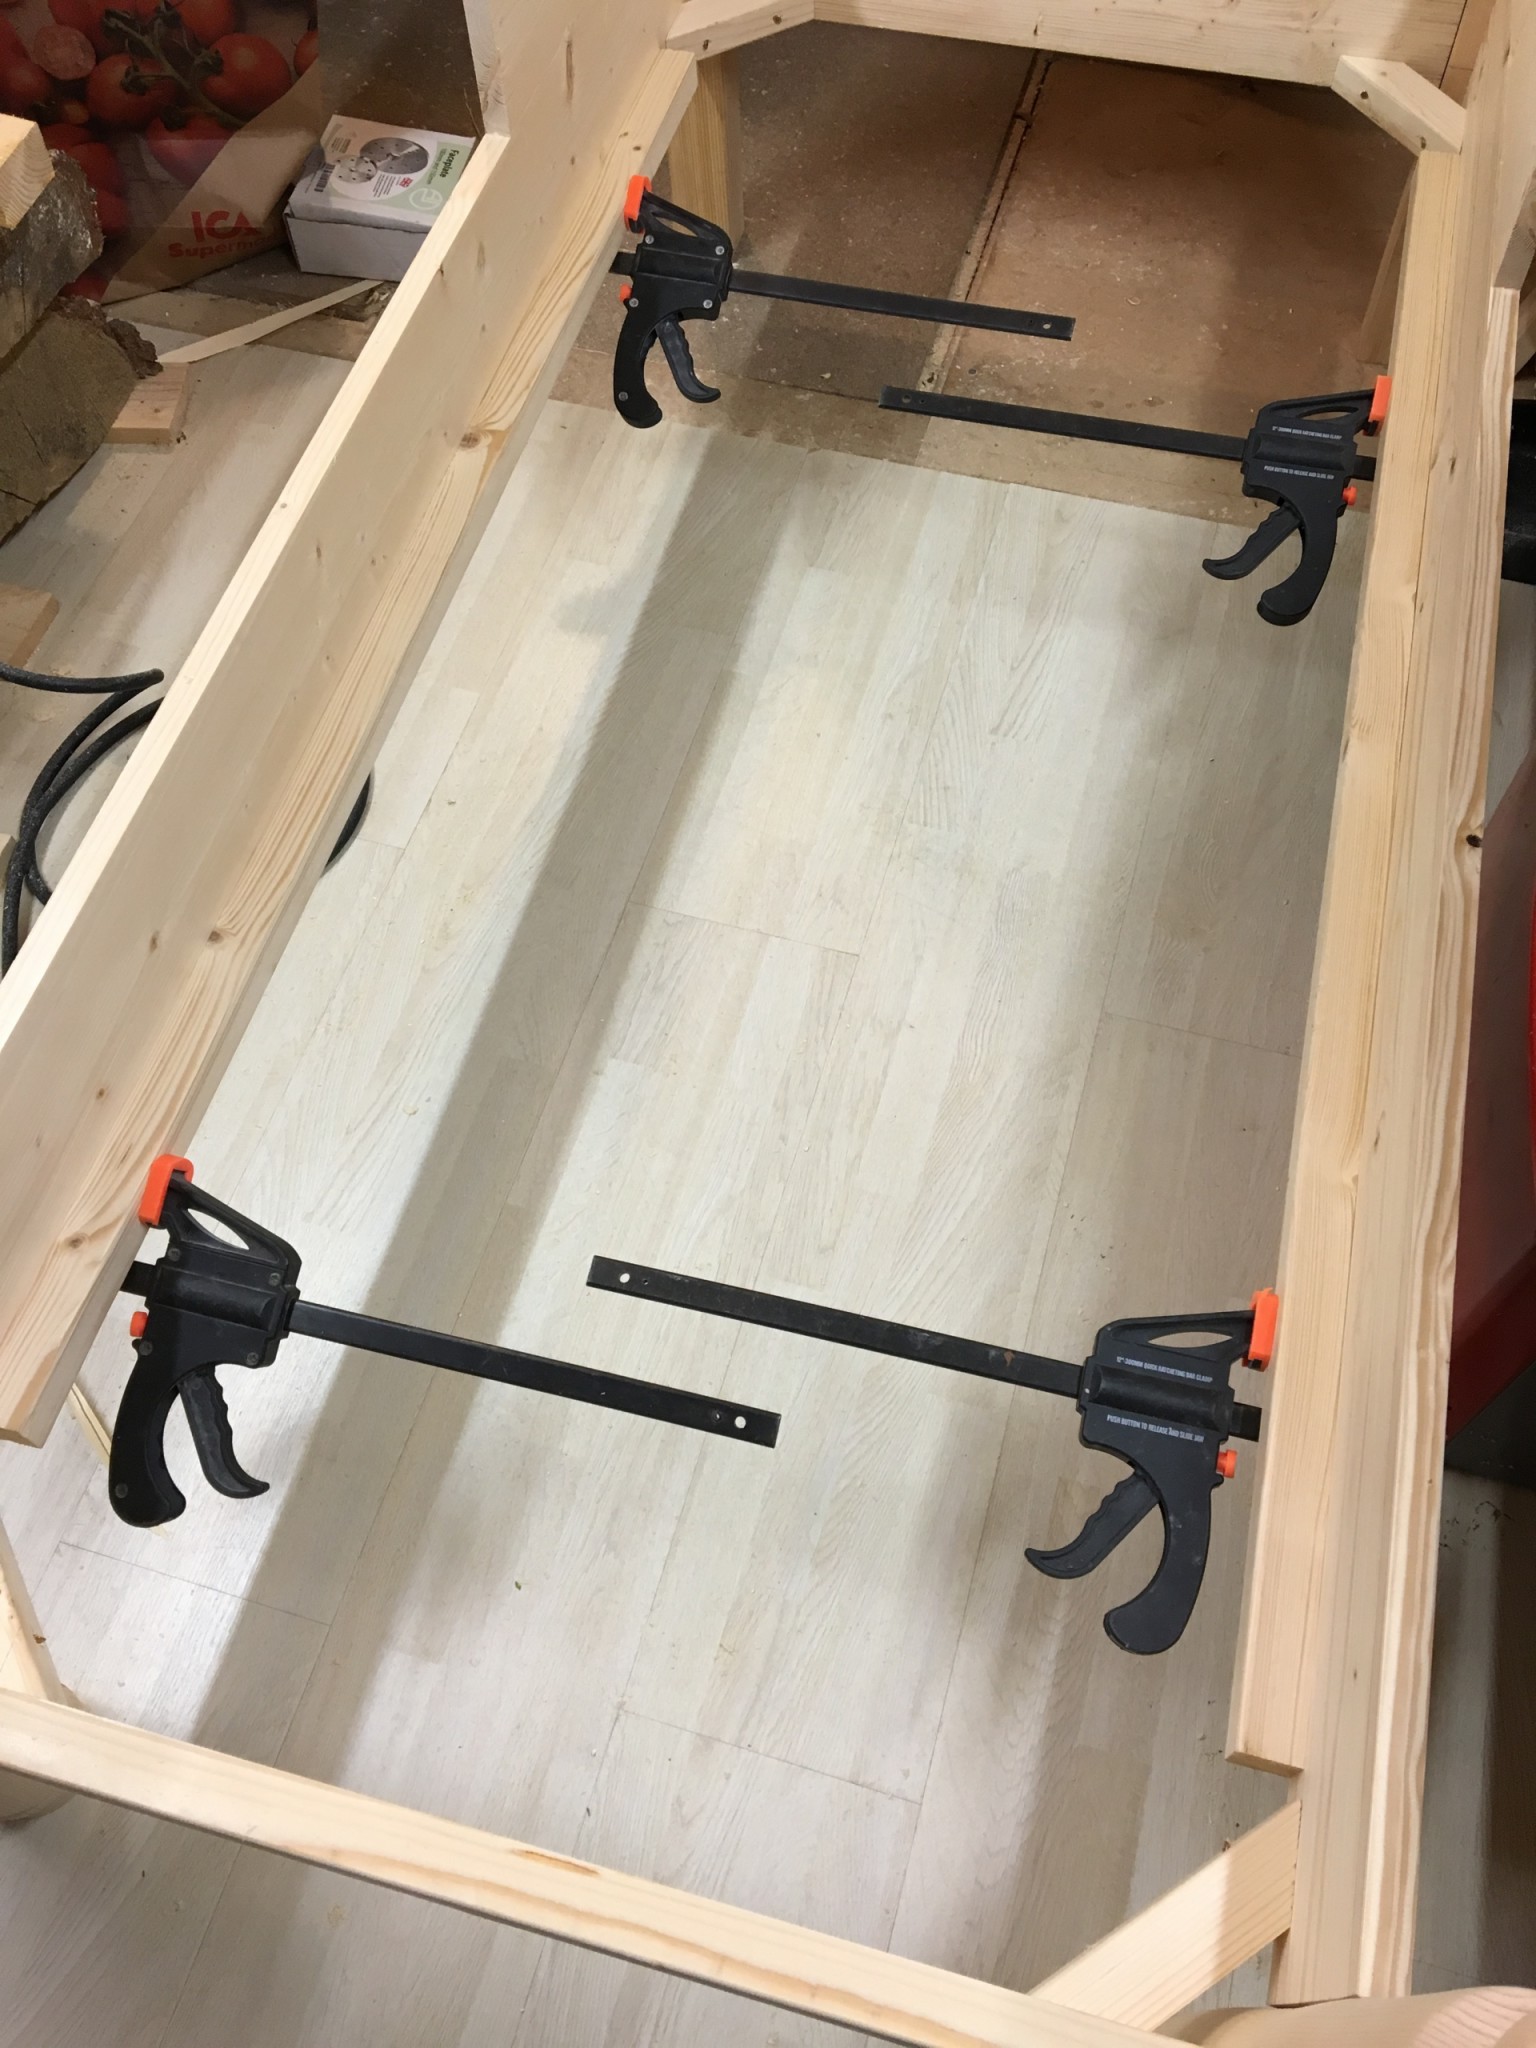
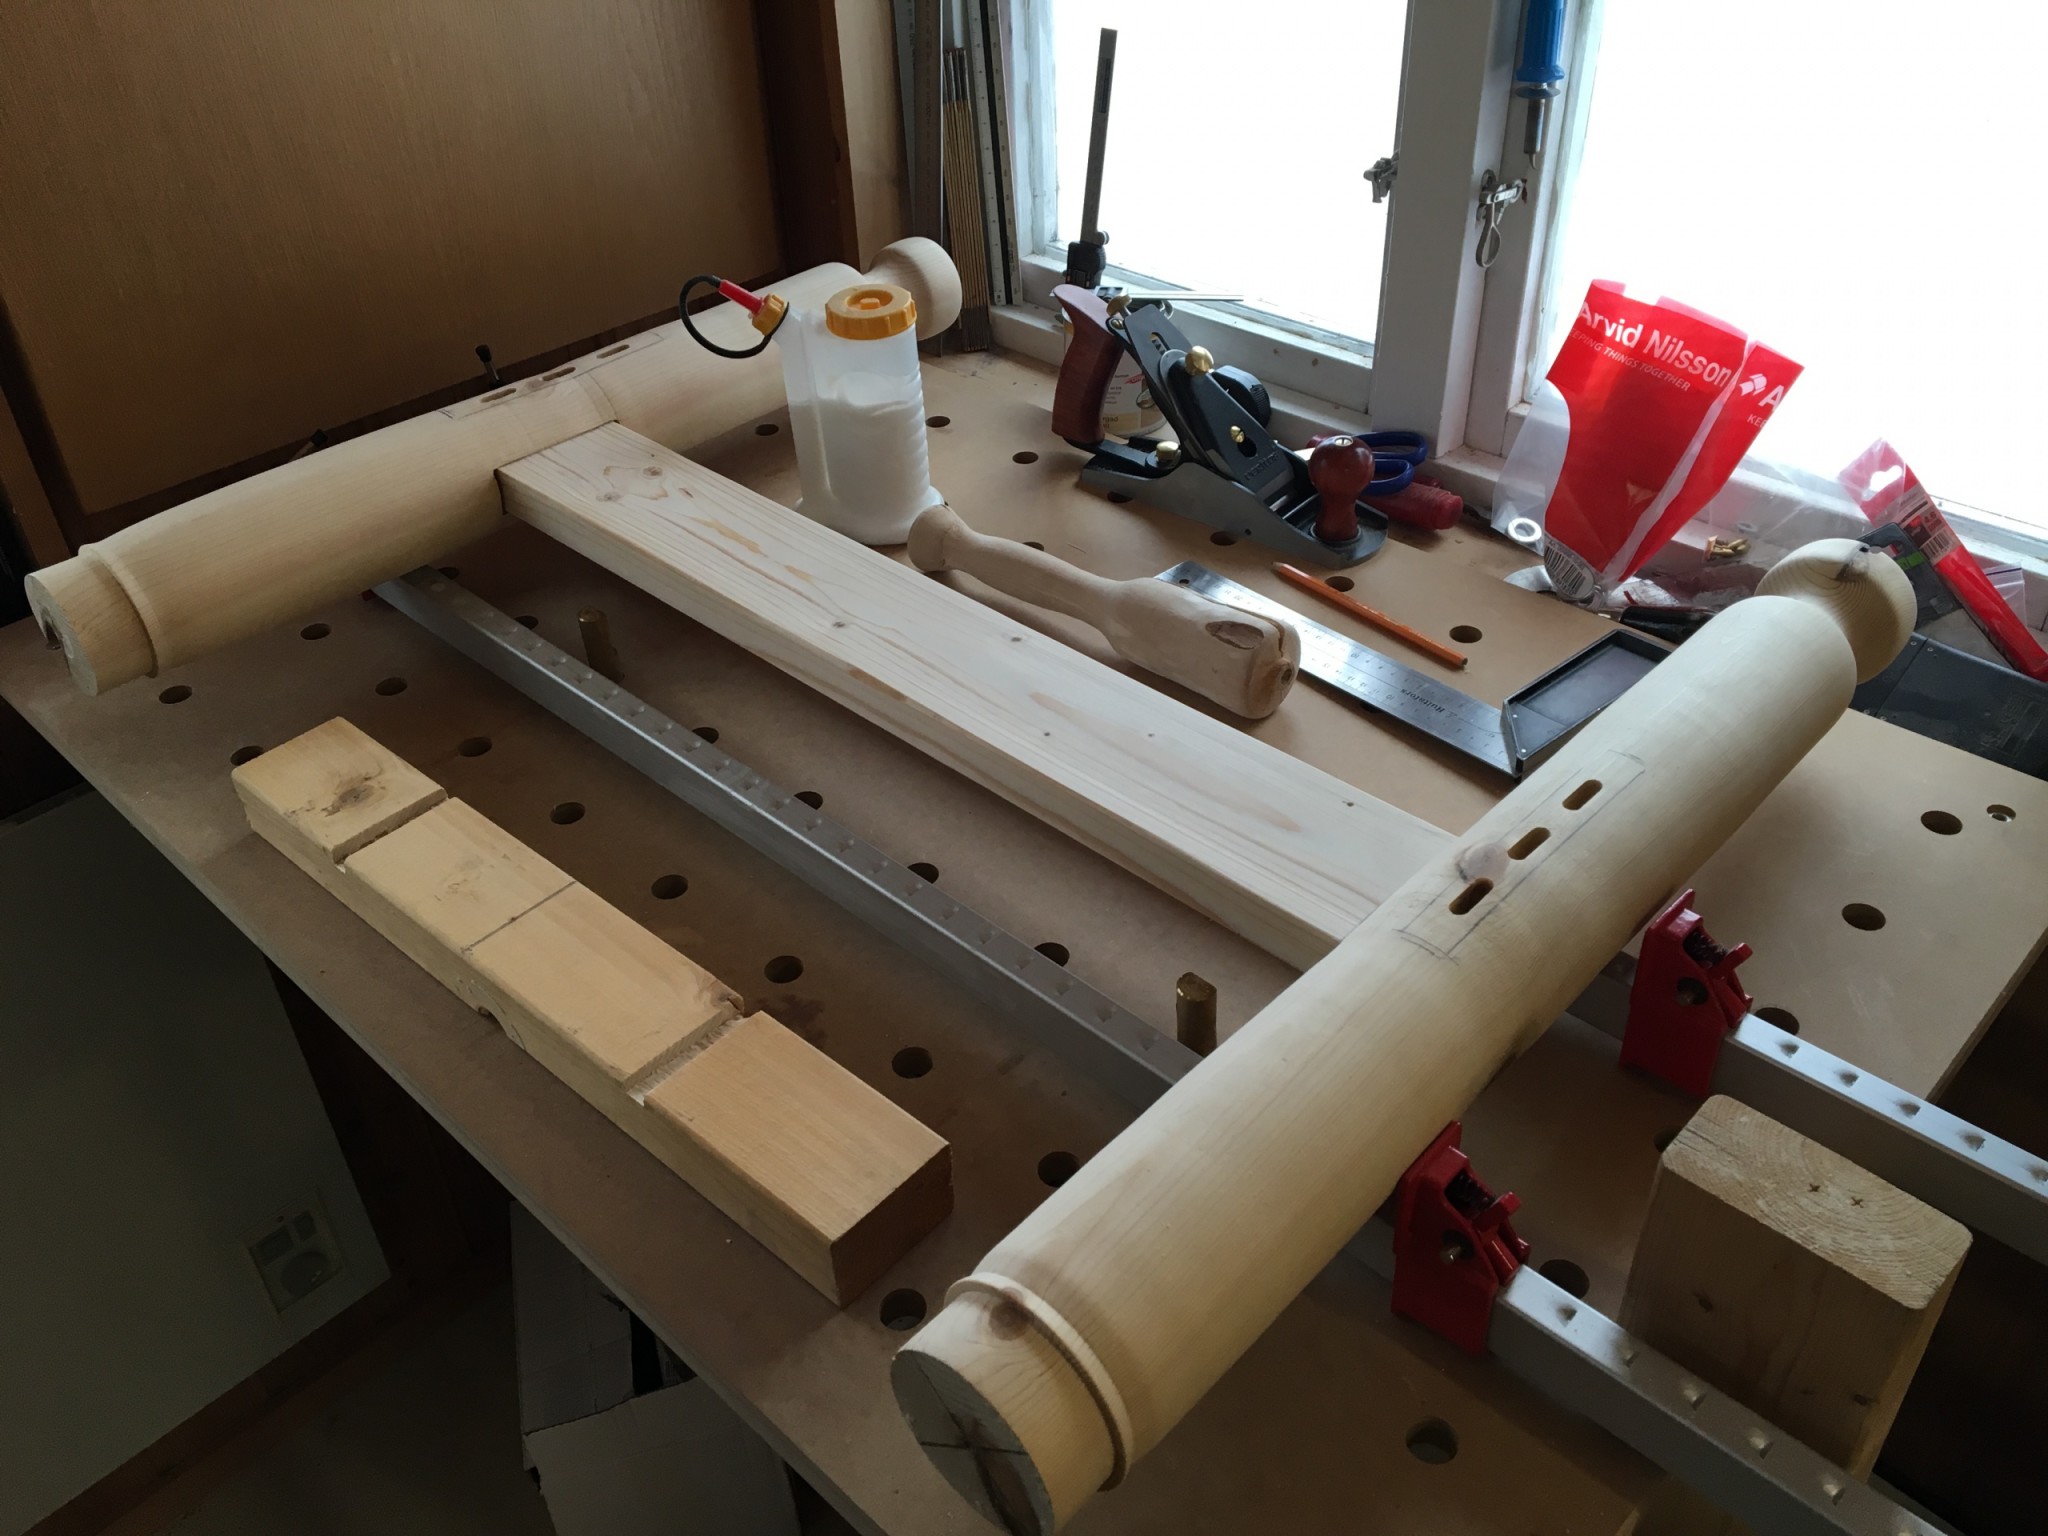
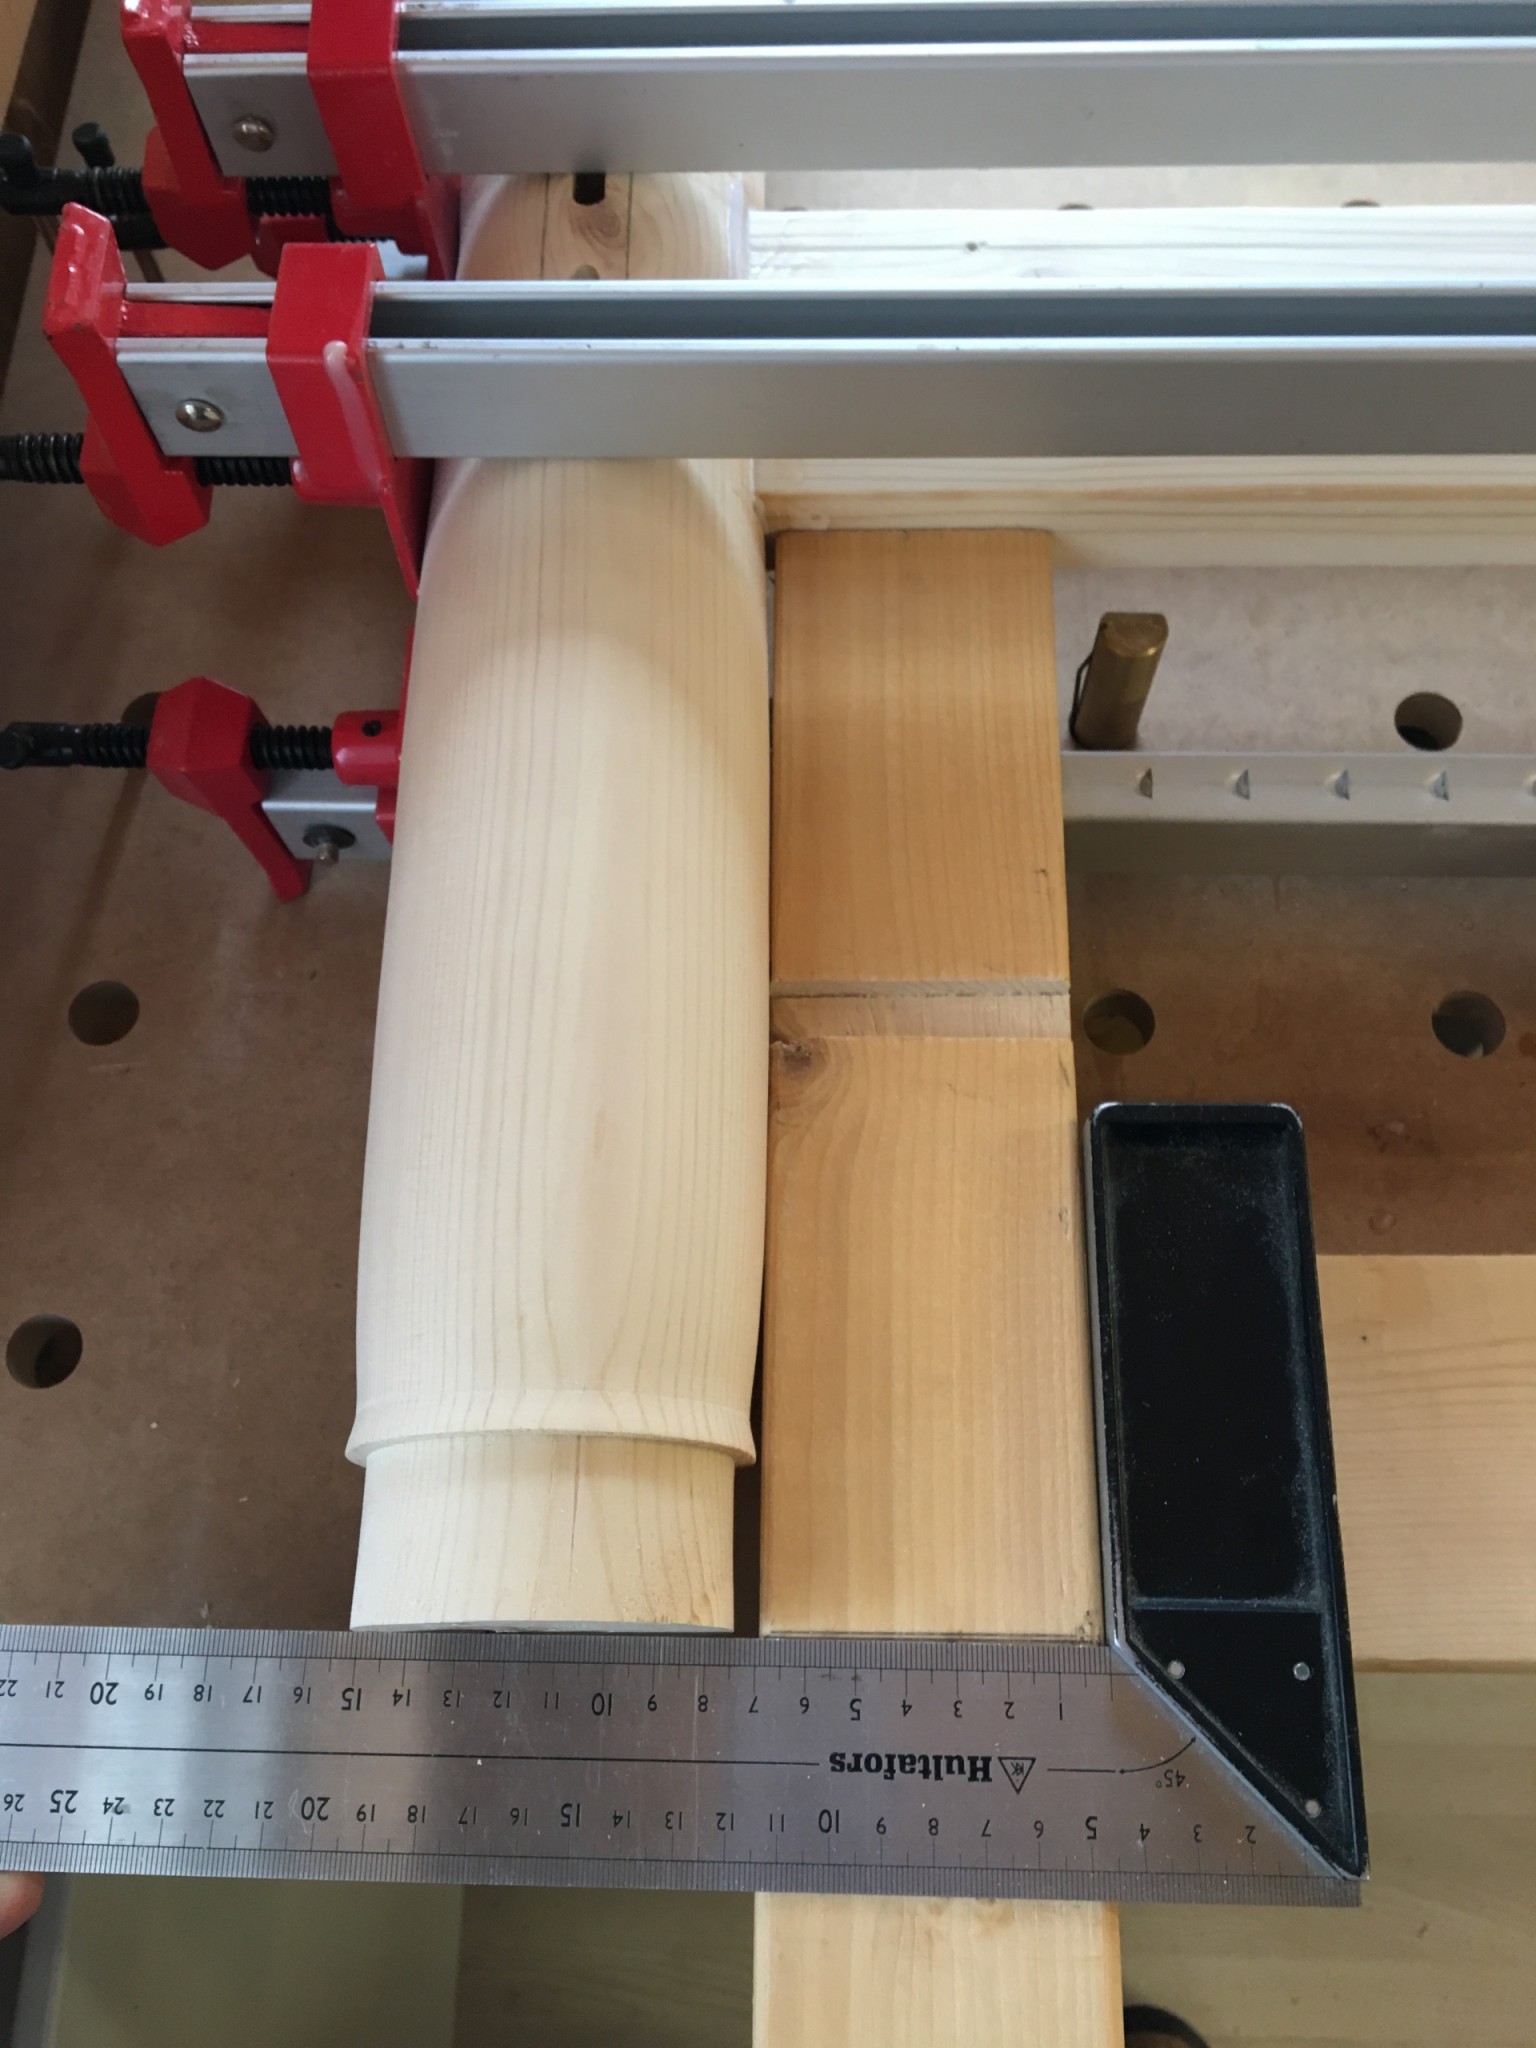
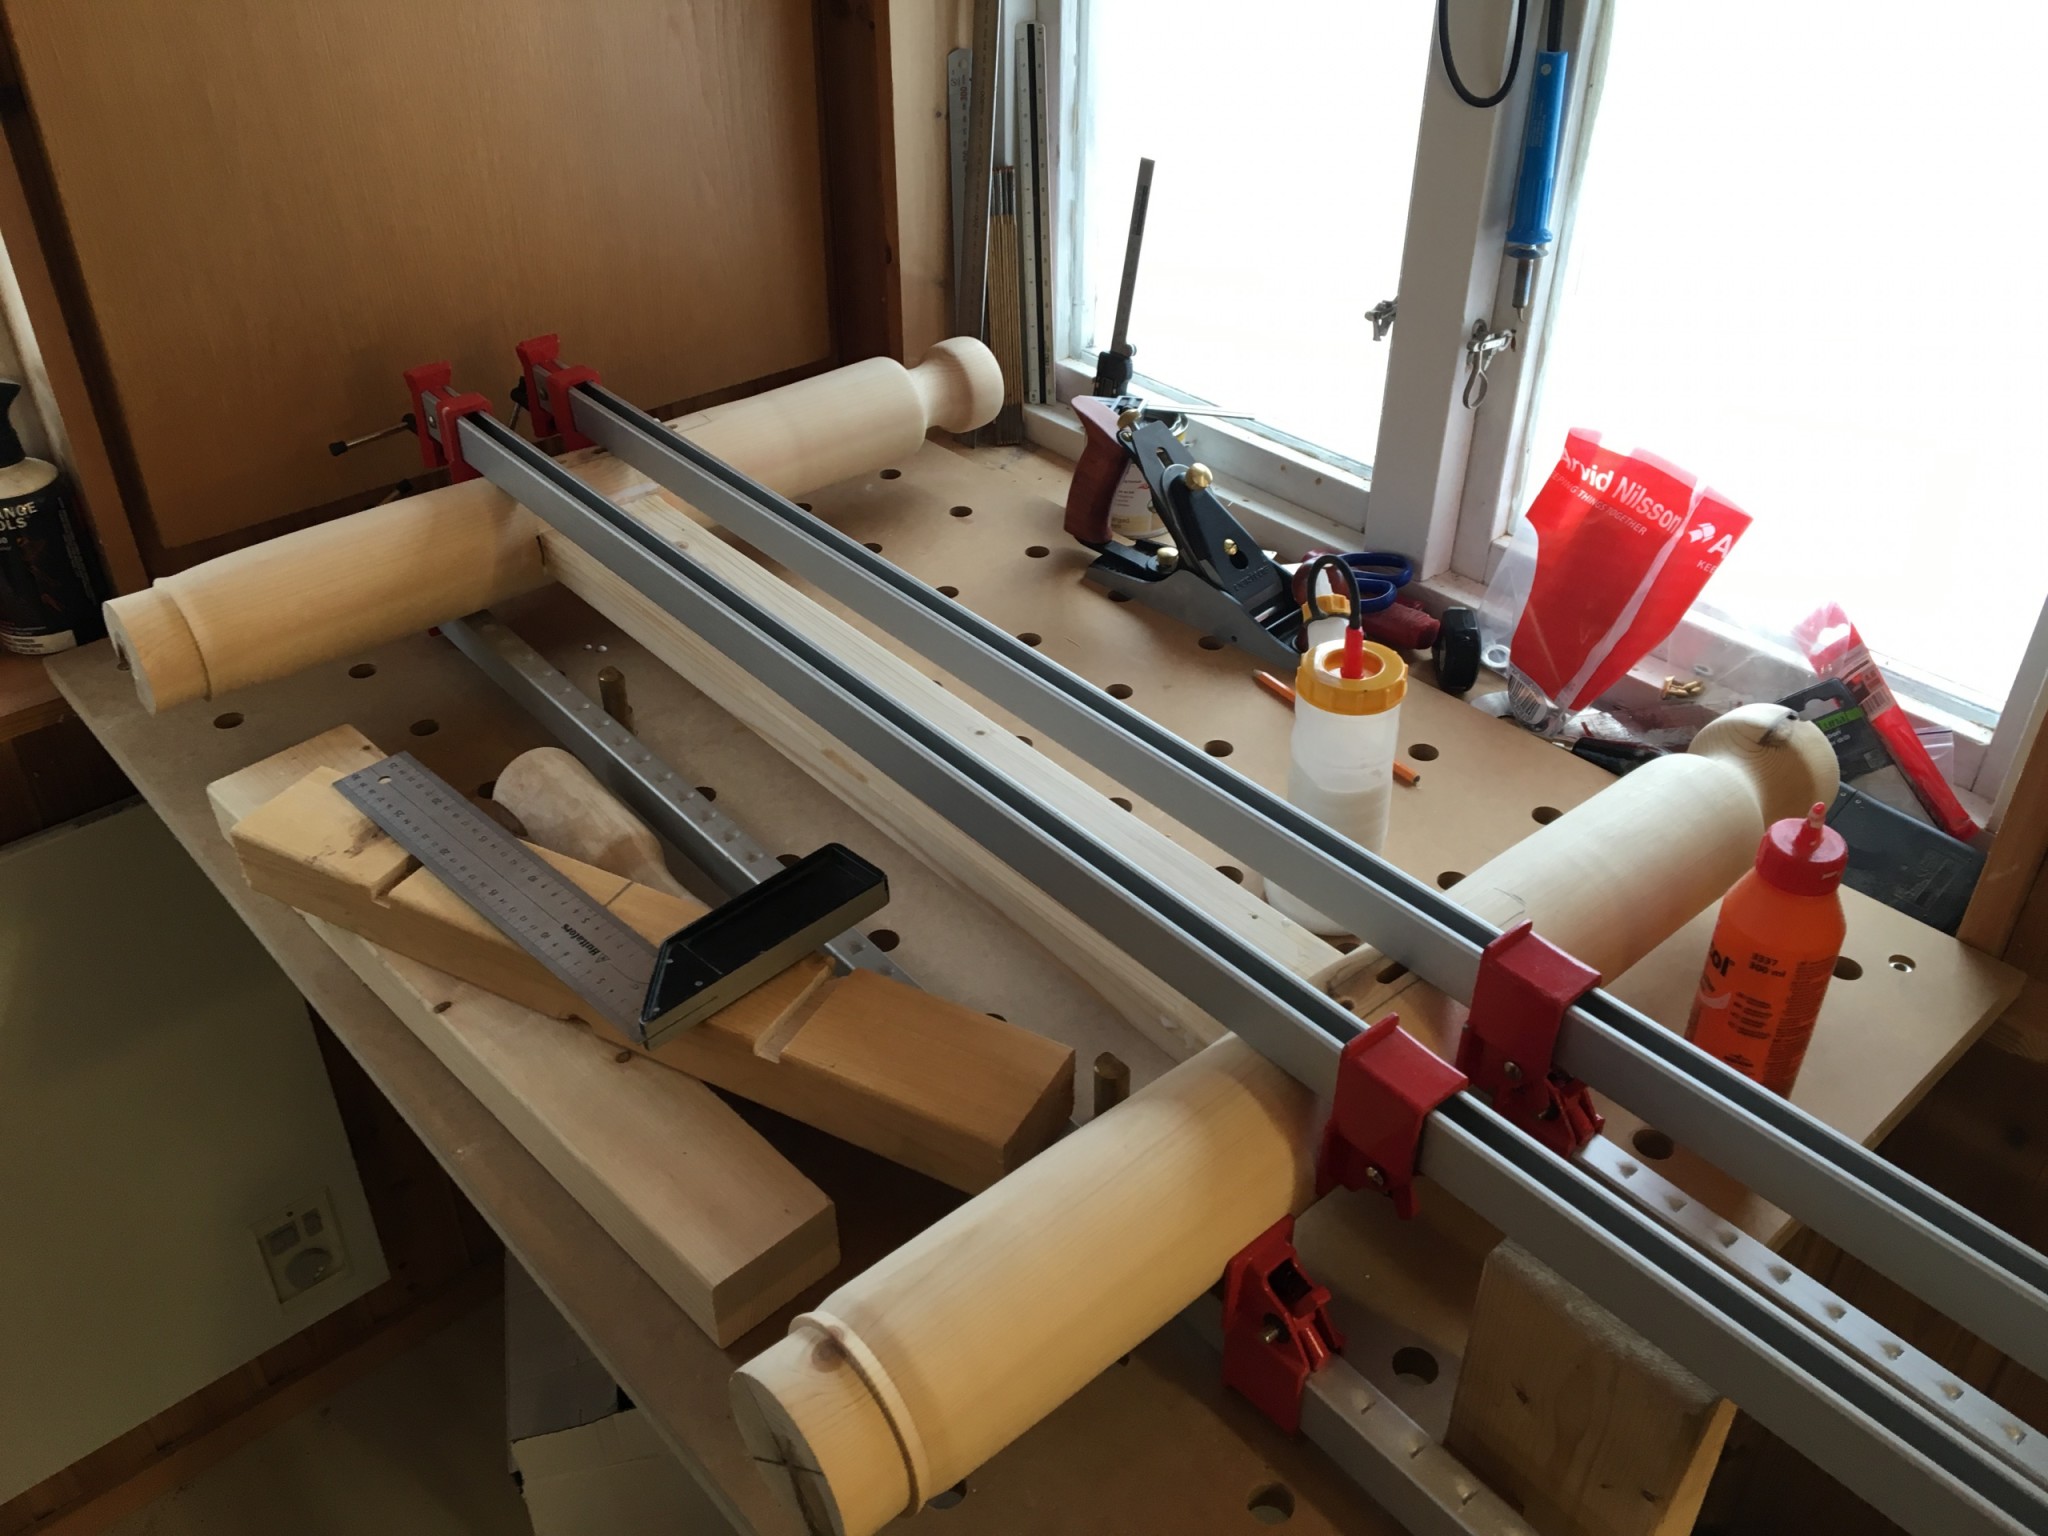
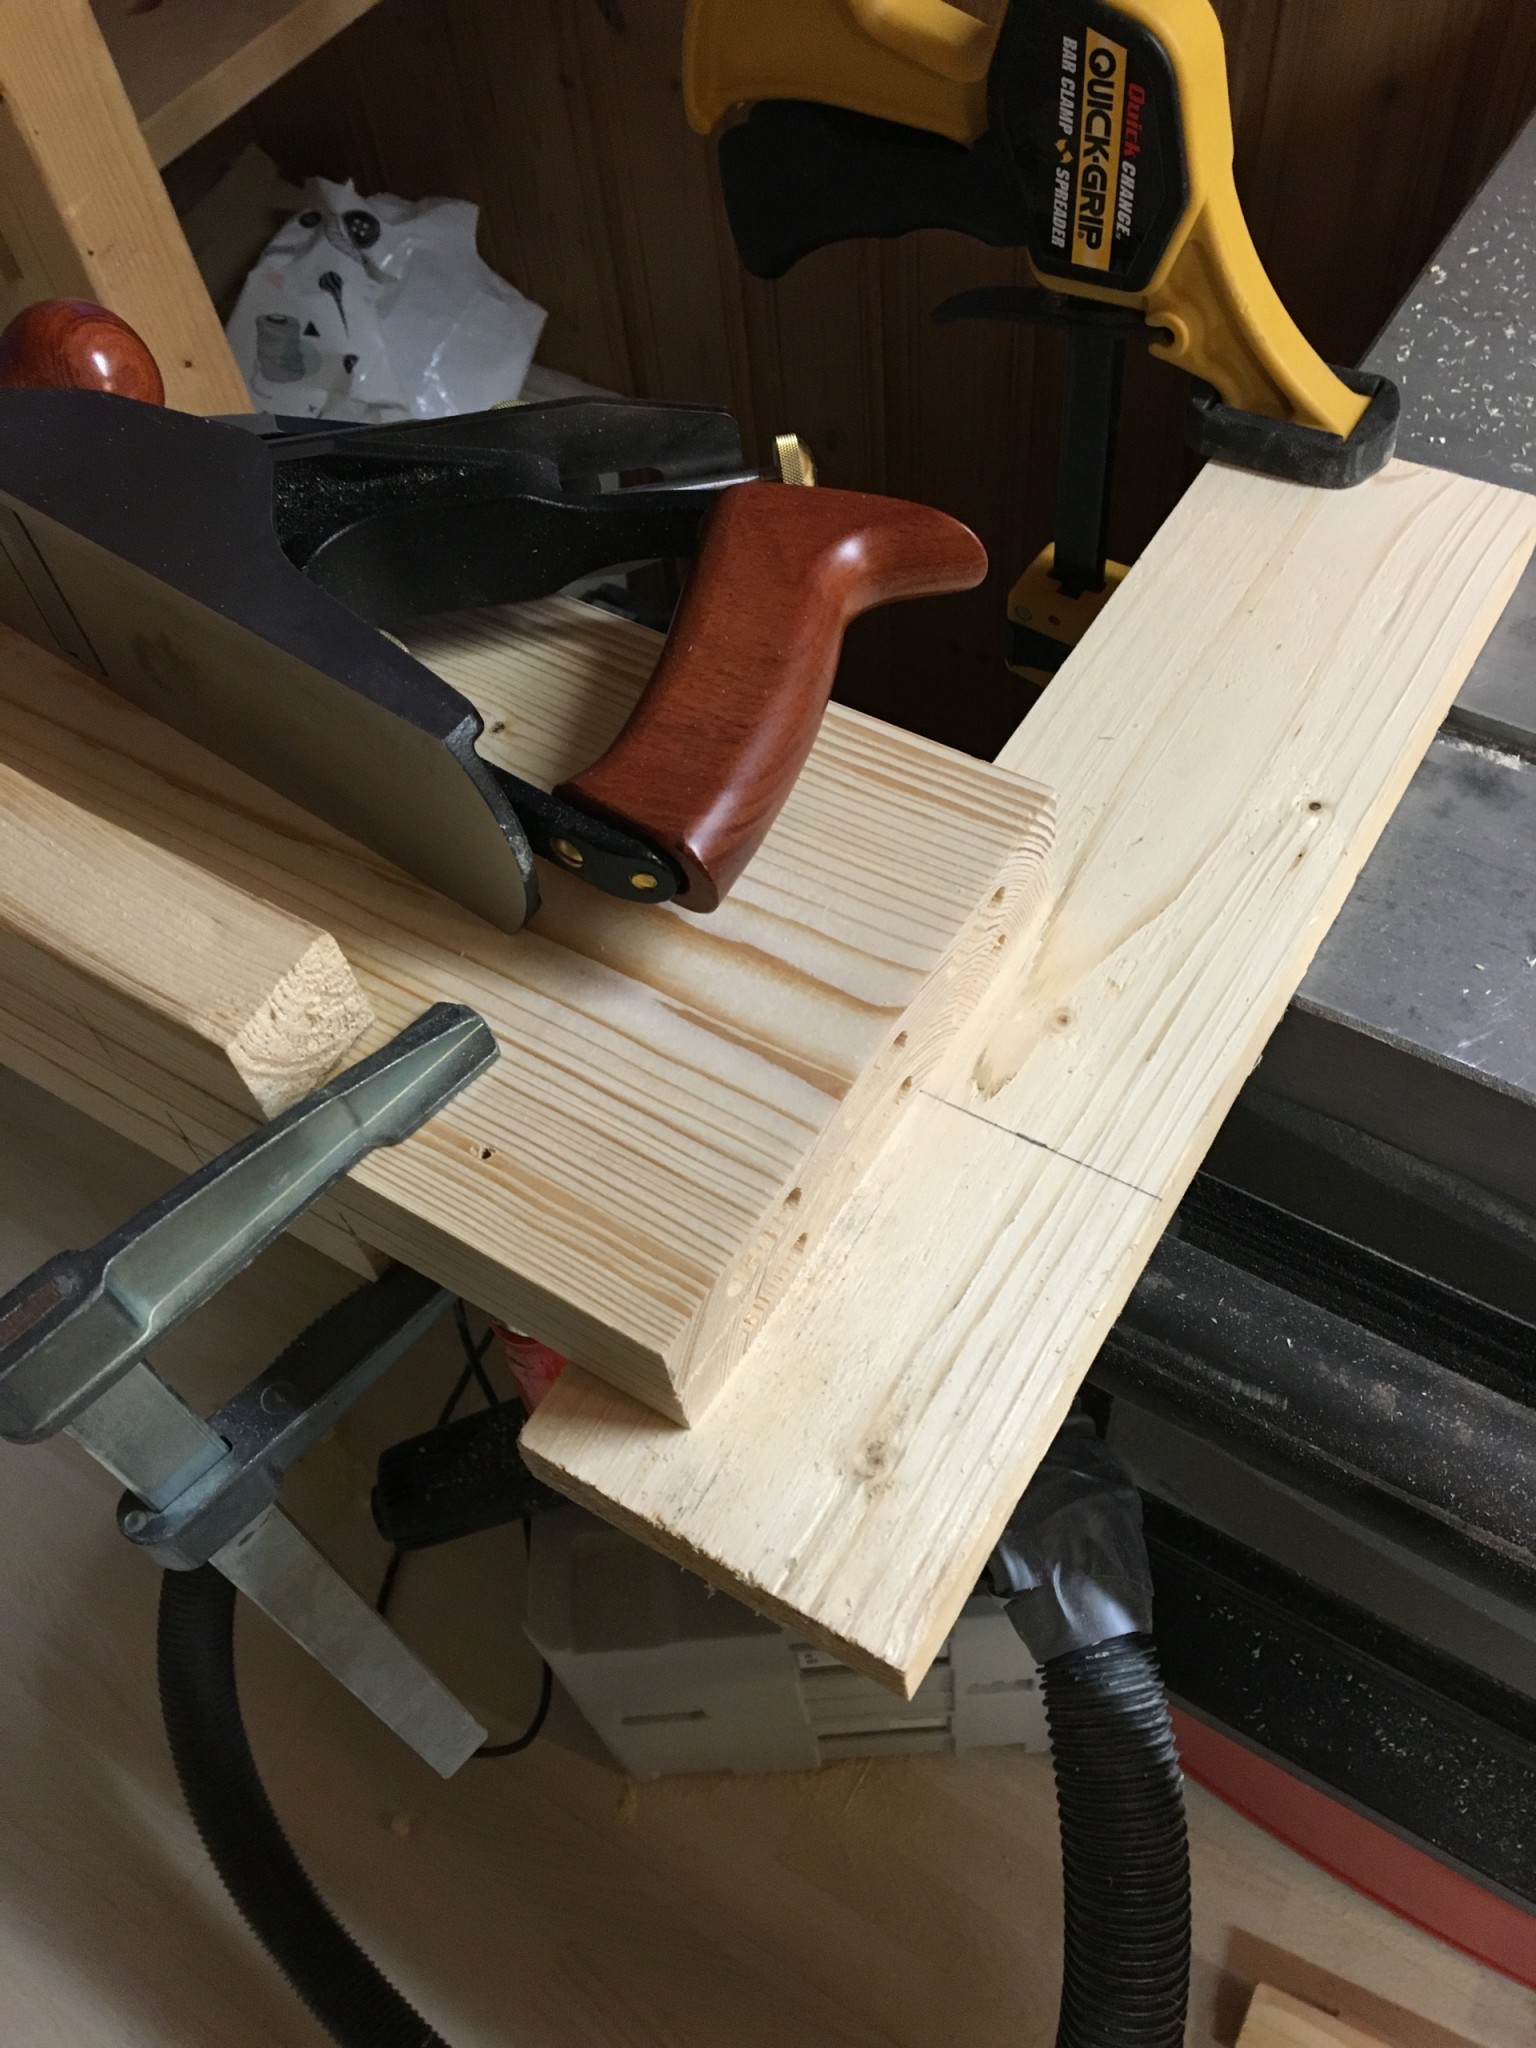
But my wife didn't think the bed needed to come apart, so it would be glued. I fitted two smaller battens along the sides with a couple of dominos and glue. Next step: take everything apart, fix uneven edges, plane and sand, and glue the sides and foot end.
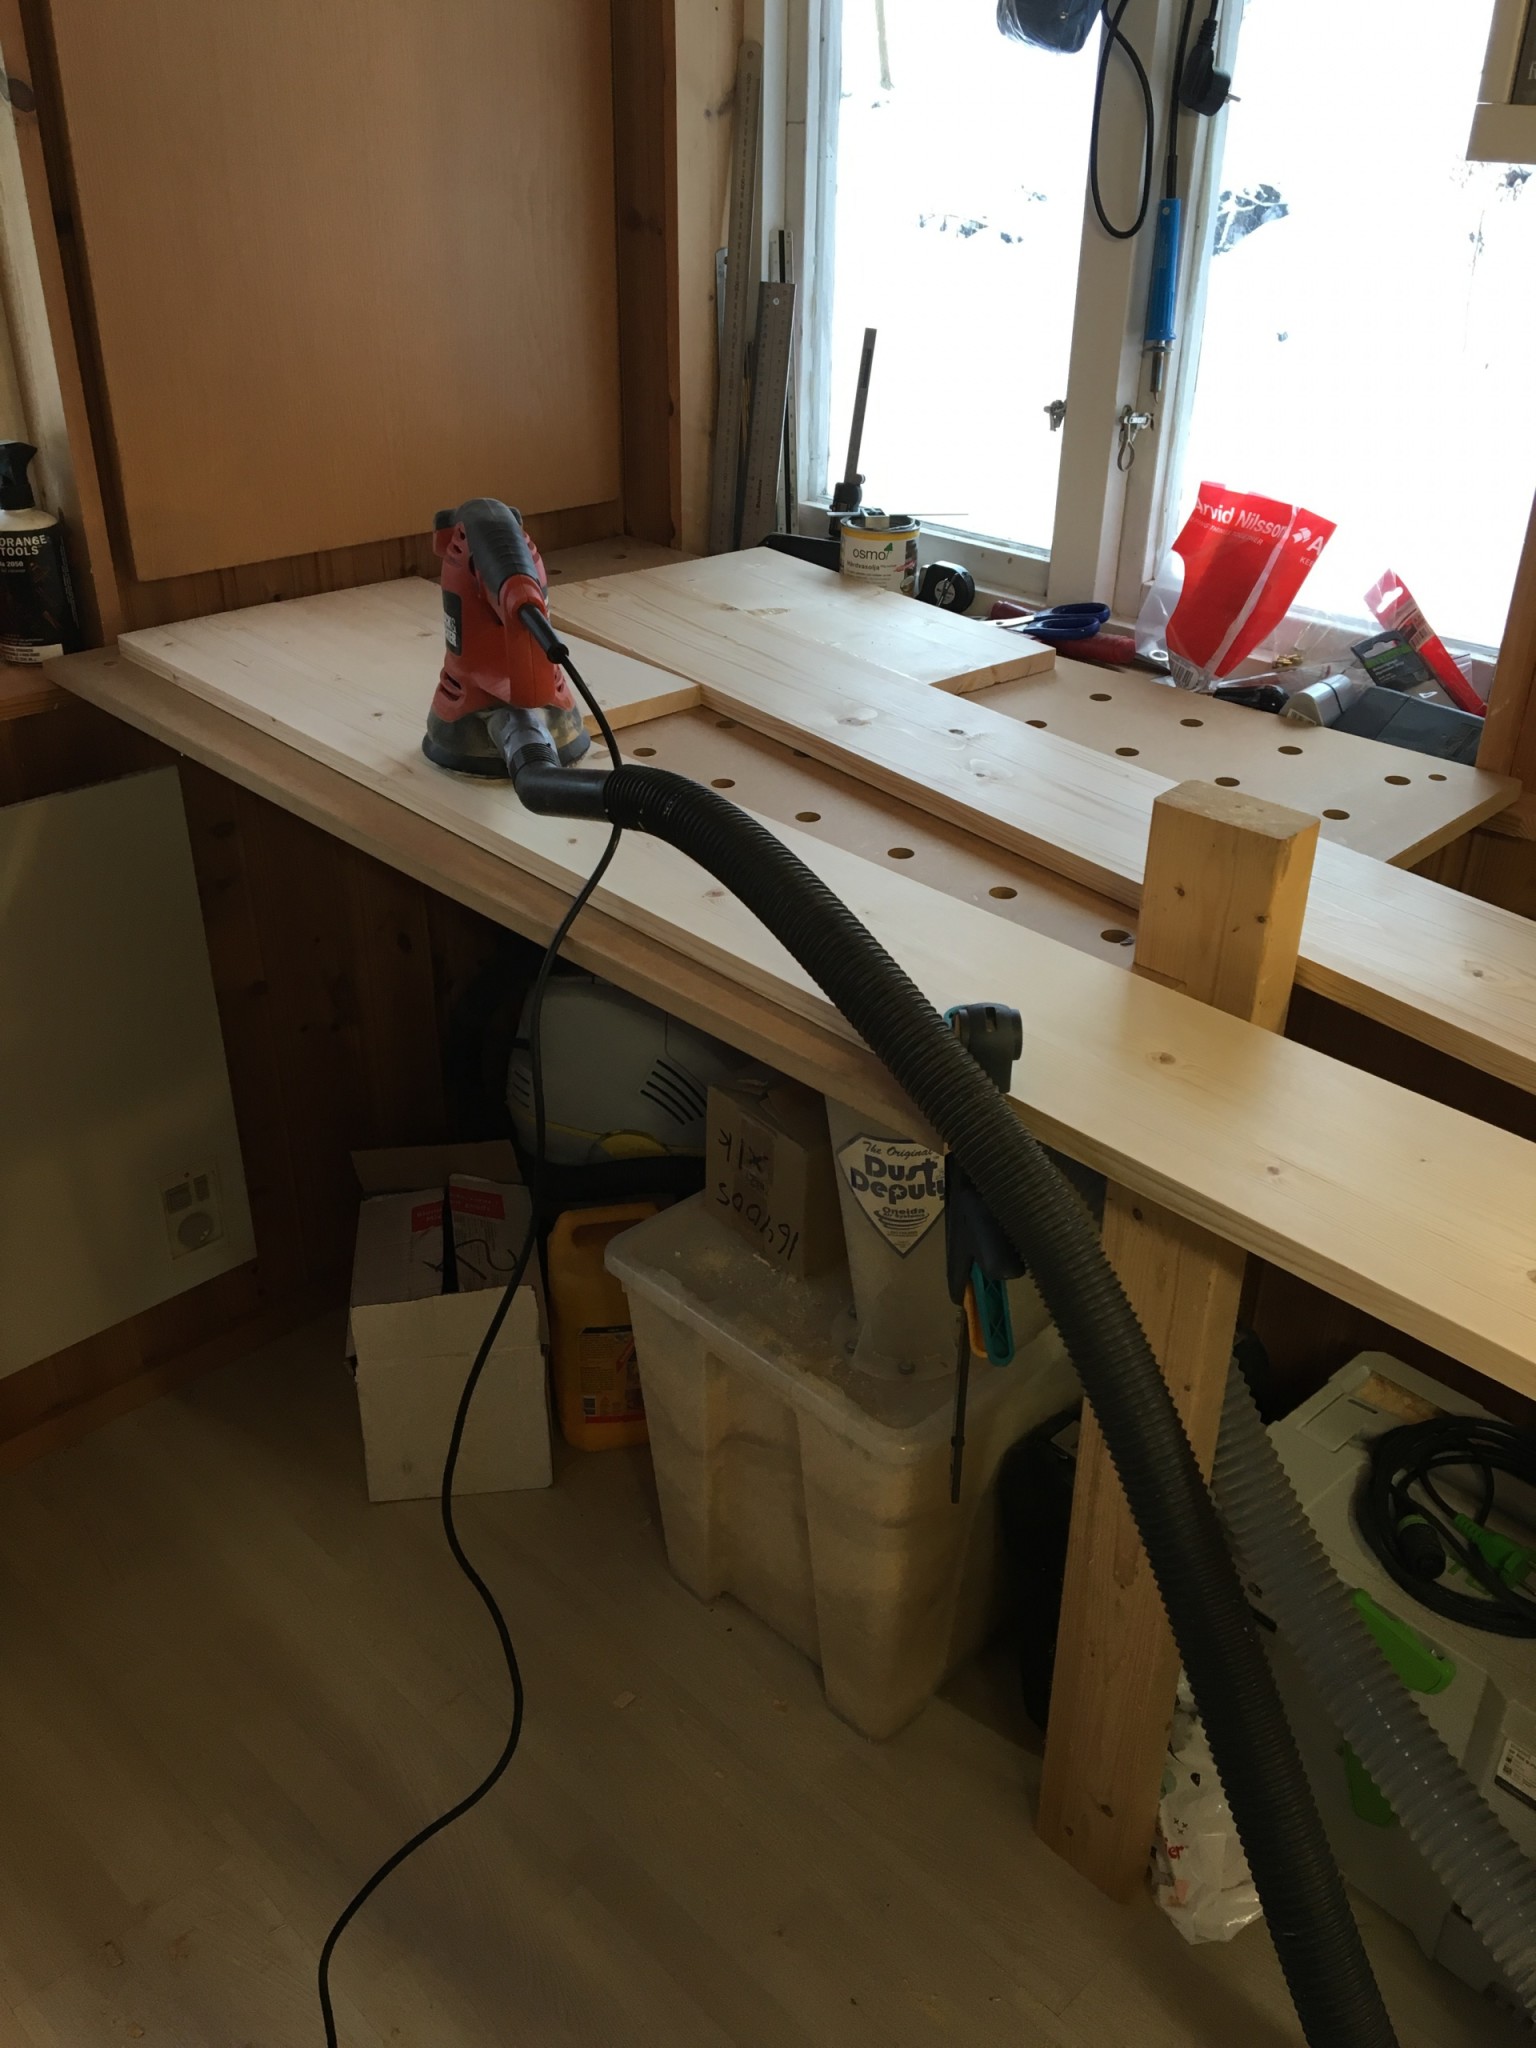
Sand, glue, sand, saw, sand, glue, think, sand, glue. A perfectly ordinary Sunday in the workshop, but it was moving forward.
Shaping the side rail
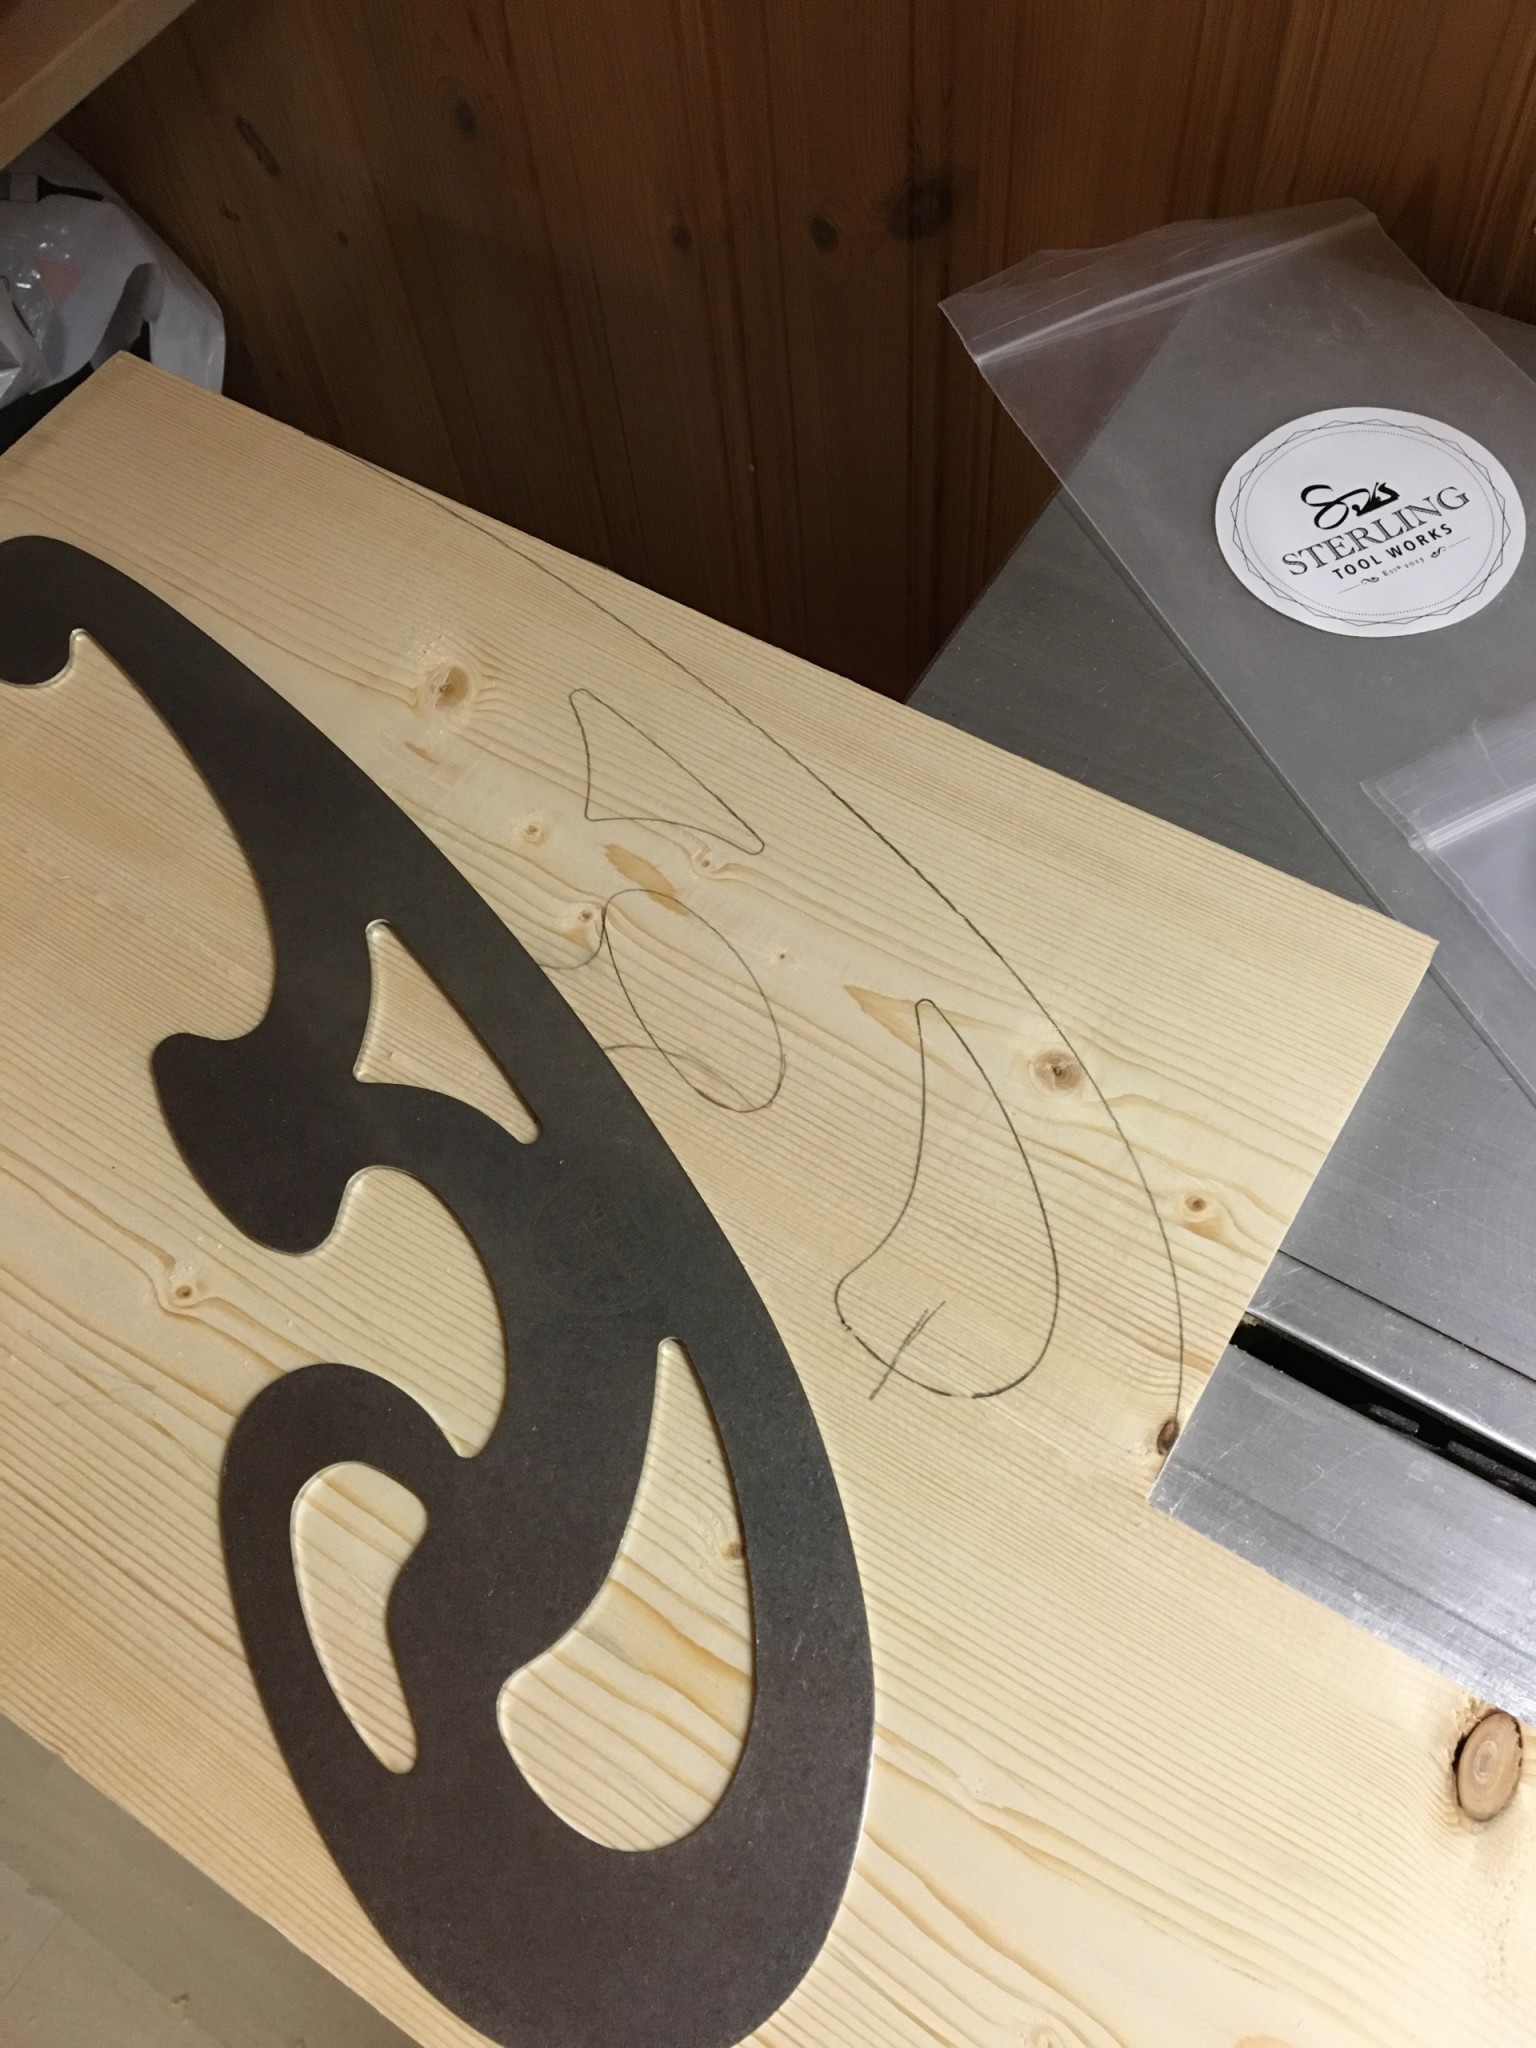
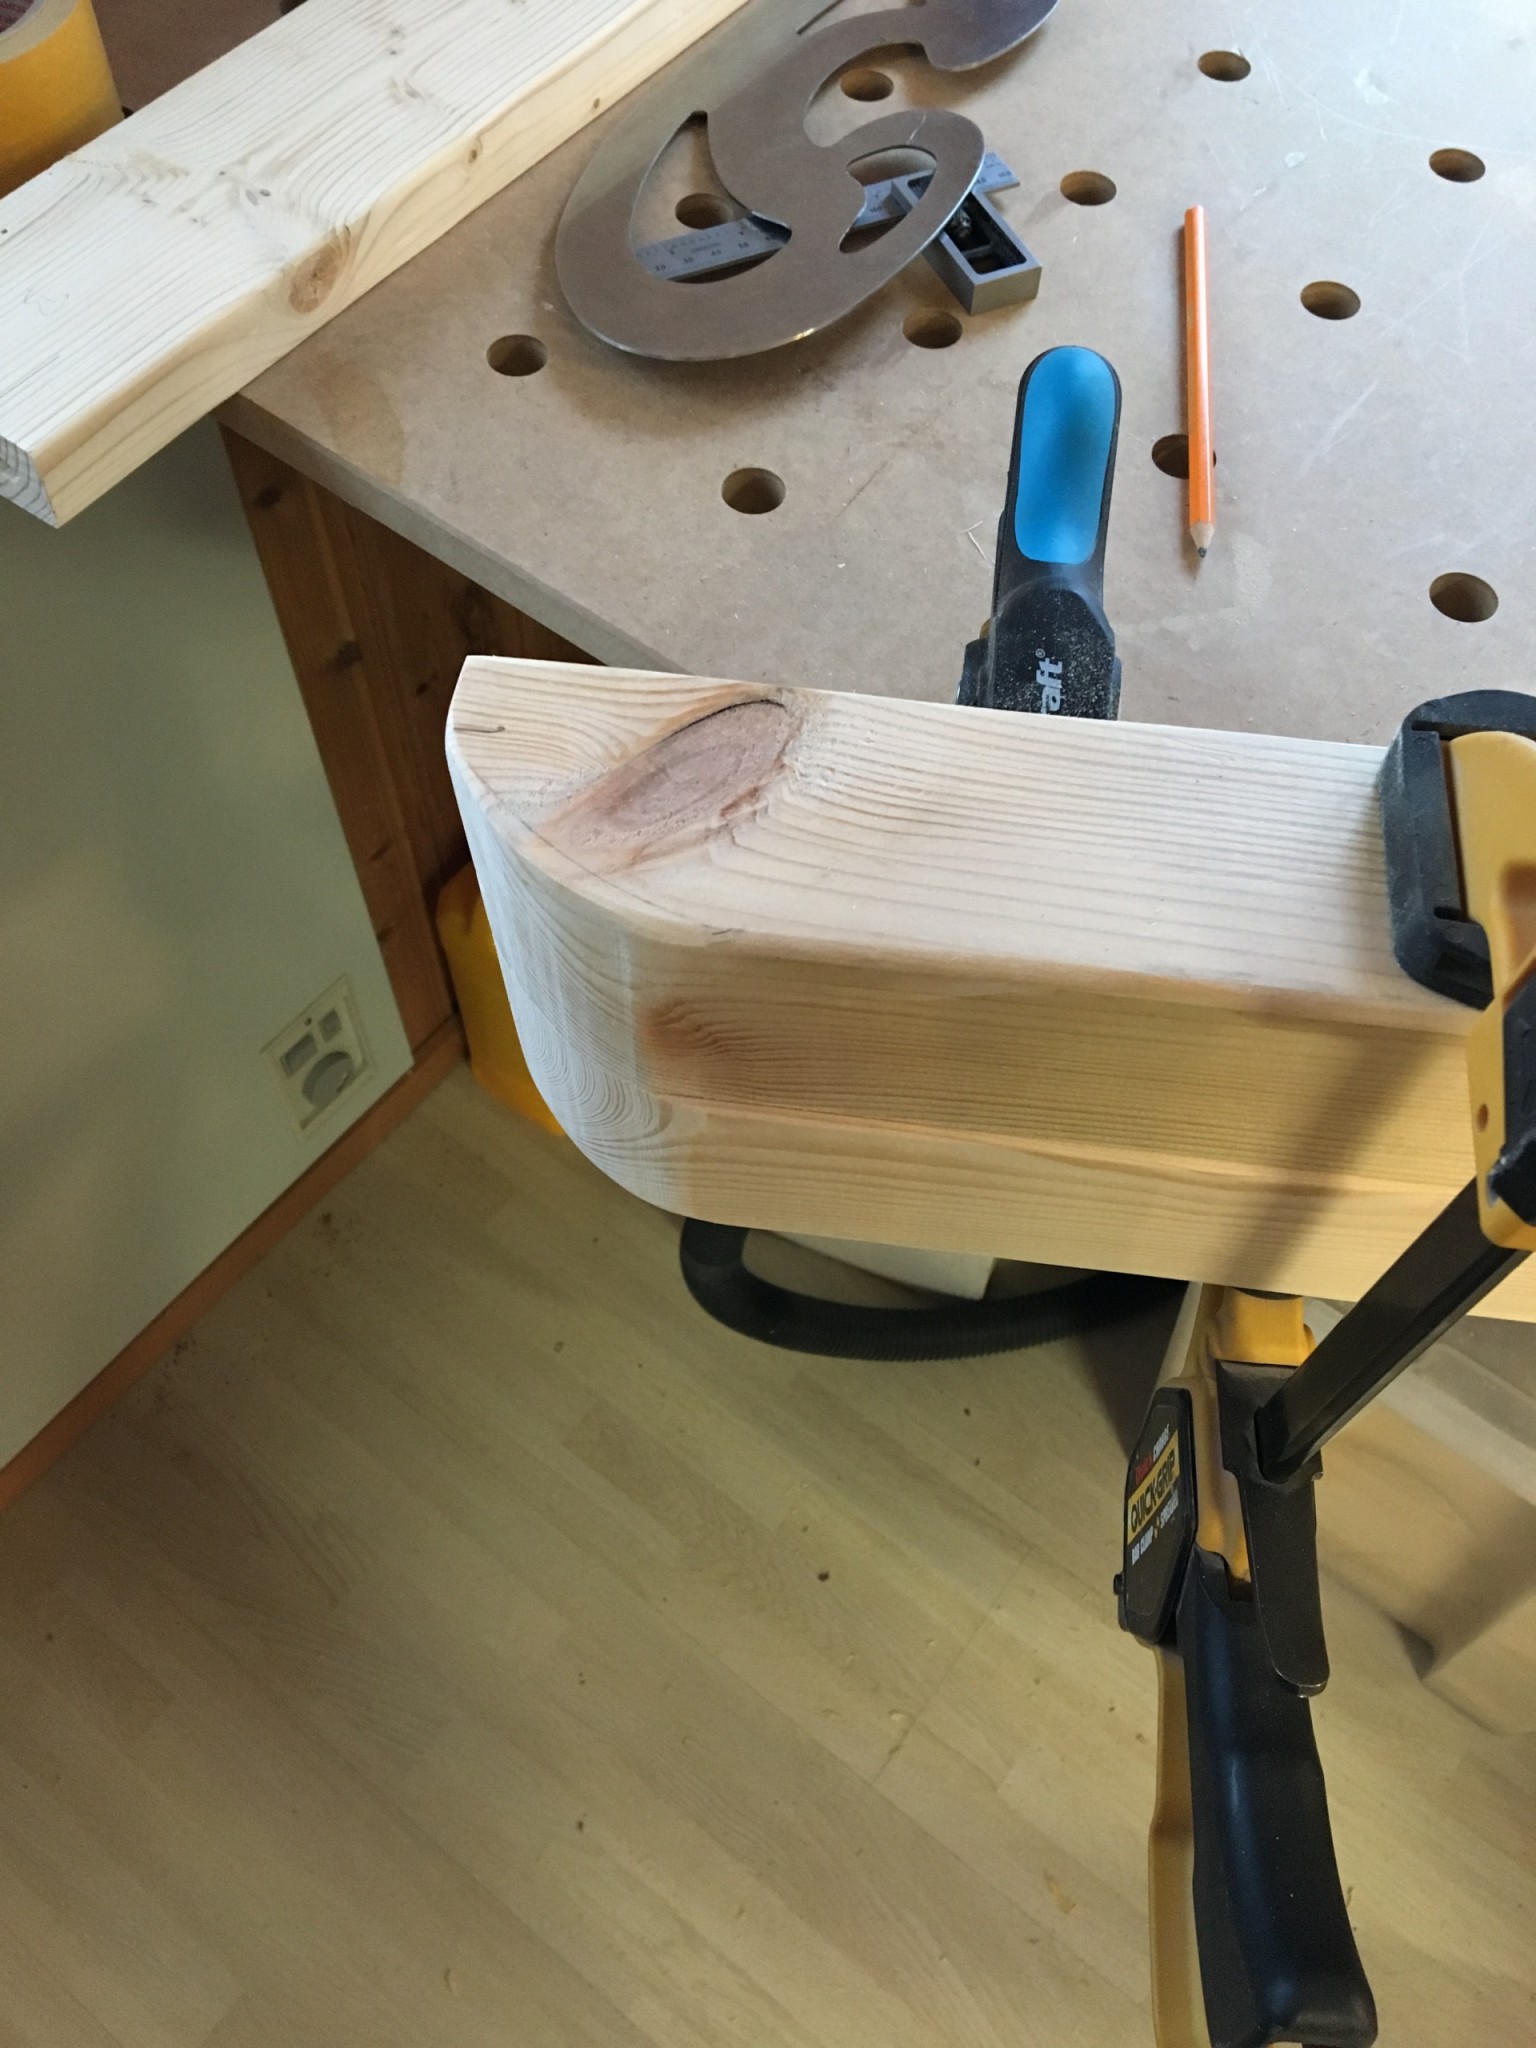
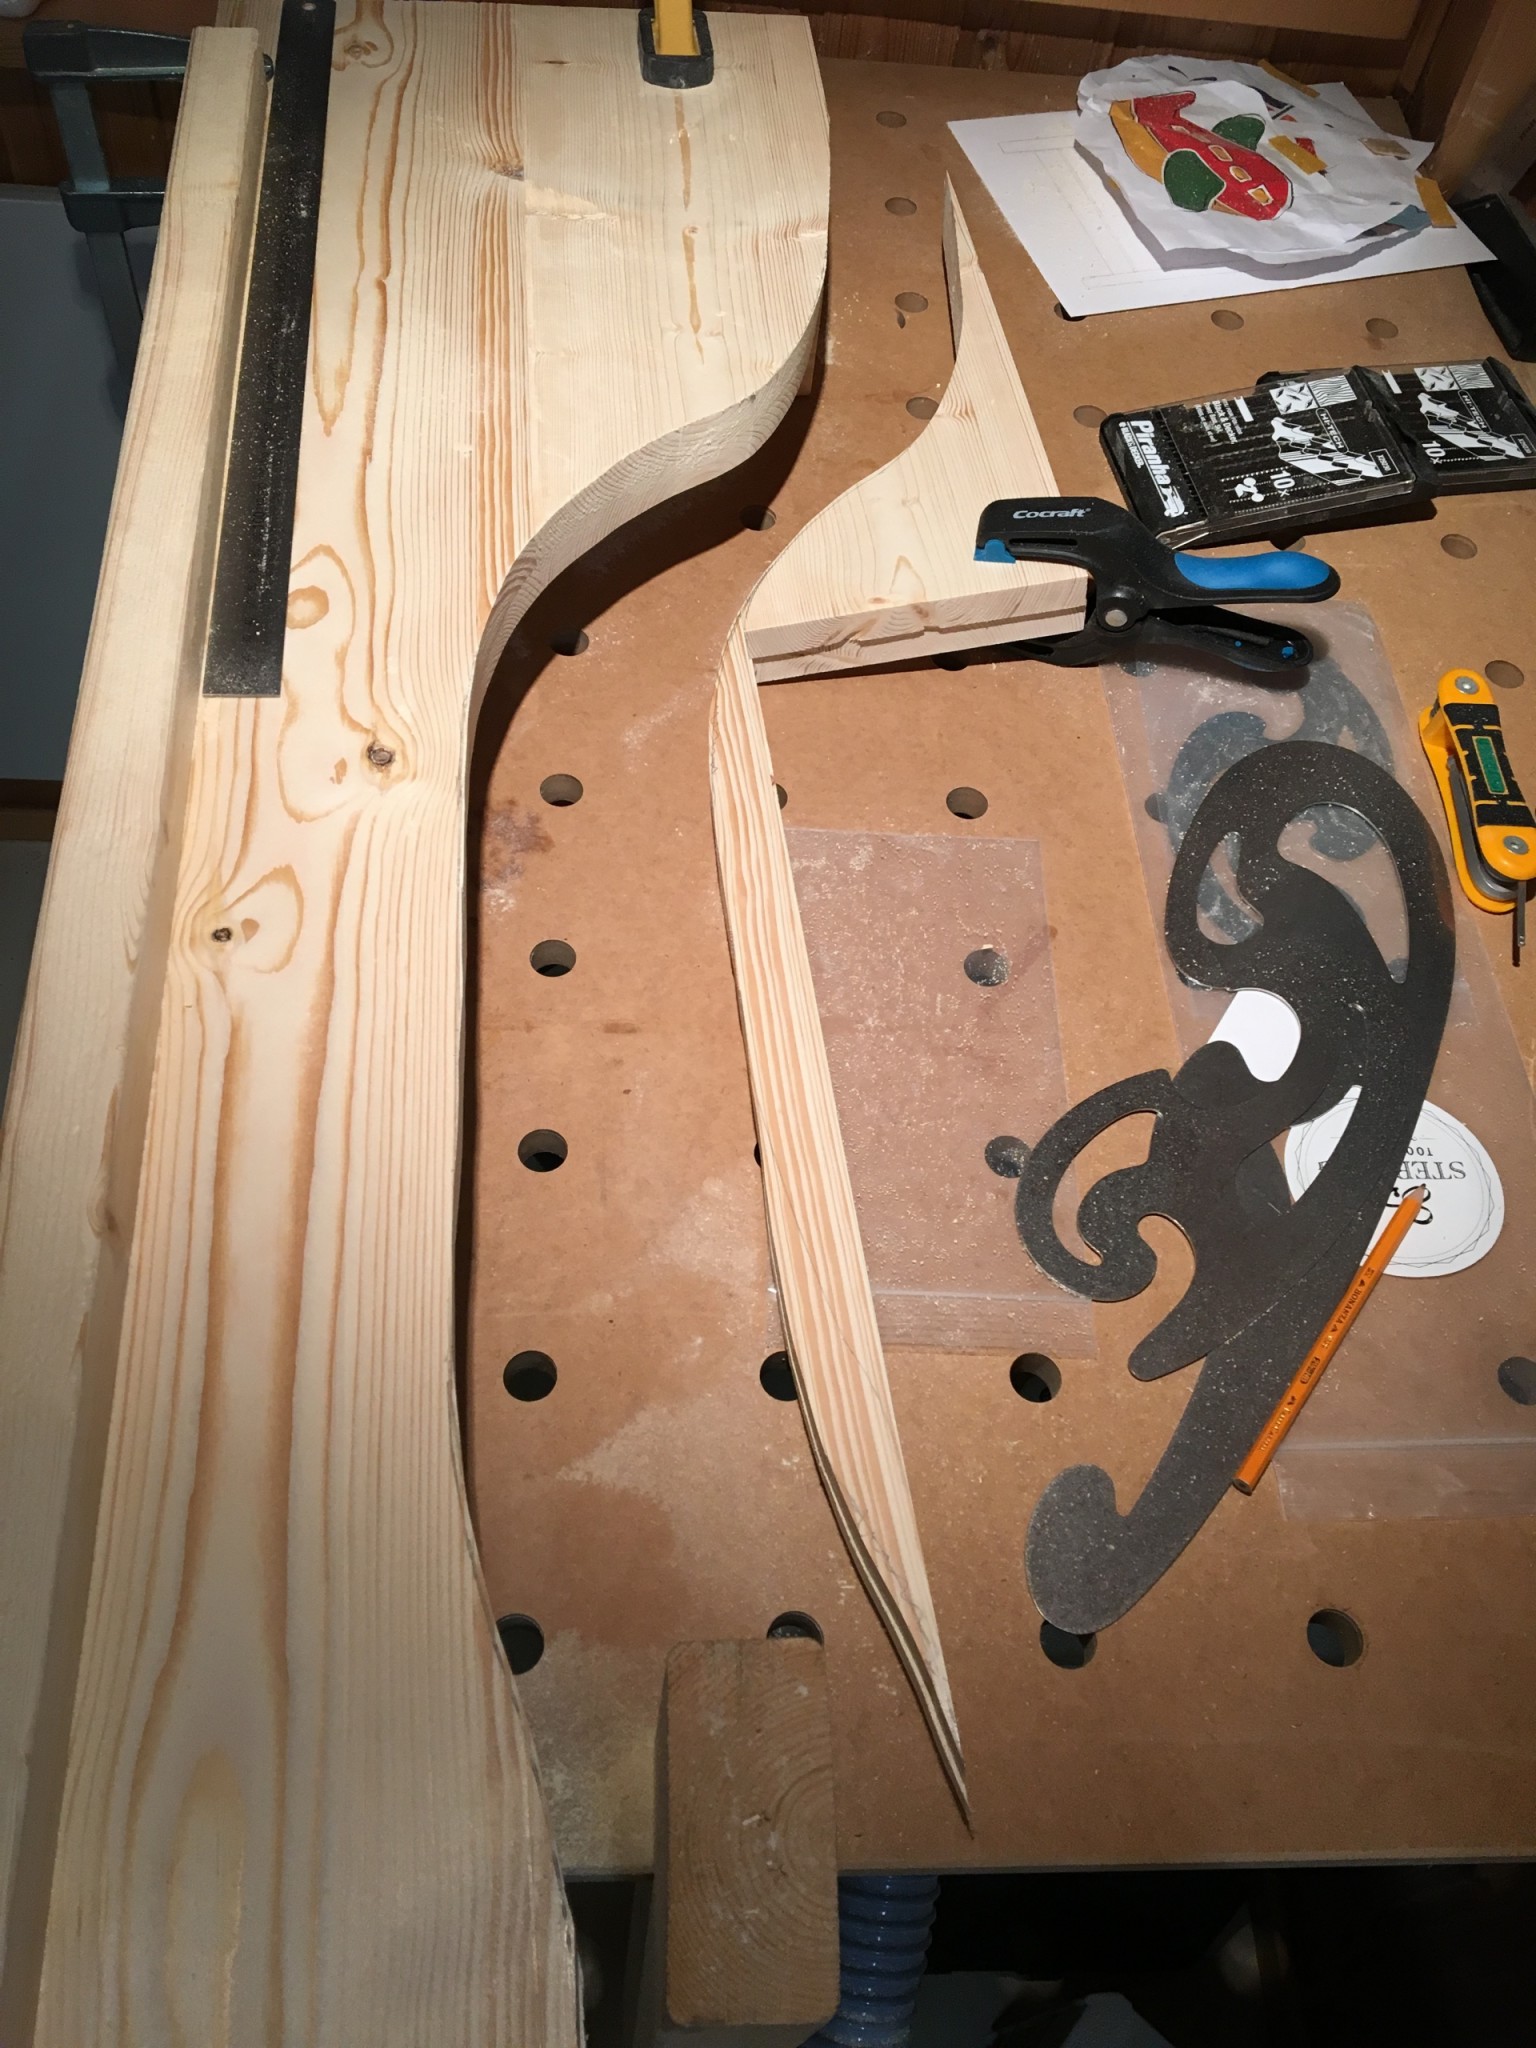
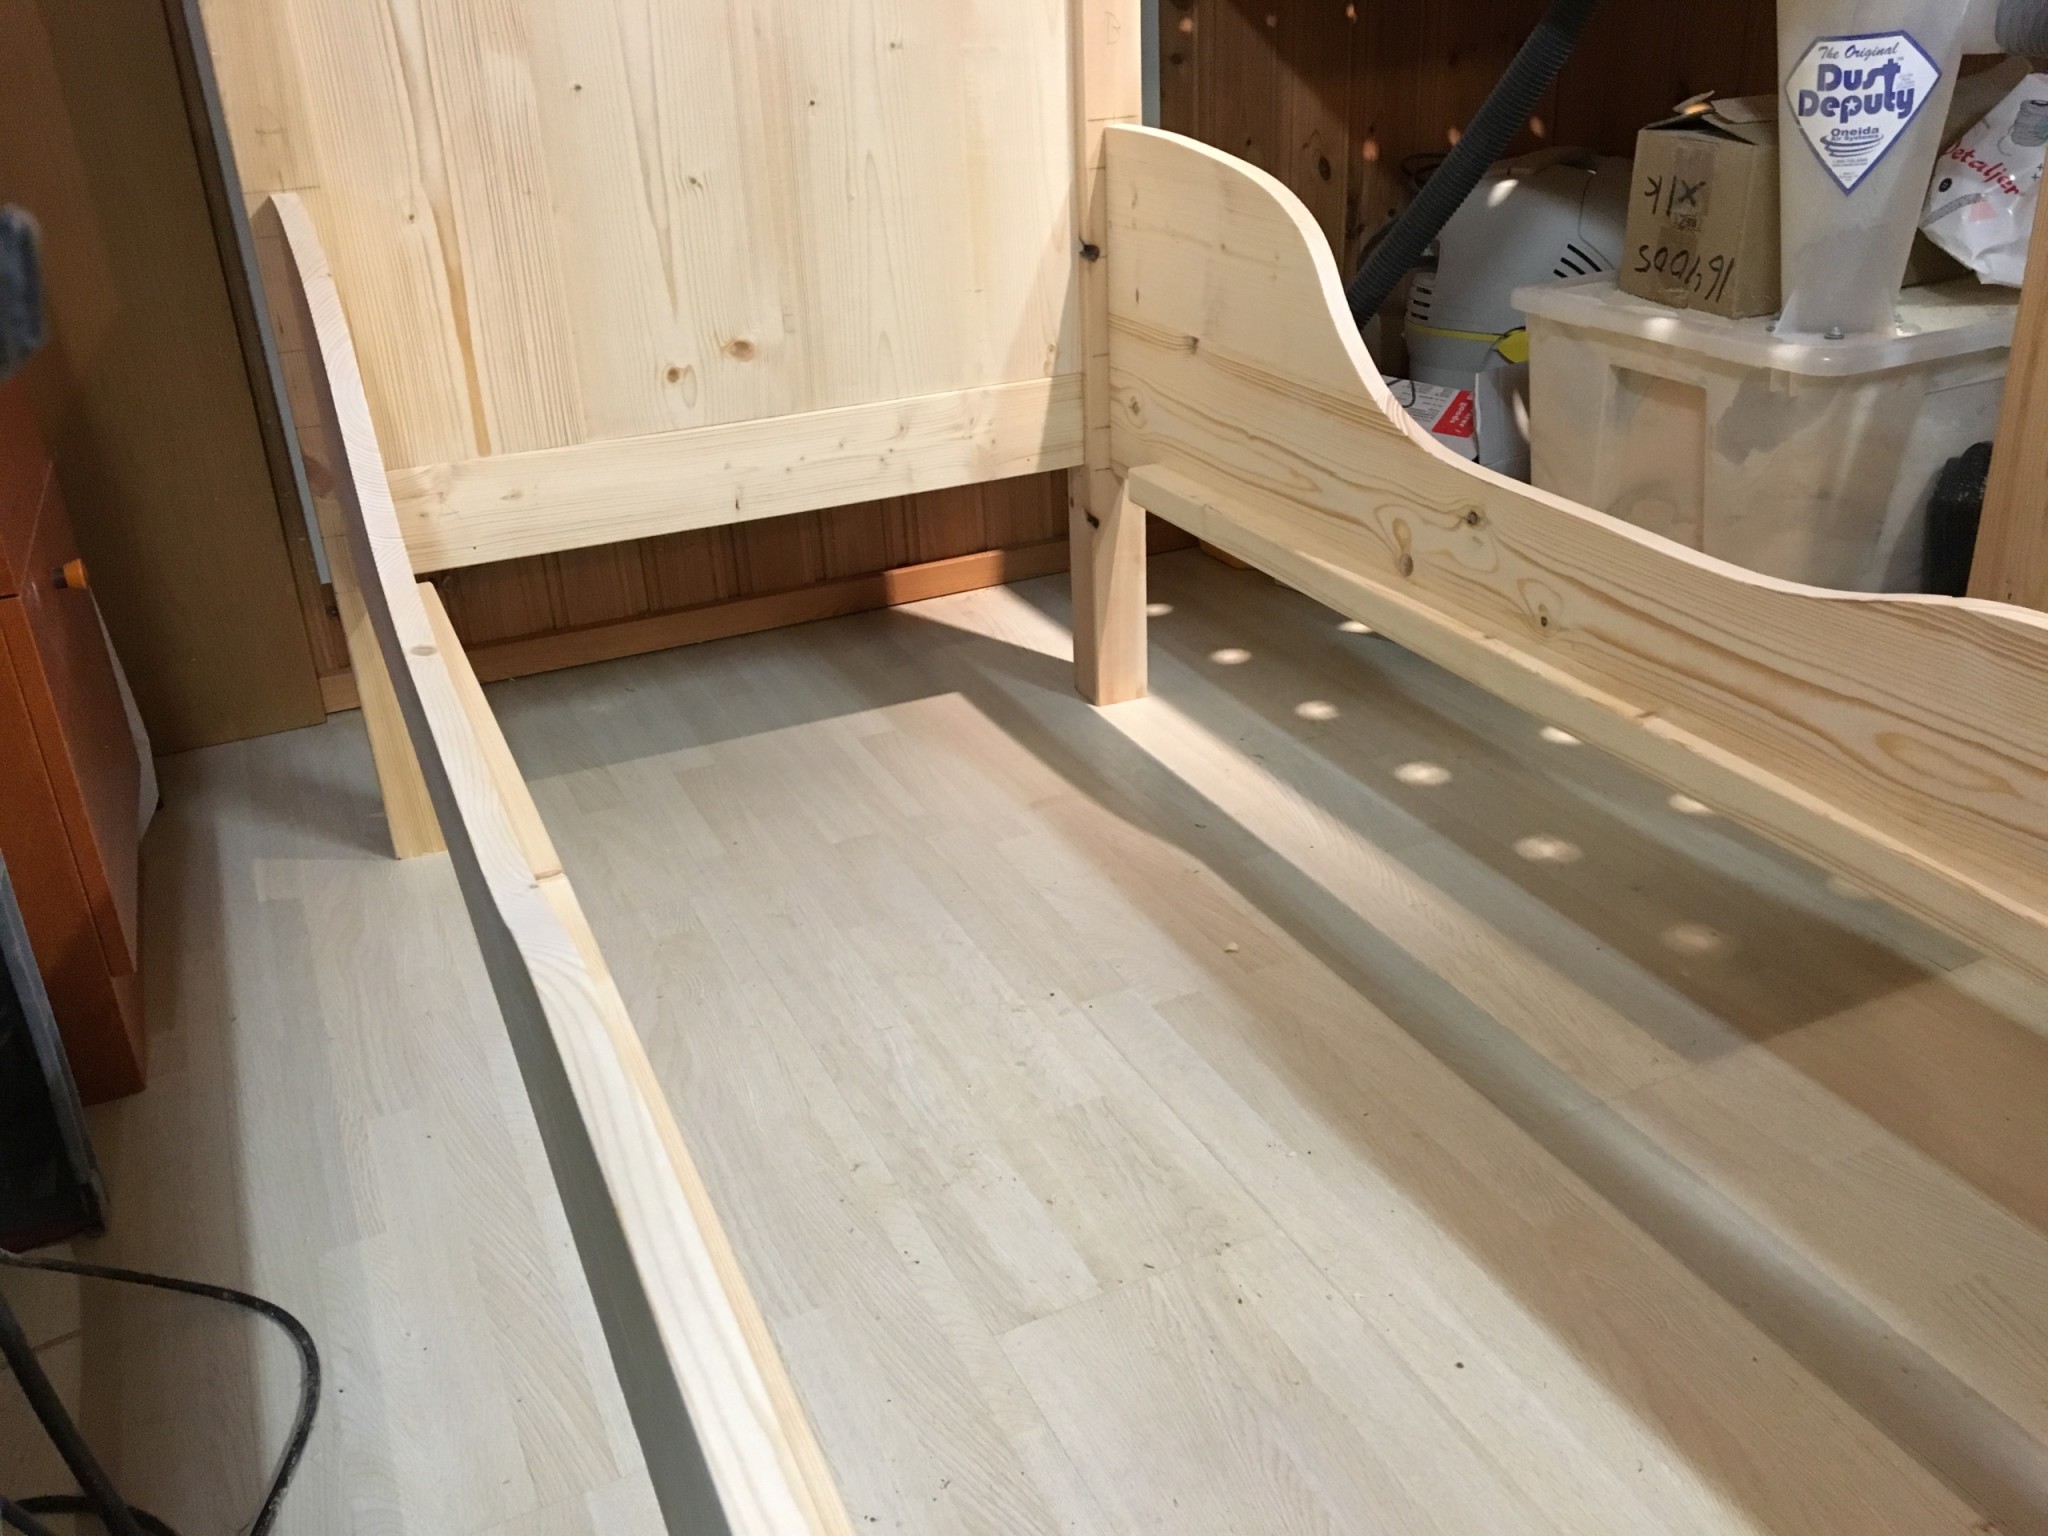
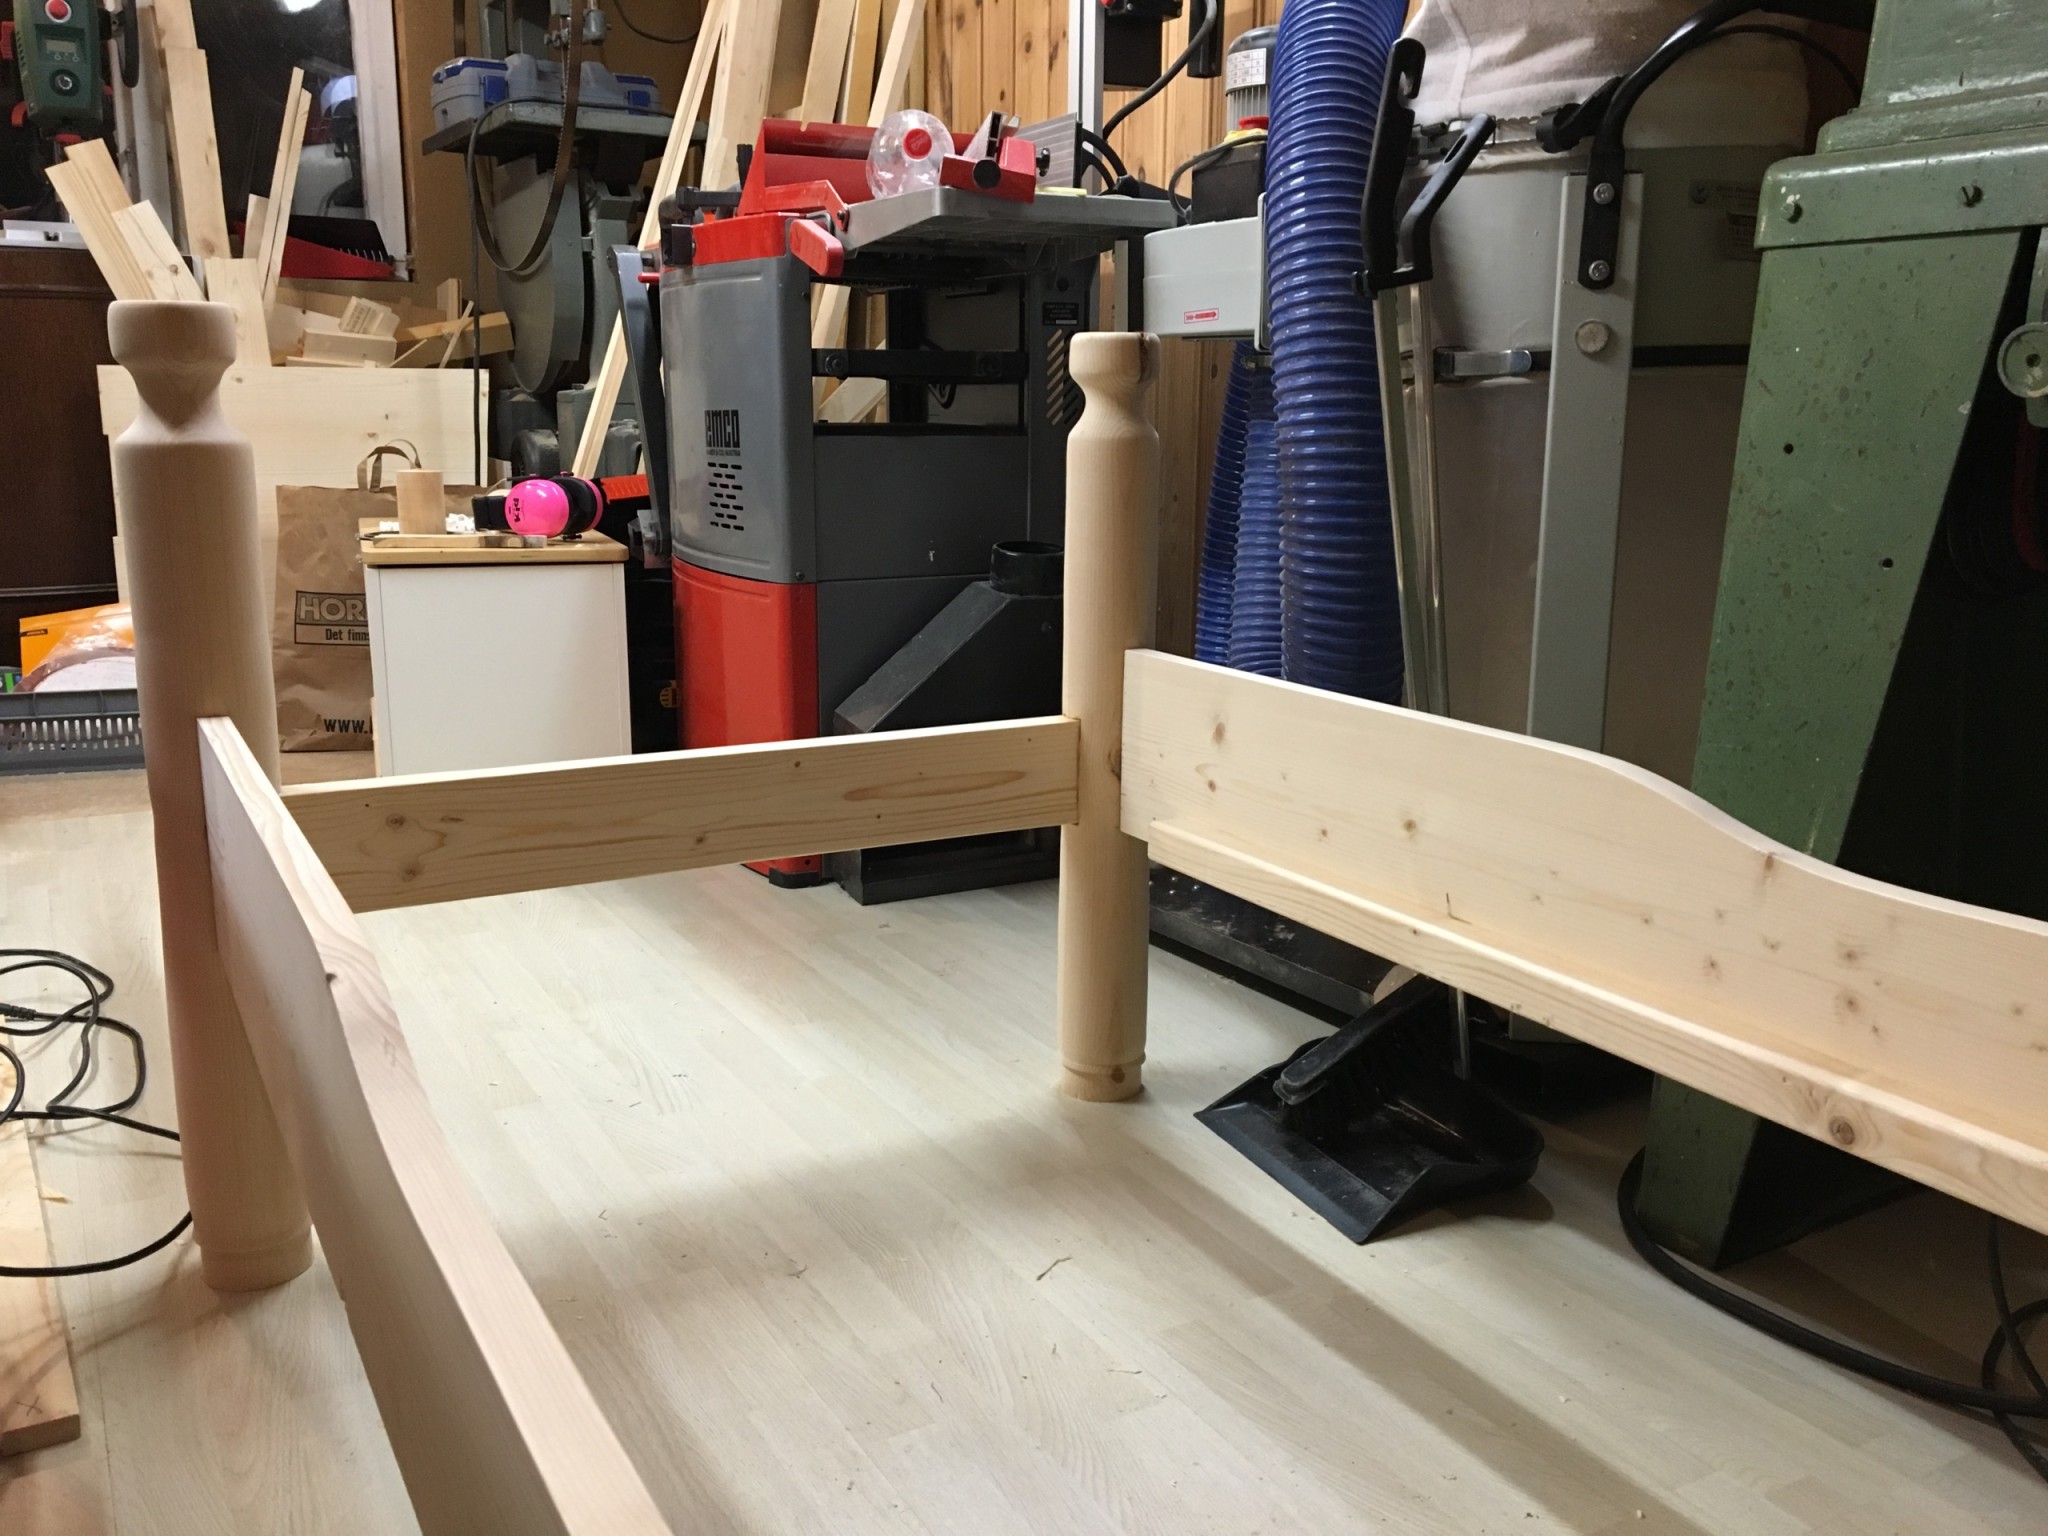
Then it was the side rail's turn. I drew some gentle curves and let it dip a little below the other edge, making it easier to get in and out of bed there.
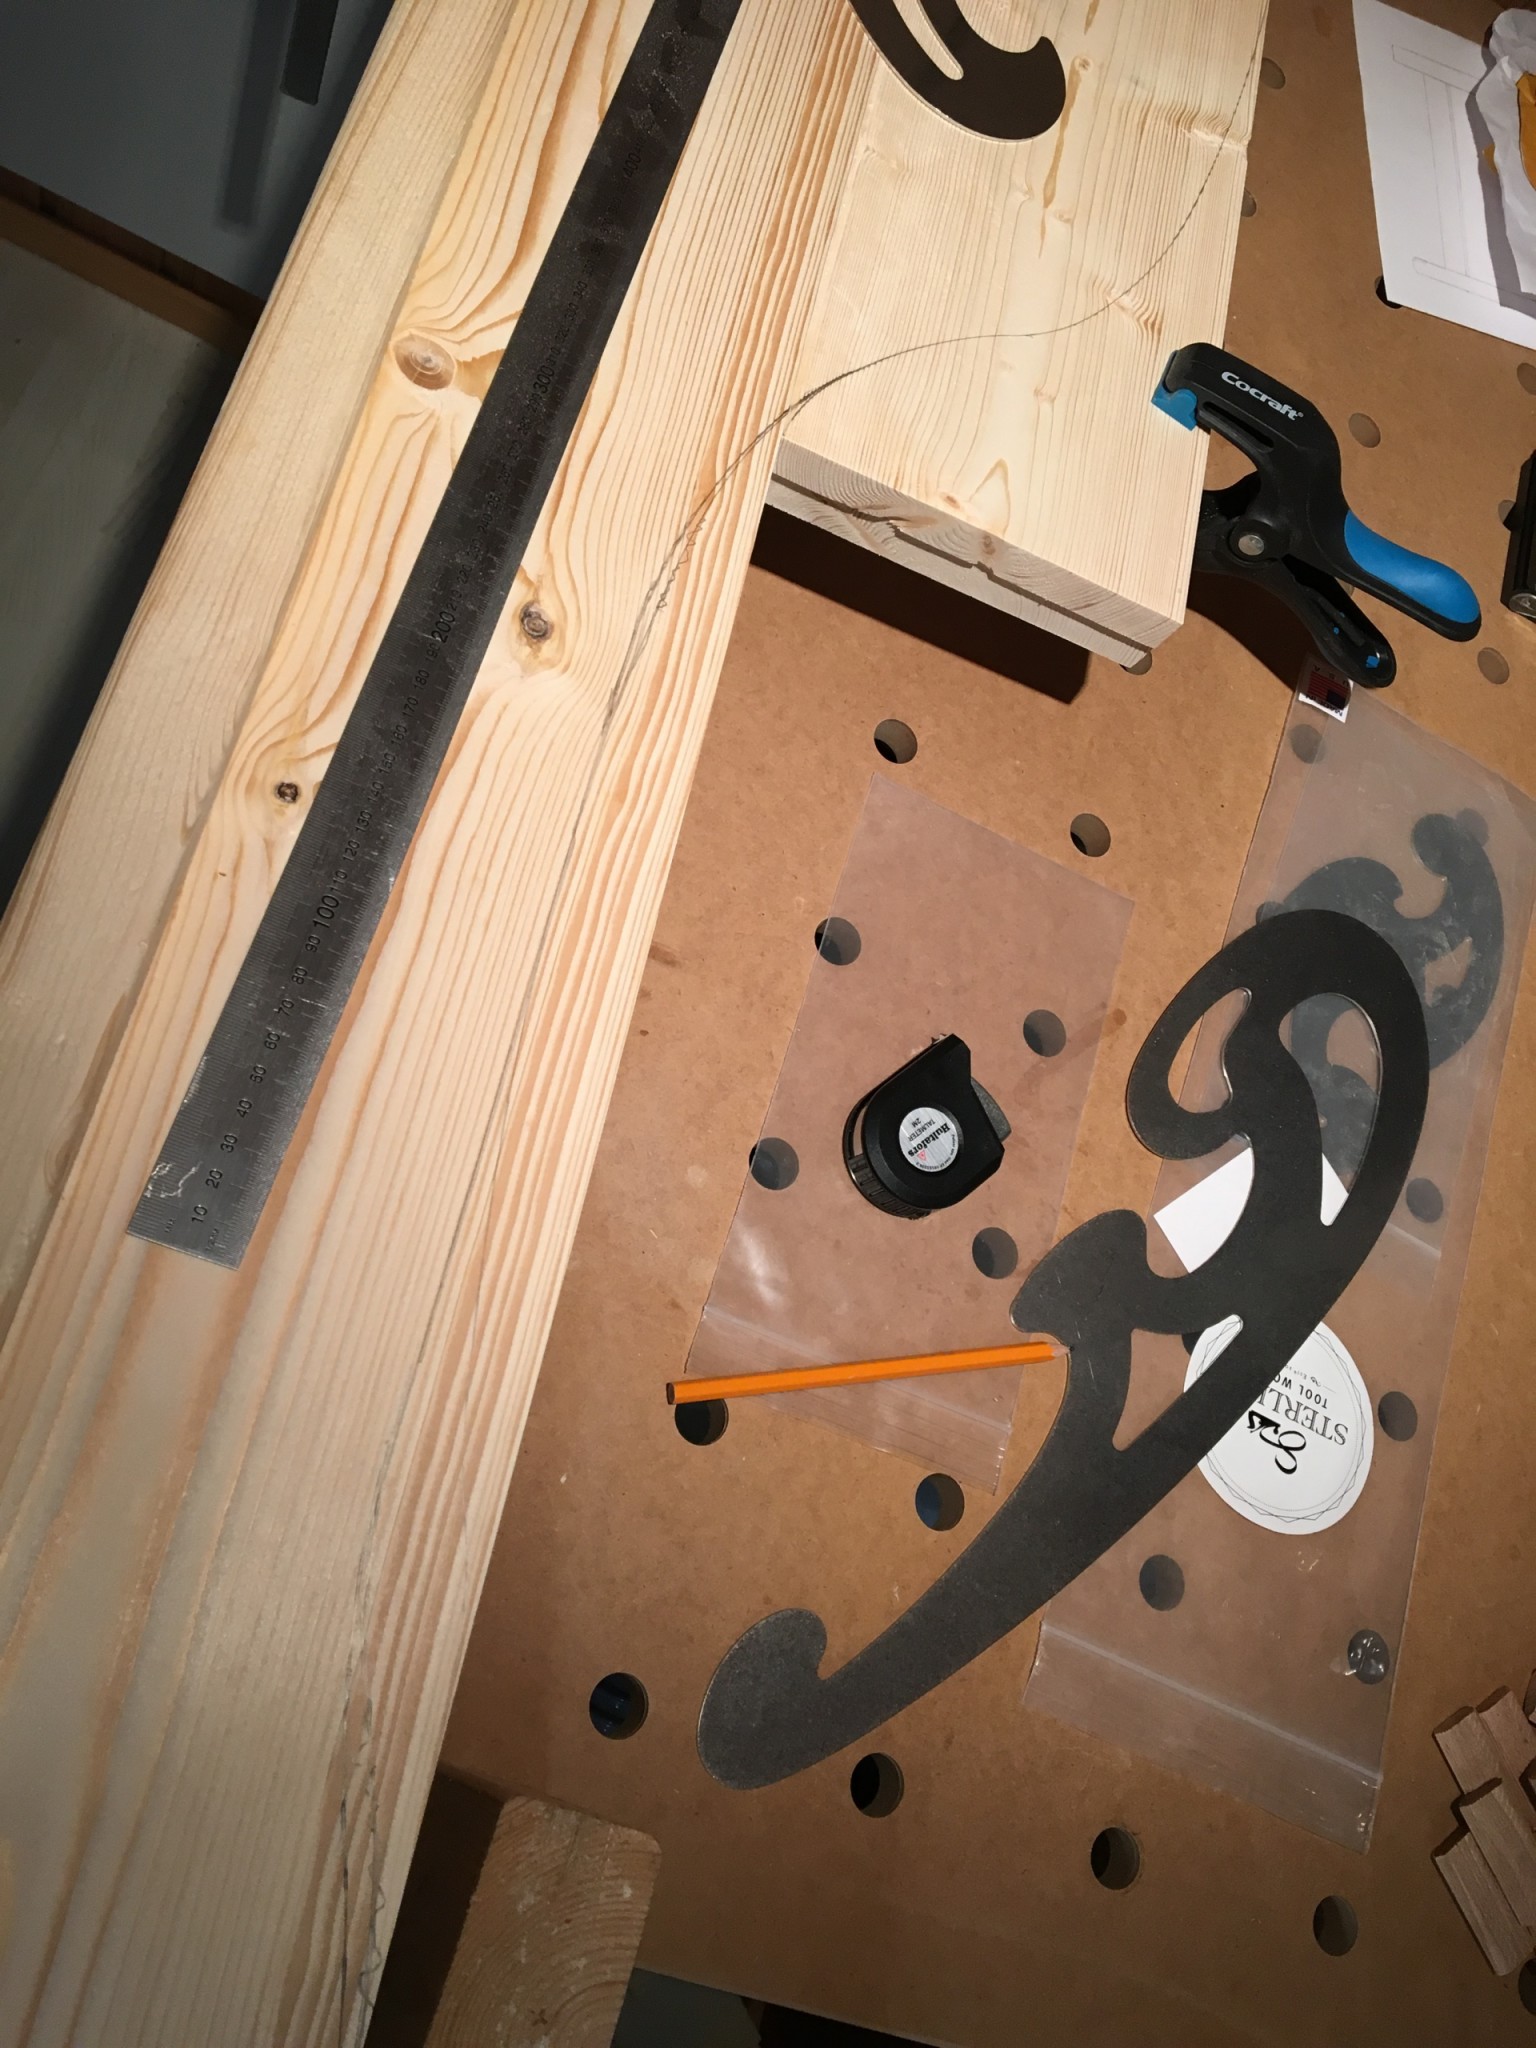
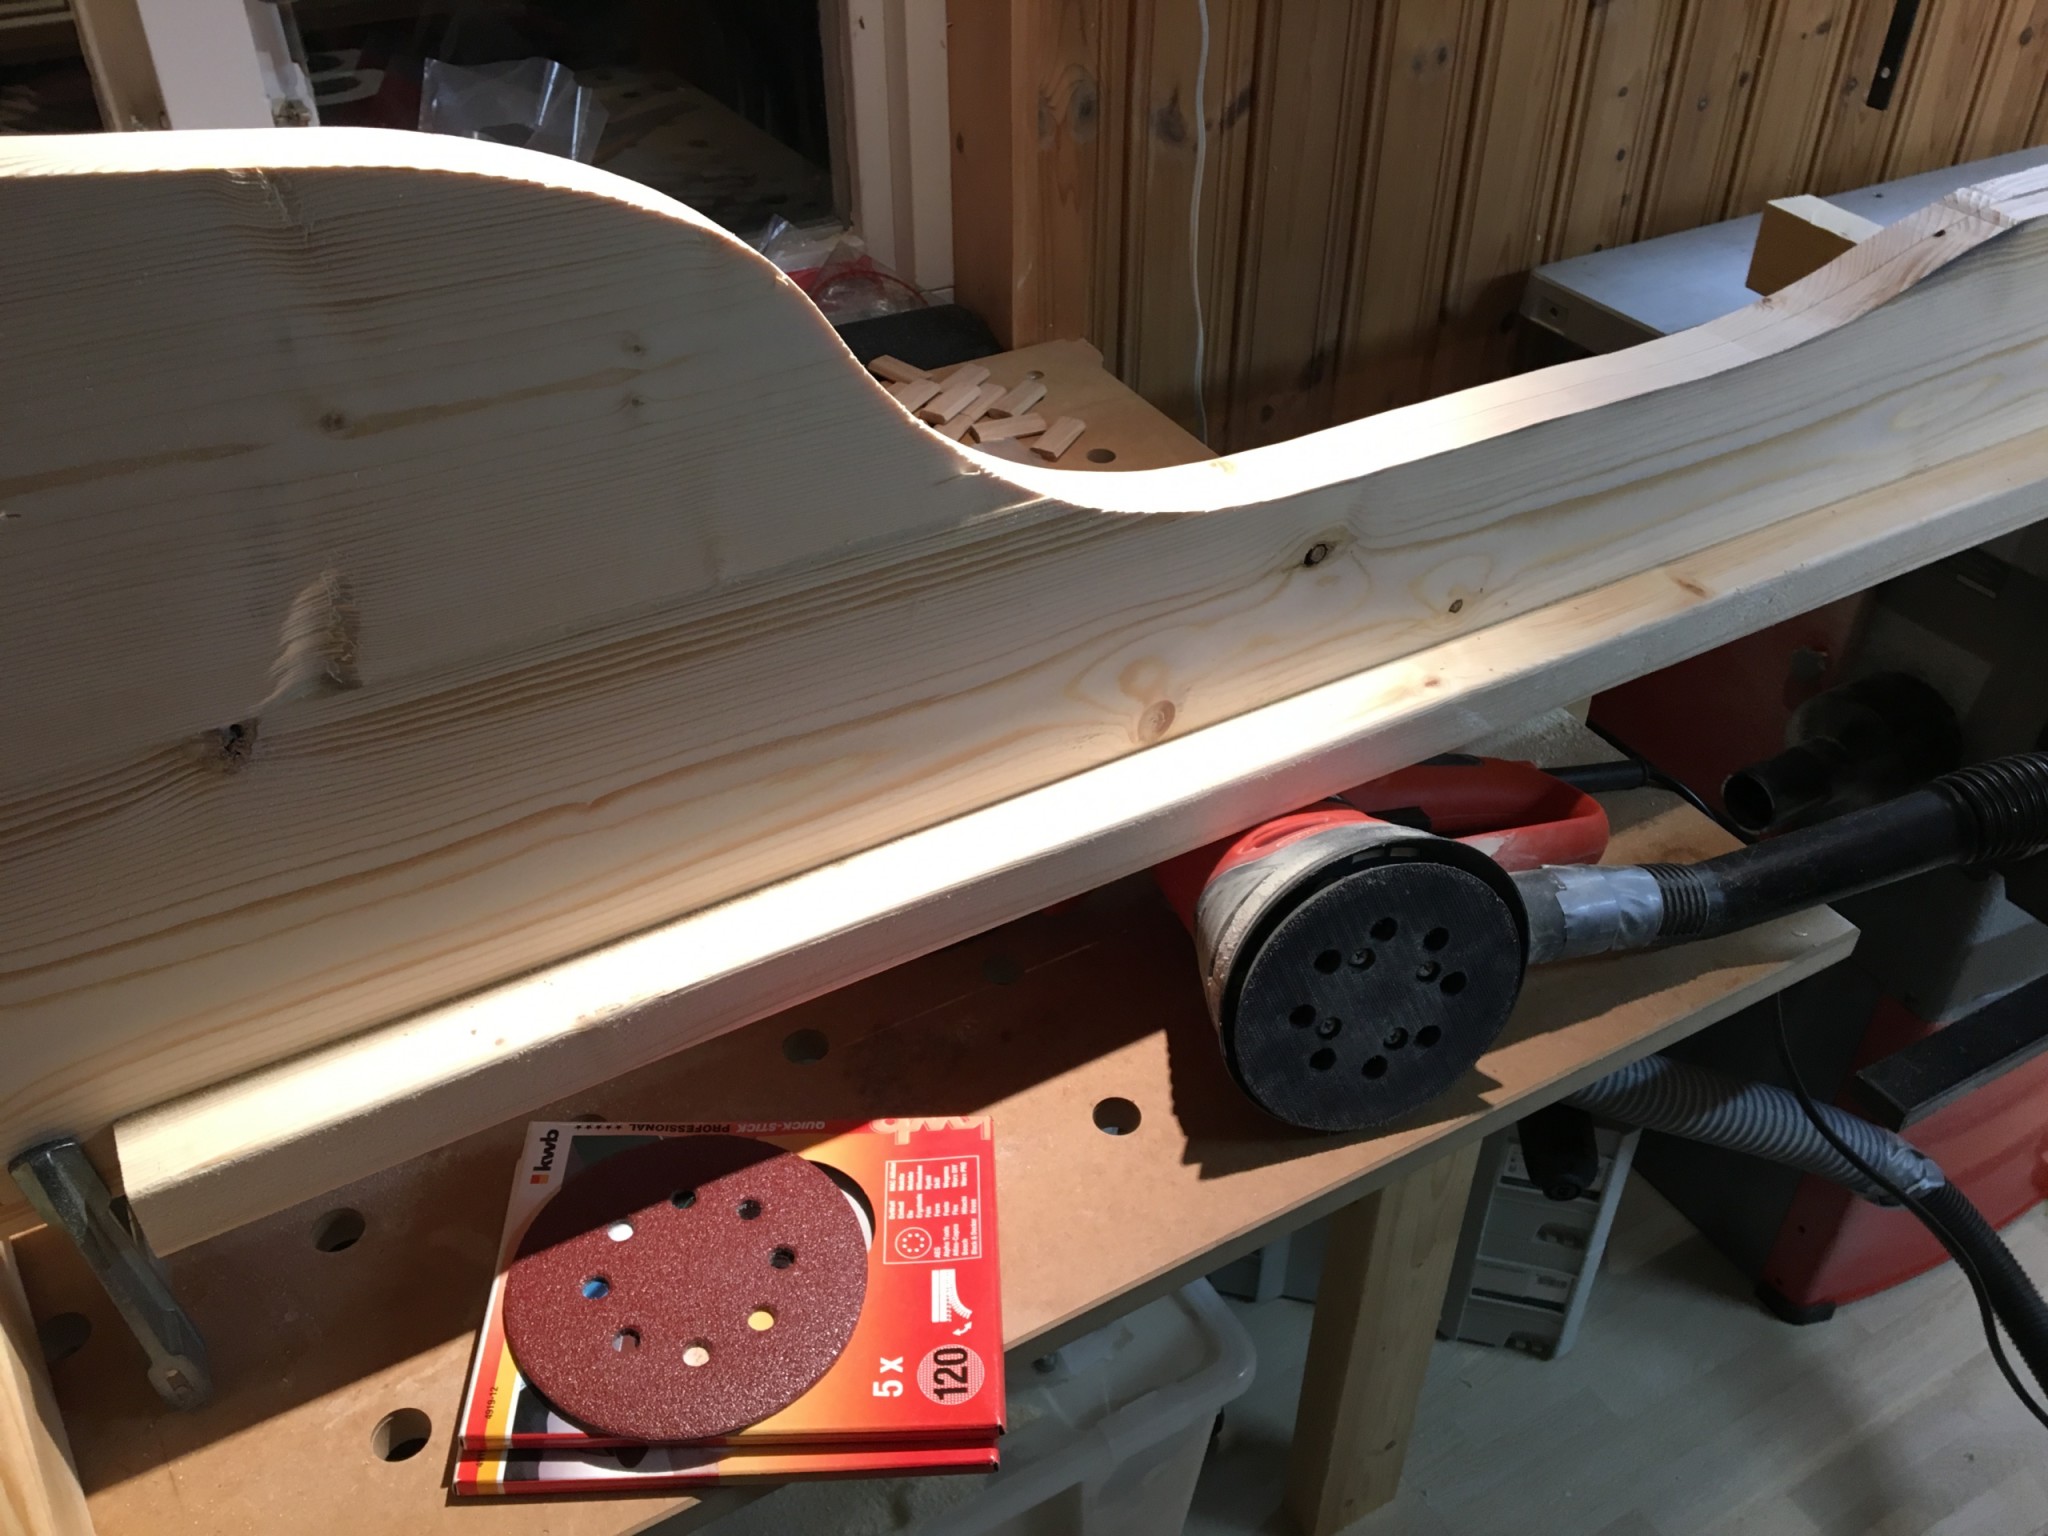
I cut it with the jigsaw and a fine-cut blade. Following the line was so-so, but it turned out fine in the end after a coarse and a finer sandpaper and slightly rounded edges.
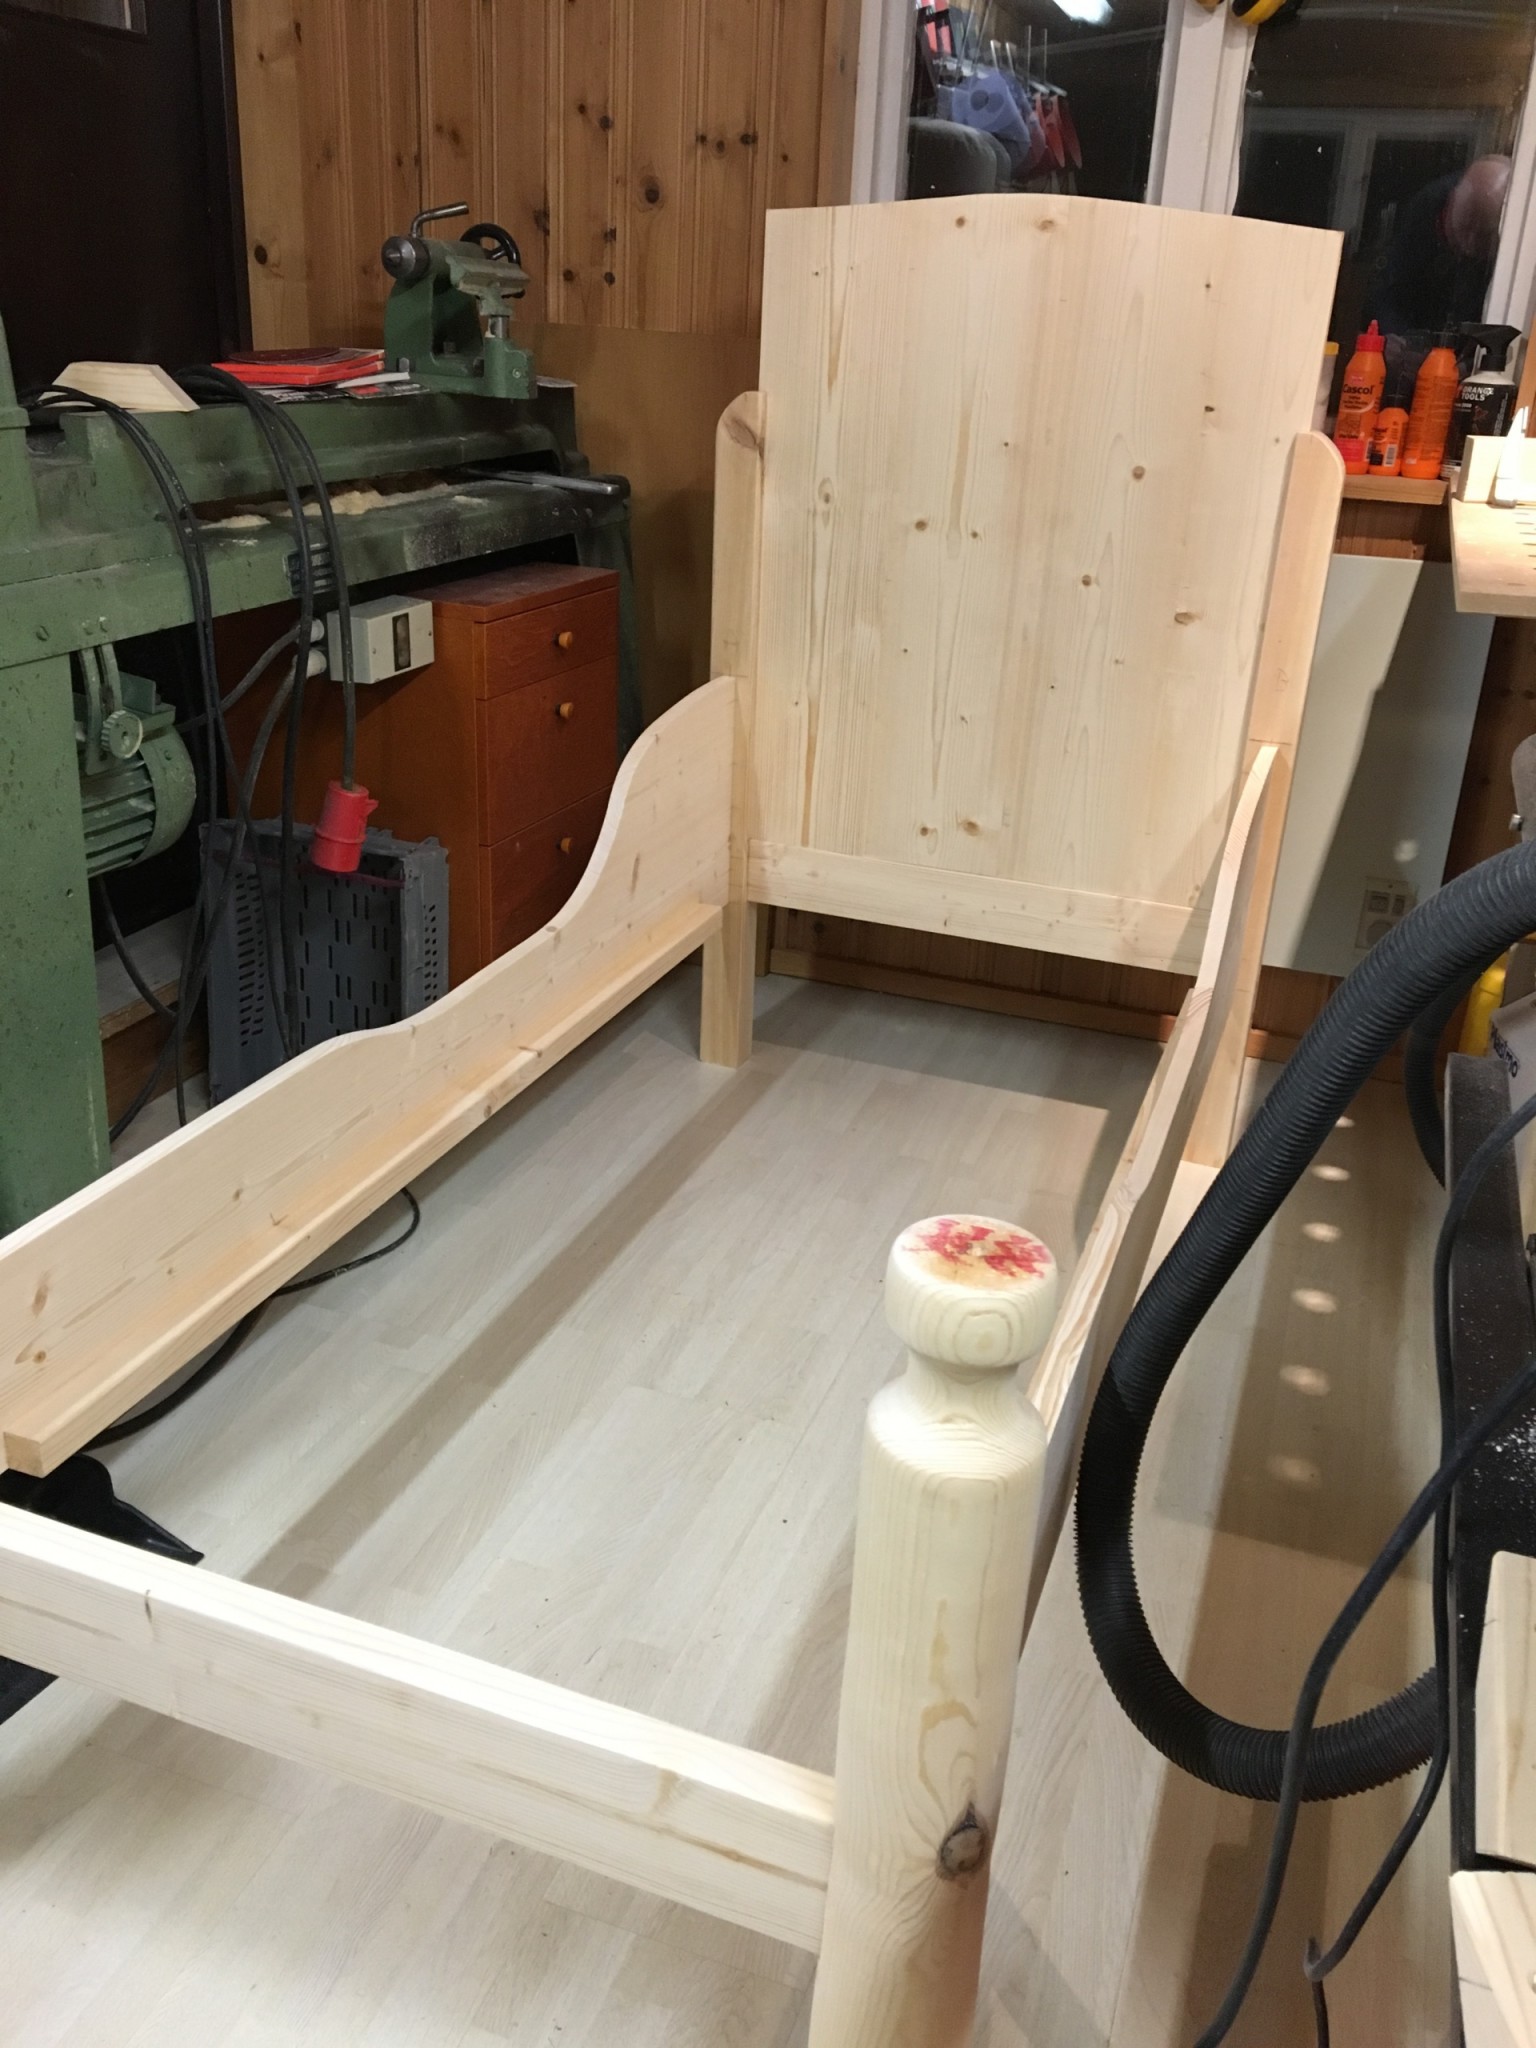
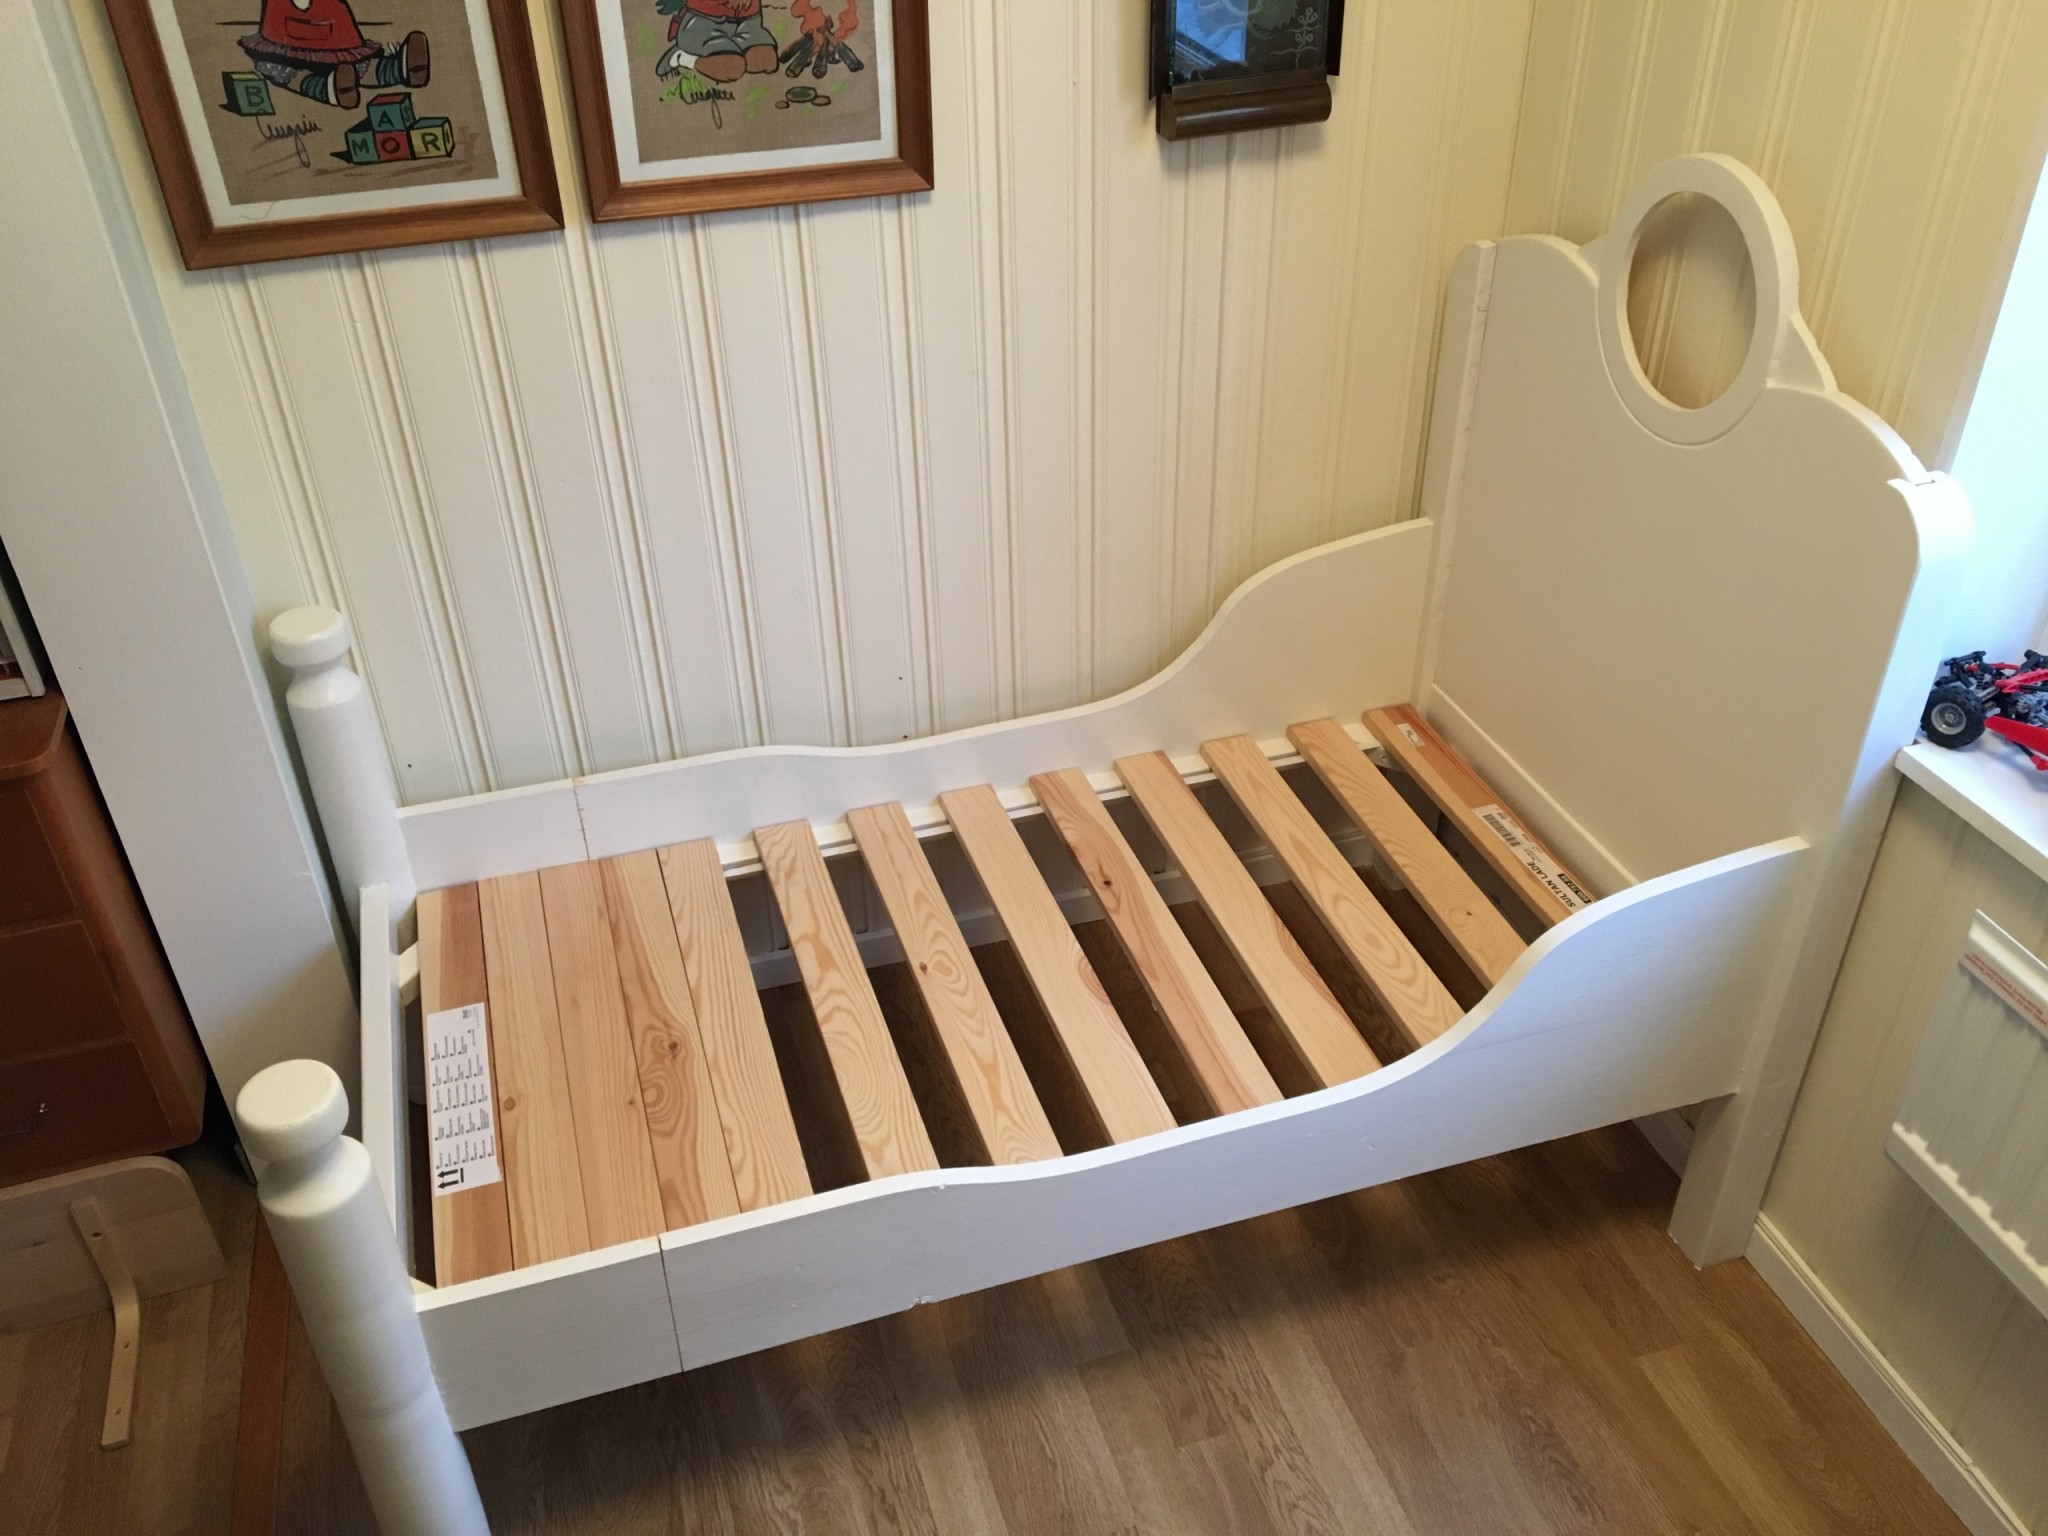
When the bed was put together again, it really started to look like something.
Drawing the headboard
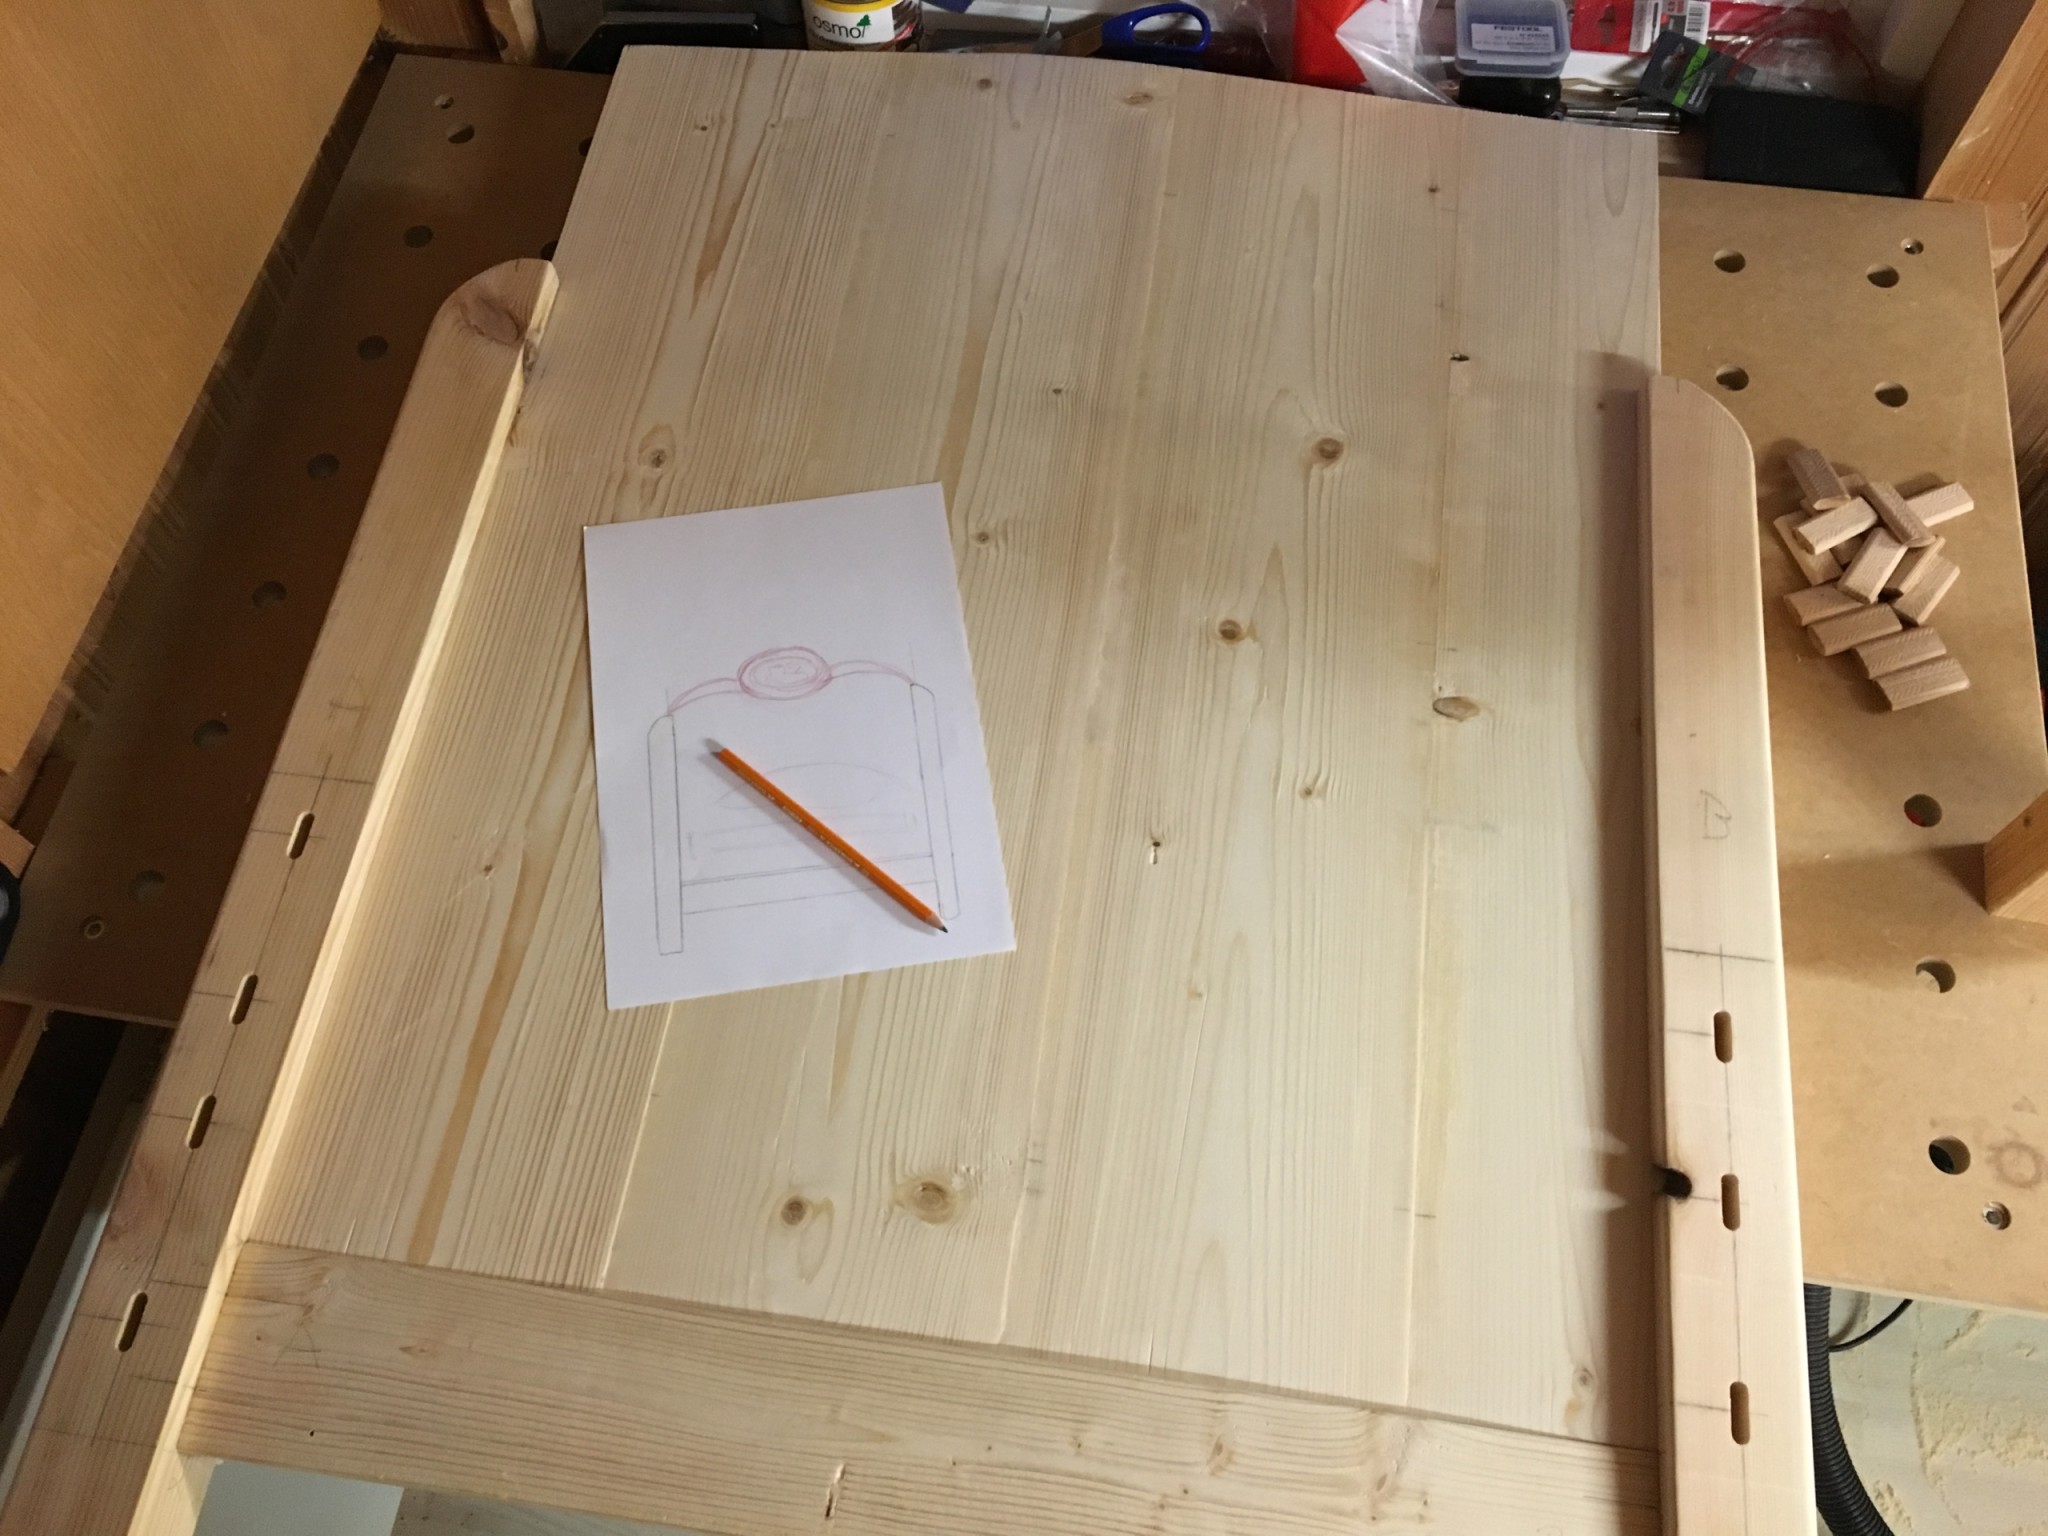
Now came the most creative part: making something of the headboard. I measured where the posts end to have a reference and laid the headboard on the bench. Here without the panel:
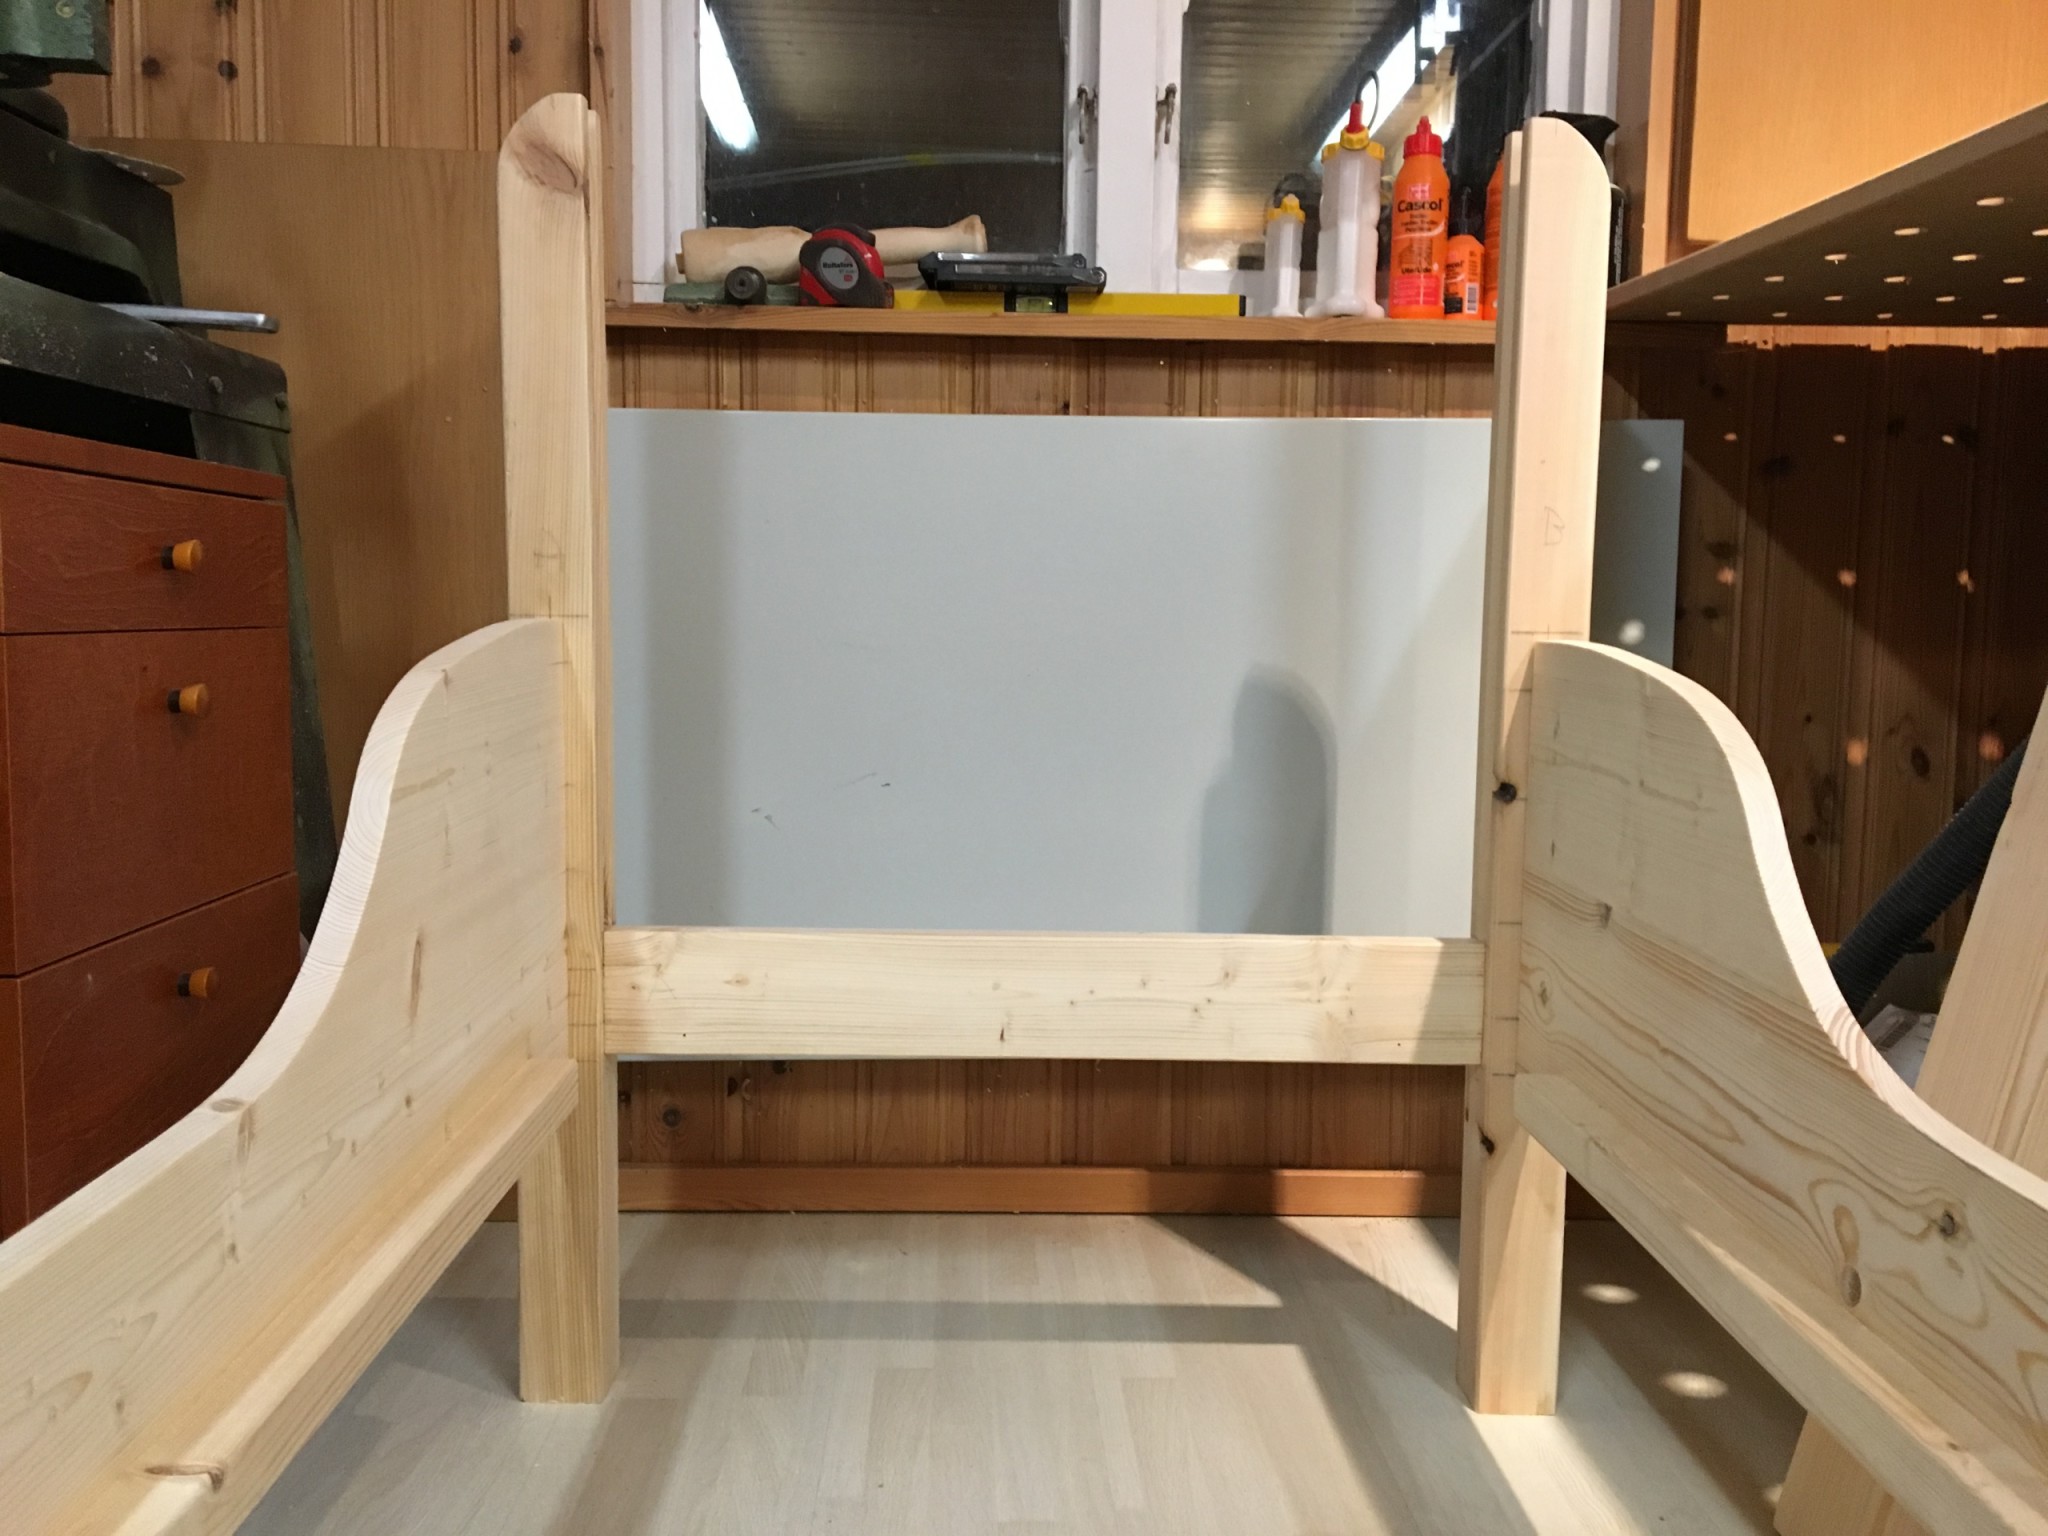
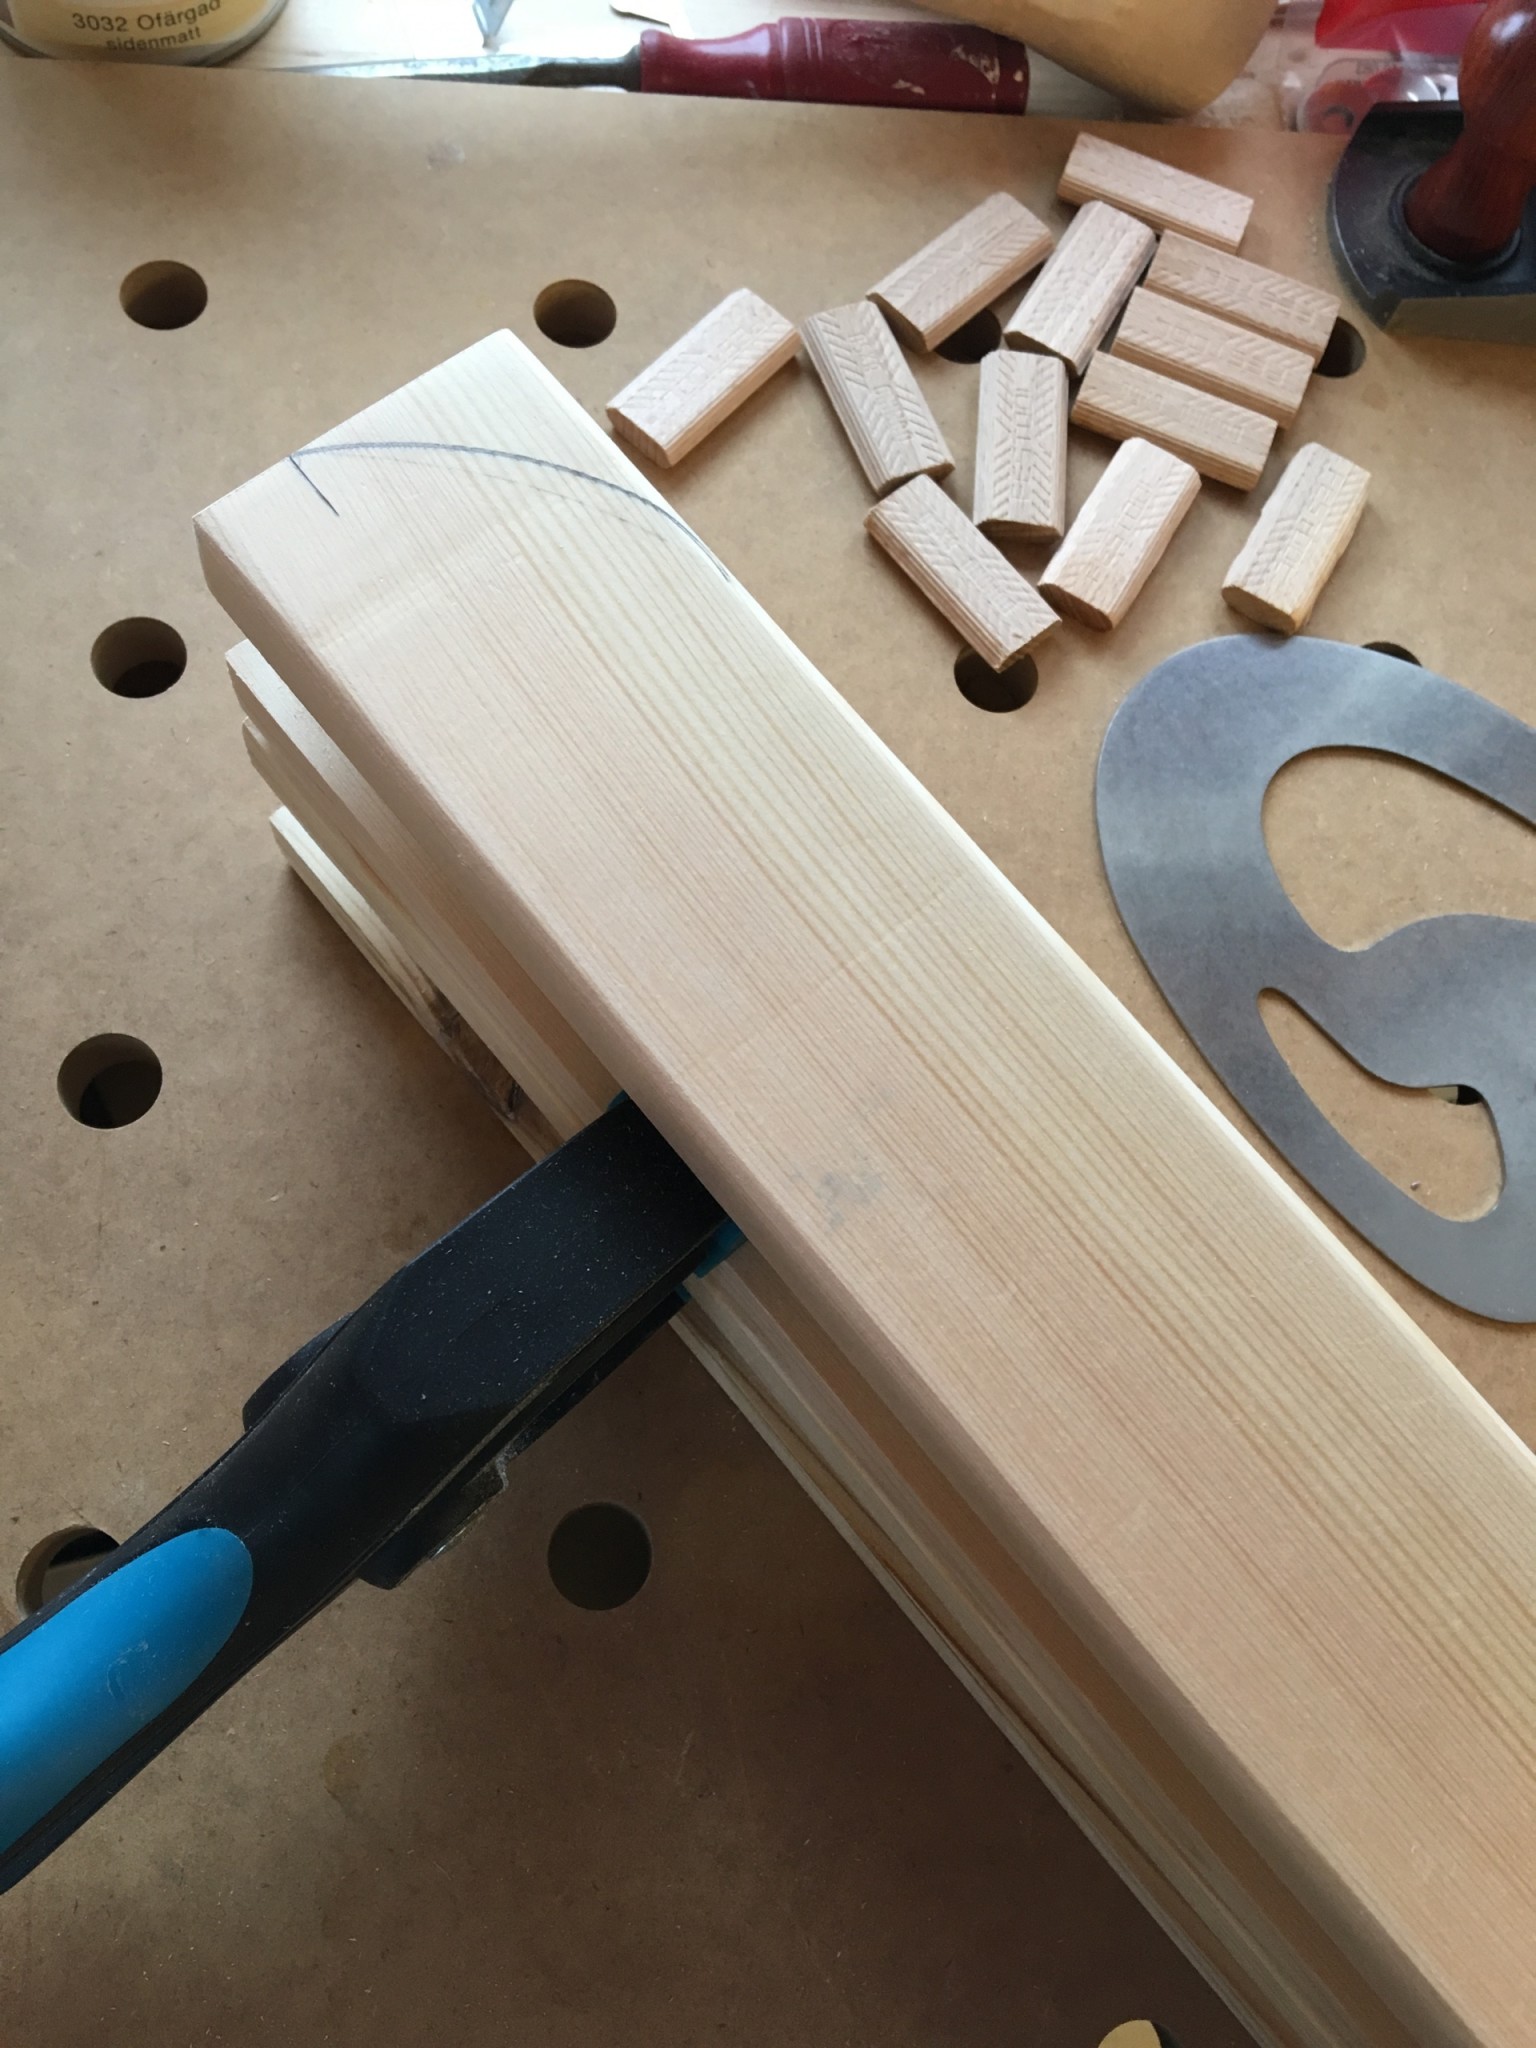
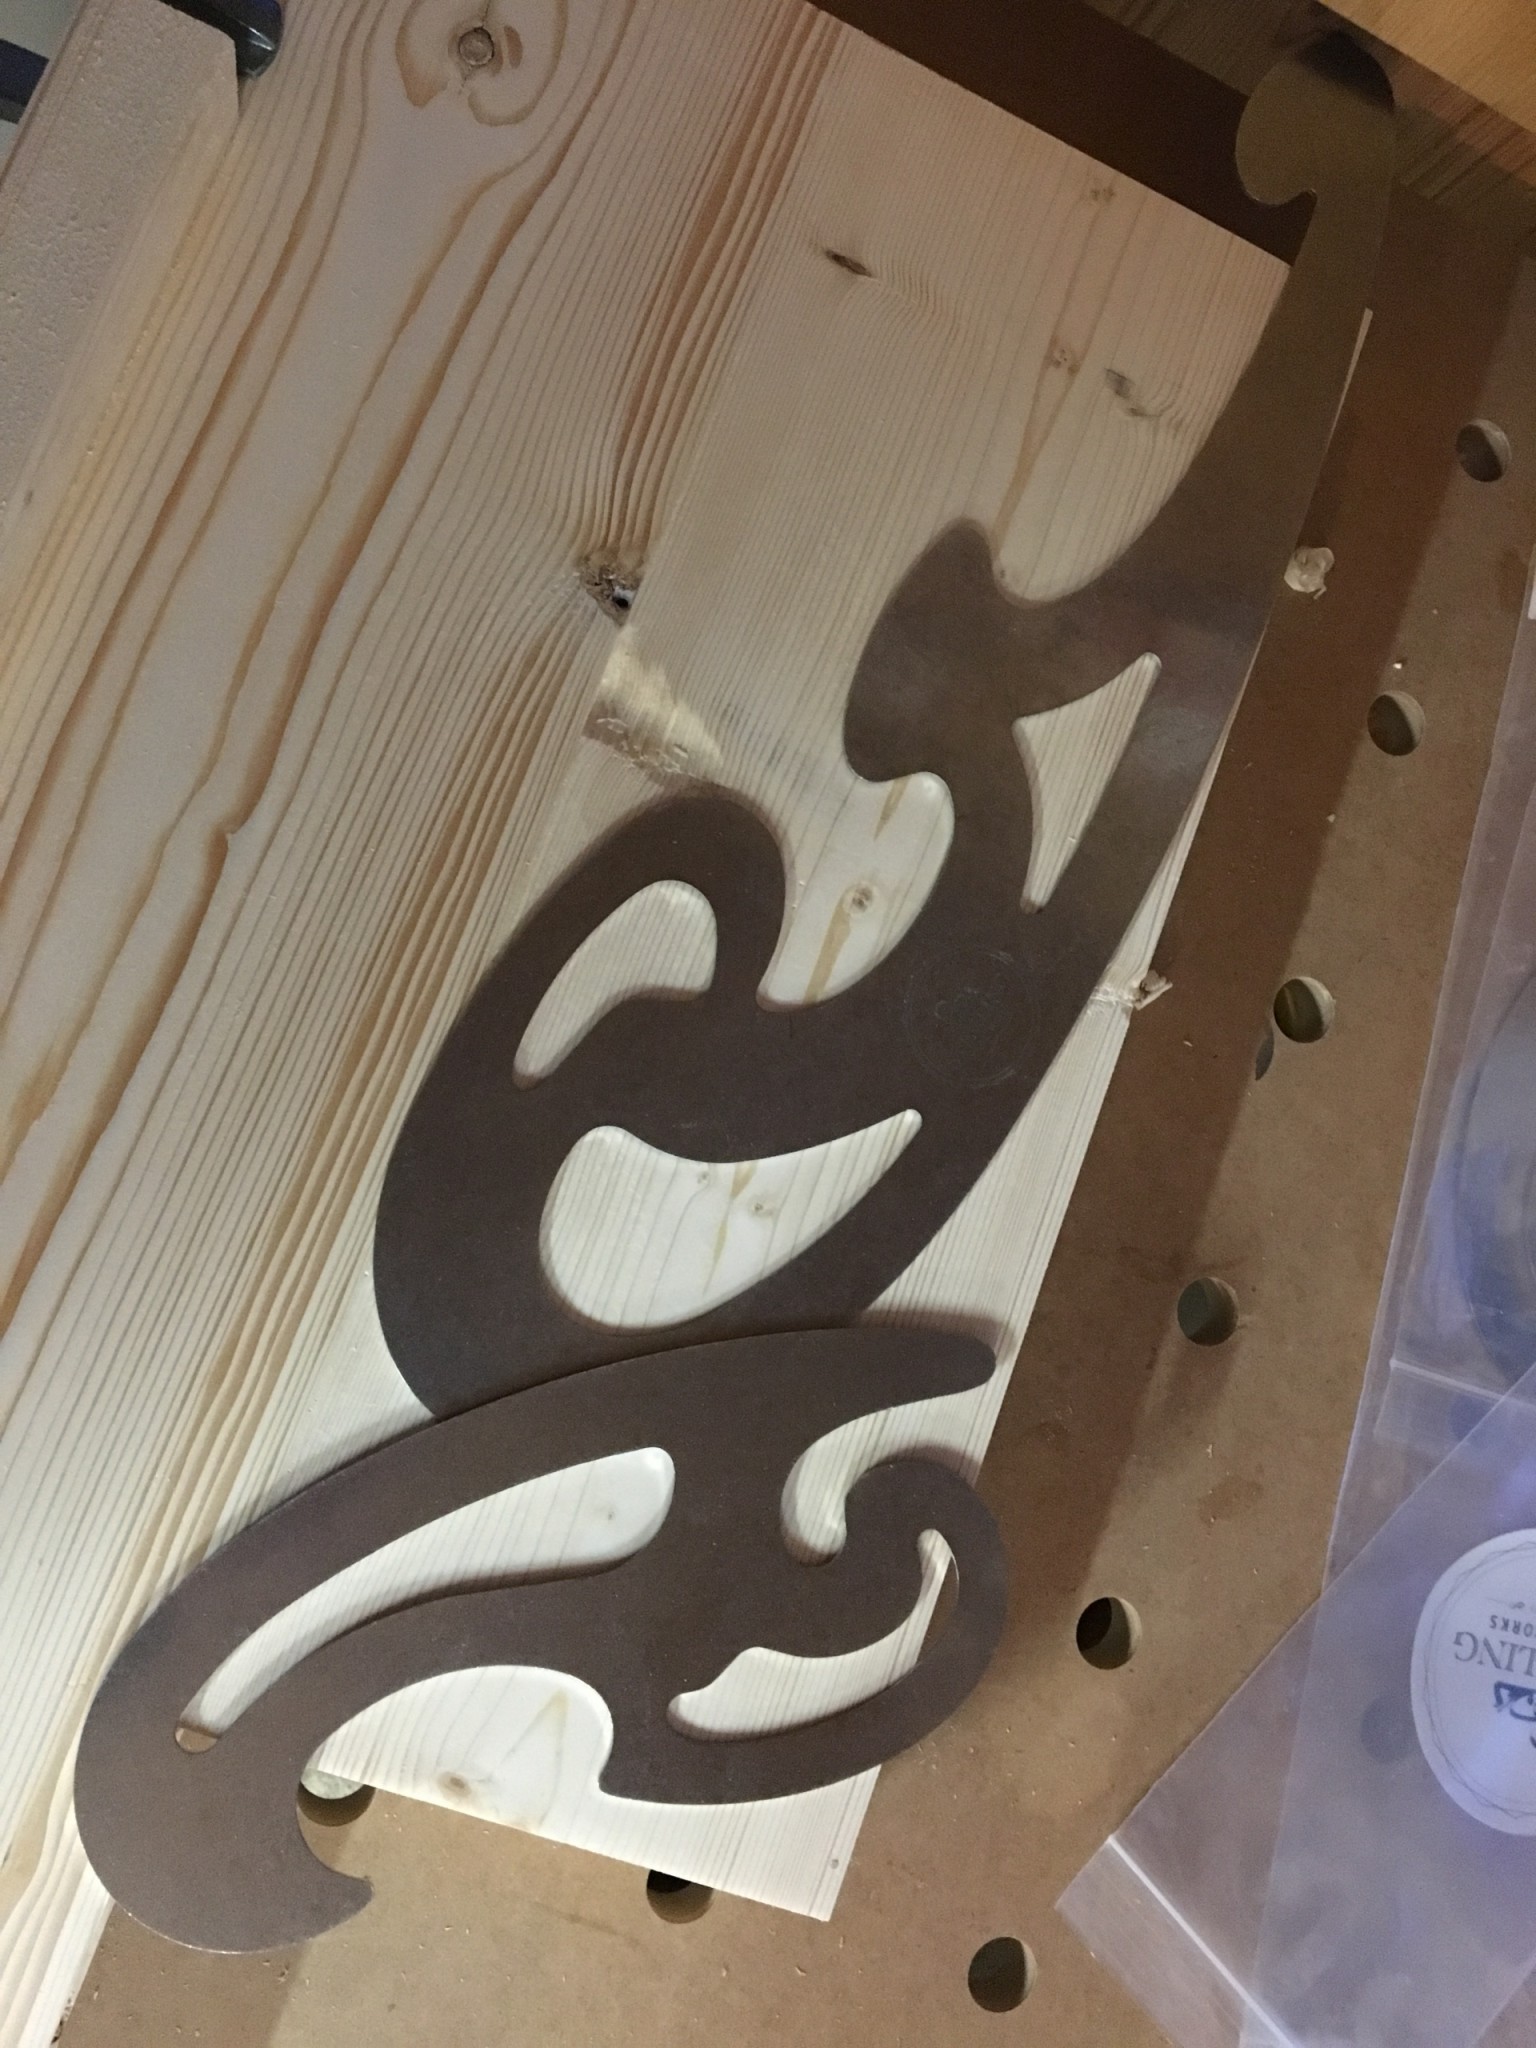
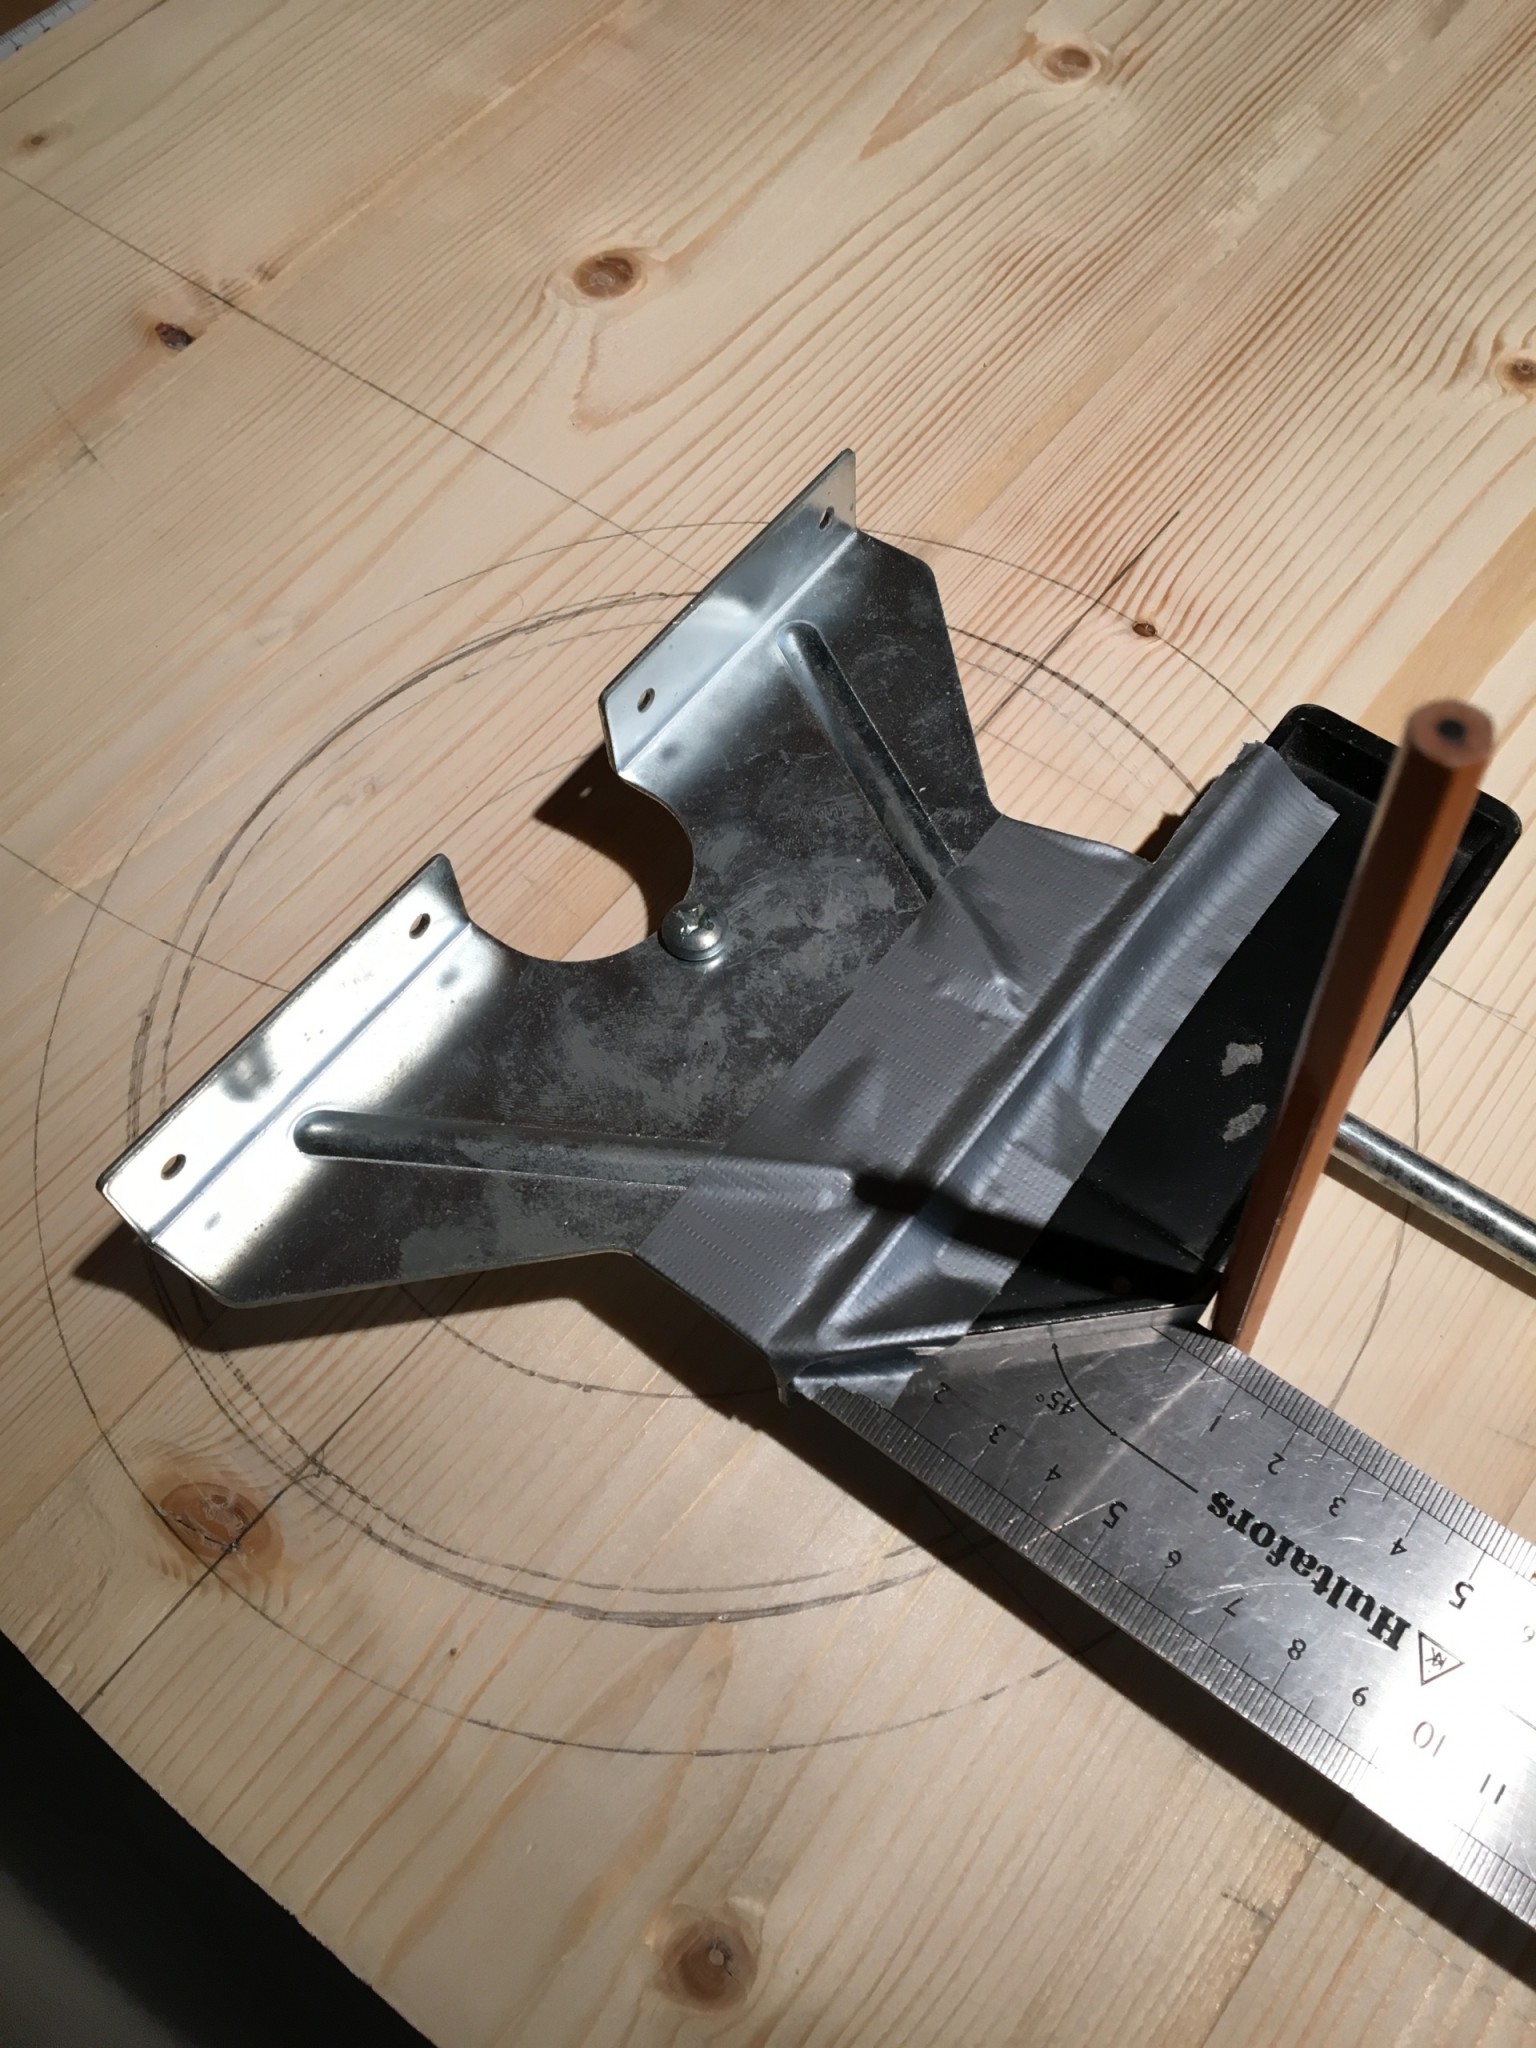
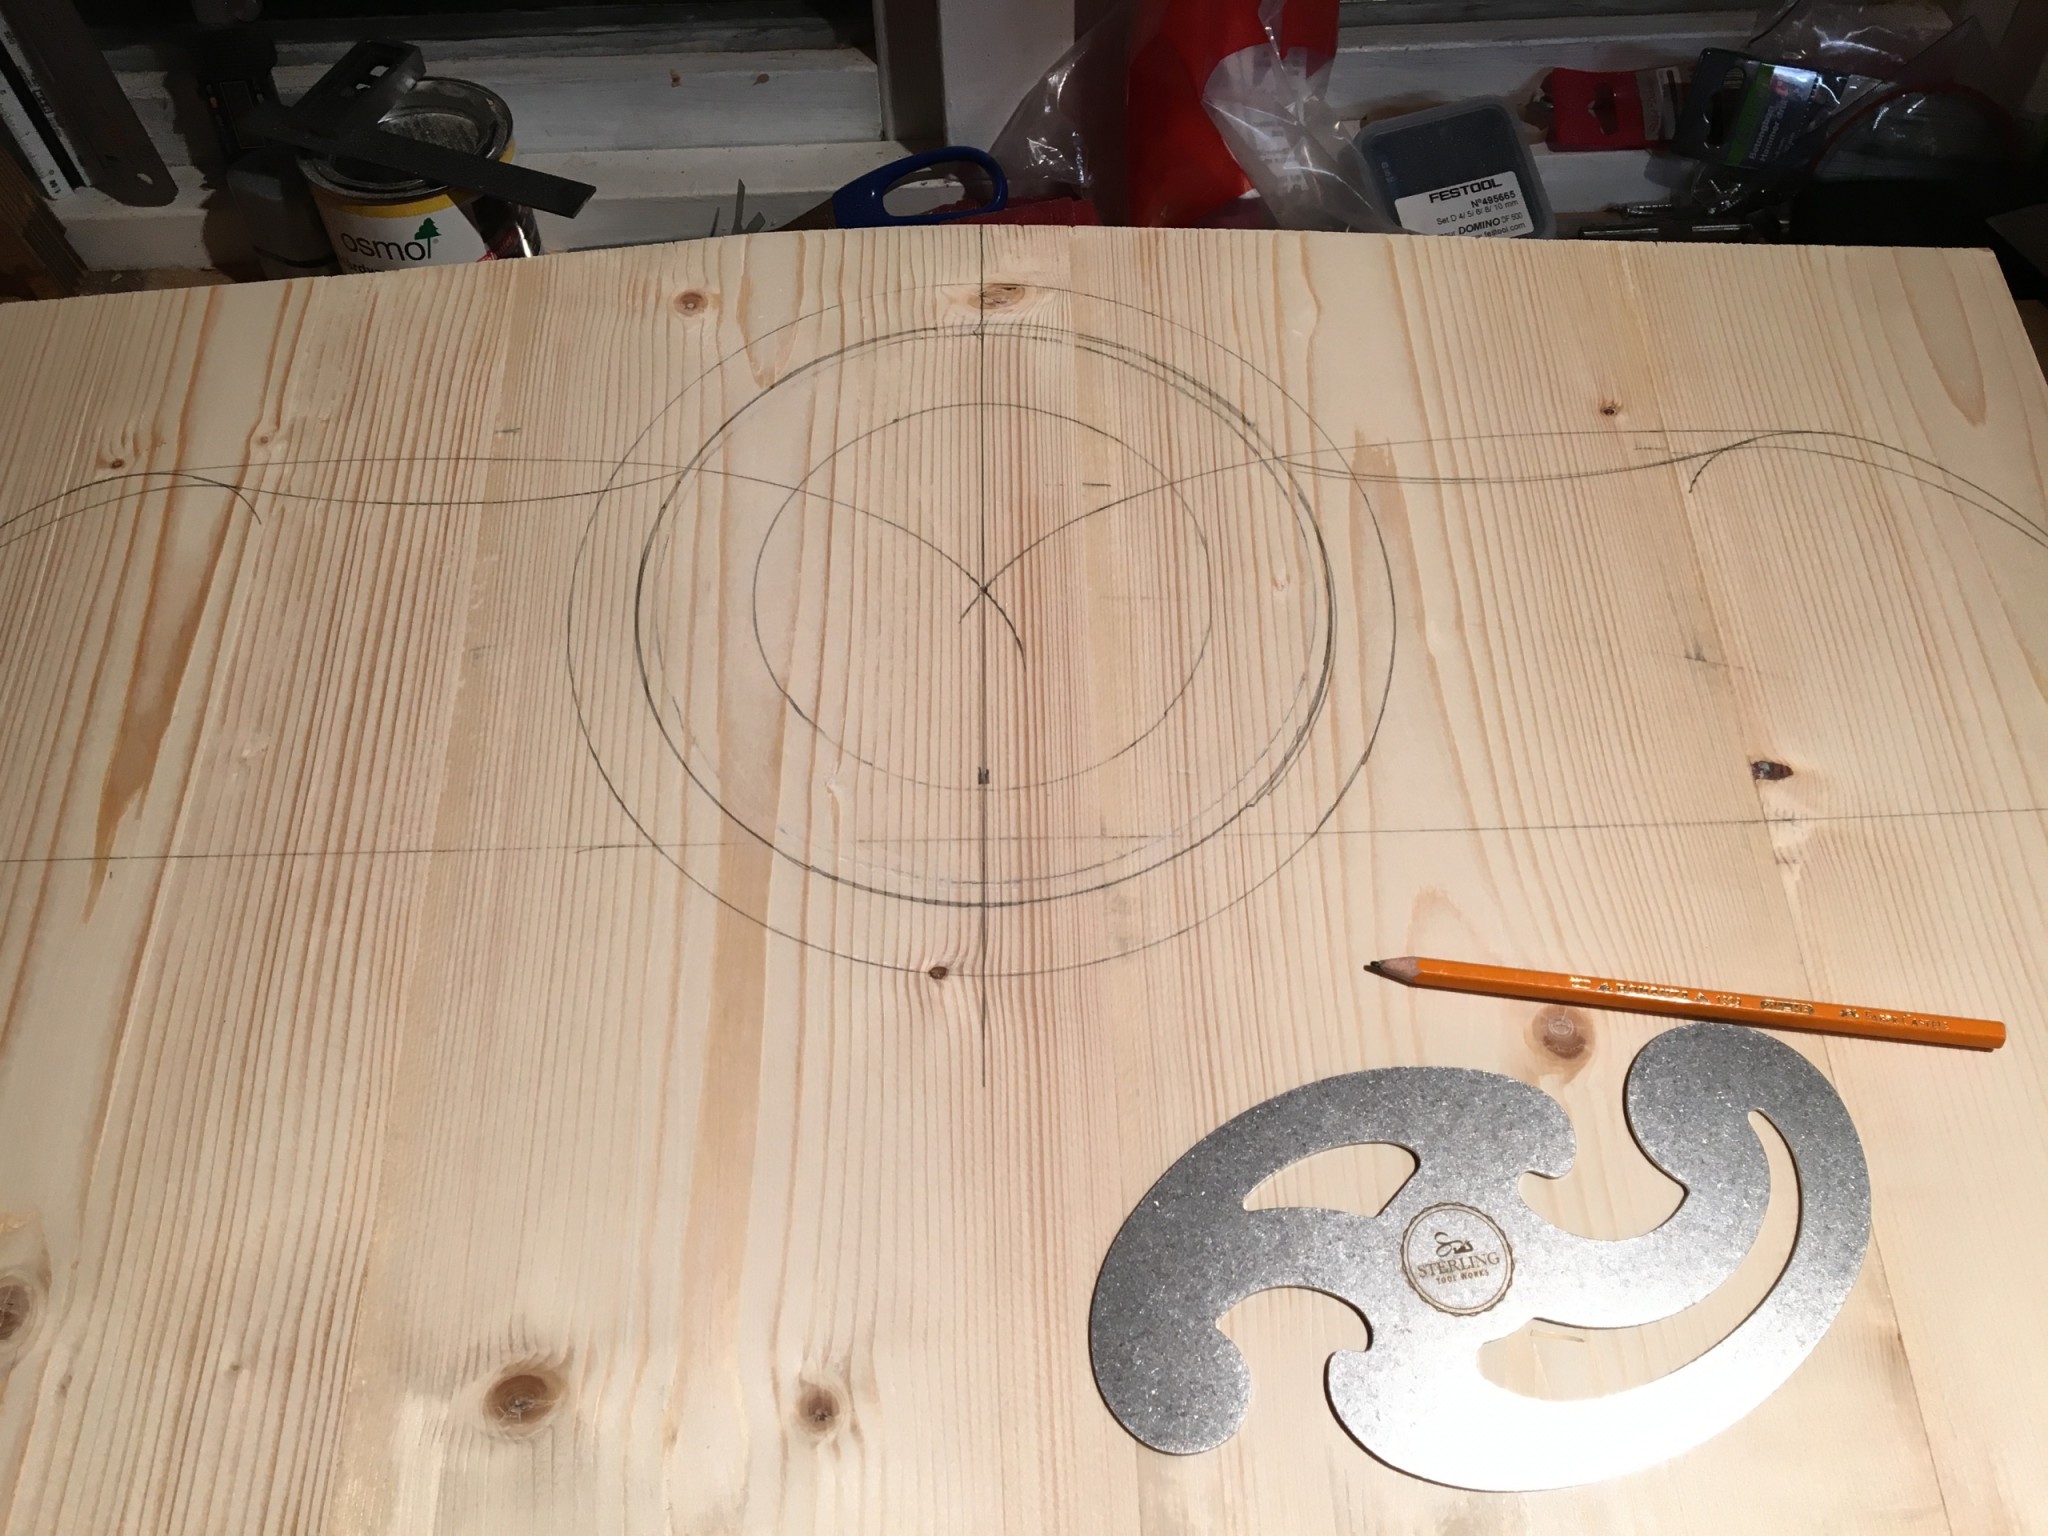
I marked the centre and drew a line level with the tops of the posts; the area above it was mine to work with. I drew some curves from the outer edge towards the middle, found a centre point and tried drawing a circle using a round sanding disc as a template. Then new curves from where they met the circle. The circle needed a "frame", but without compasses that was hard. The solution was the router's circle jig with the square, which gave a suitable radius. (An eraser in the workshop wouldn't have hurt either; there were a lot of lines.)
Then I stood looking at the bed, measured its length and realised I had slipped up a little: the bed was too long. It should be about 150 cm in total, but it was about 165 cm. I hadn't considered that the posts actually have depth, and had simply measured the rail to 150 cm. It could be fixed: cut a piece off at the front and make new domino mortises.
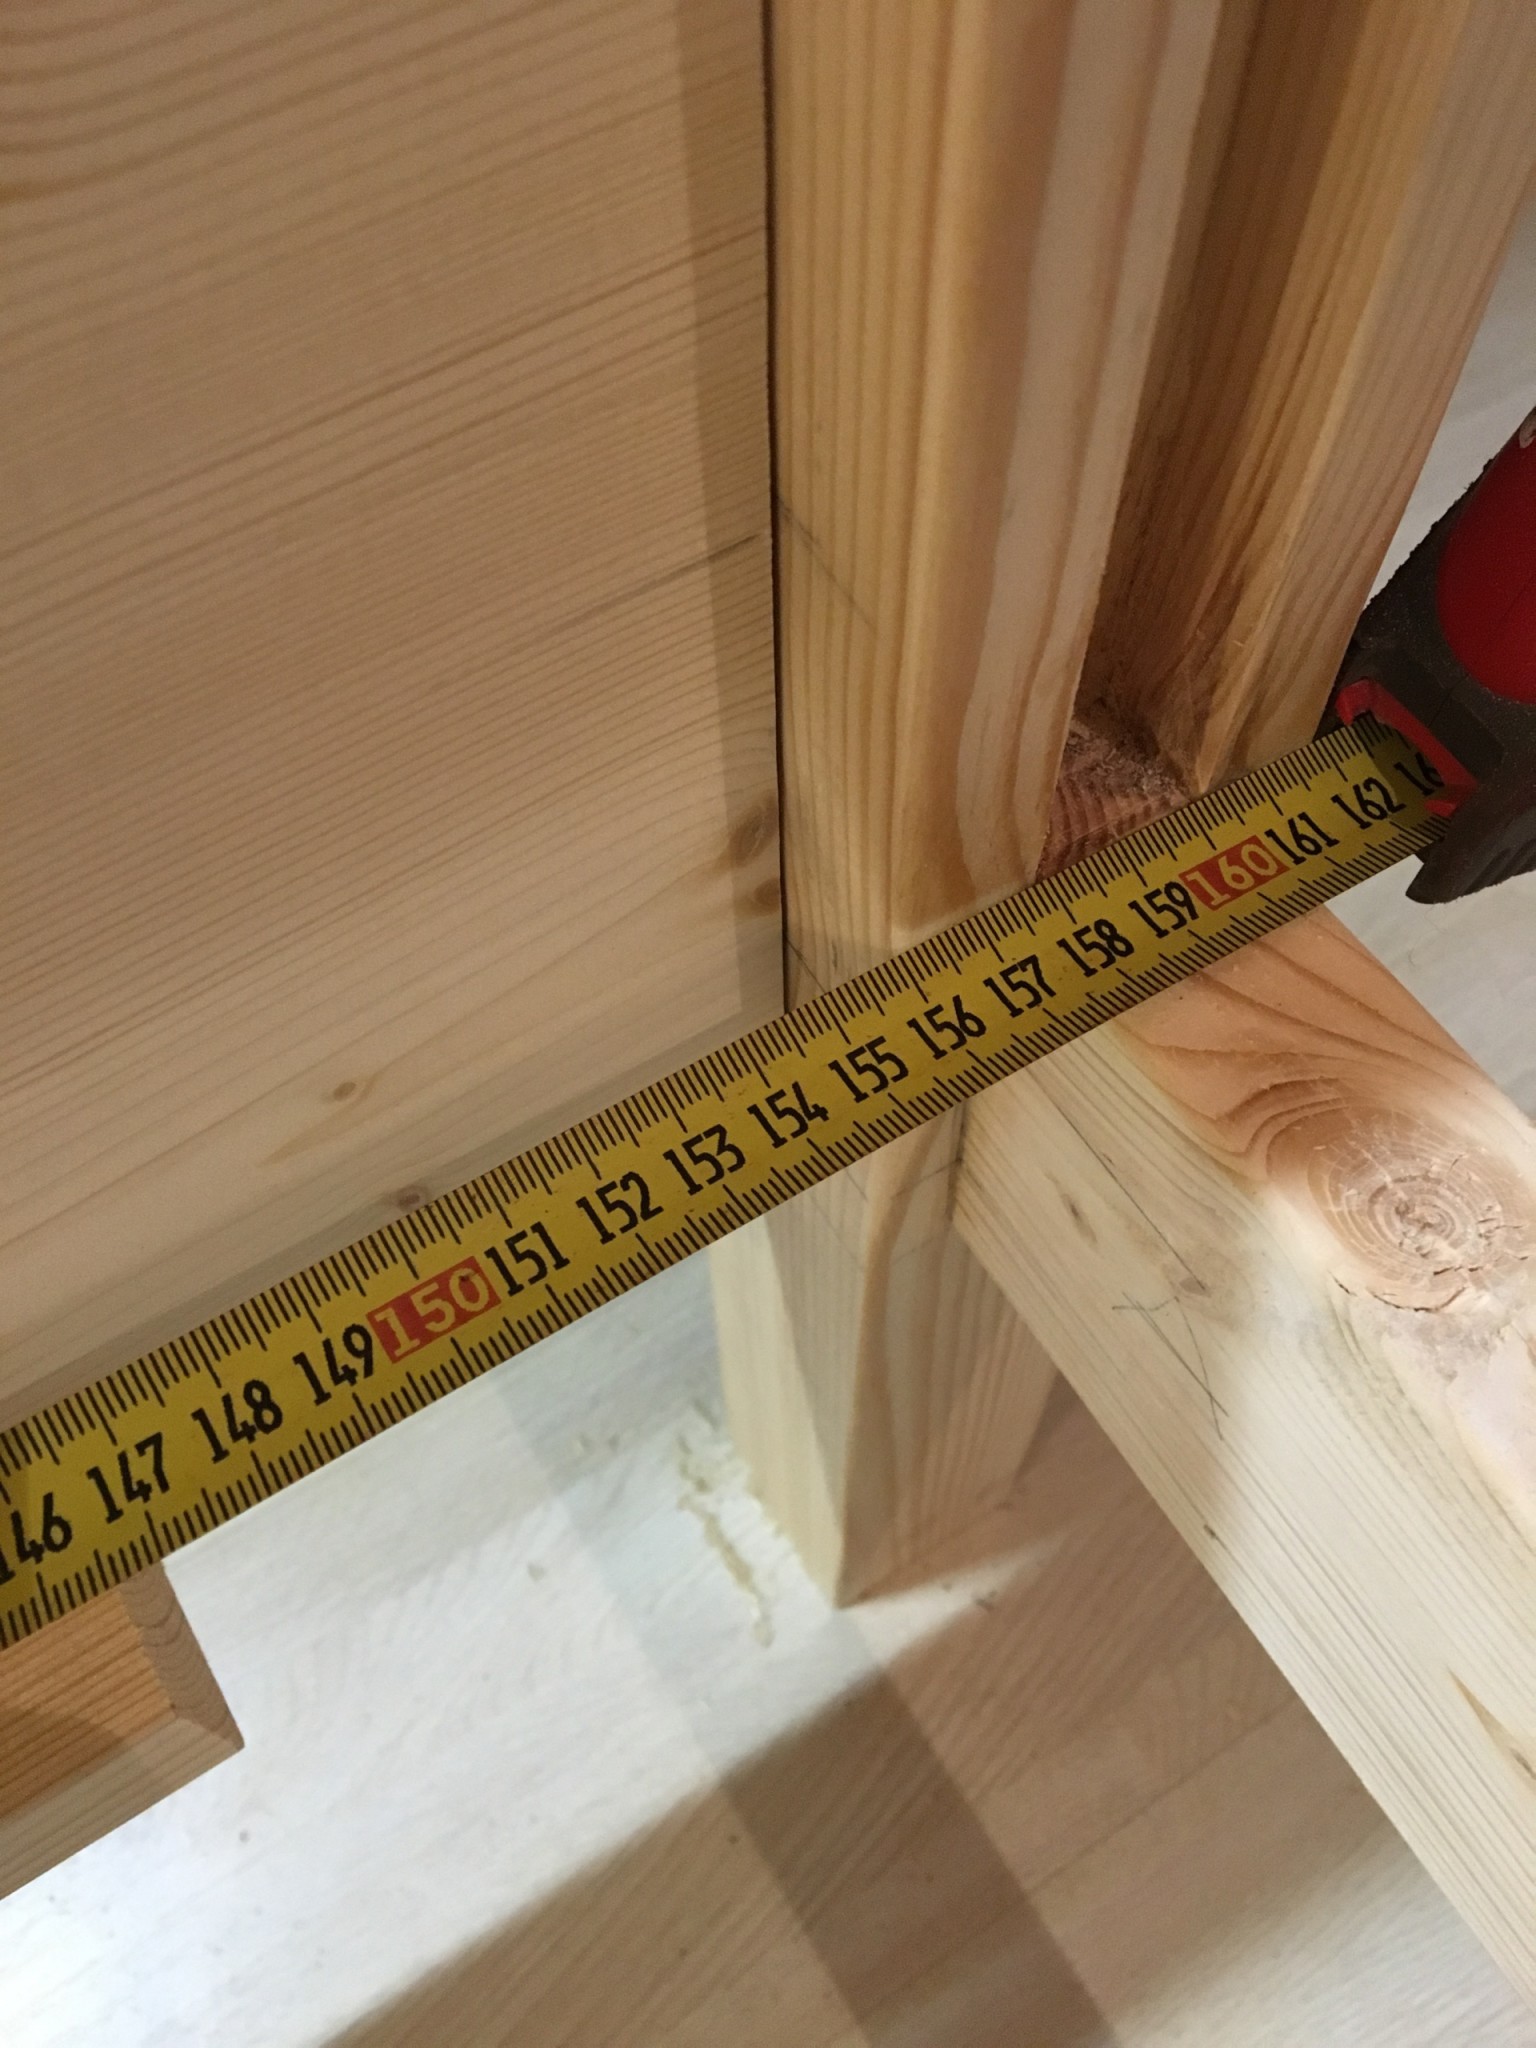
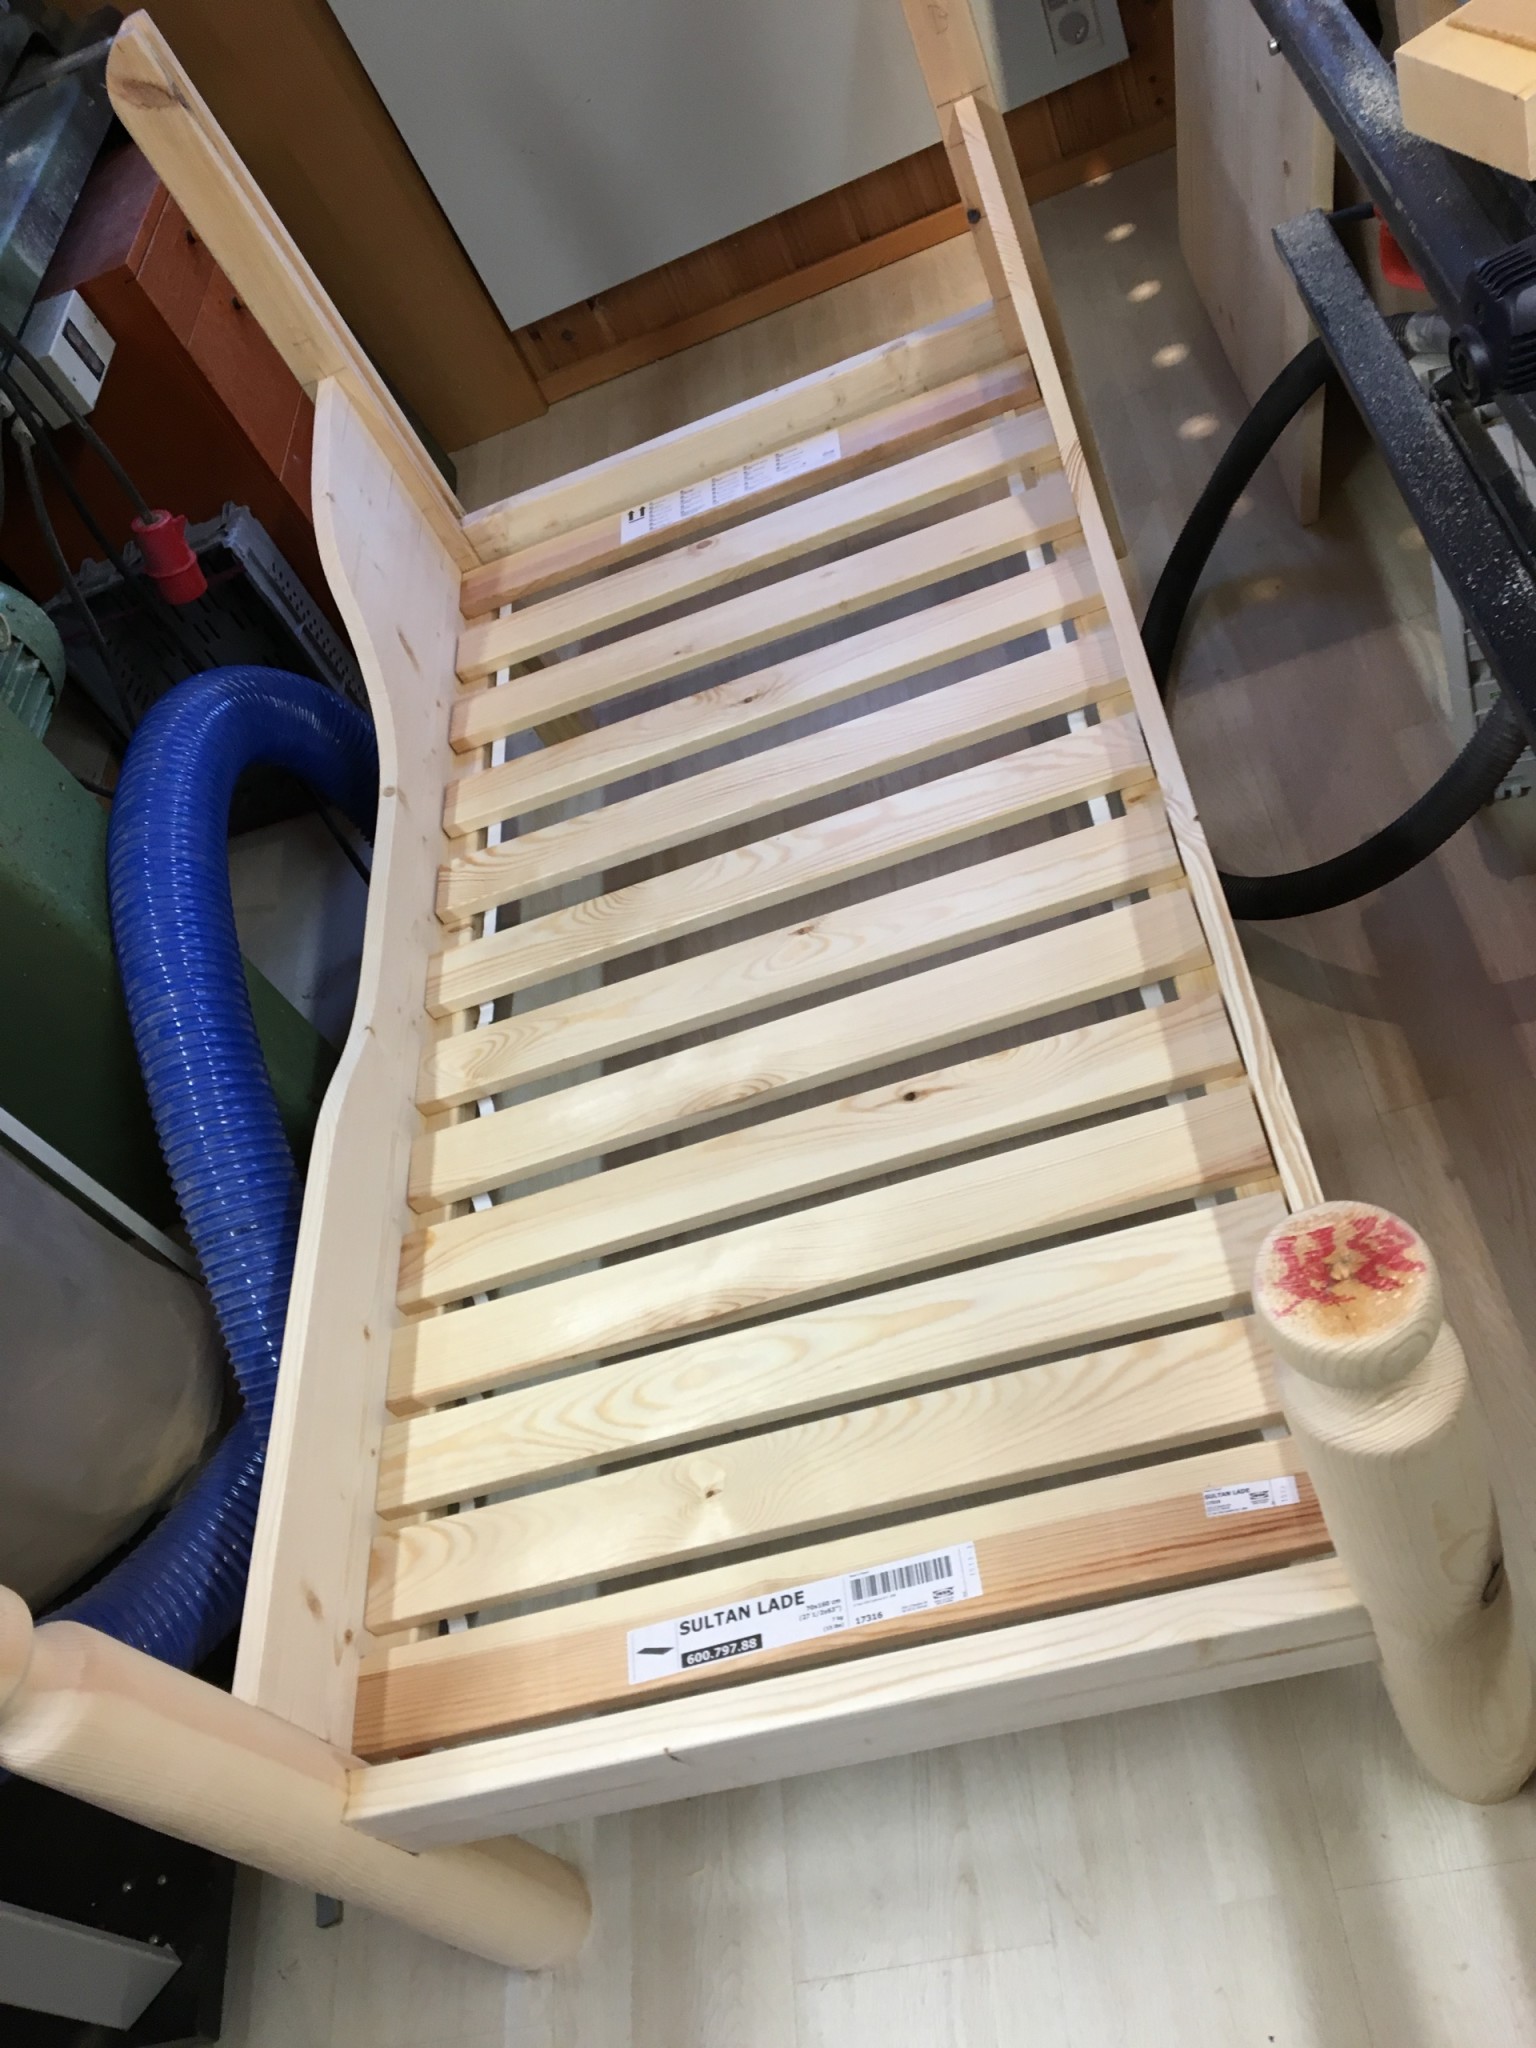
I cut 3–4 cm off on each side of the batten that holds the slats, which made the bed just over 152 cm (hard to measure exactly on the round post). The new domino mortises lined up perfectly with the old ones. We had bought the slatted base from Ikea, and now I put it in for the first time.
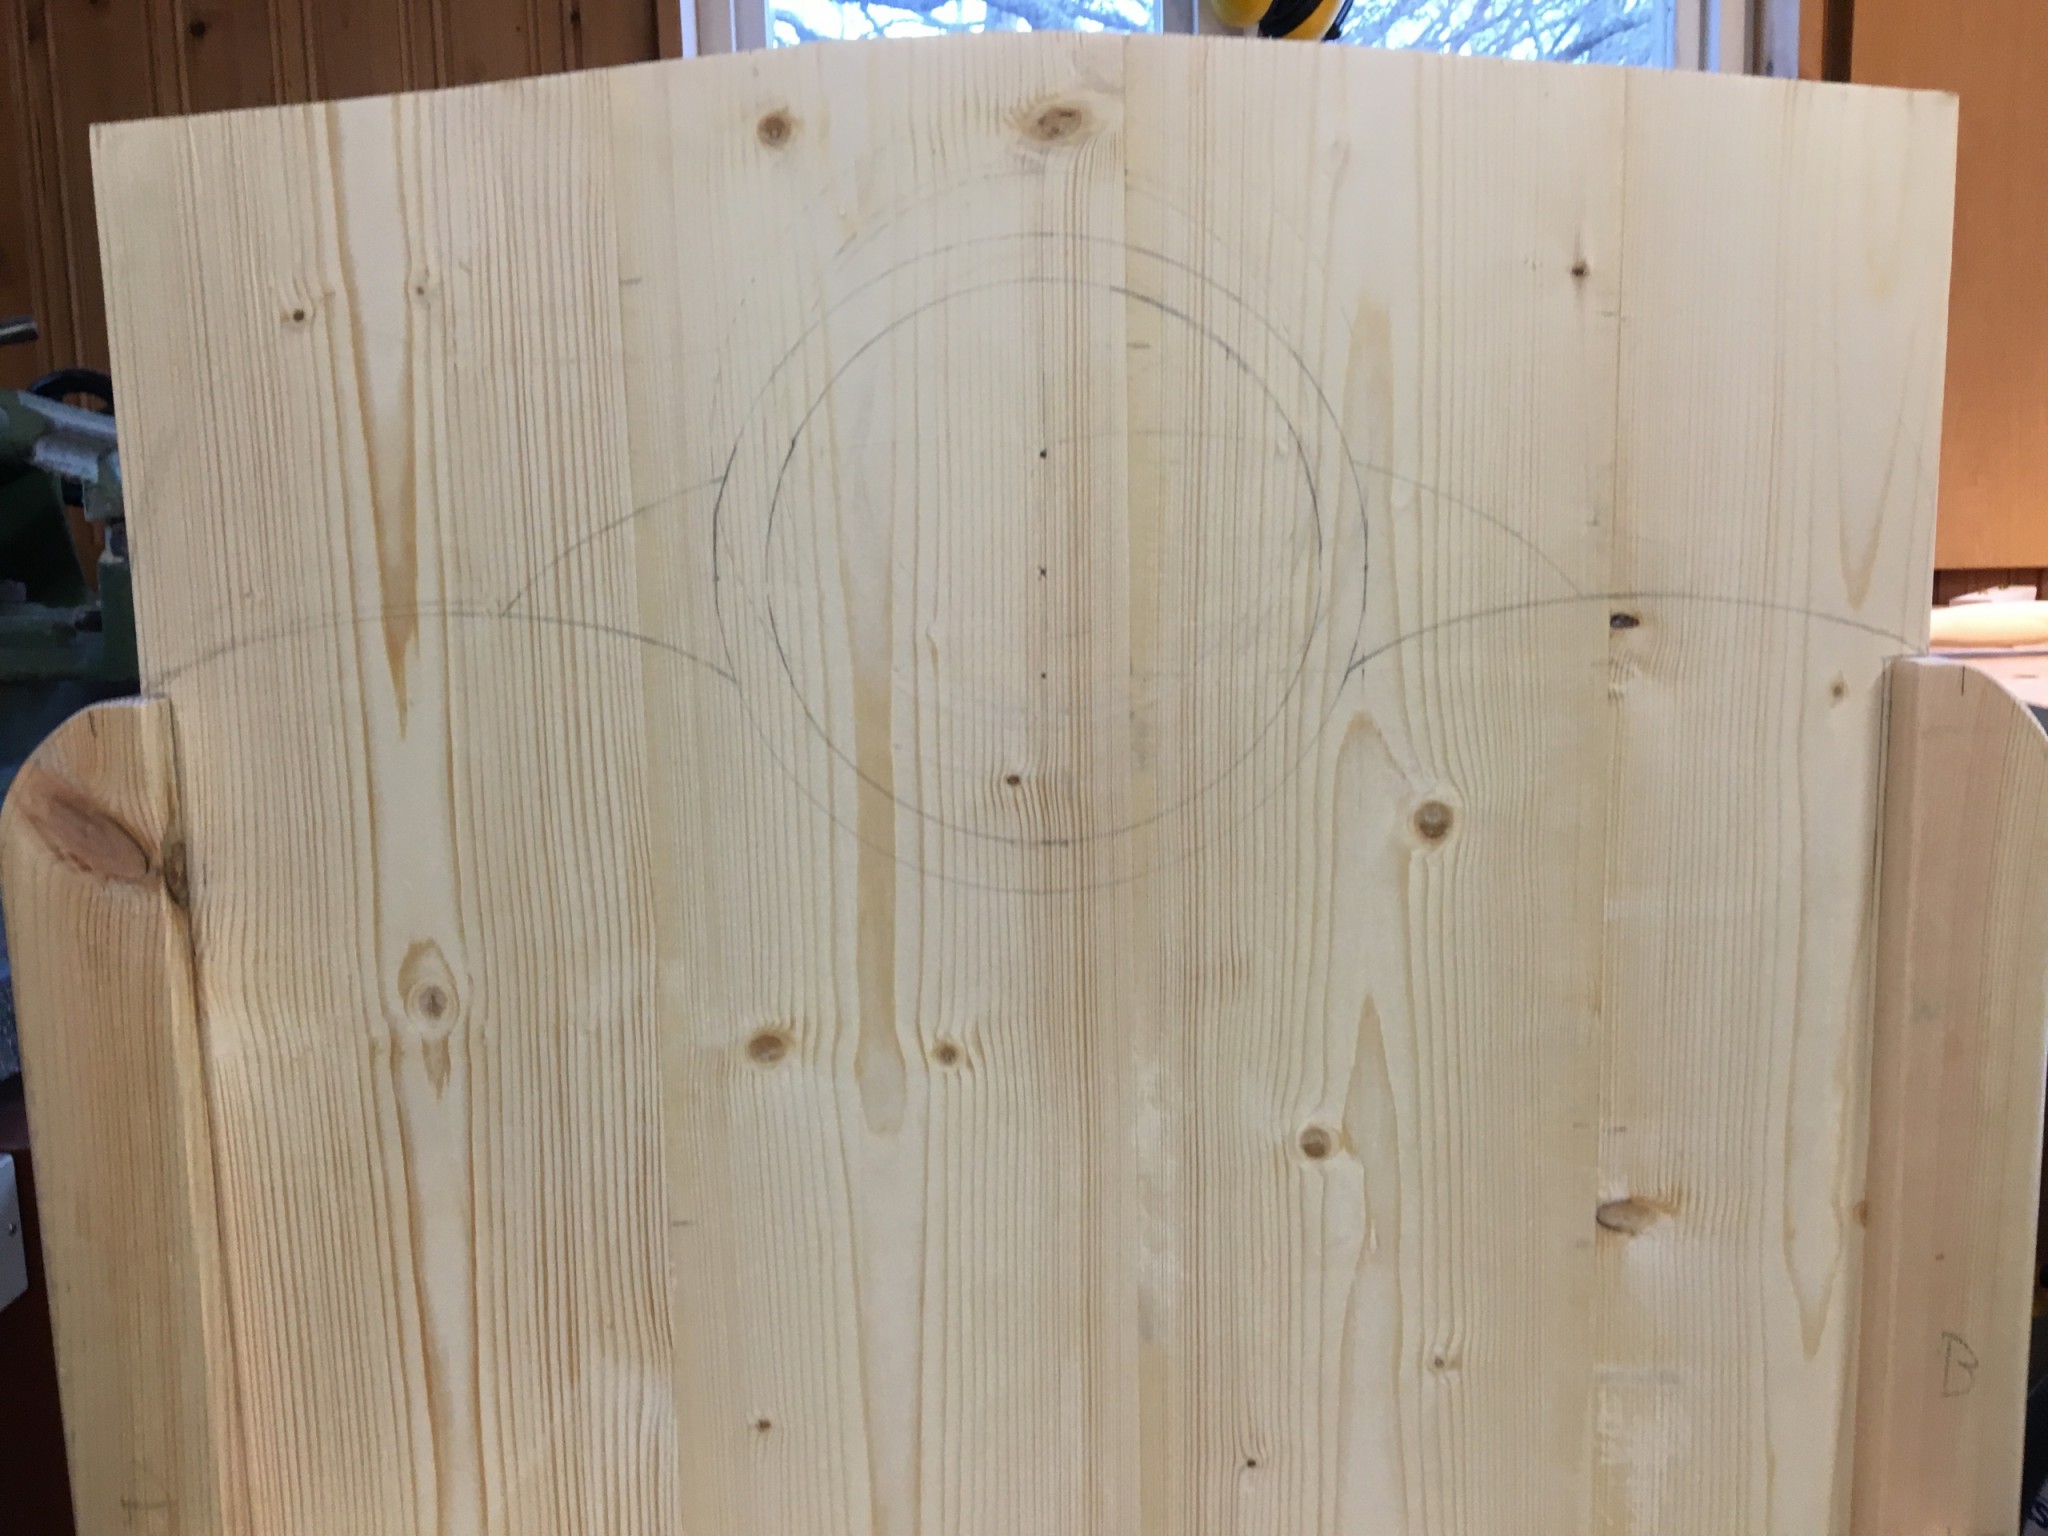
My wife came by the workshop to have a look. She thought everything looked very good (phew), but that the pattern on the headboard sat a little too high. So I erased everything and started again. This time I placed the circle 40 mm above the line, drew the same circles as before and then refitted the panel so I could use the curve on the post. With a few new curves it felt just right.
Then it was time for the next glue-up. My longest clamps were too short, so it had to be ratchet straps.
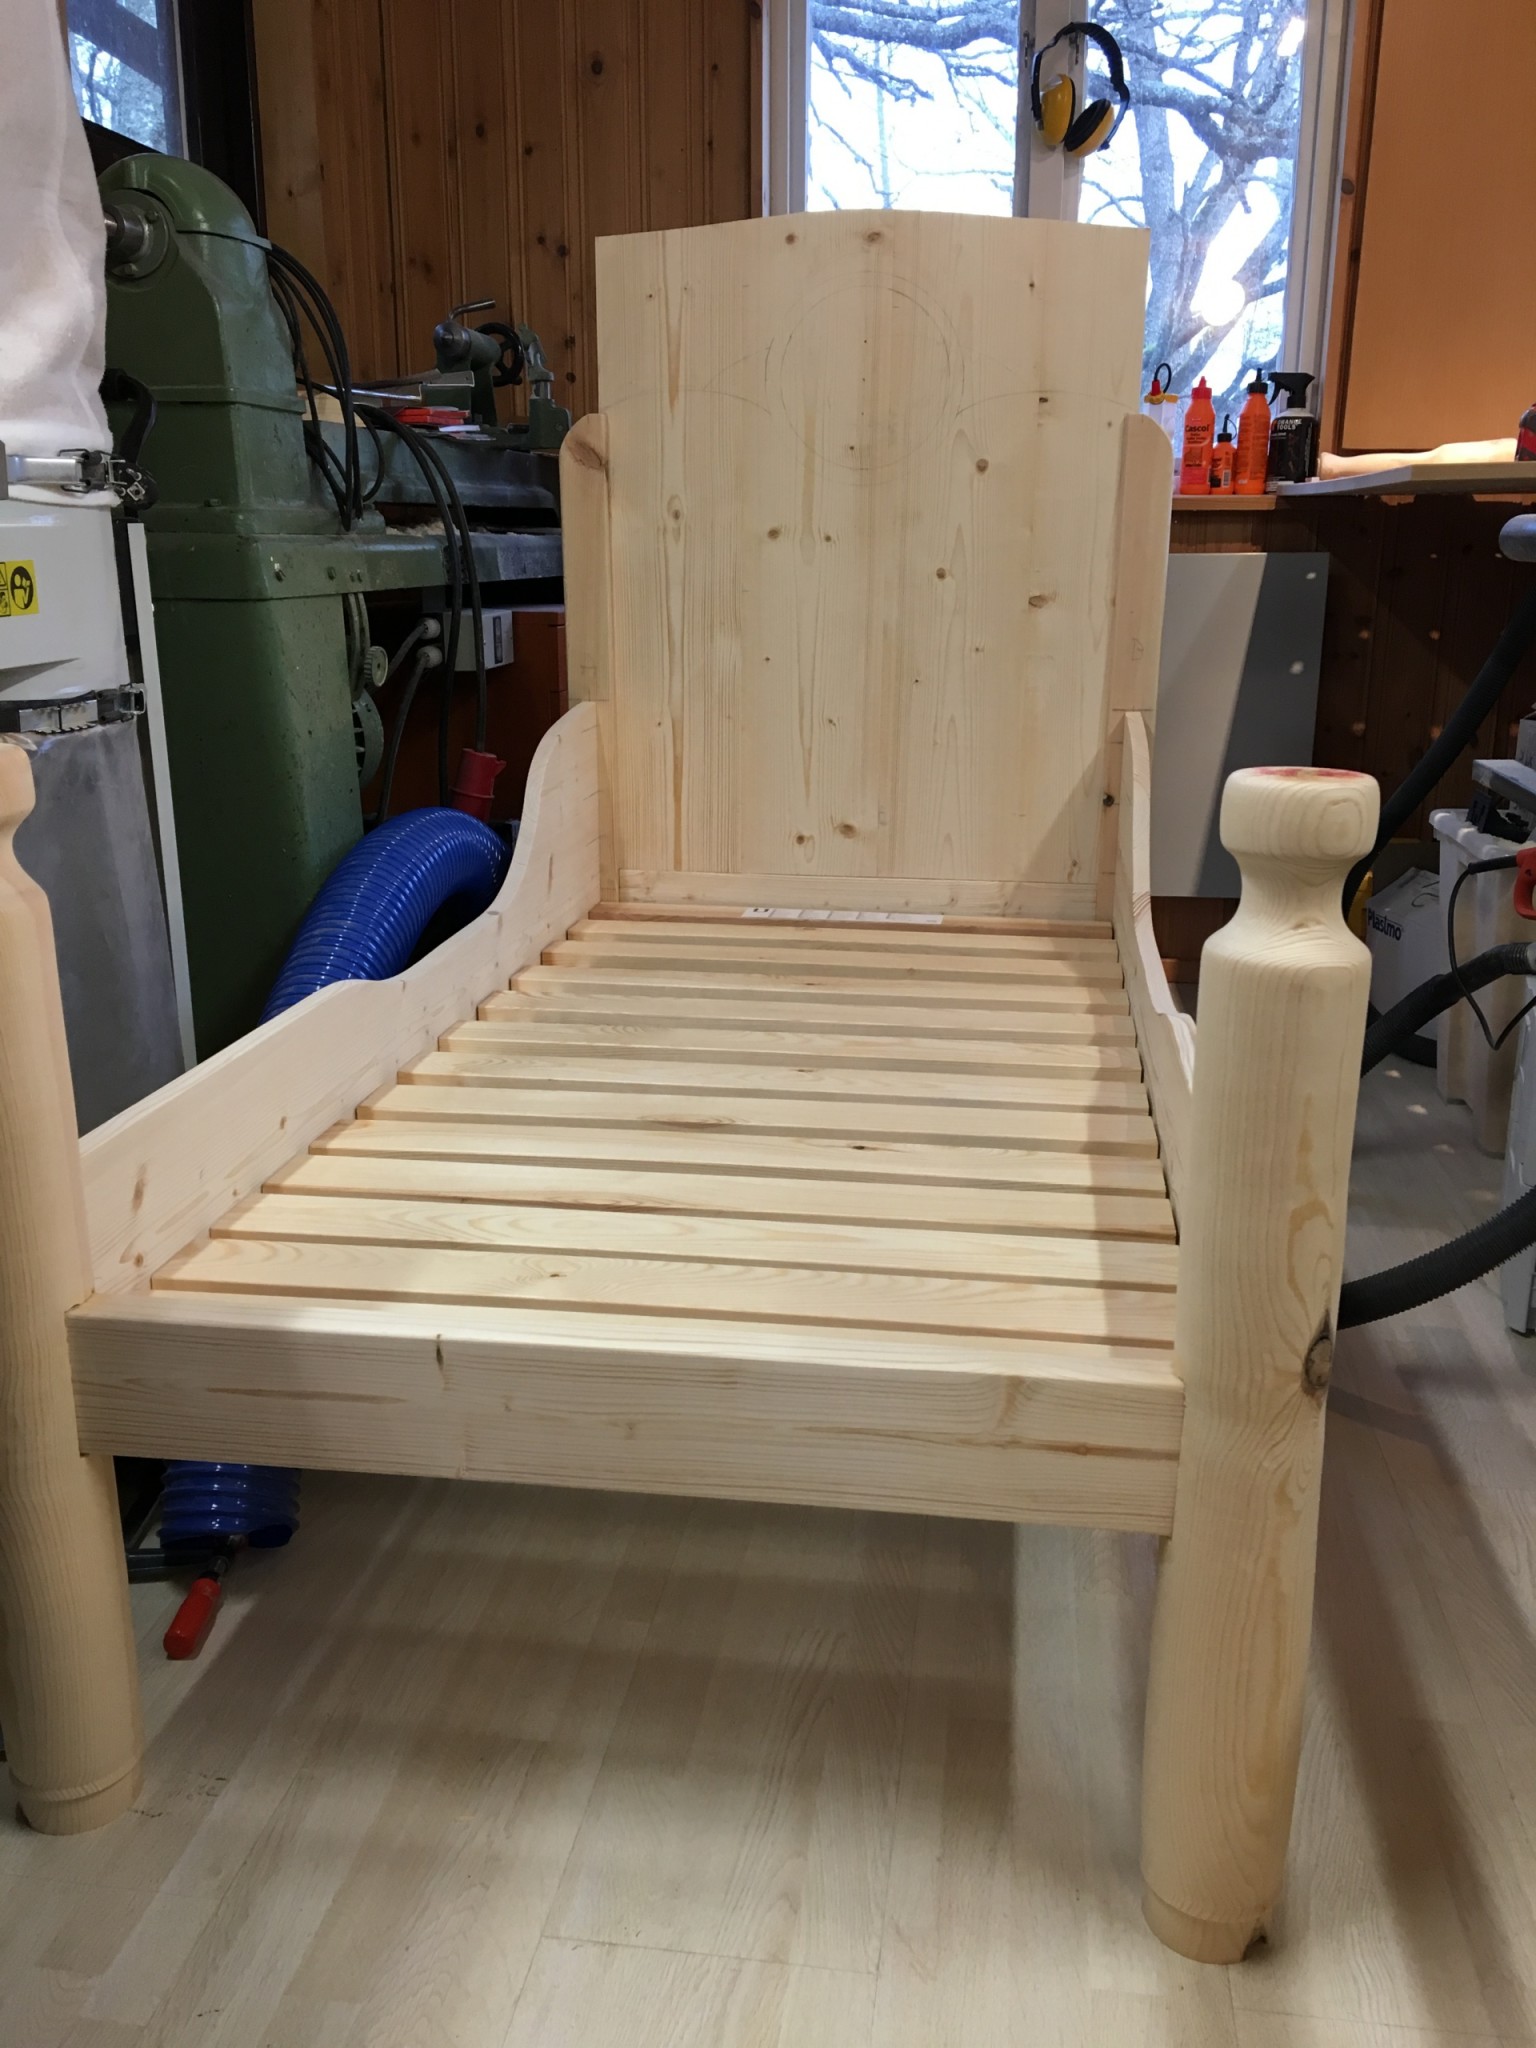
Glue-up and painting
I moved the bed to another space where I had more room to paint.
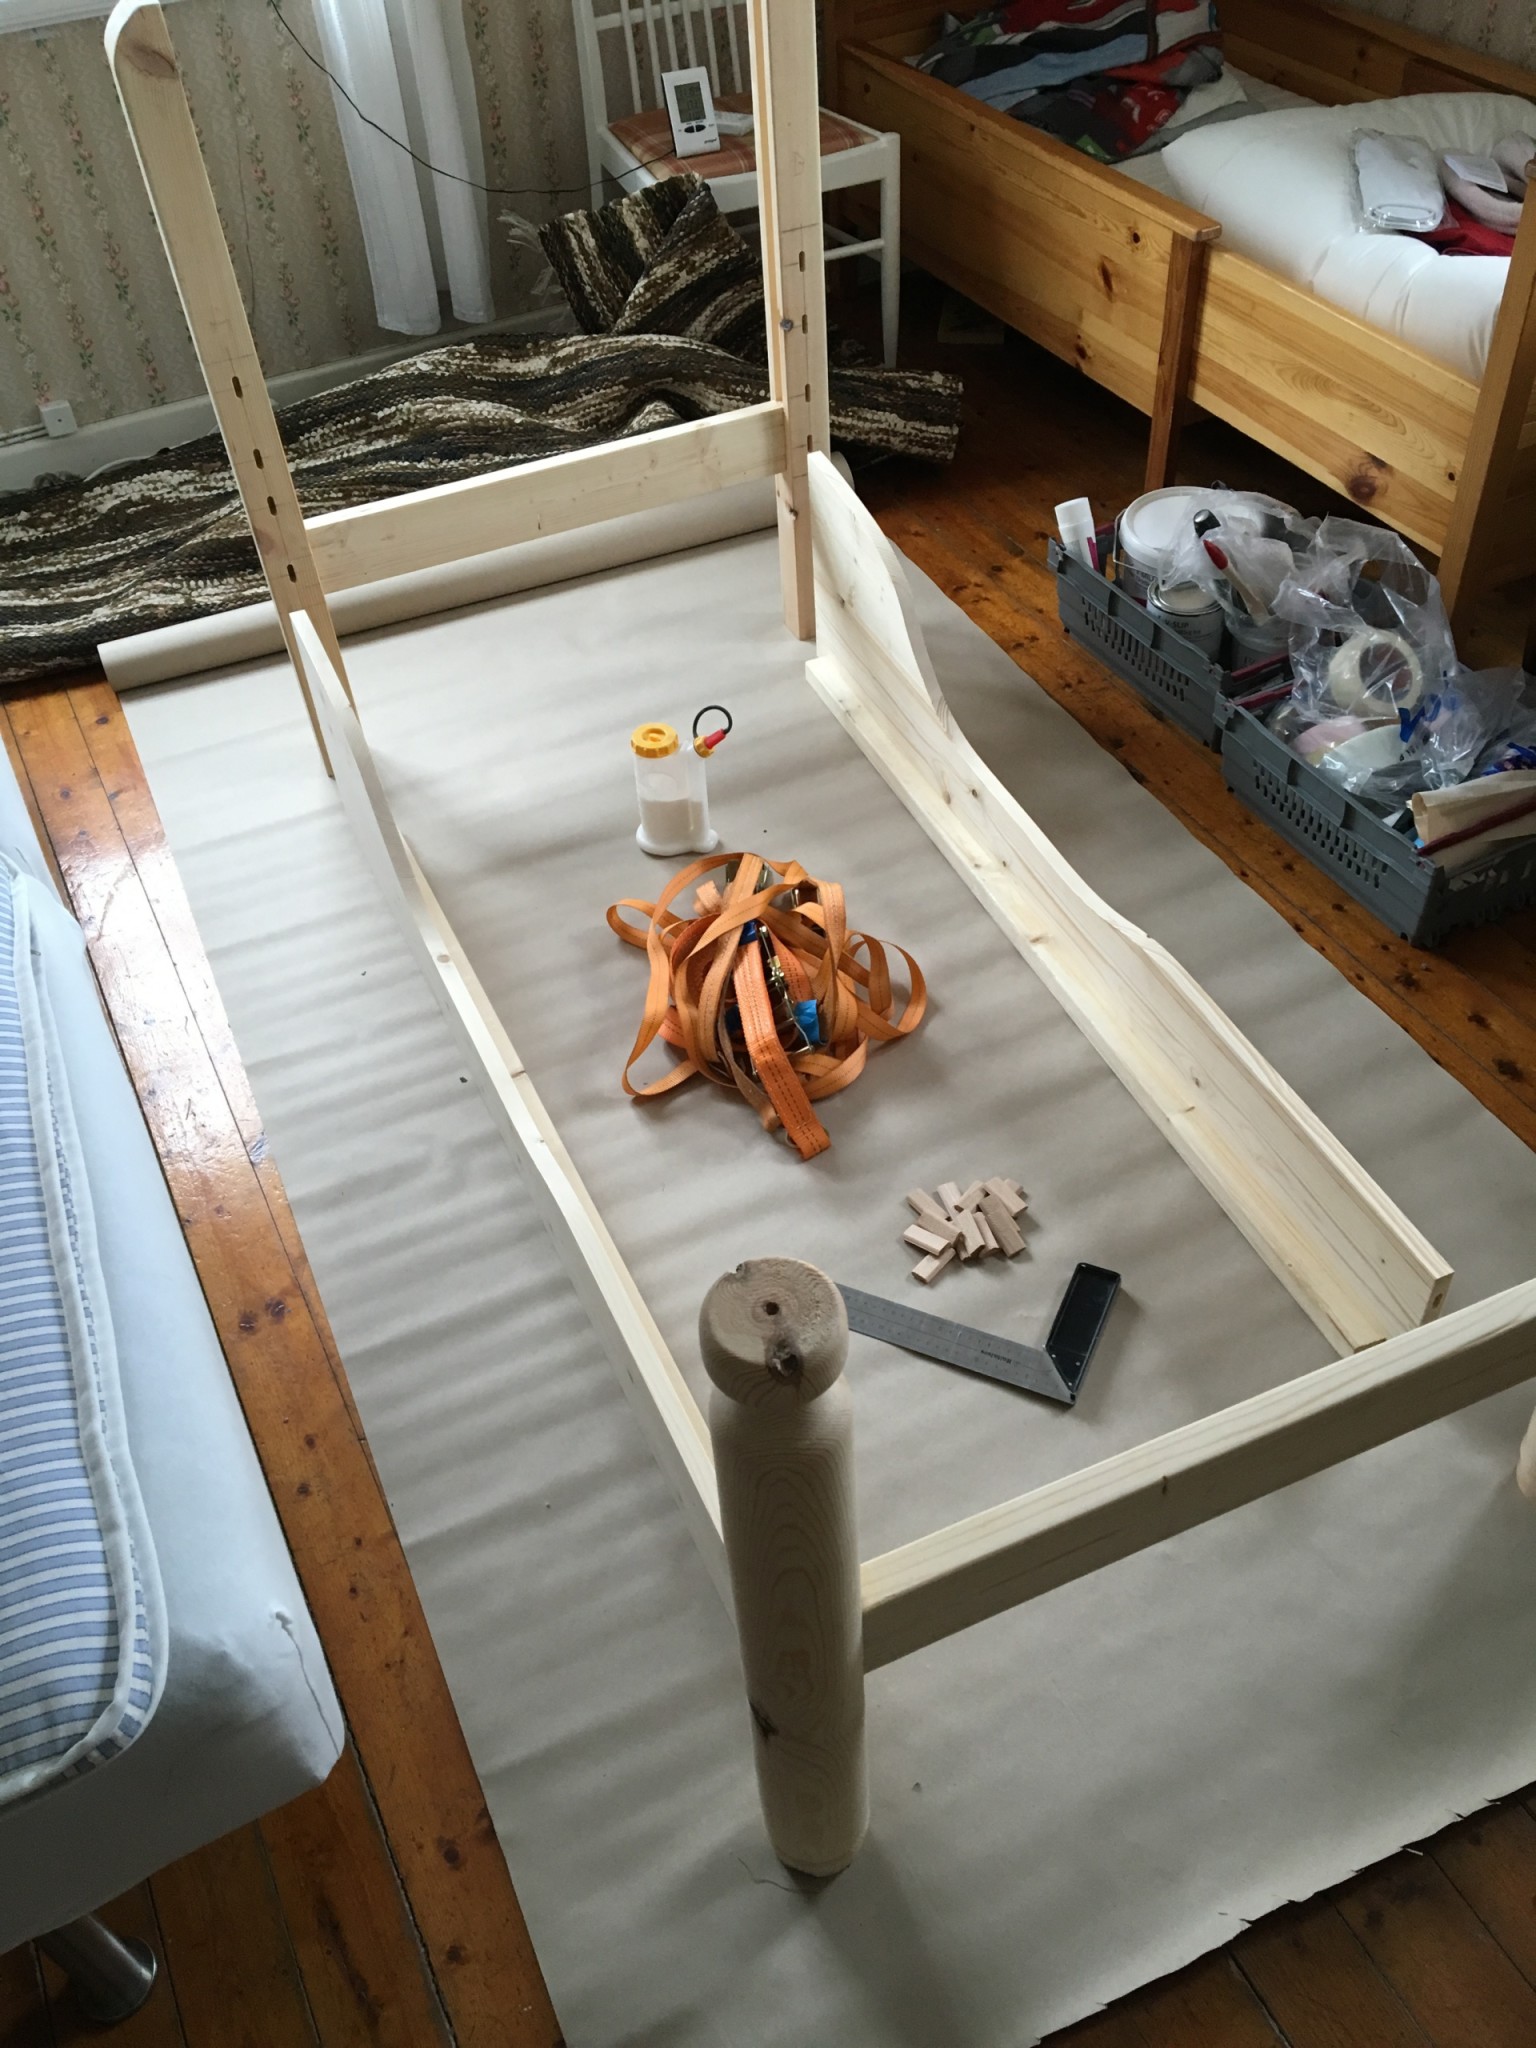
First I glued the sides to the ends. I laid the headboard down and worked my way up; no problems.

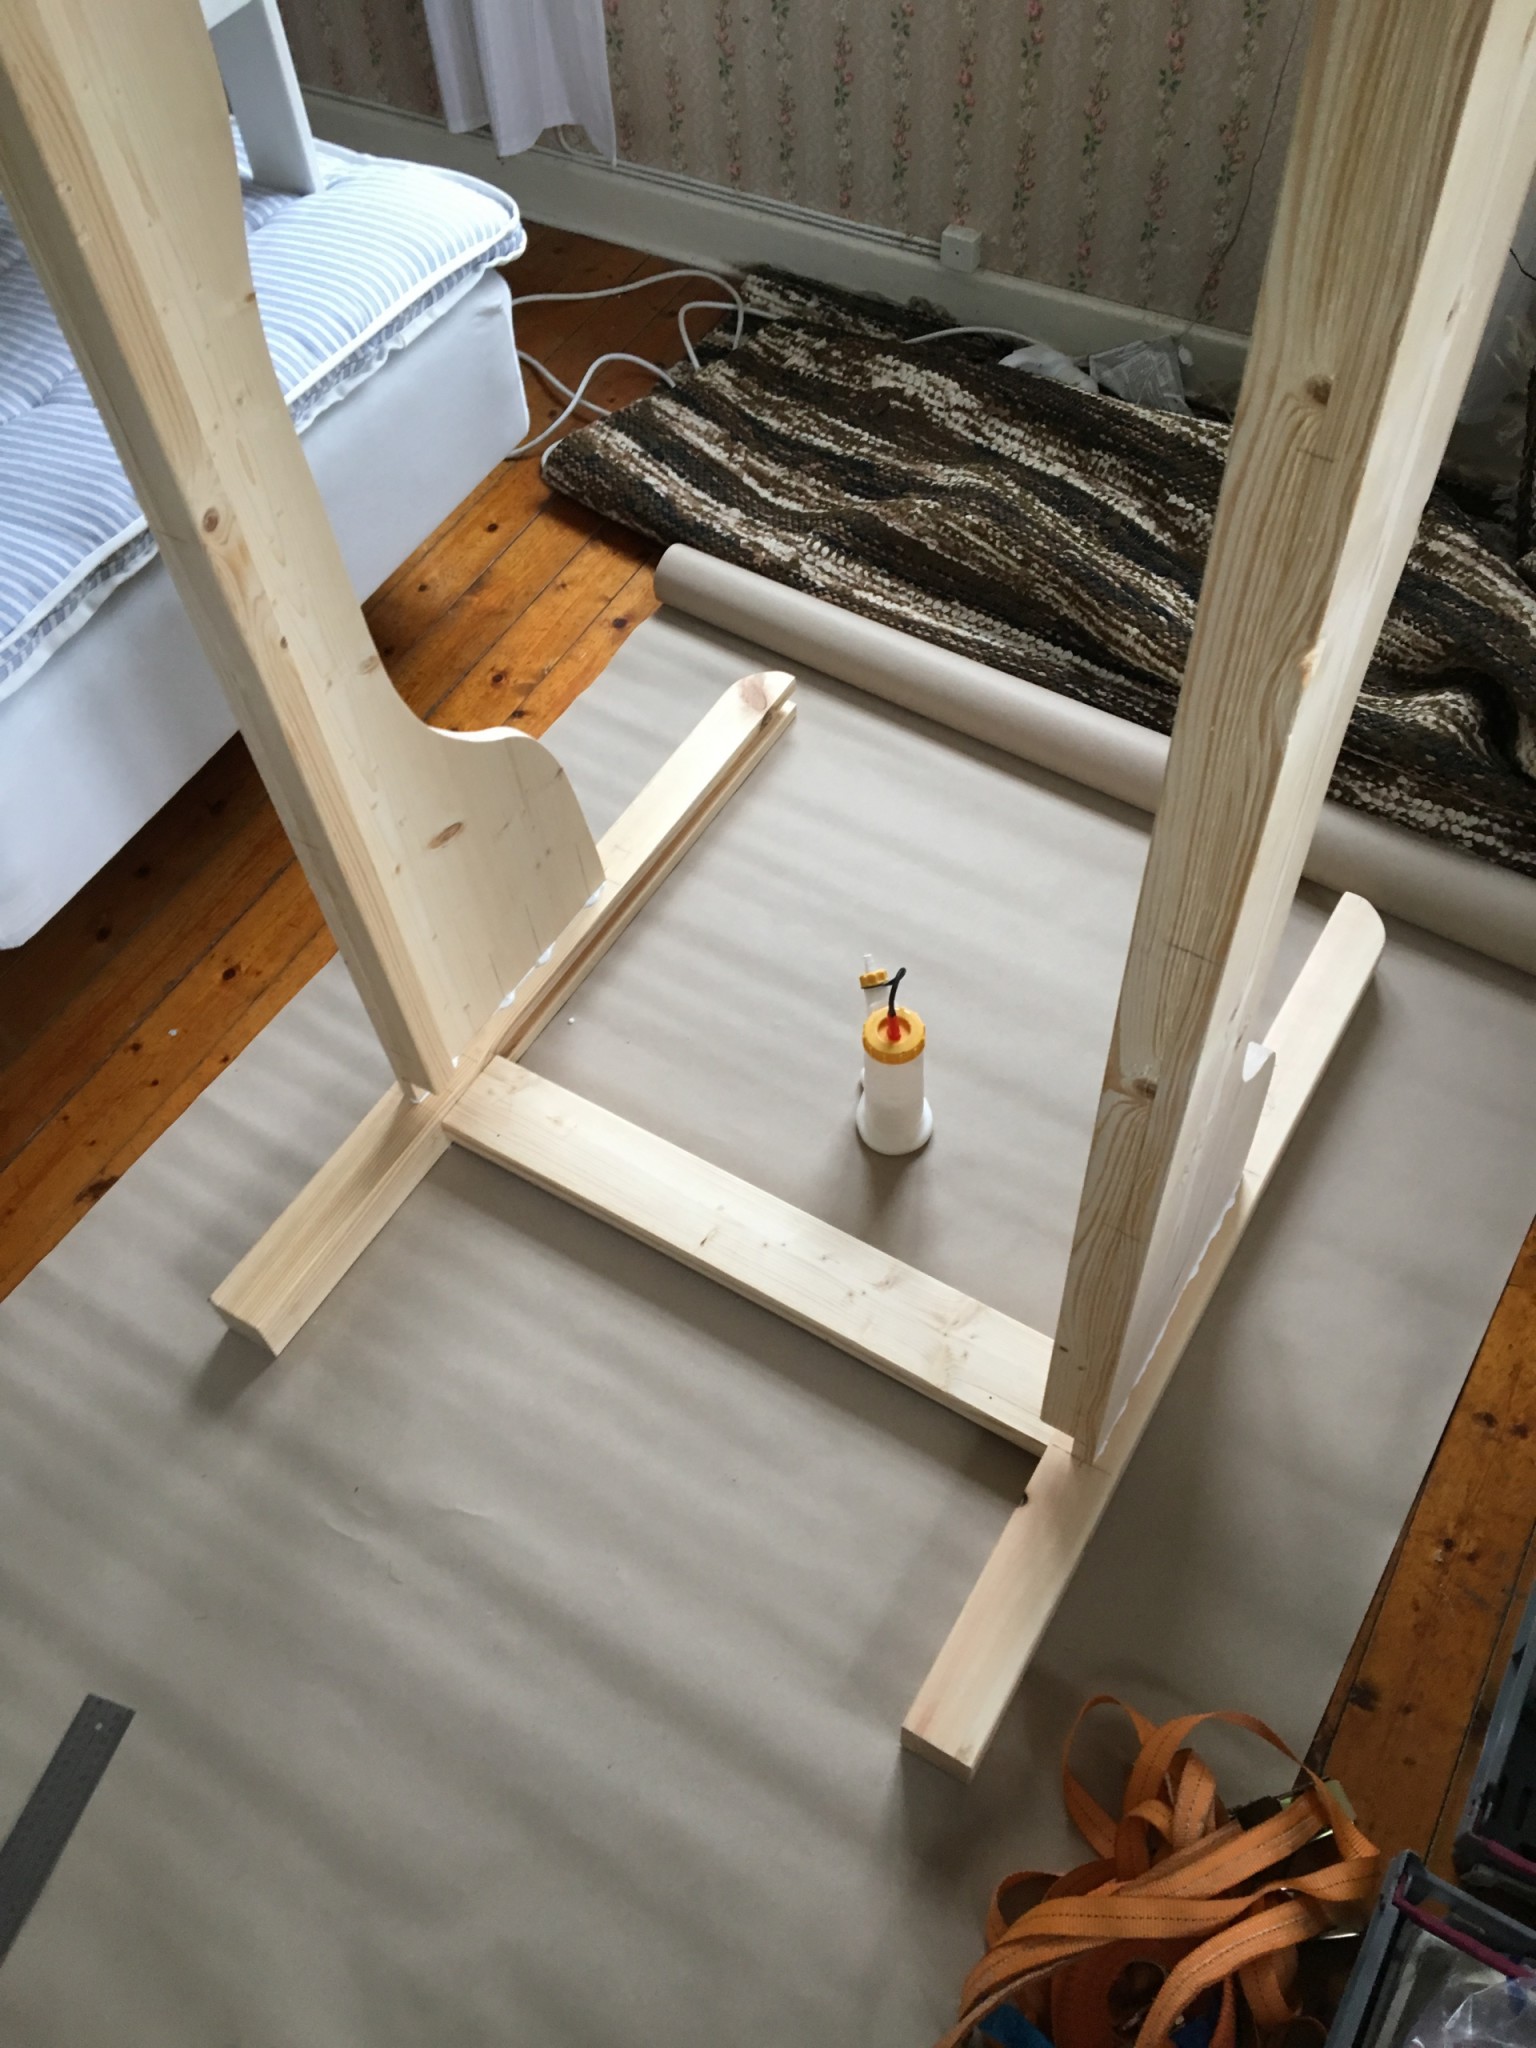
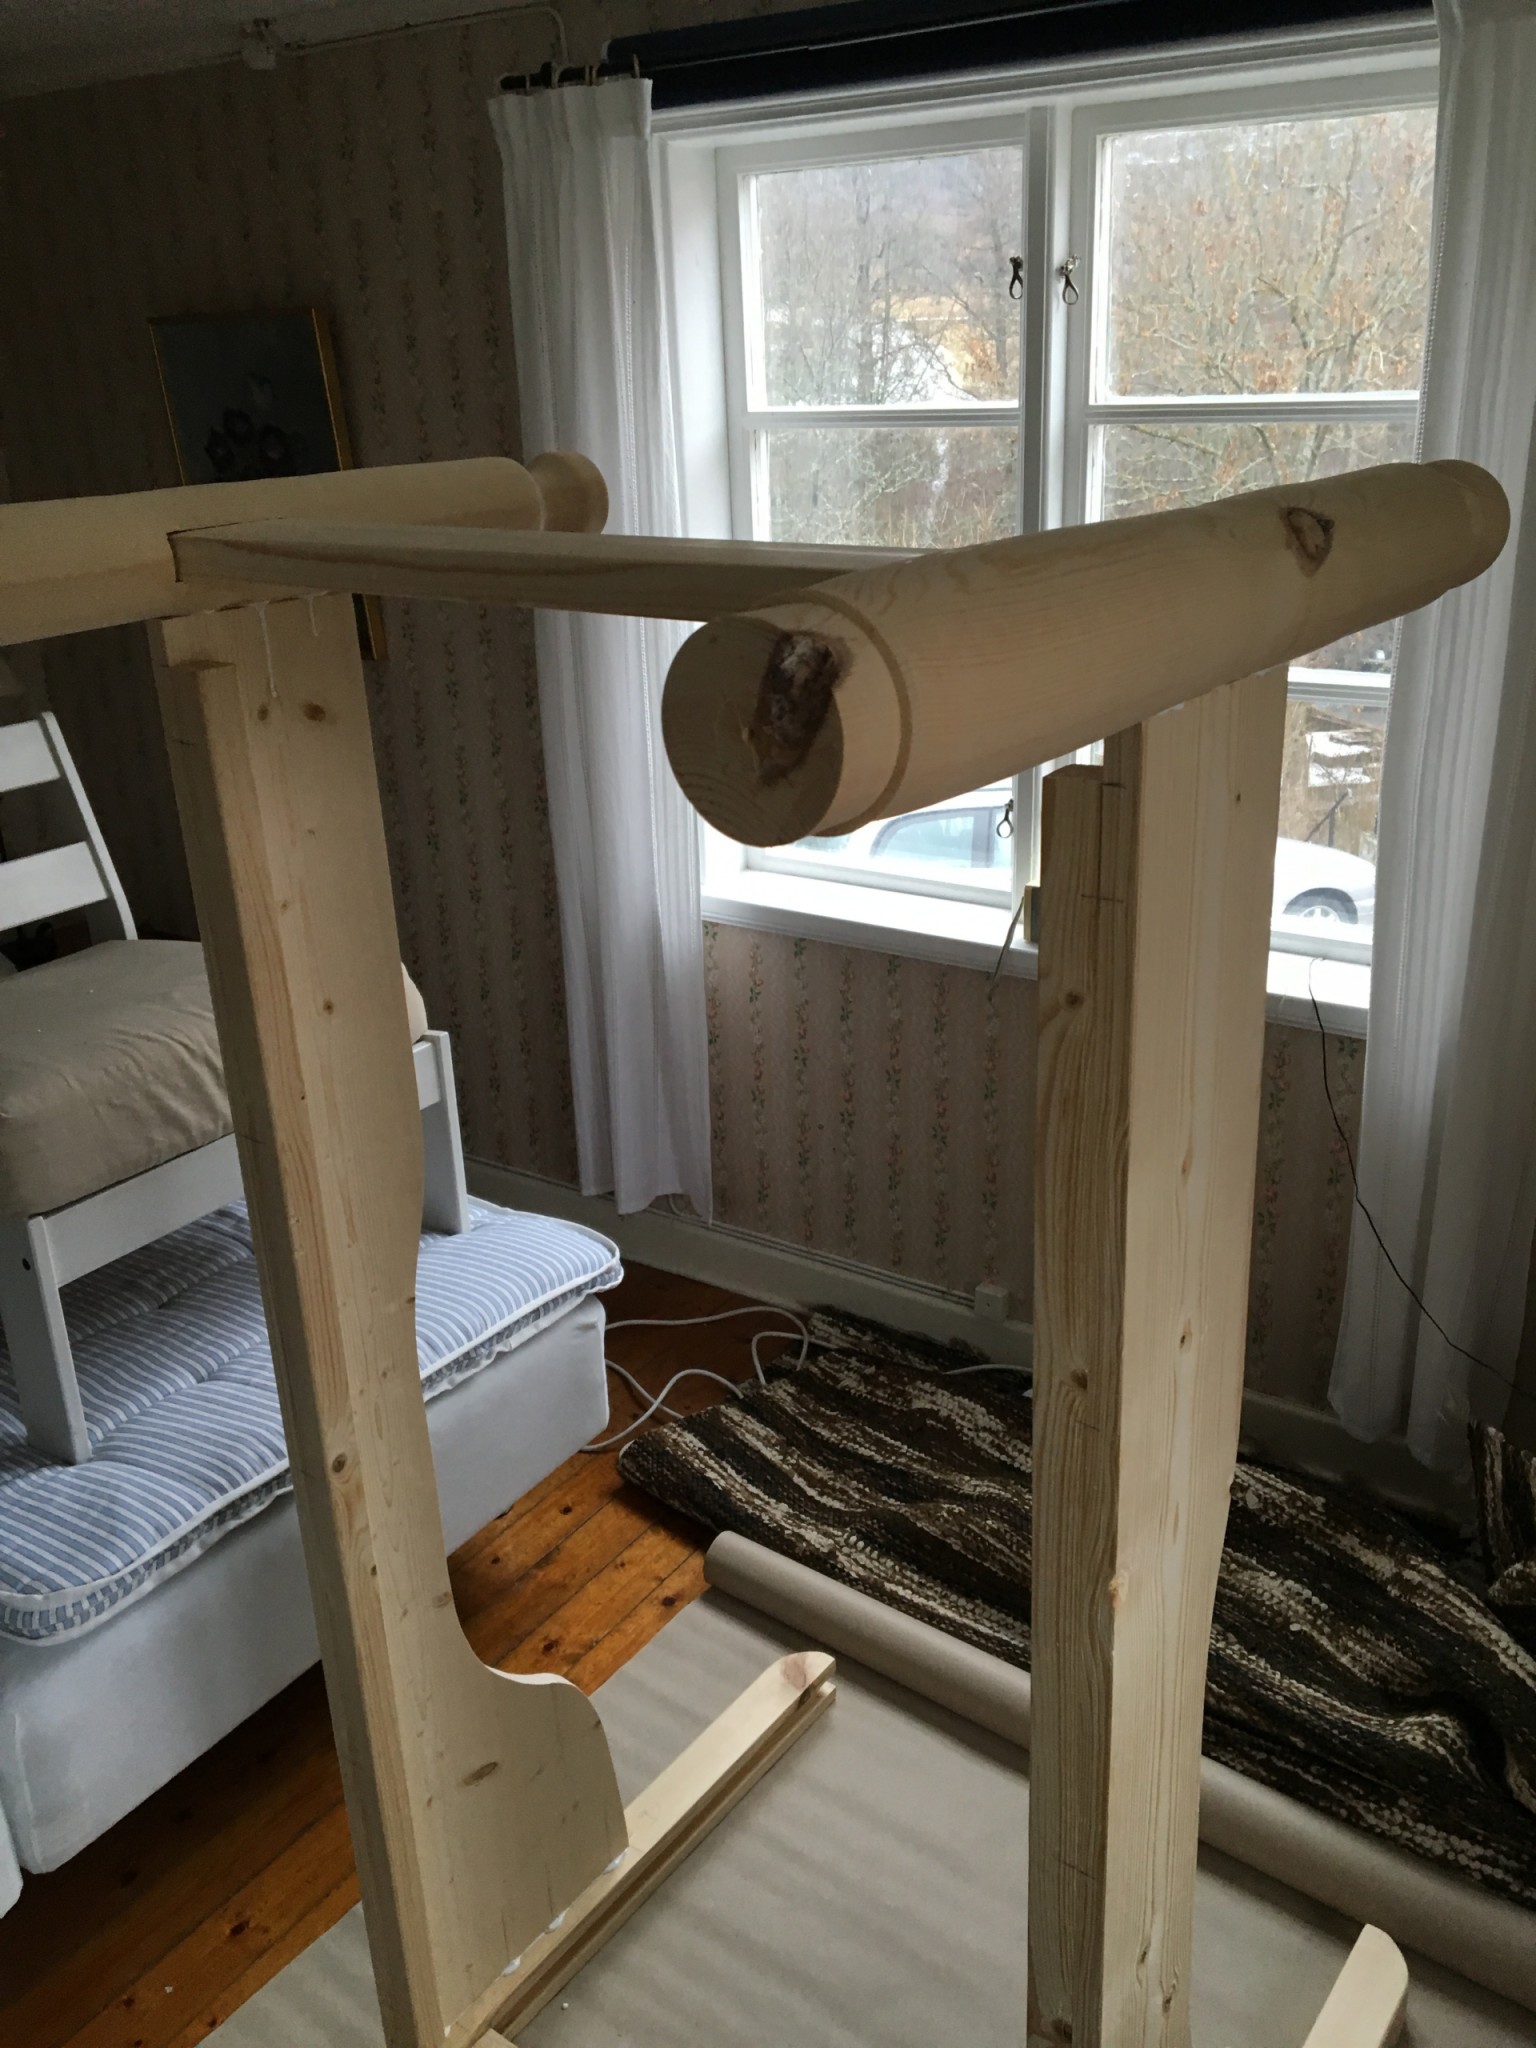
Then I stood the bed upright and wrapped ratchet straps around it, plus one running slightly diagonally to pull in the higher rear section.
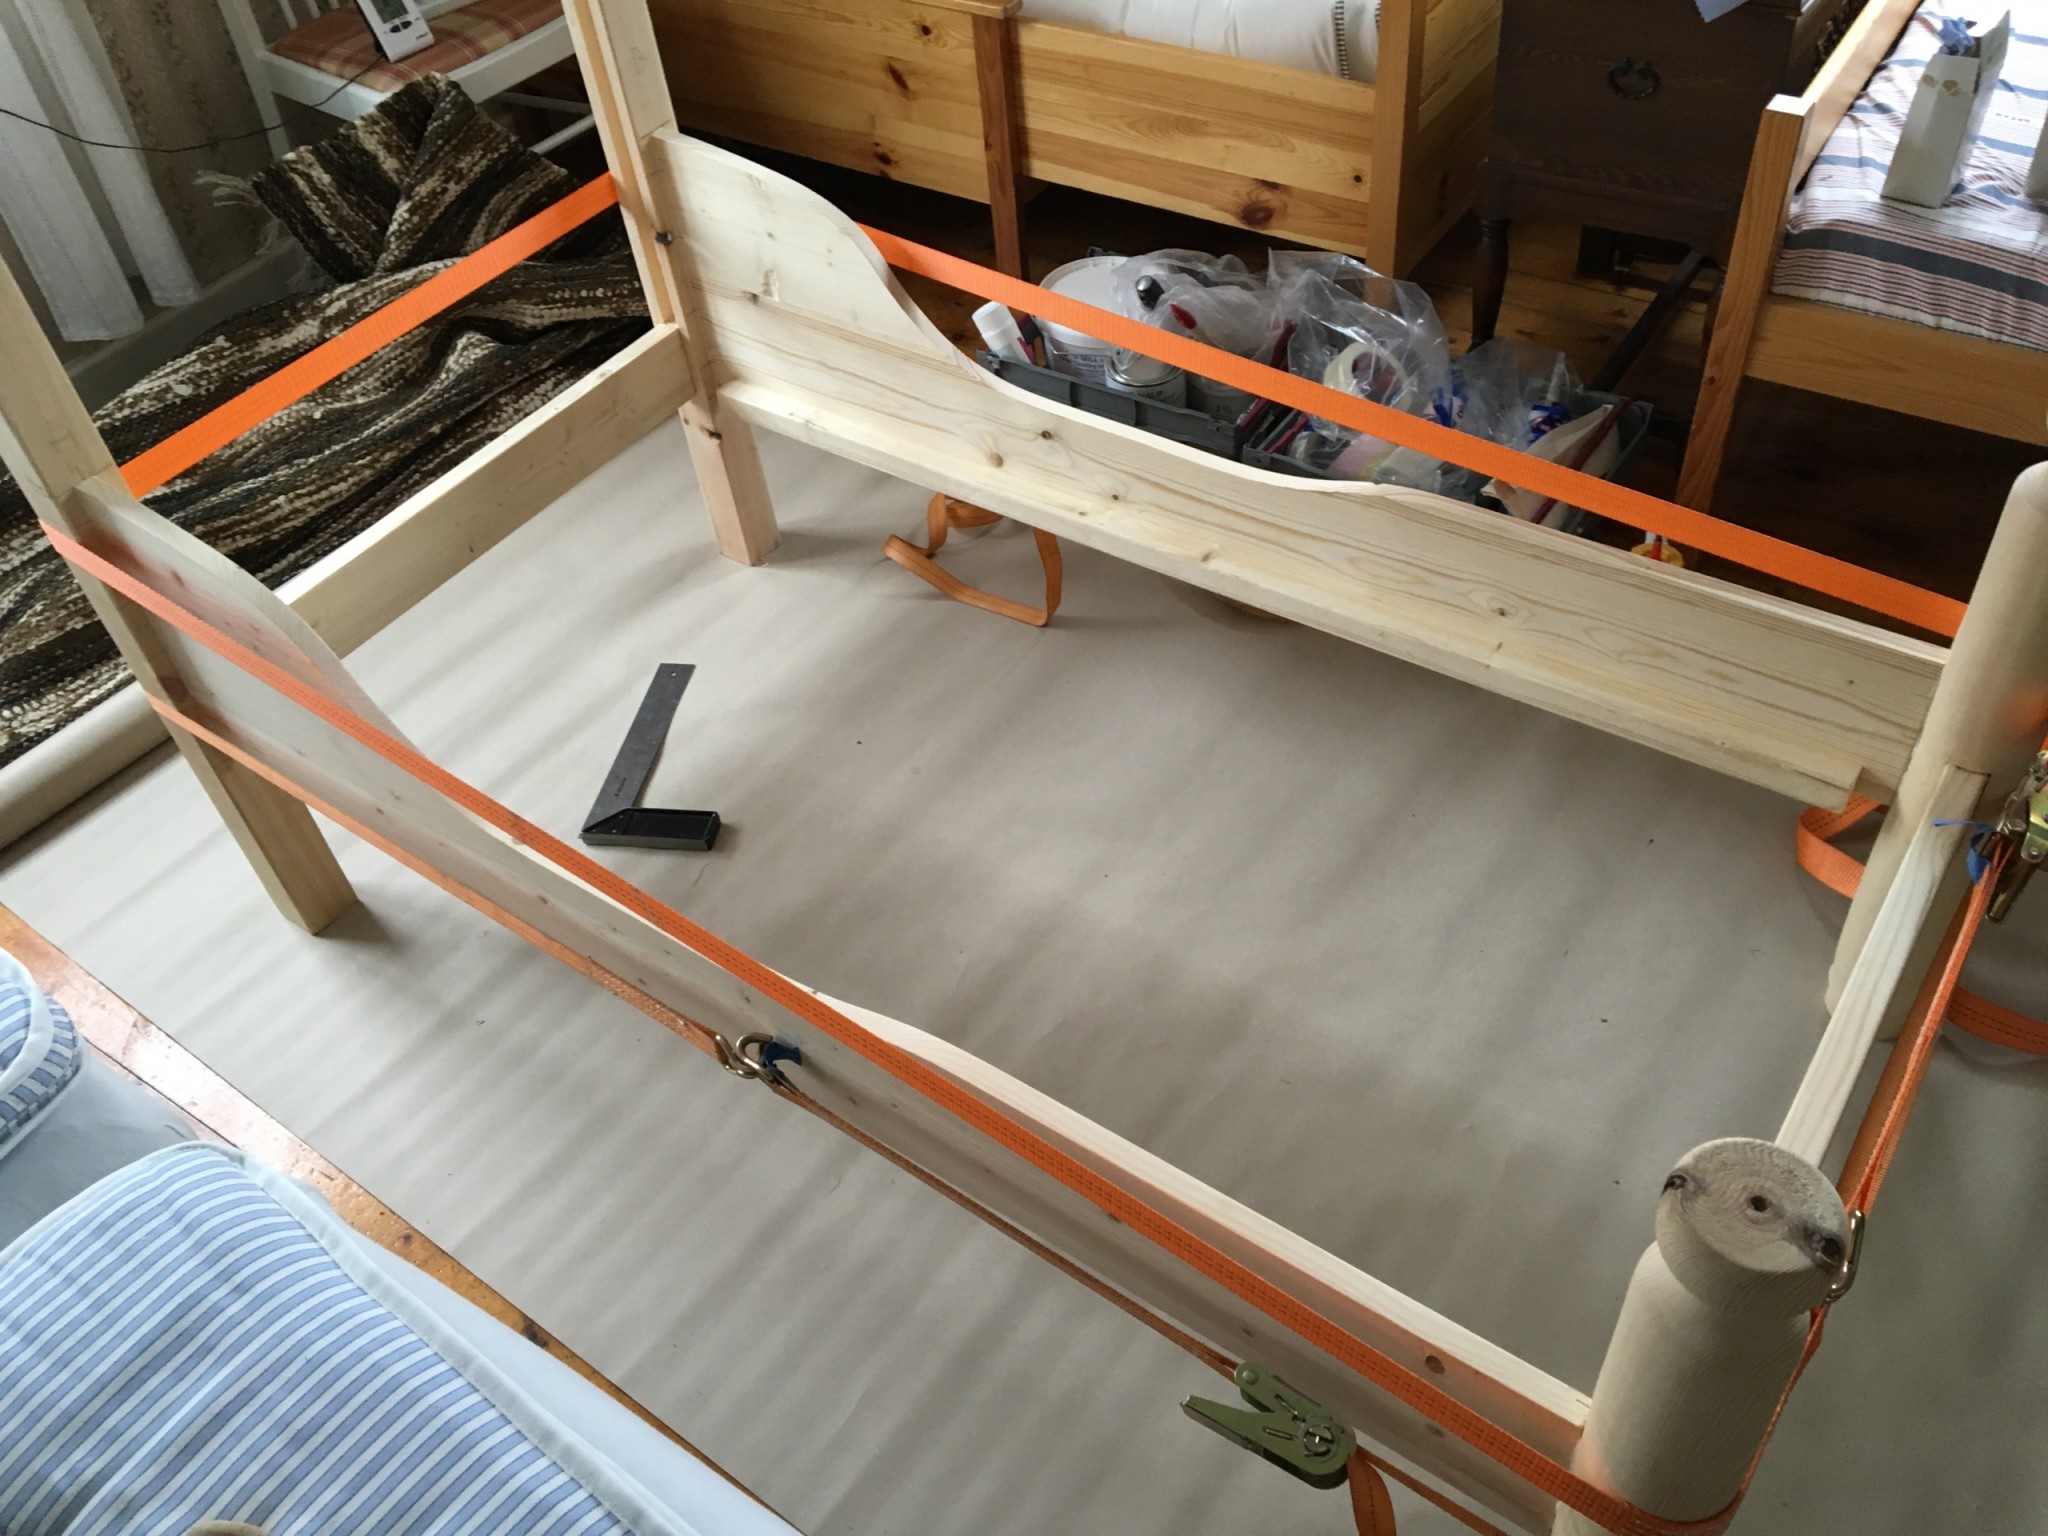
I checked that the bed was square and screwed on the corner pieces. They ended up in a slightly different position after I shortened the rail.
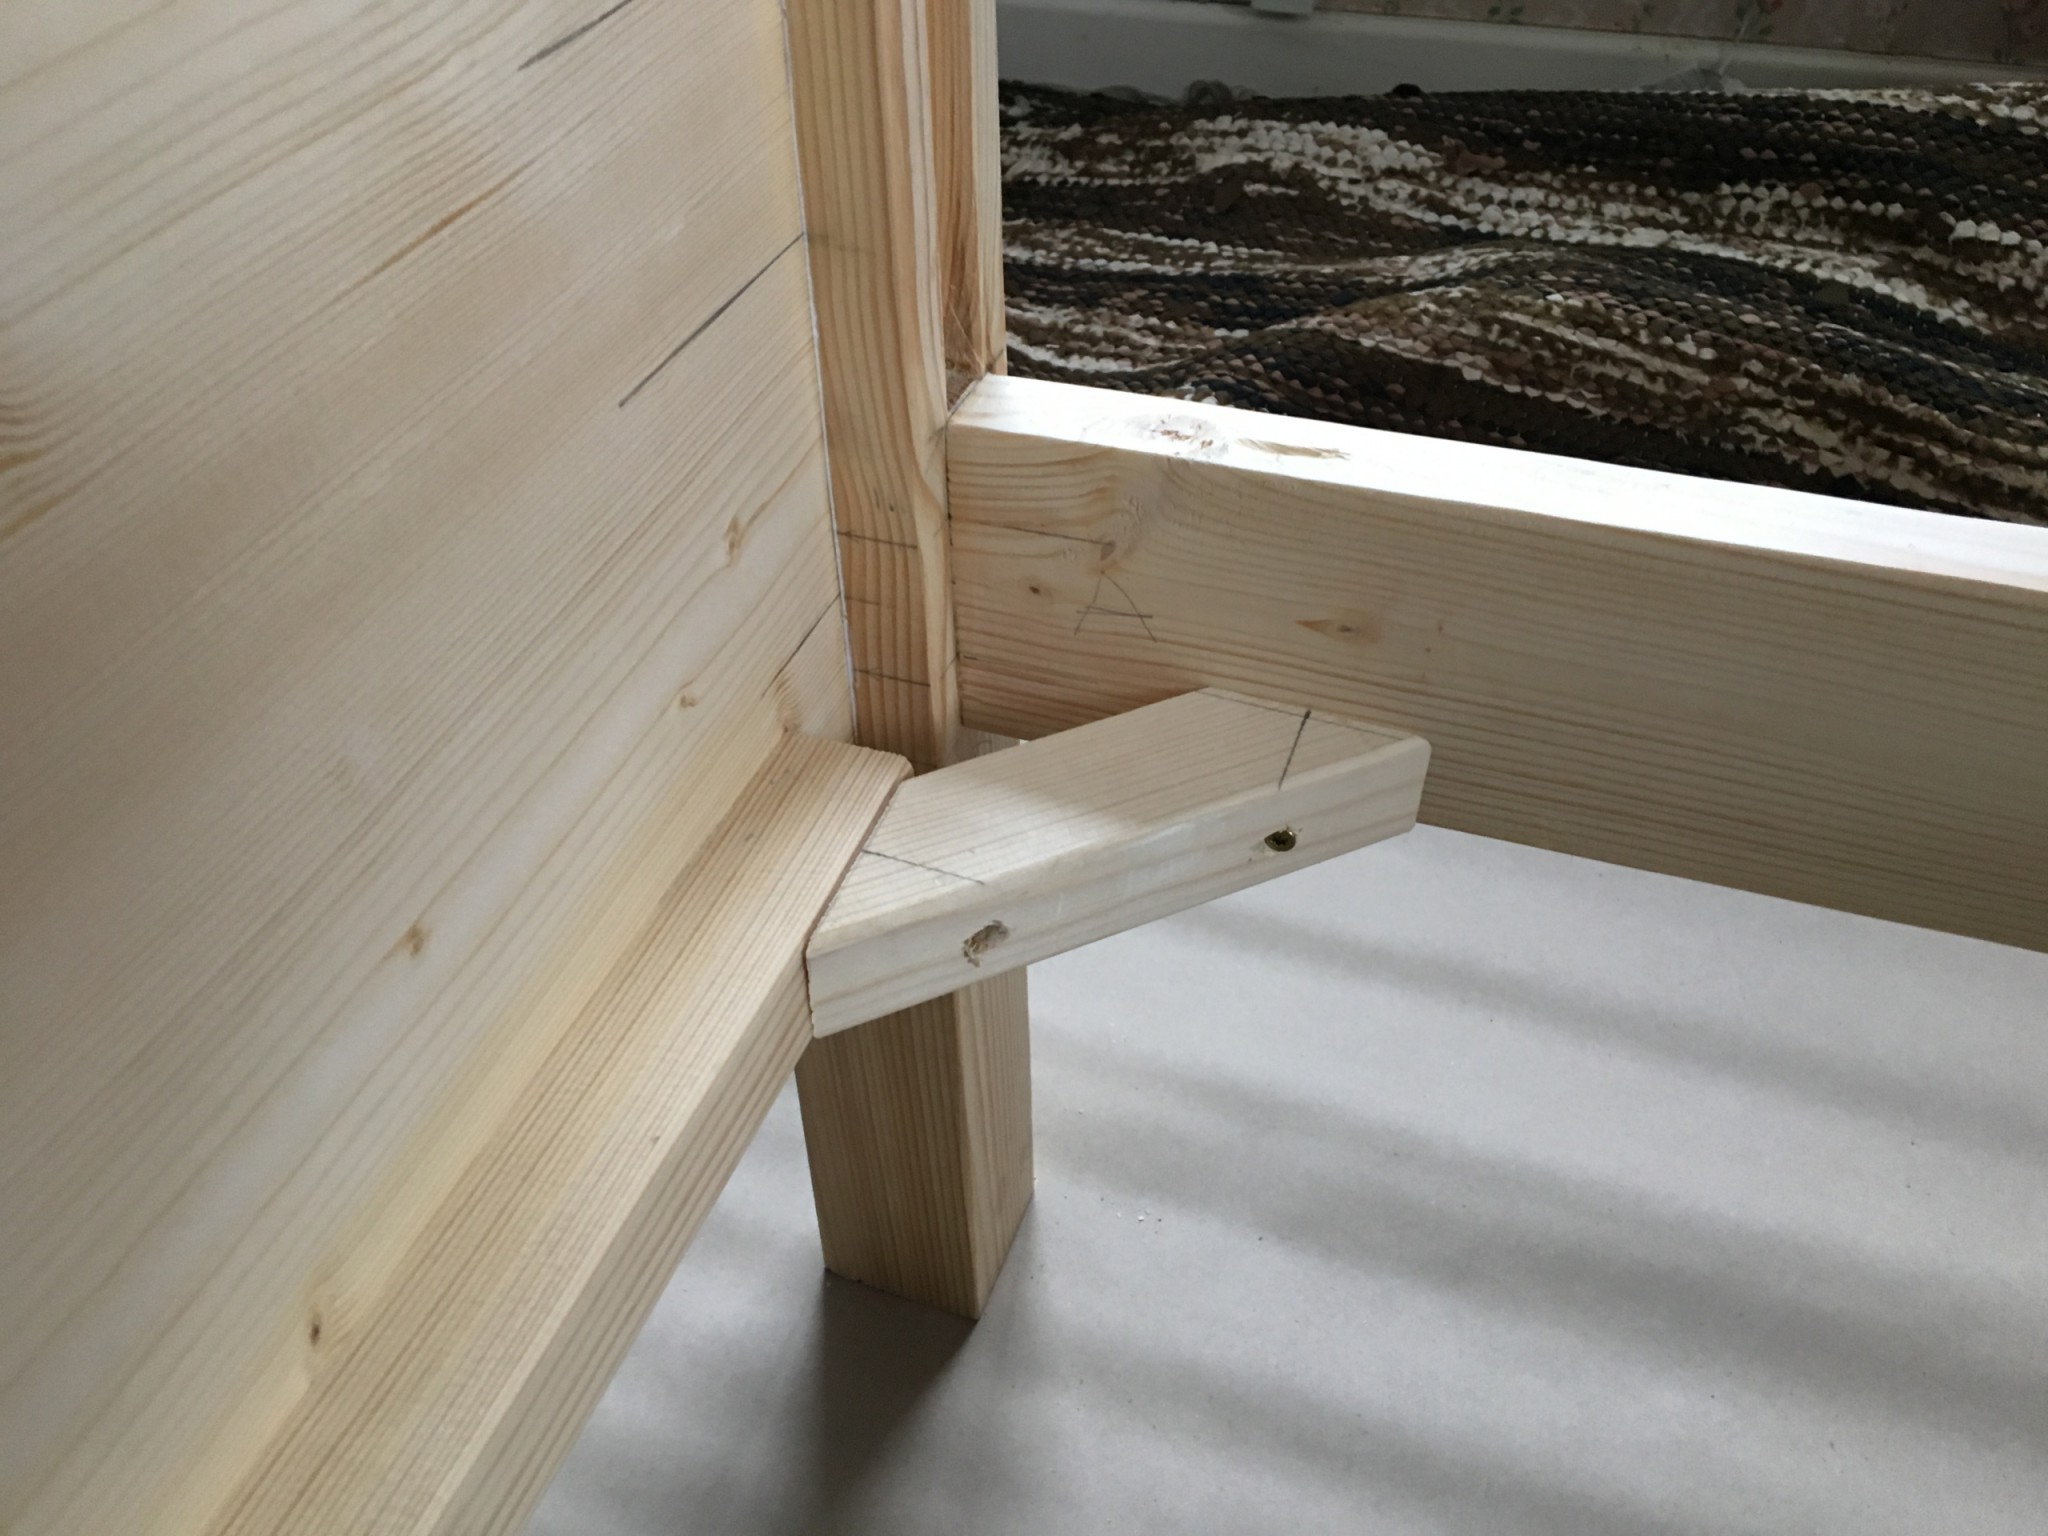
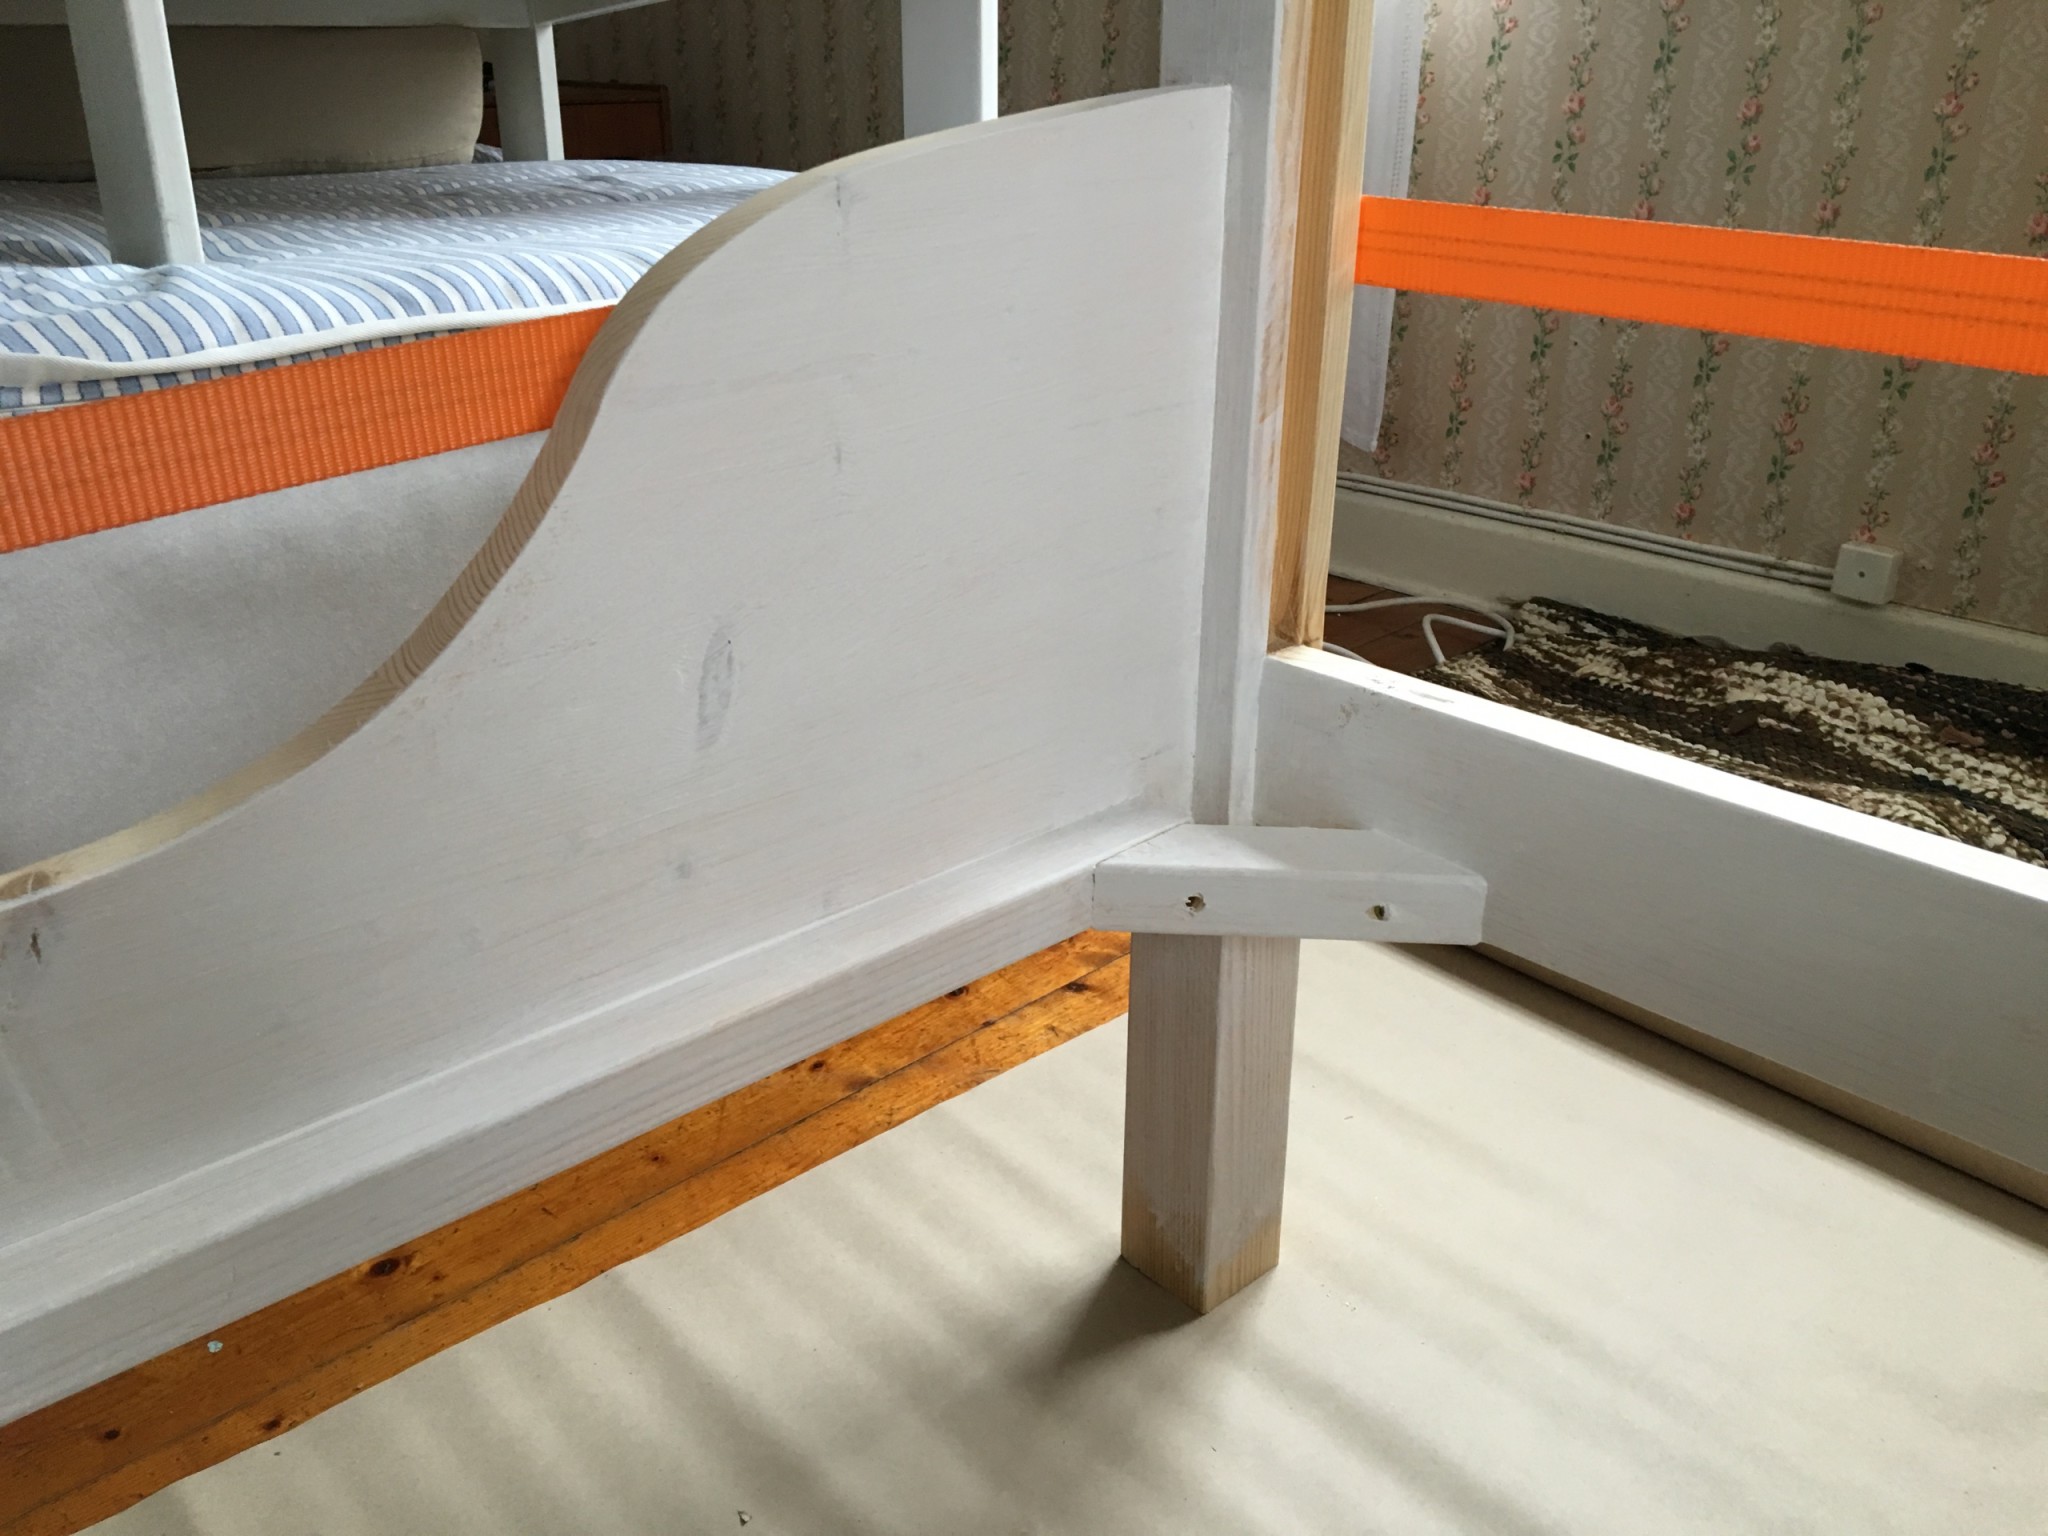
Then I primed the inside and the posts, and carried on once the straps could come off.
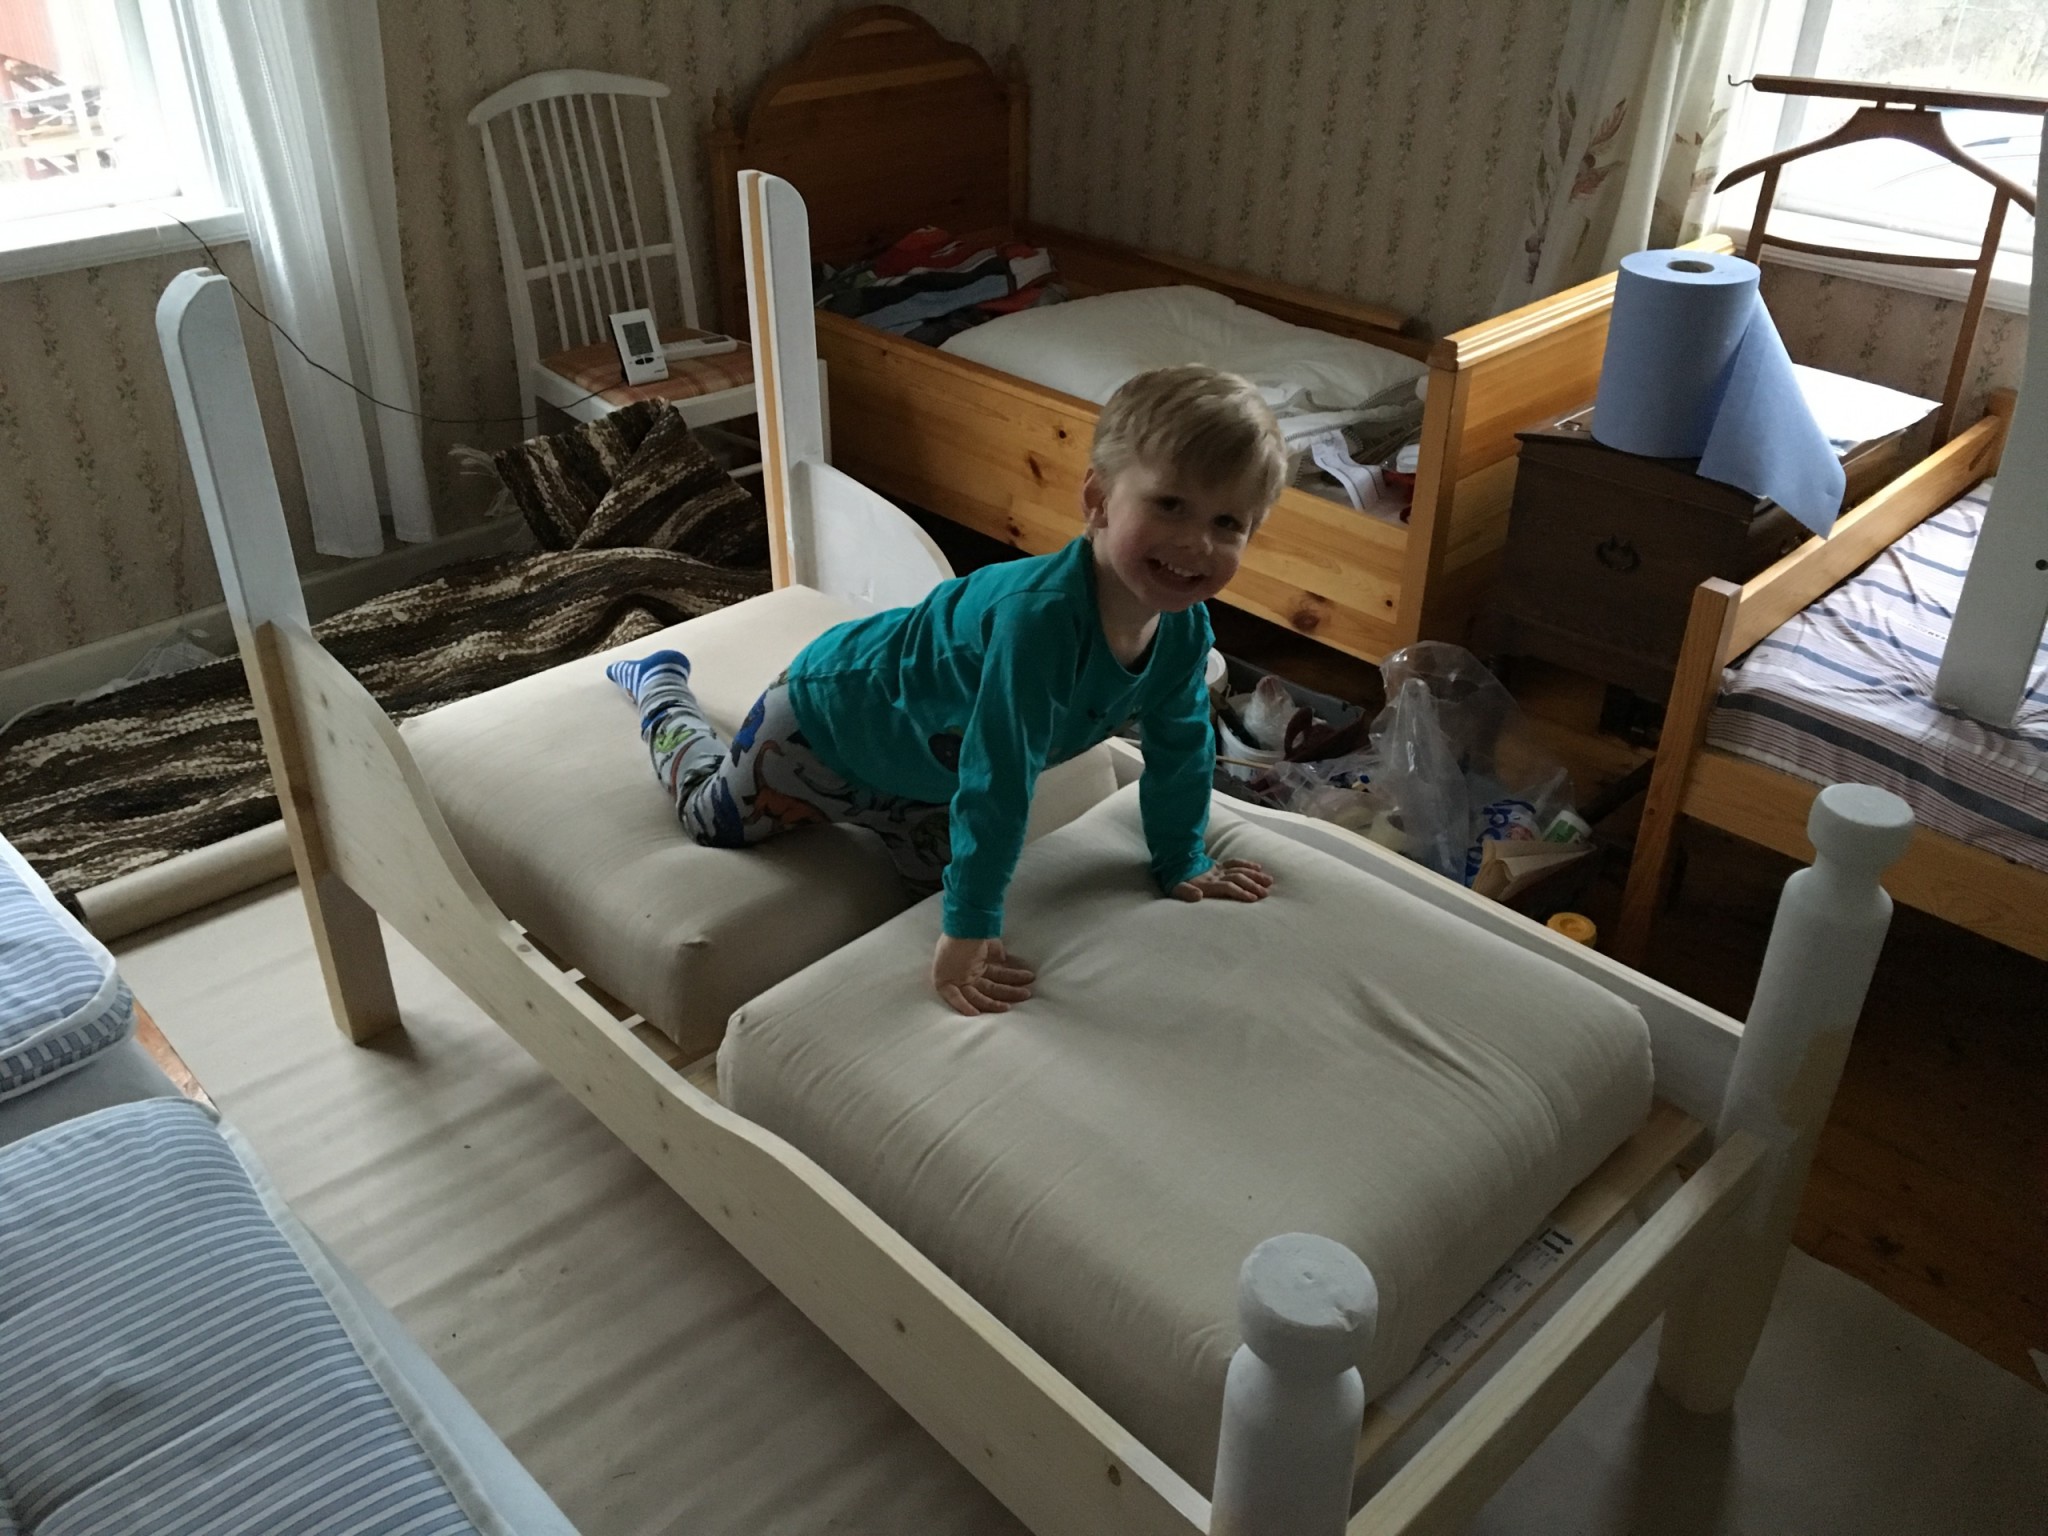
It held! Even when I lay down in it.
The frame got knot sealer, primer and three coats of top coat. All that remained was feet for the legs and screwing down the slats.
The pictures in the headboard
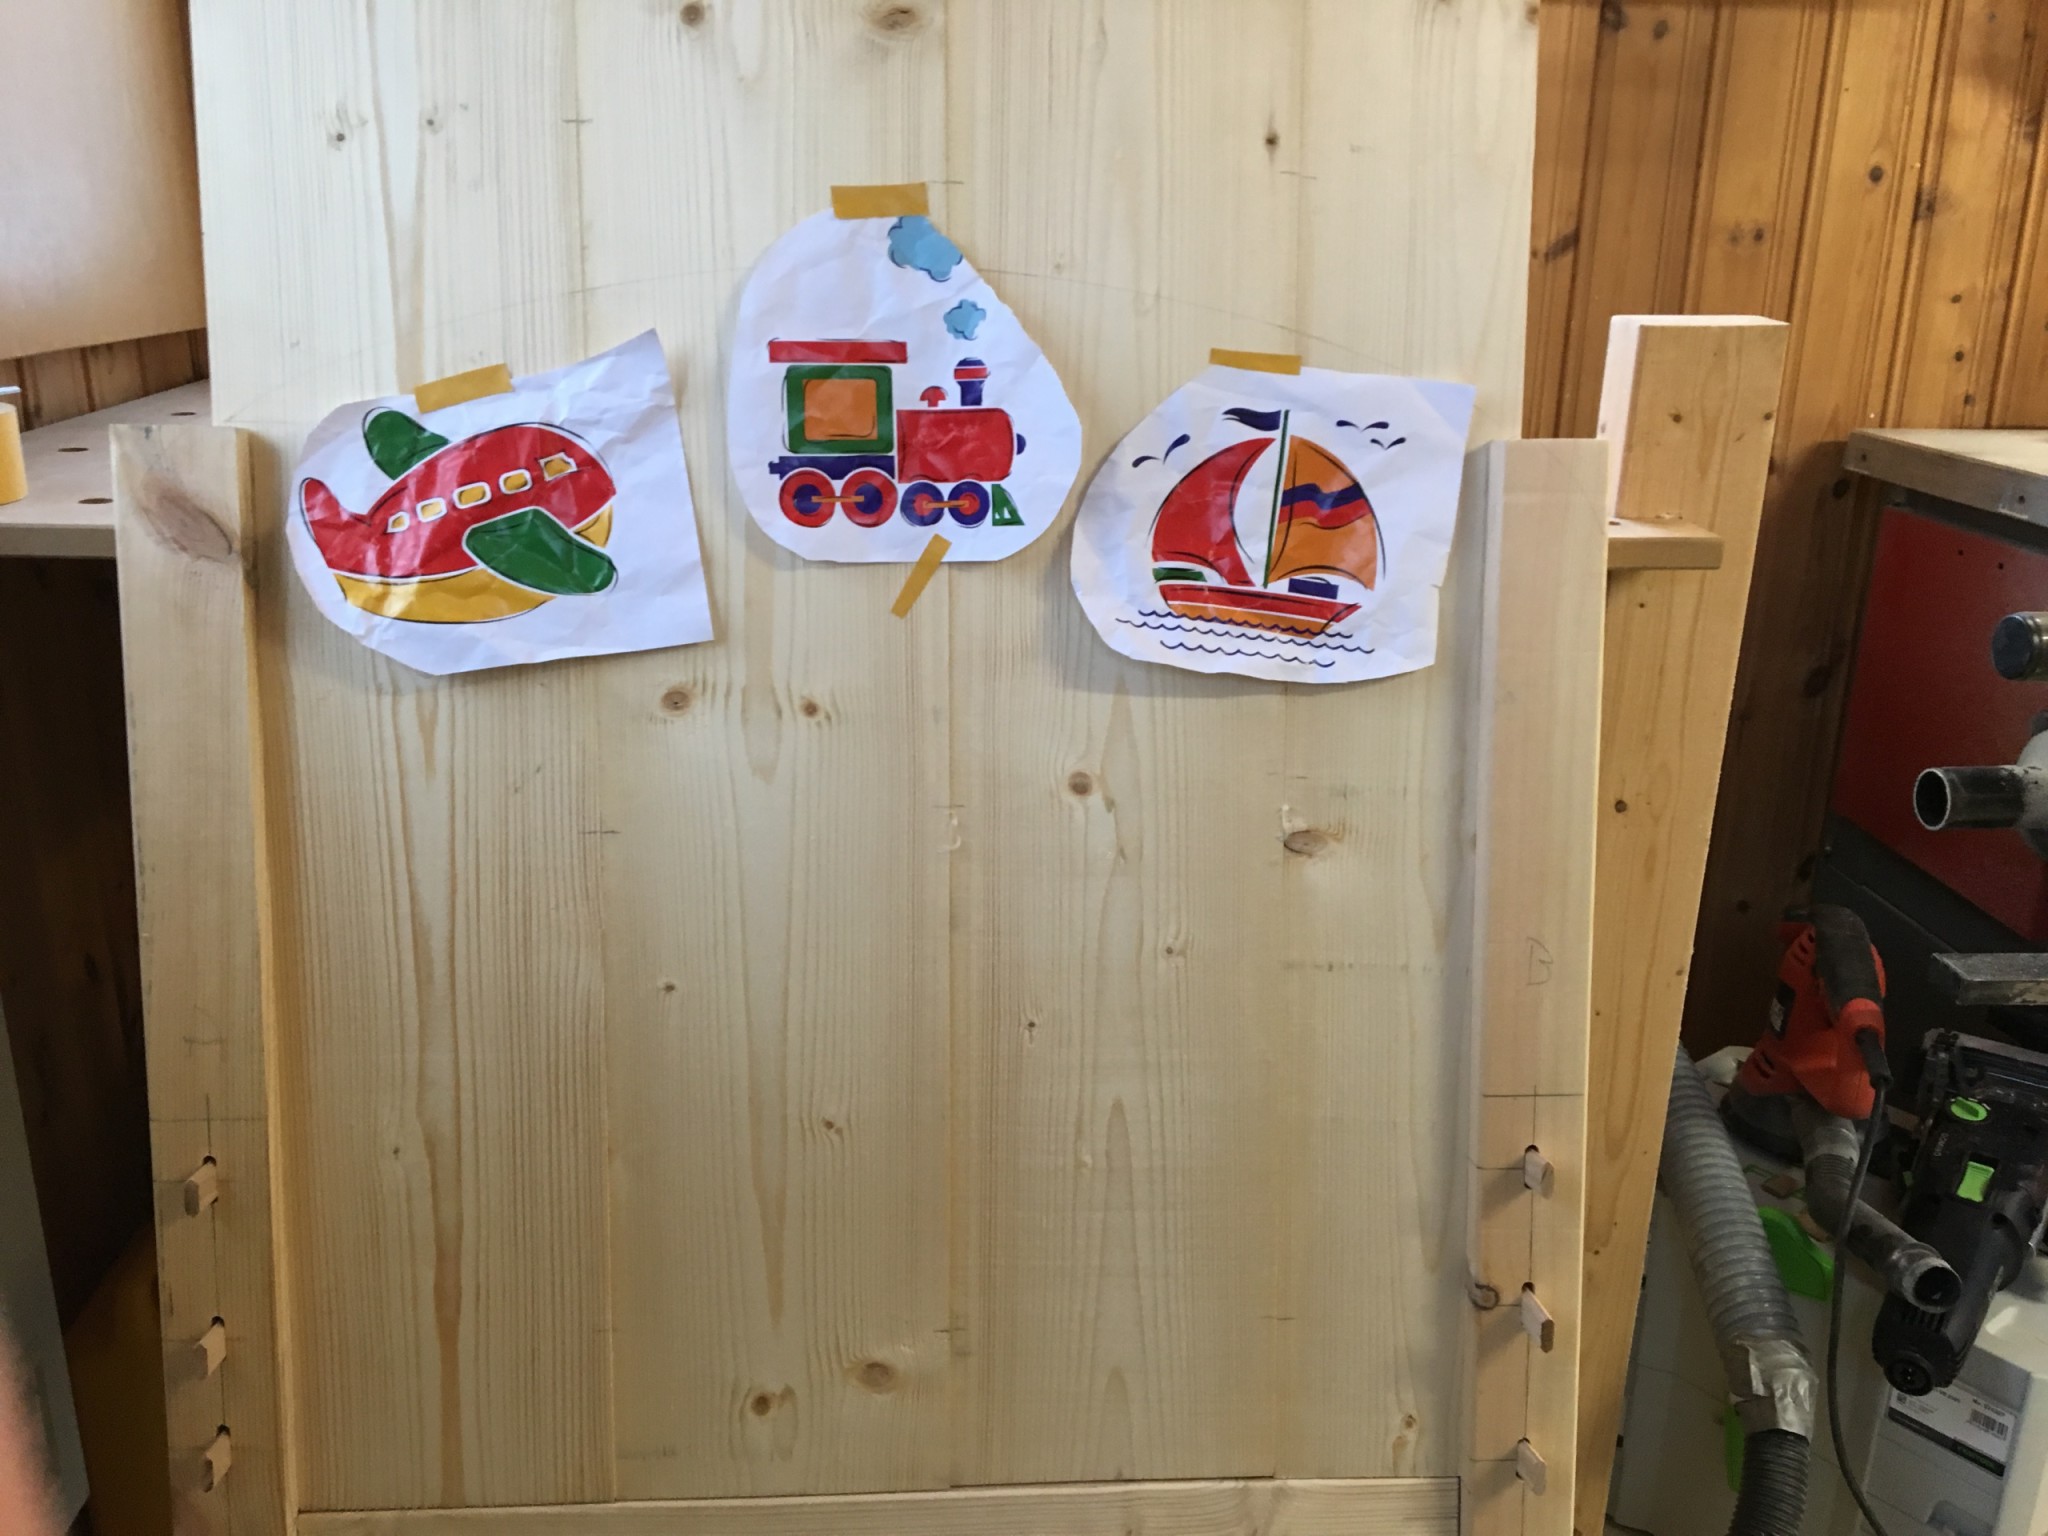
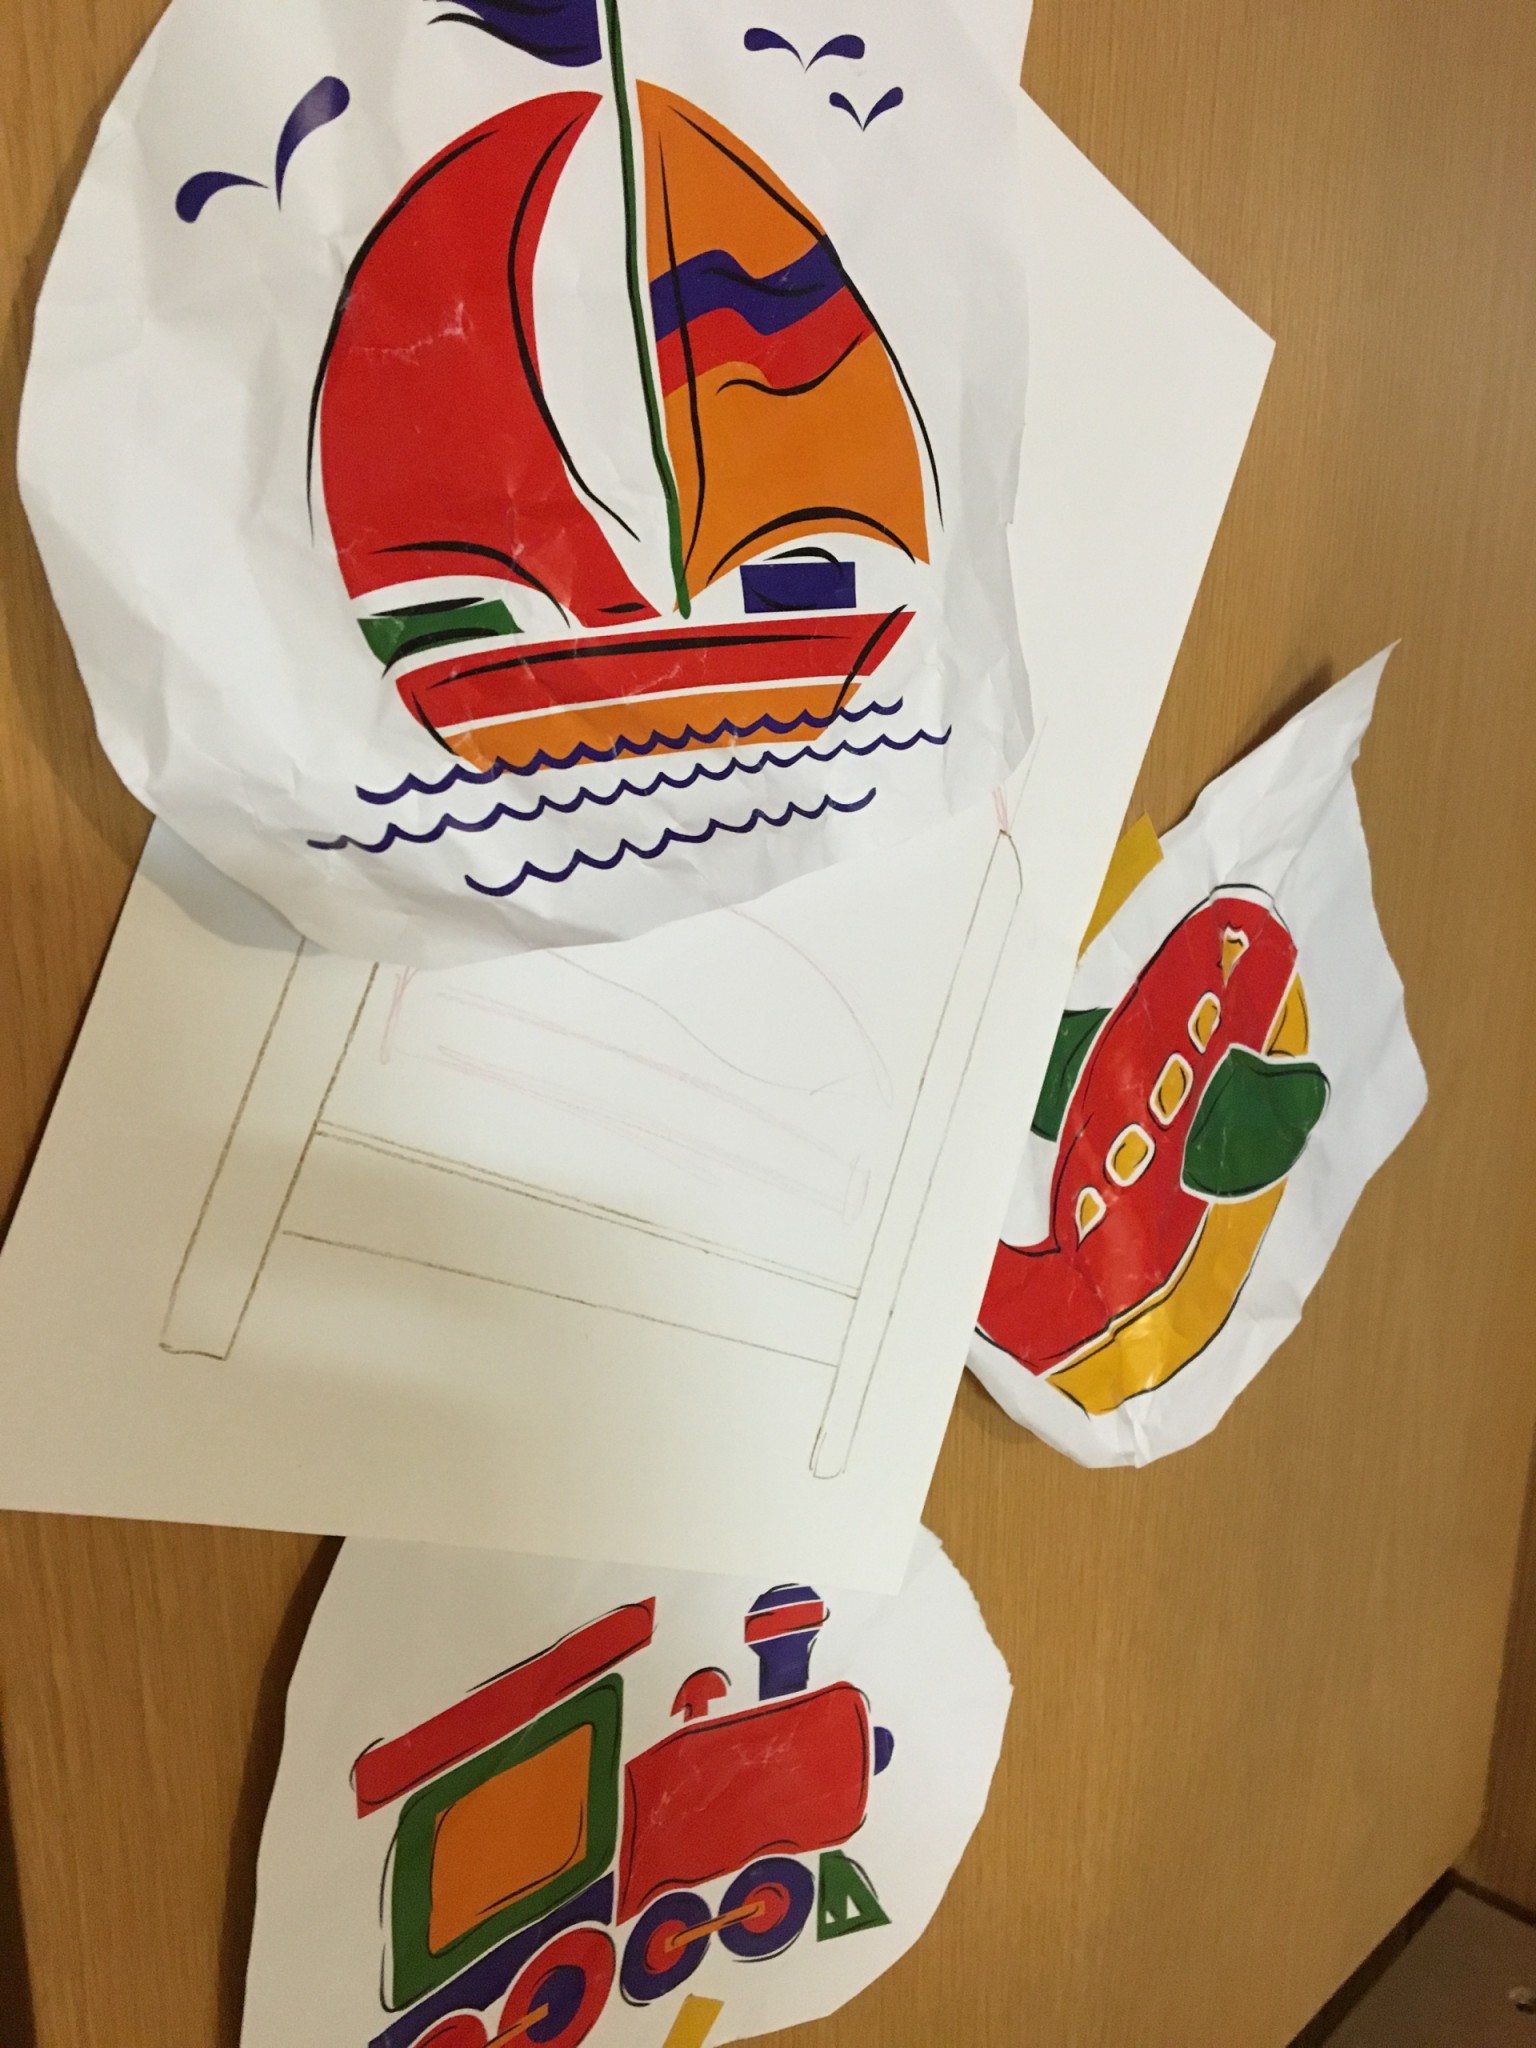
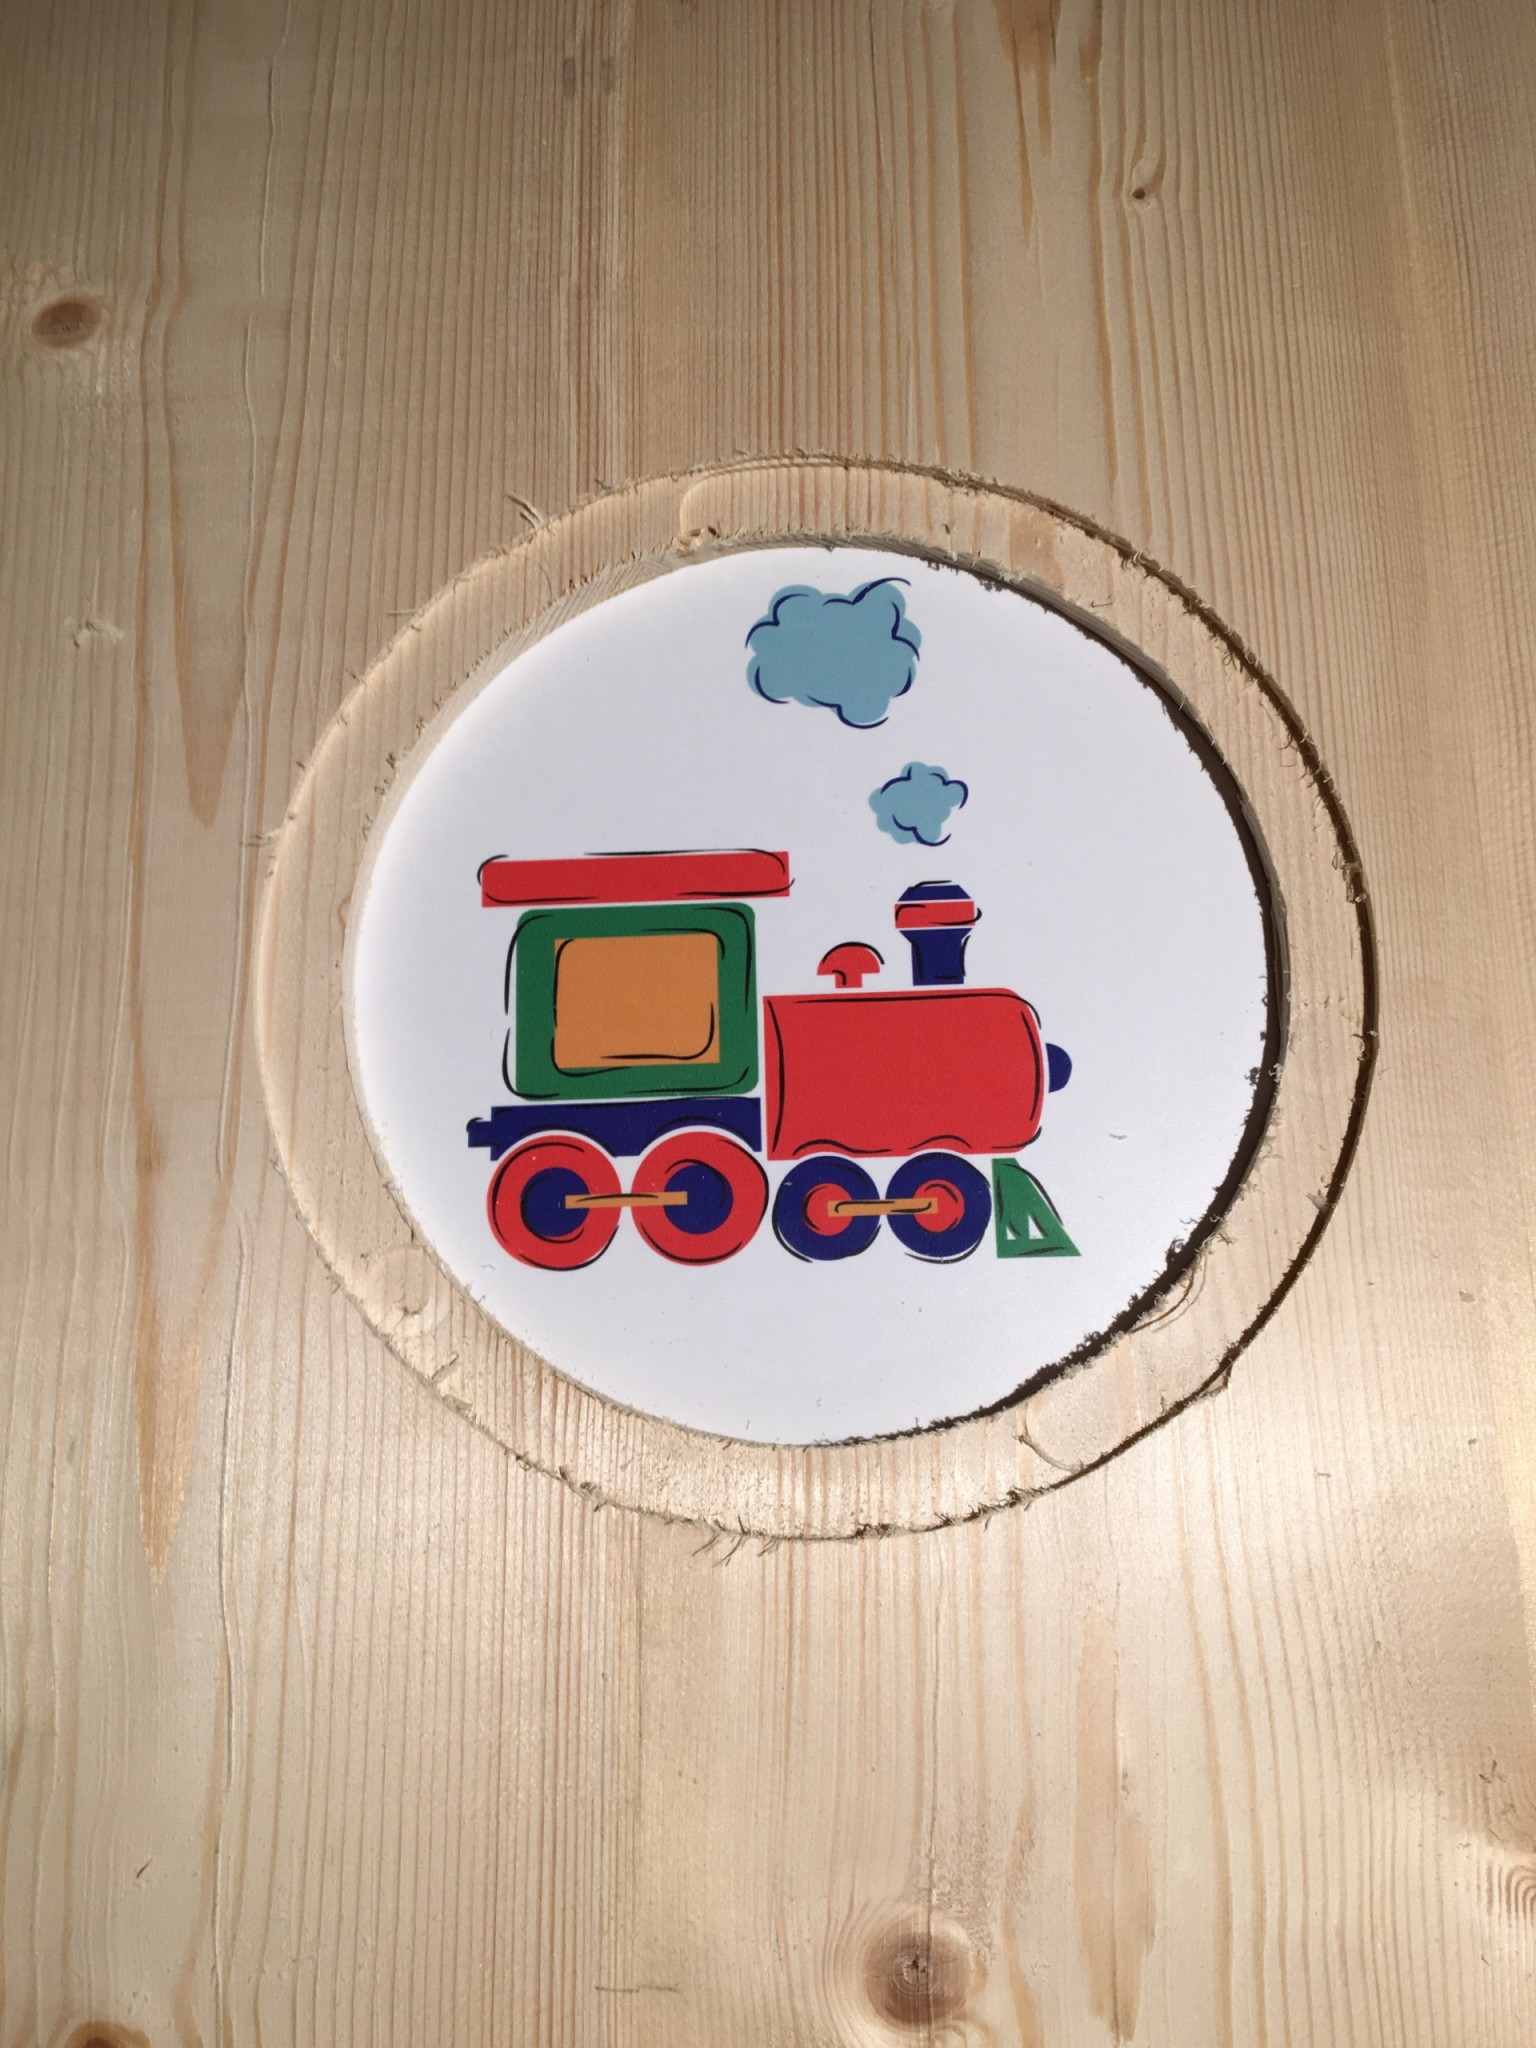
How would the pictures go in? I considered painting them straight onto the headboard, or having loose panels with the pictures on. At work we had done a big job with images printed on acrylic, and it looked great. So that became the way forward.
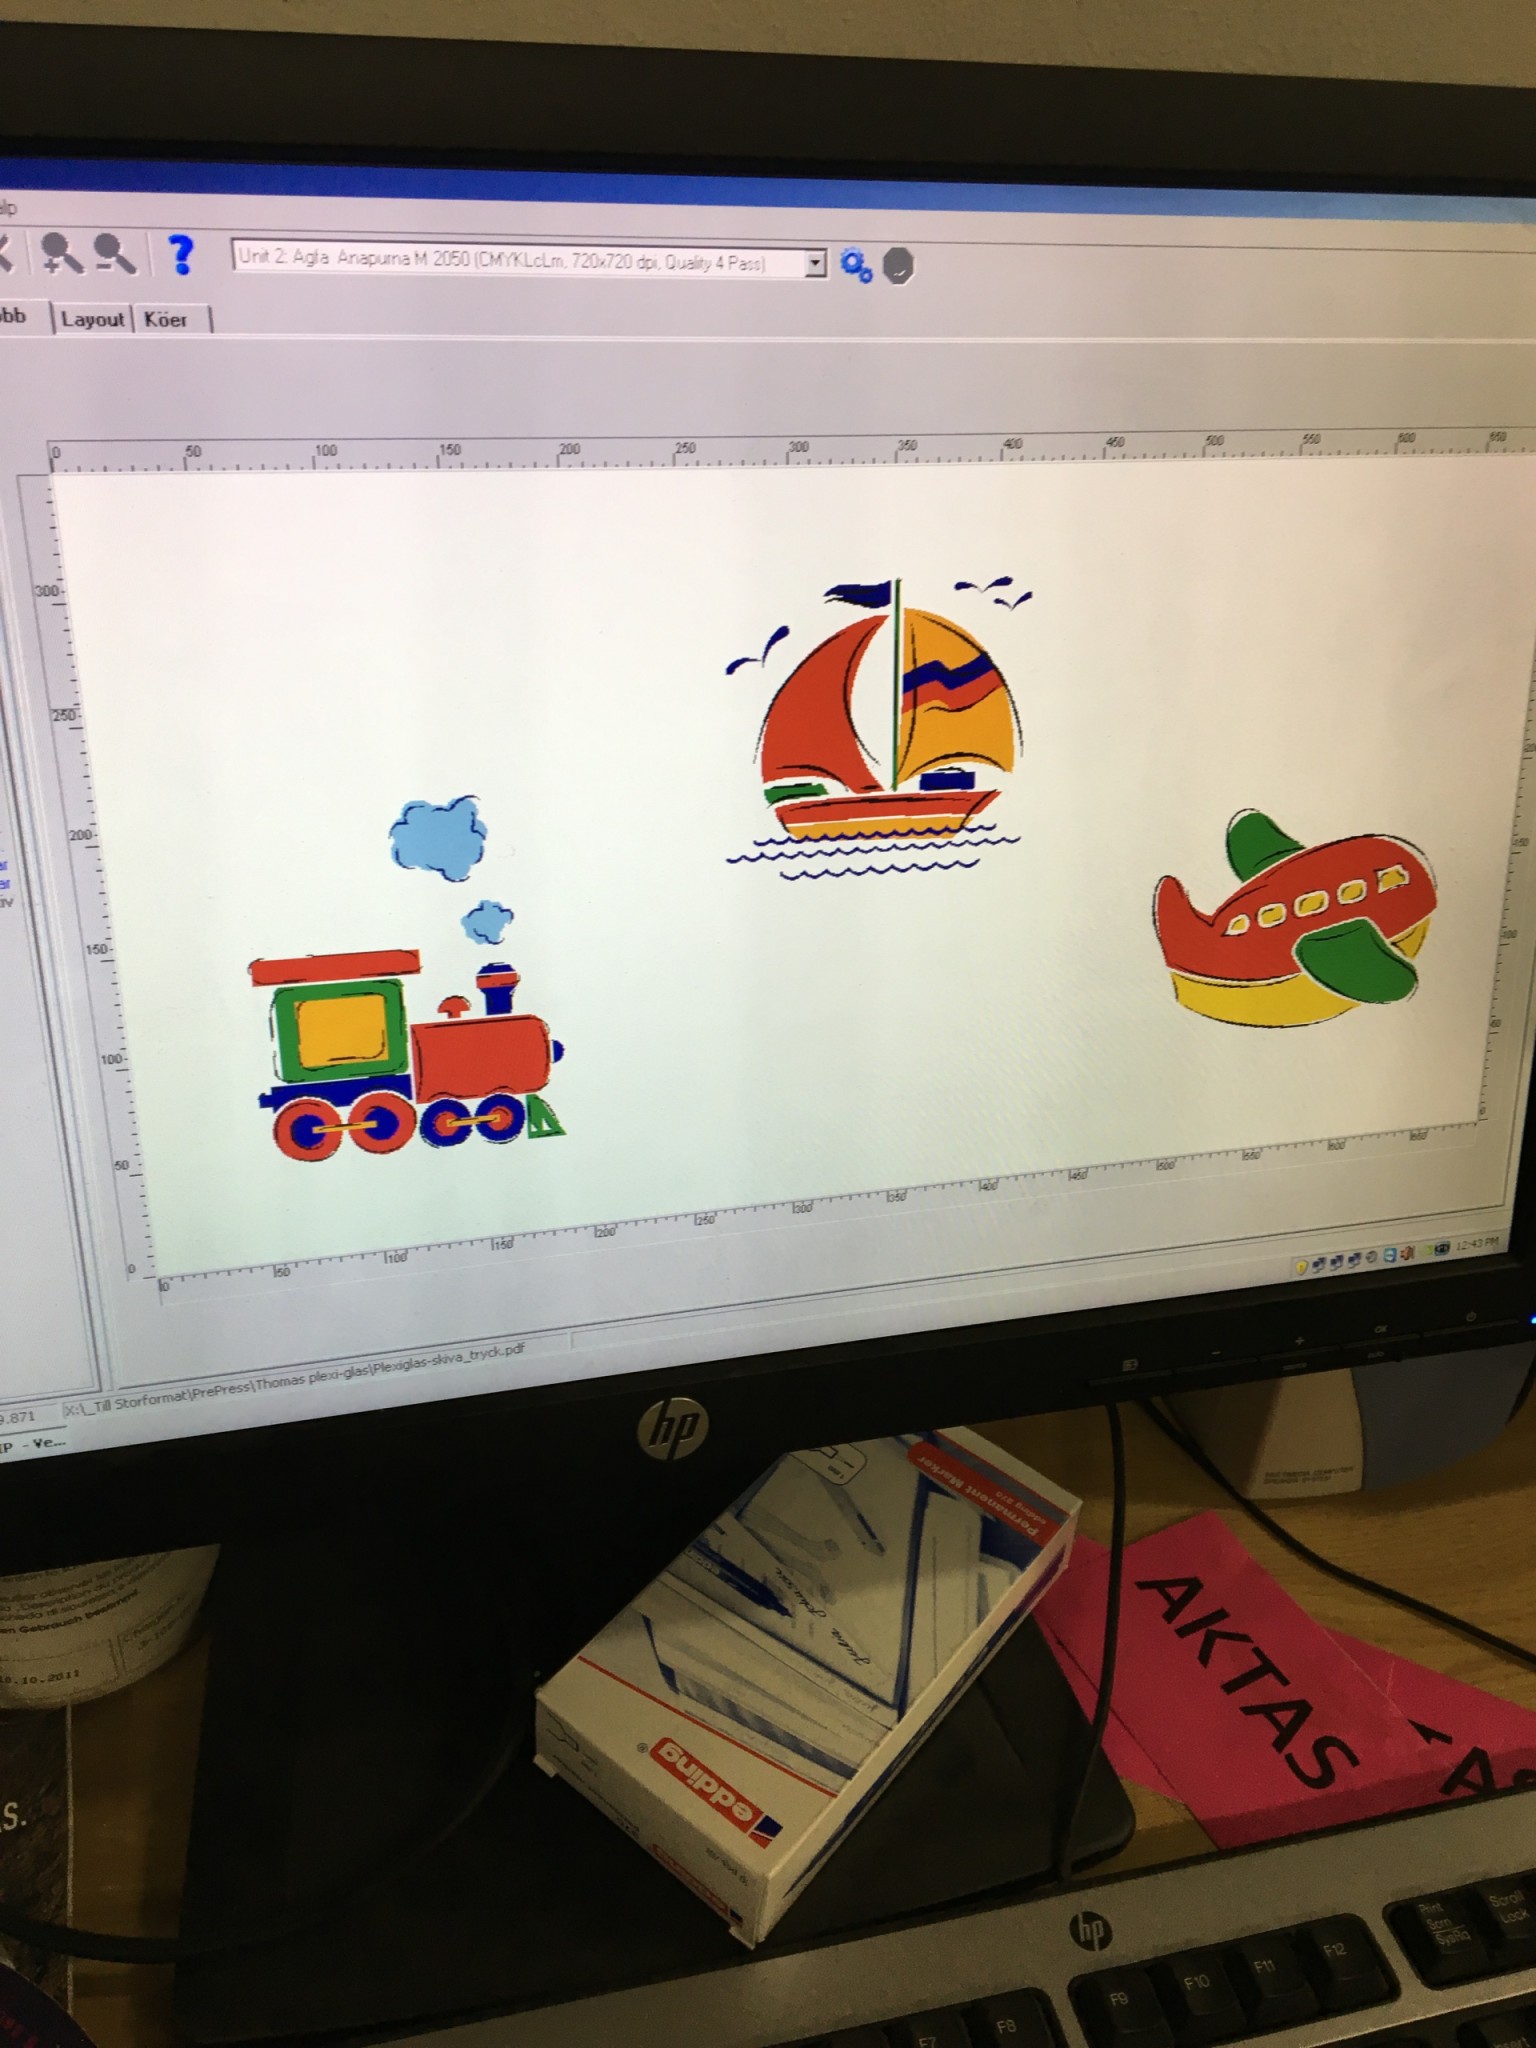
I prepared a document with the pictures in circles 230 mm in diameter. I cut the acrylic round with a high-speed router. It was really hard and took a few attempts, but in the end I had three circles.
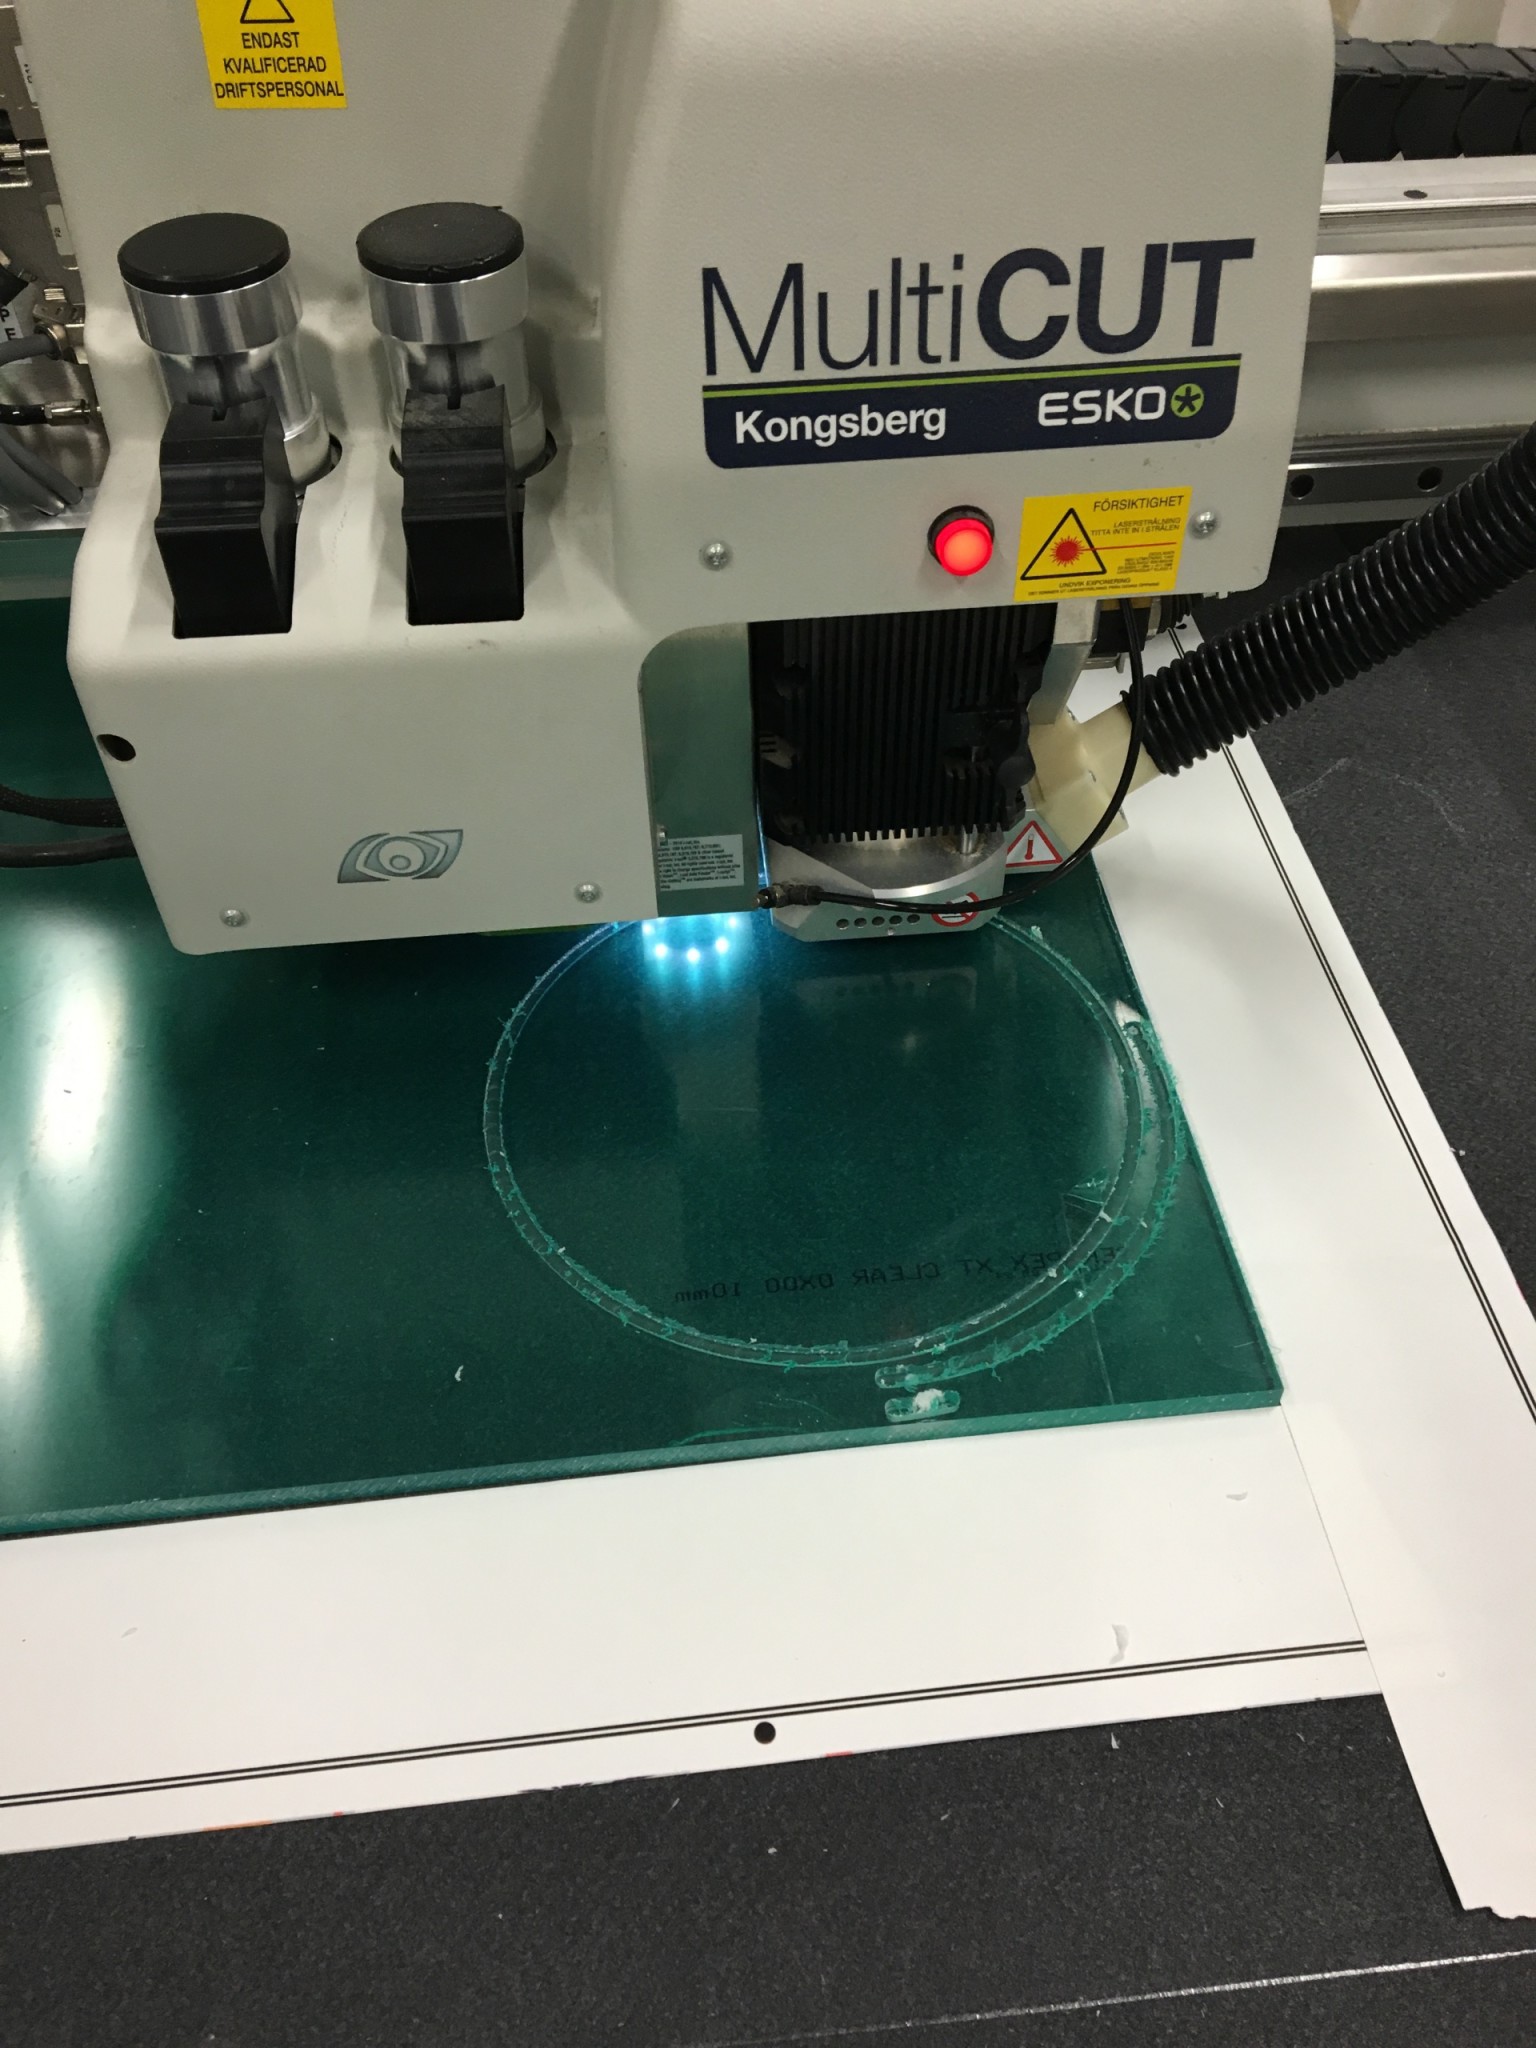
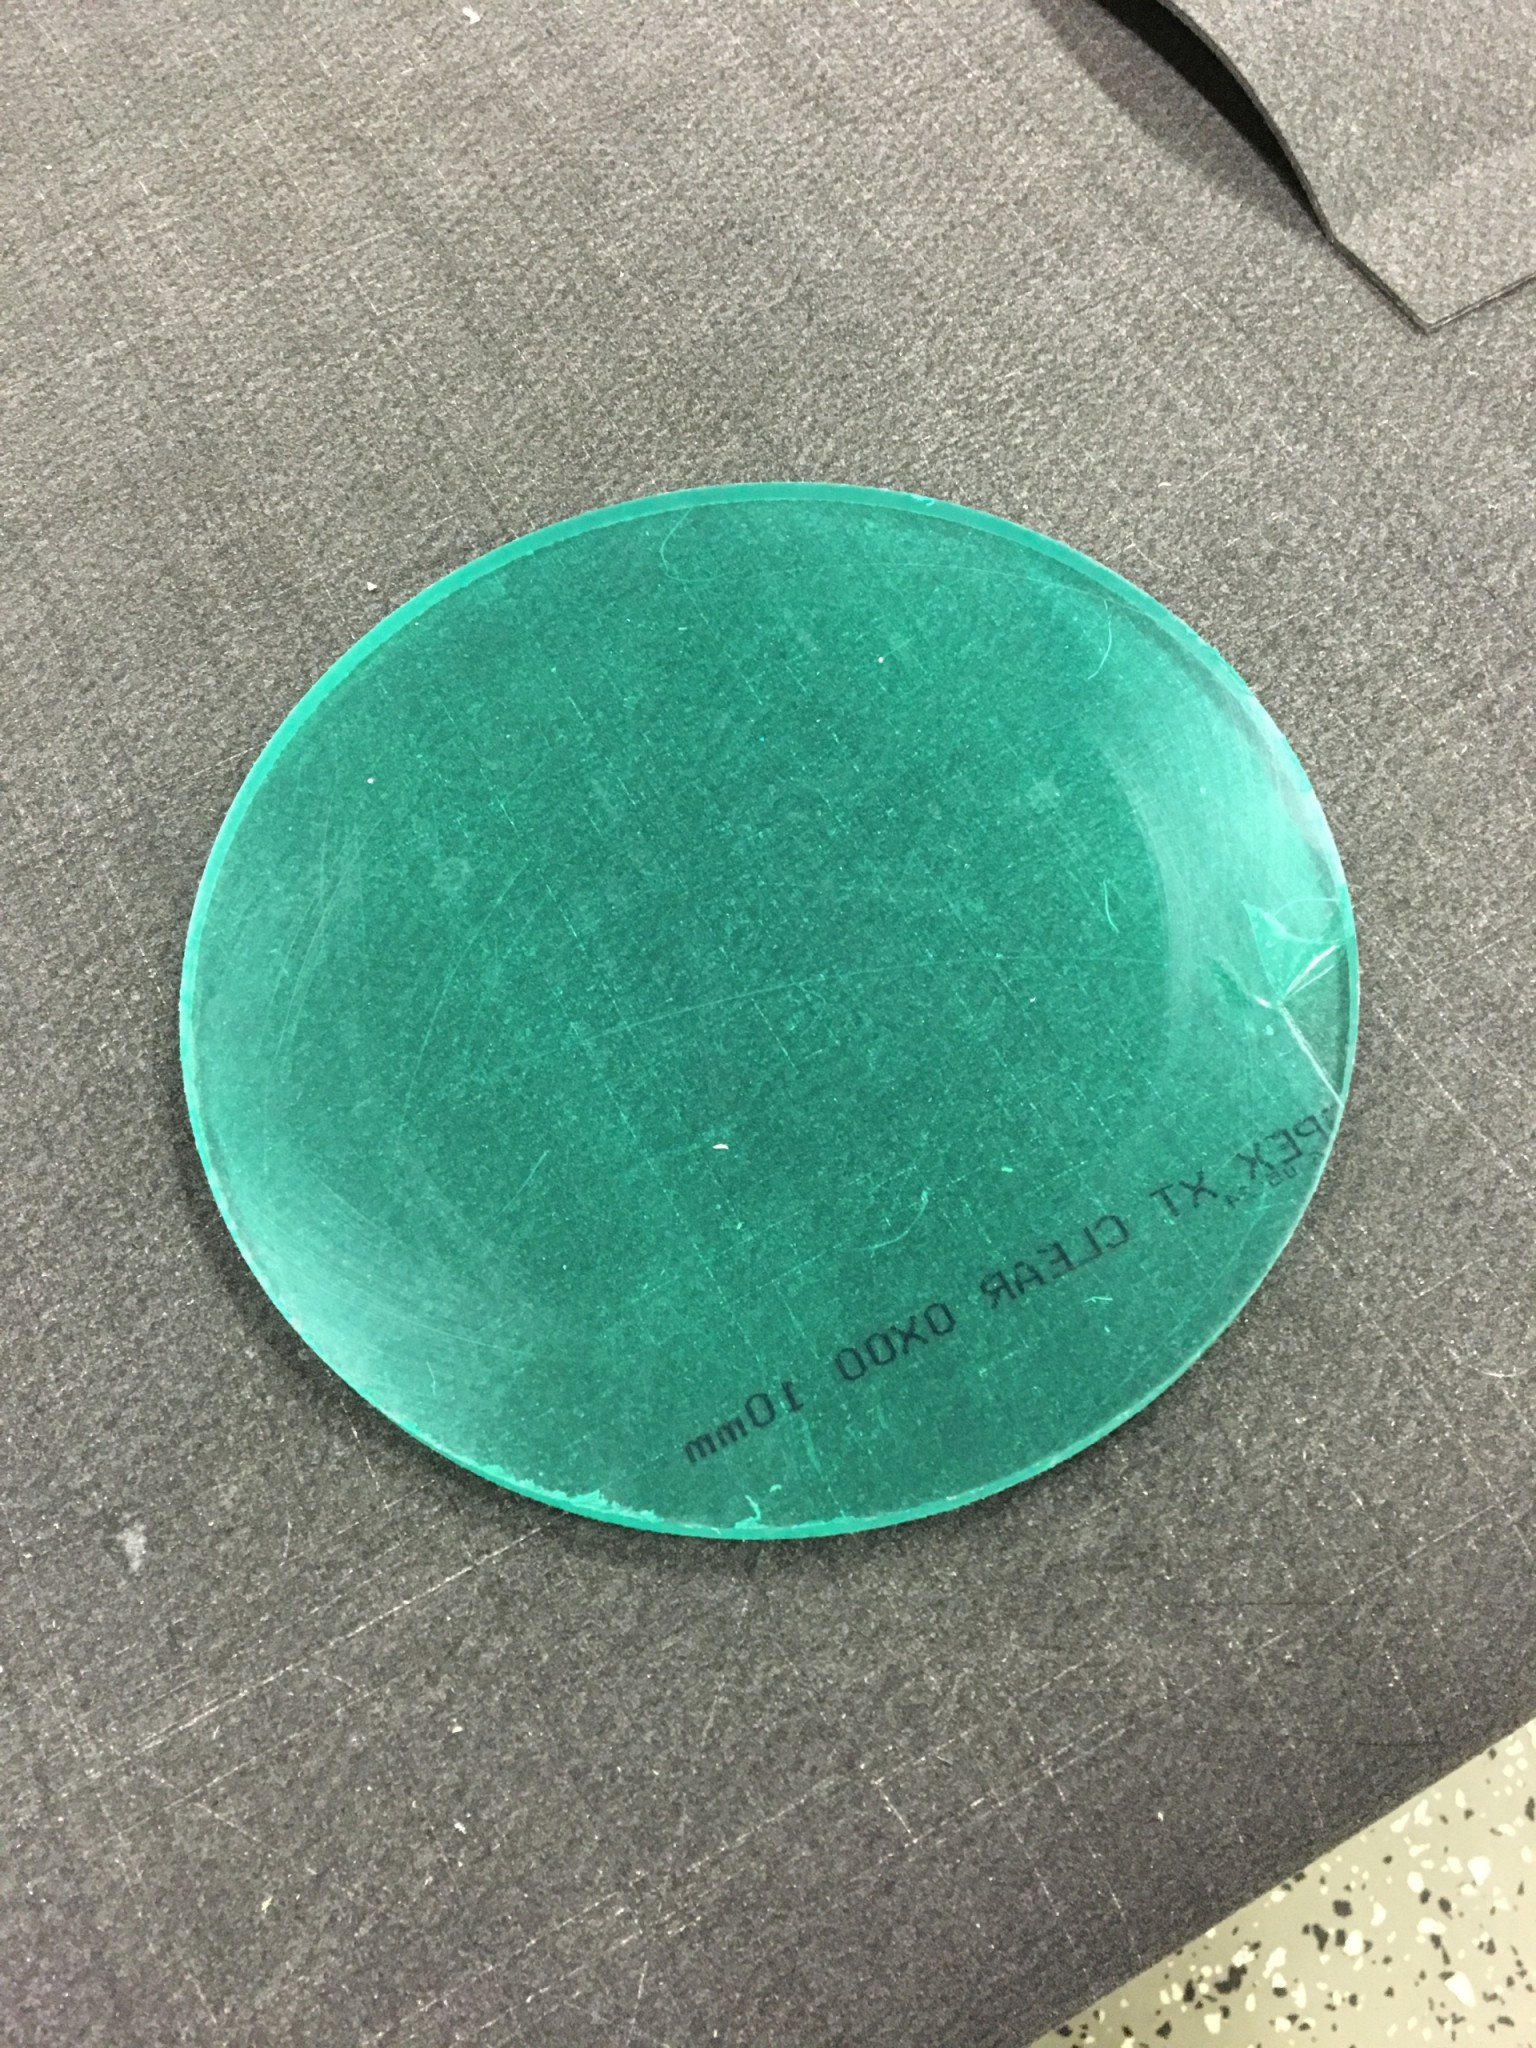
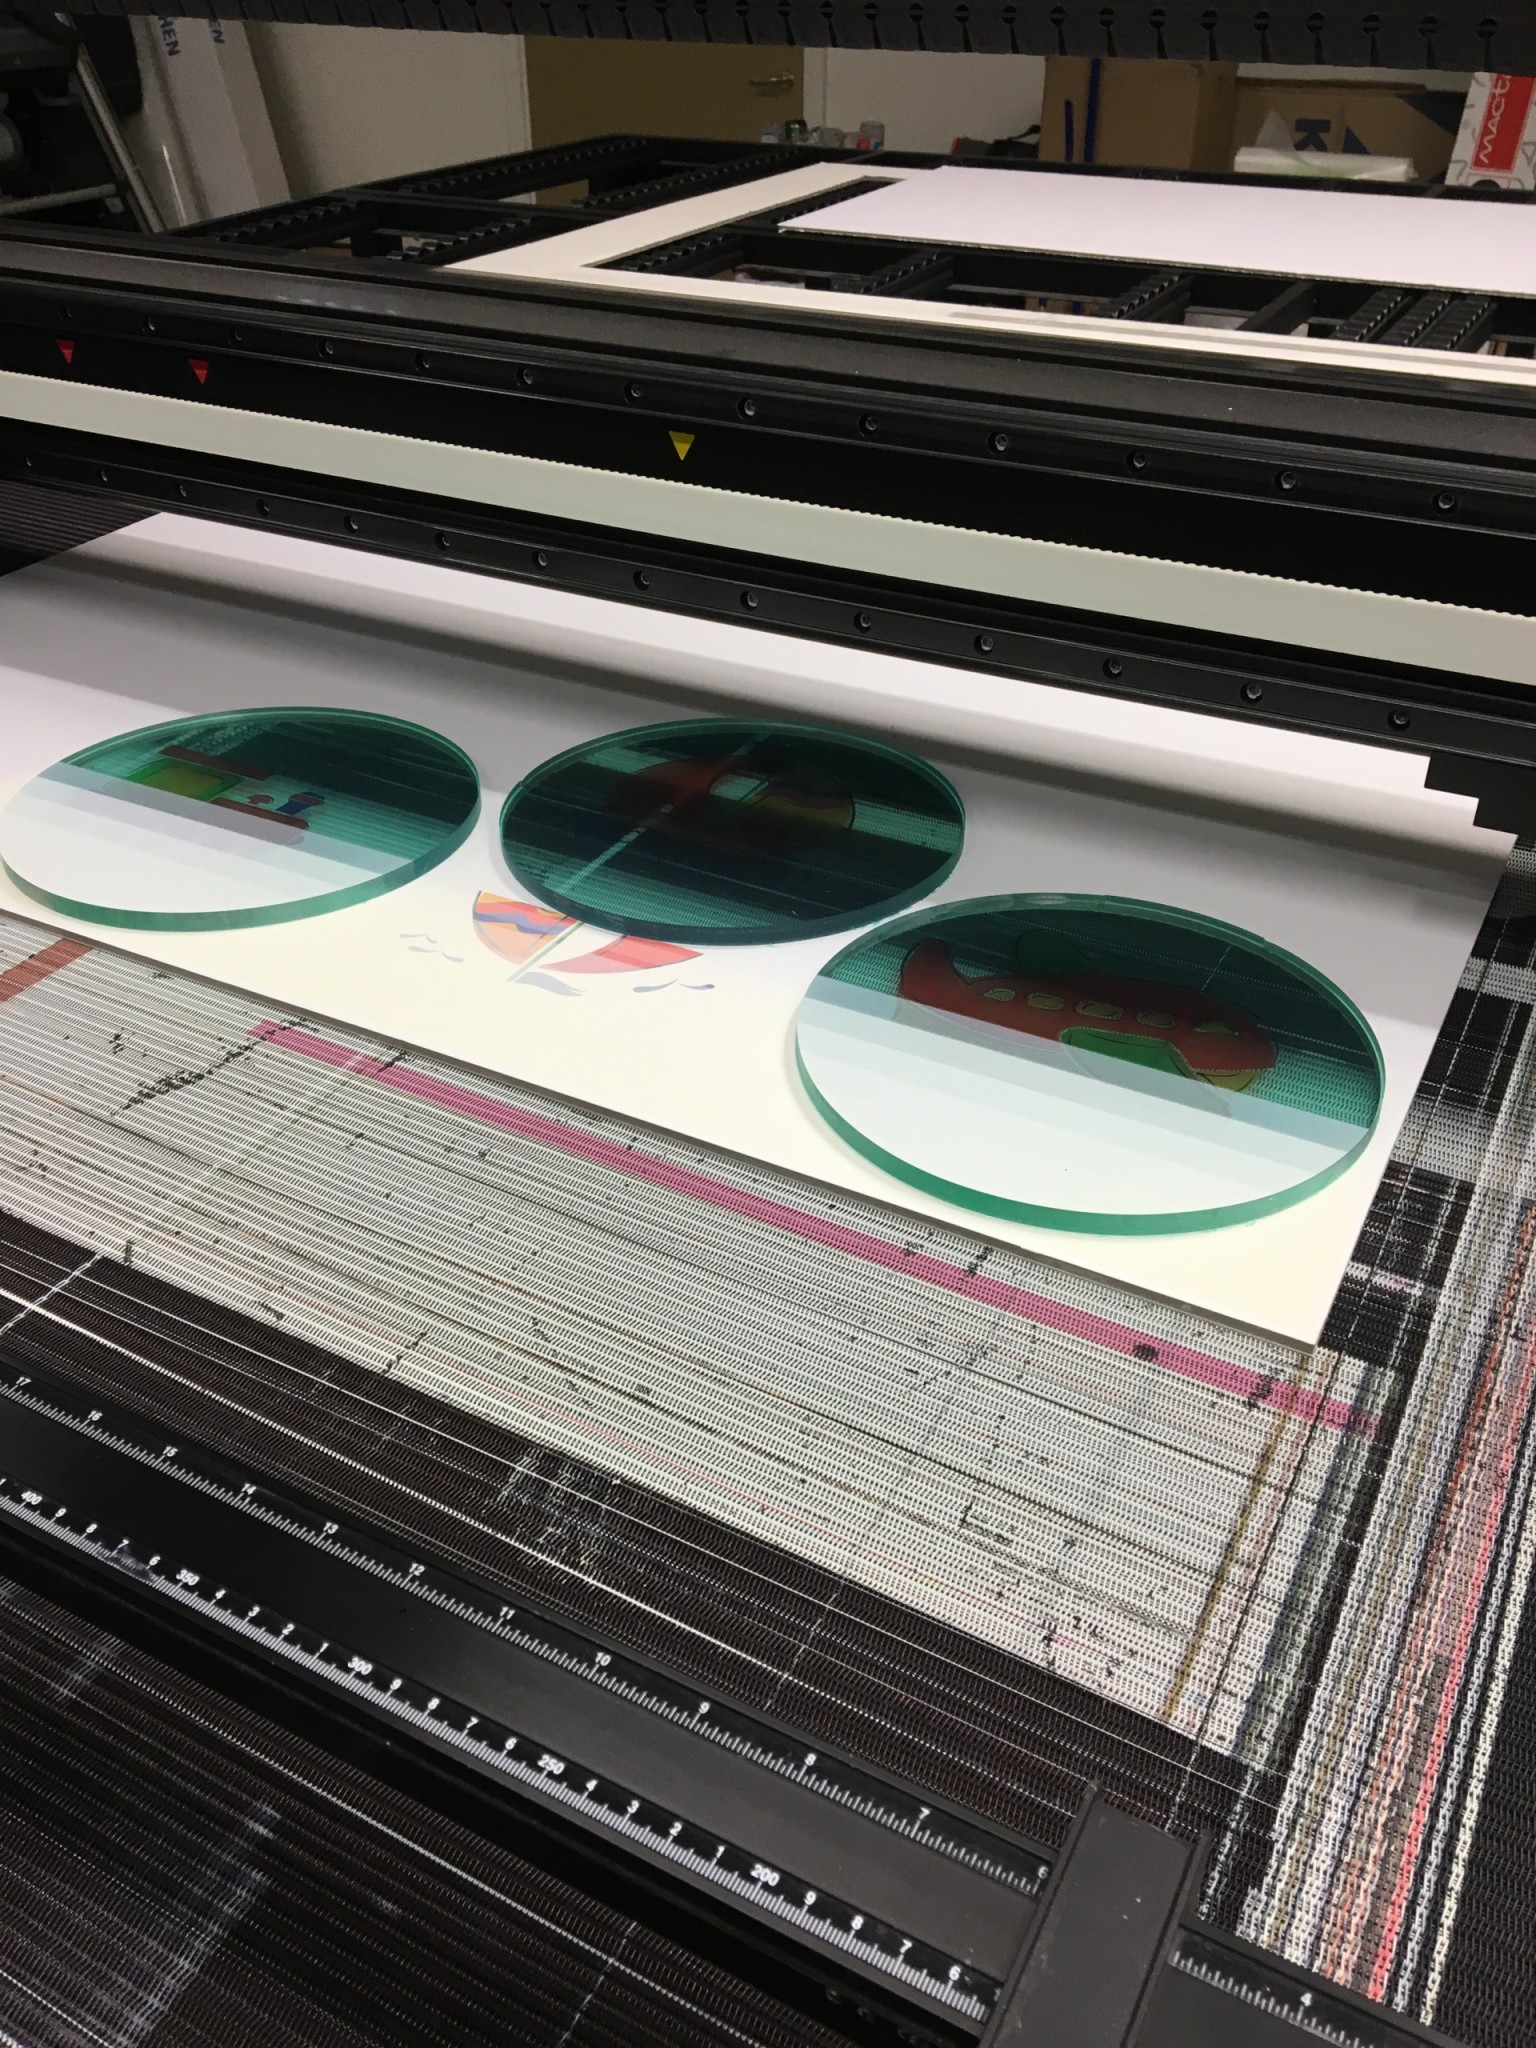
The image file went into the printer software, and we did a test print on foam board.

Good thing we tested: the picture came out upside down the first time. Then the real run on the acrylic.
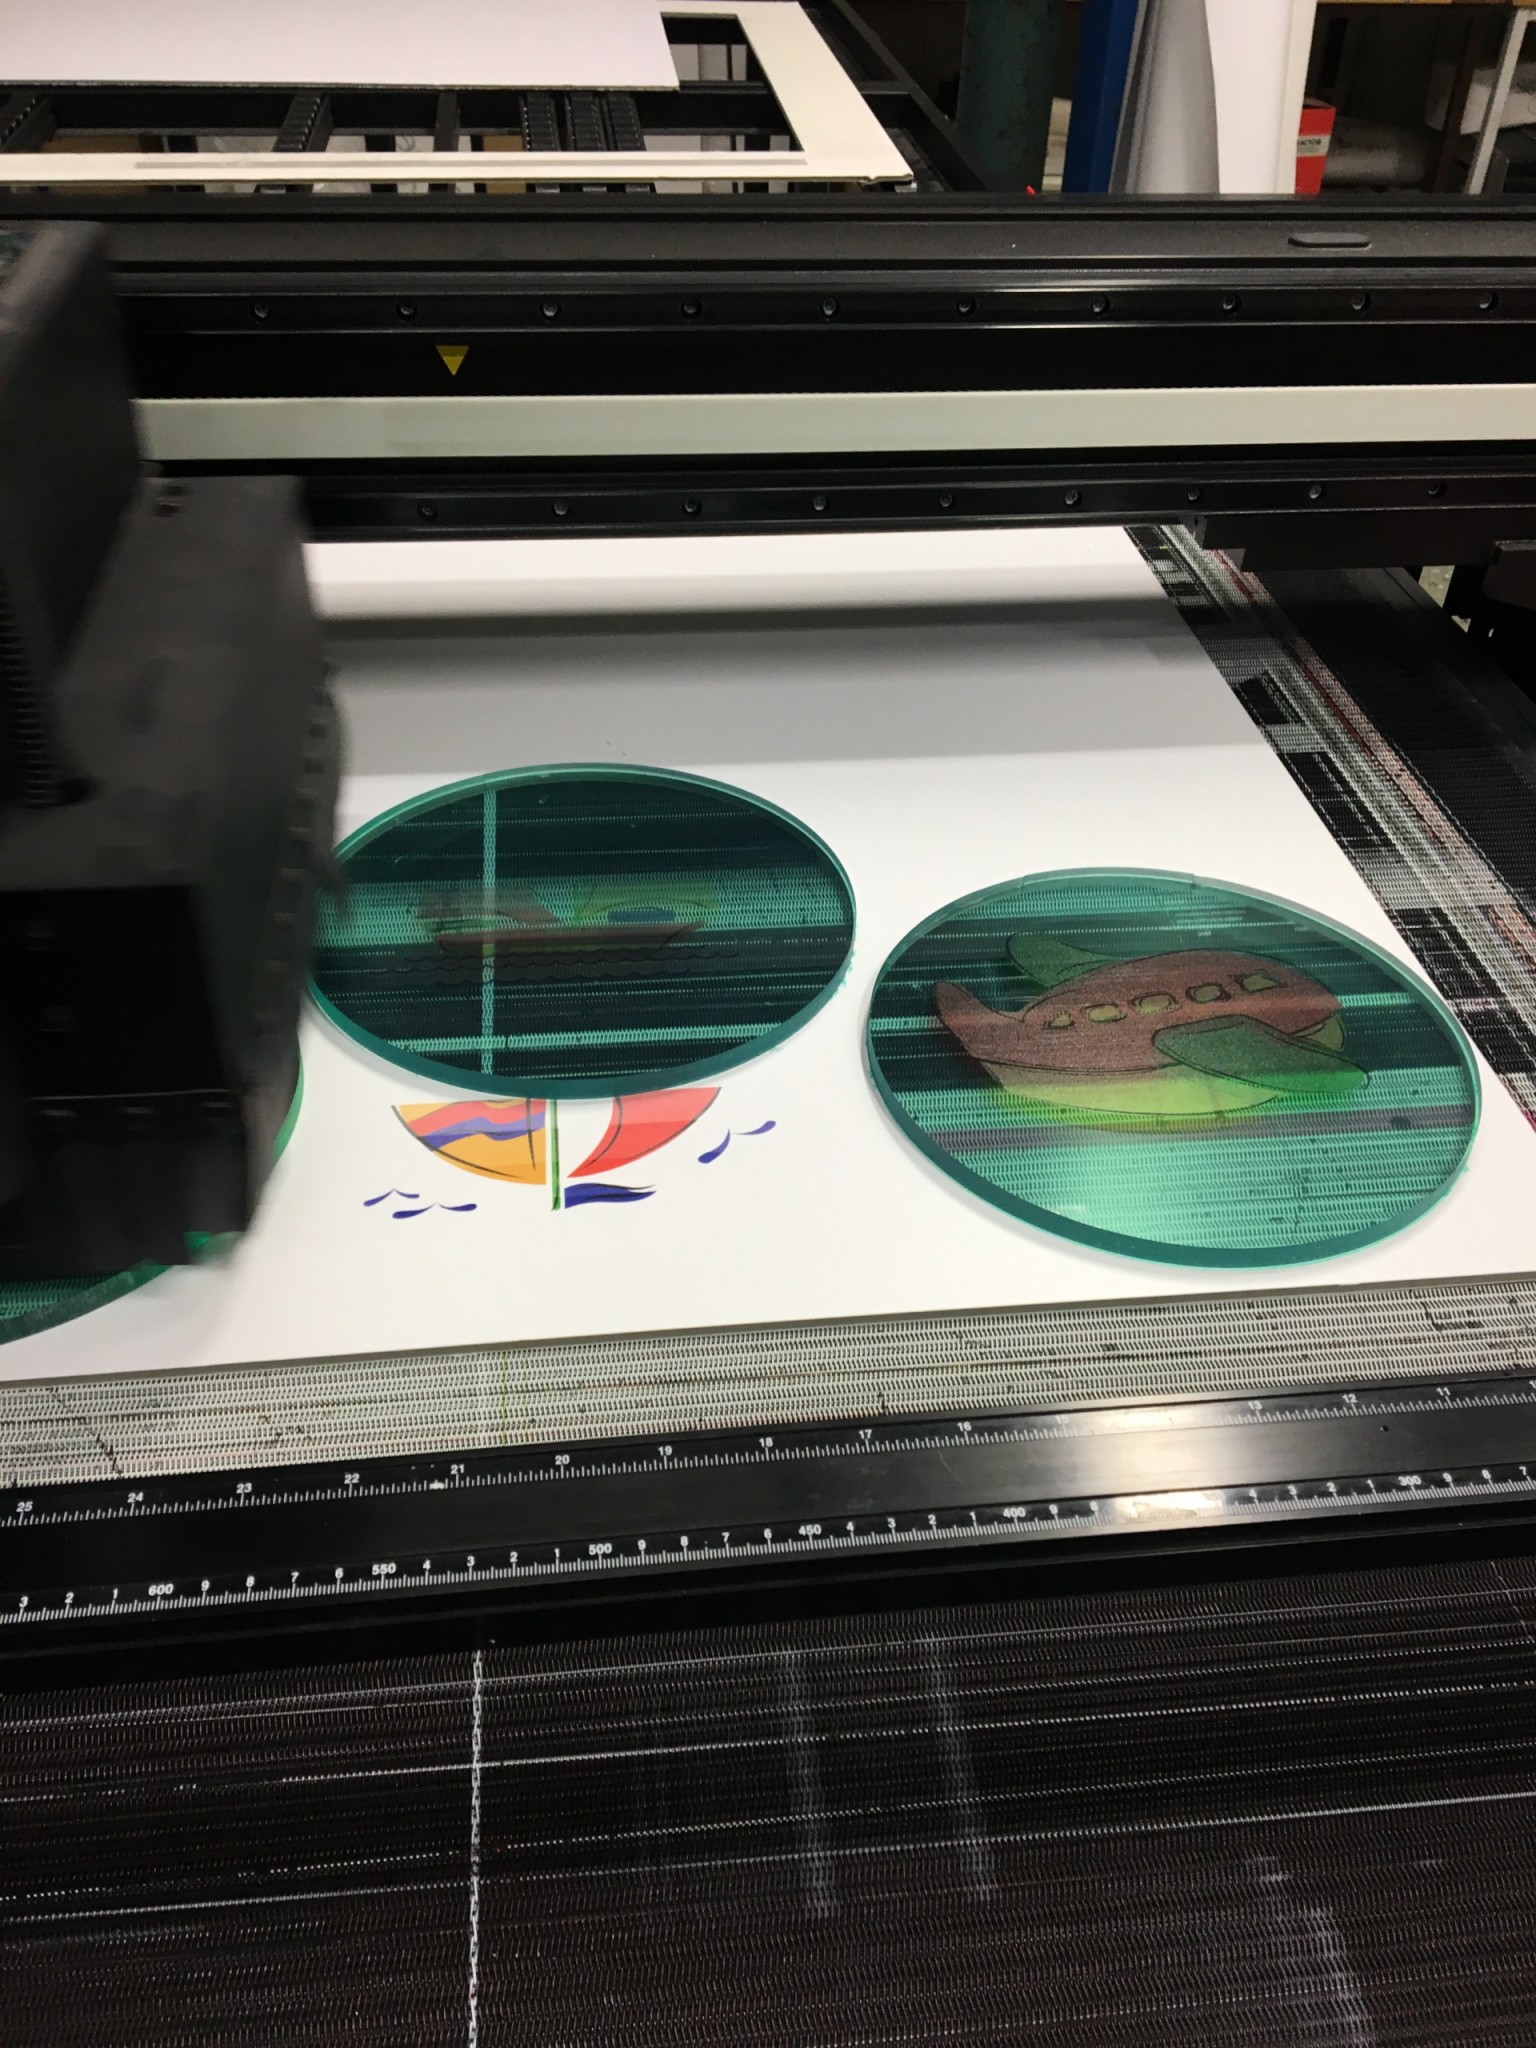
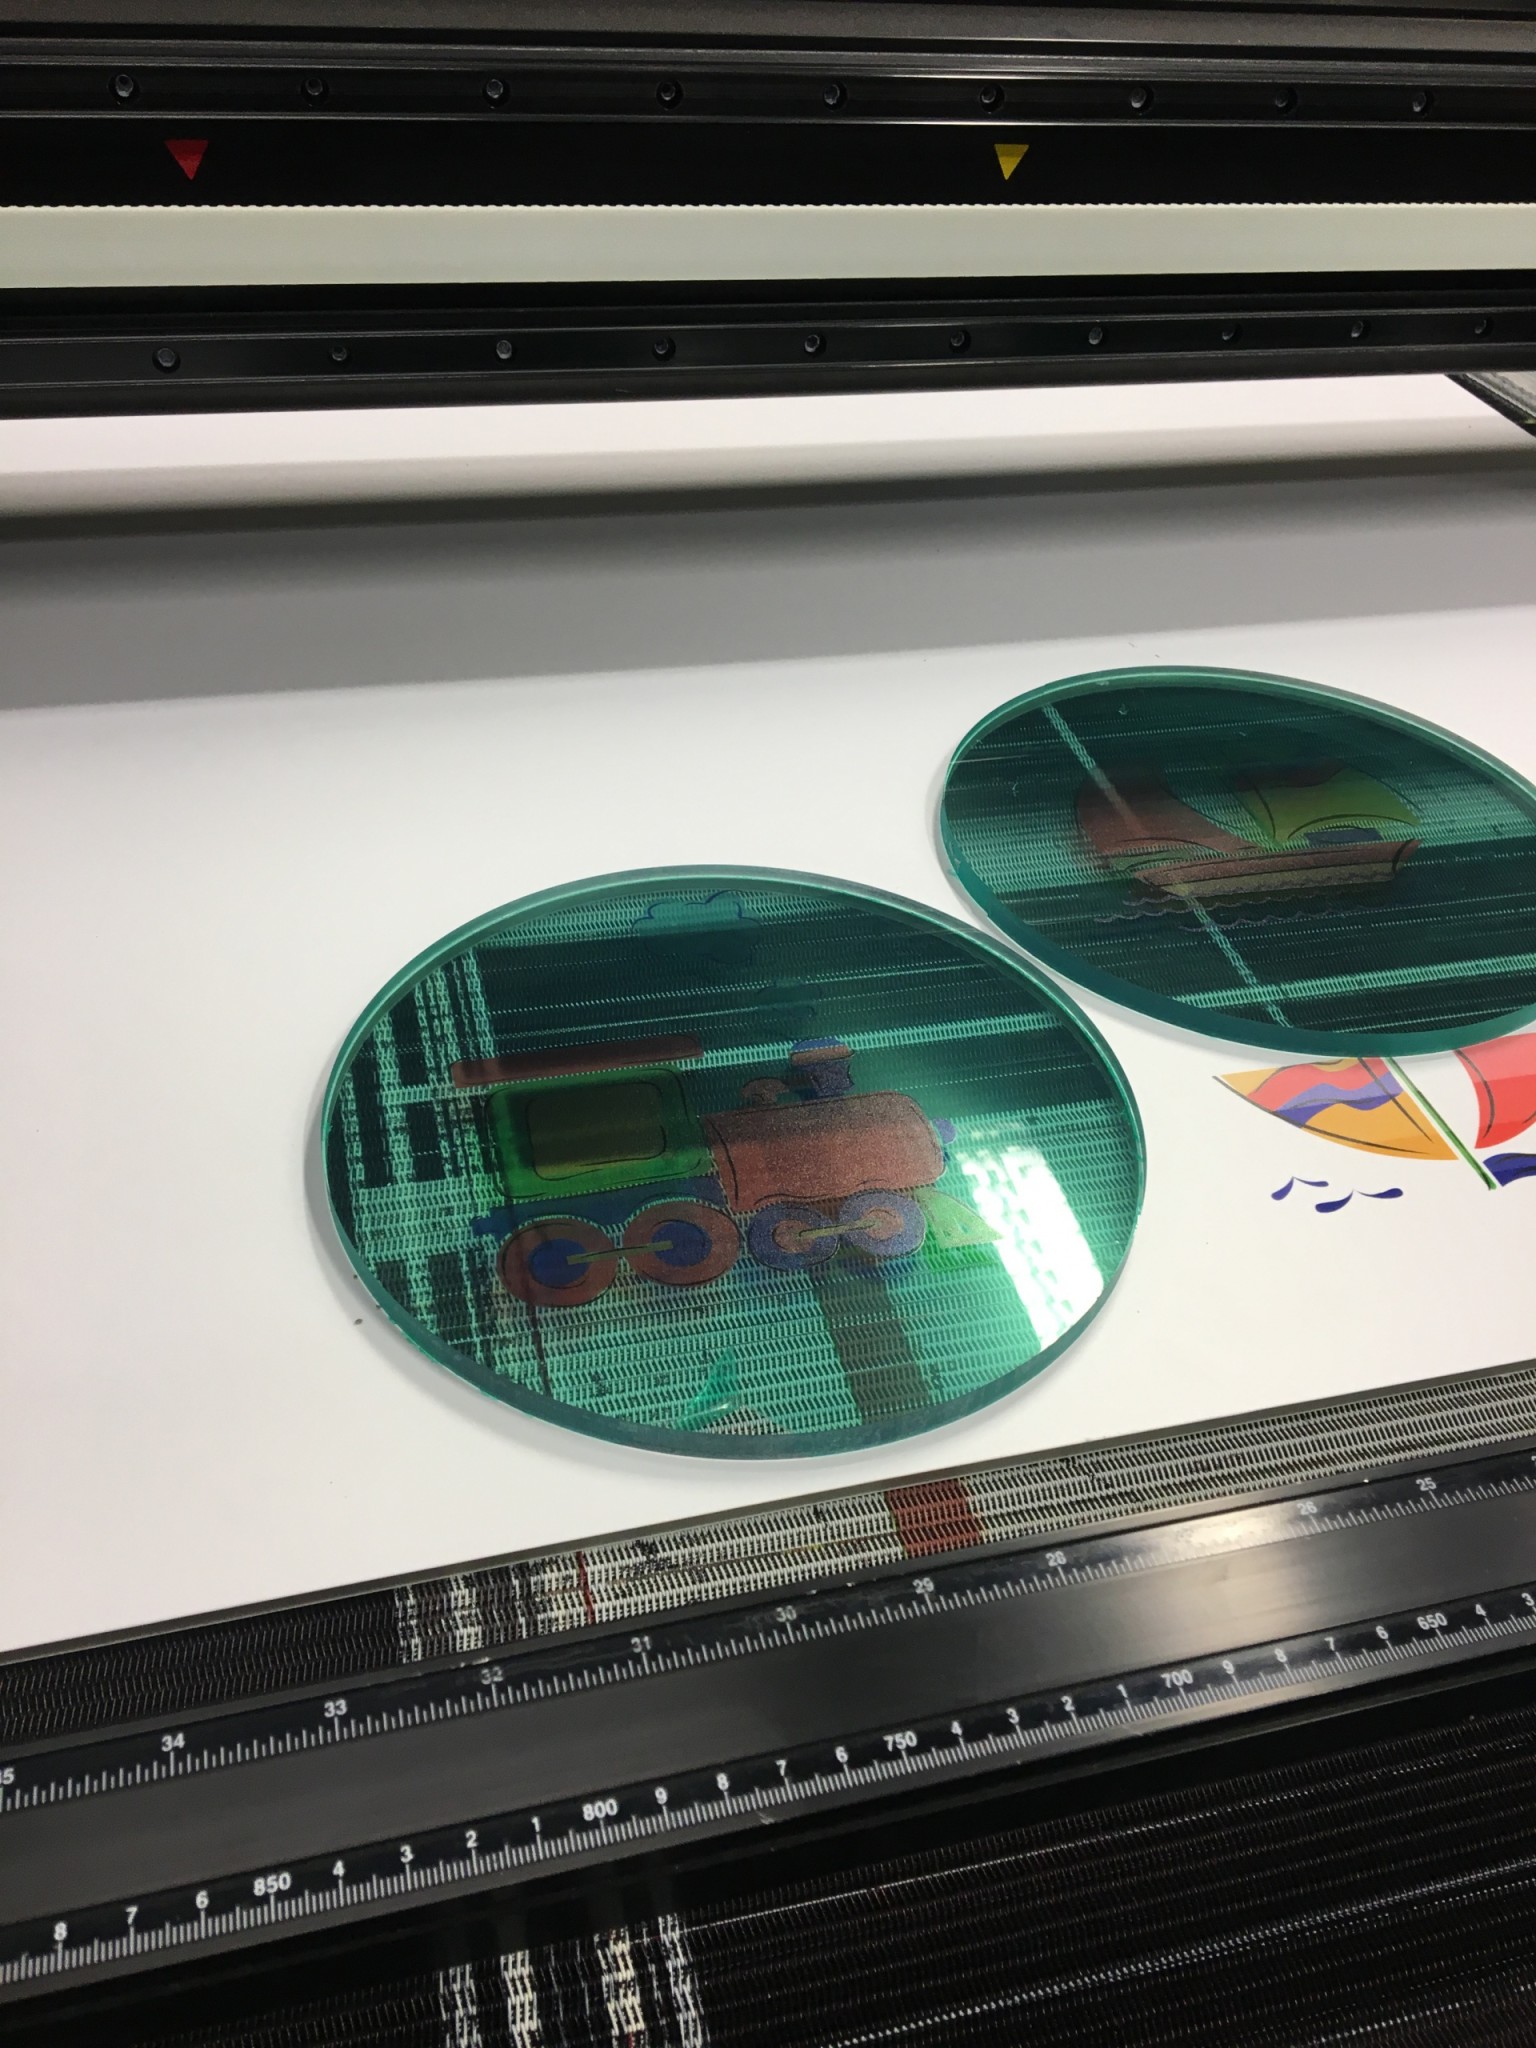
First pass with the colour image and second pass with a white backing. Then the discs were done.
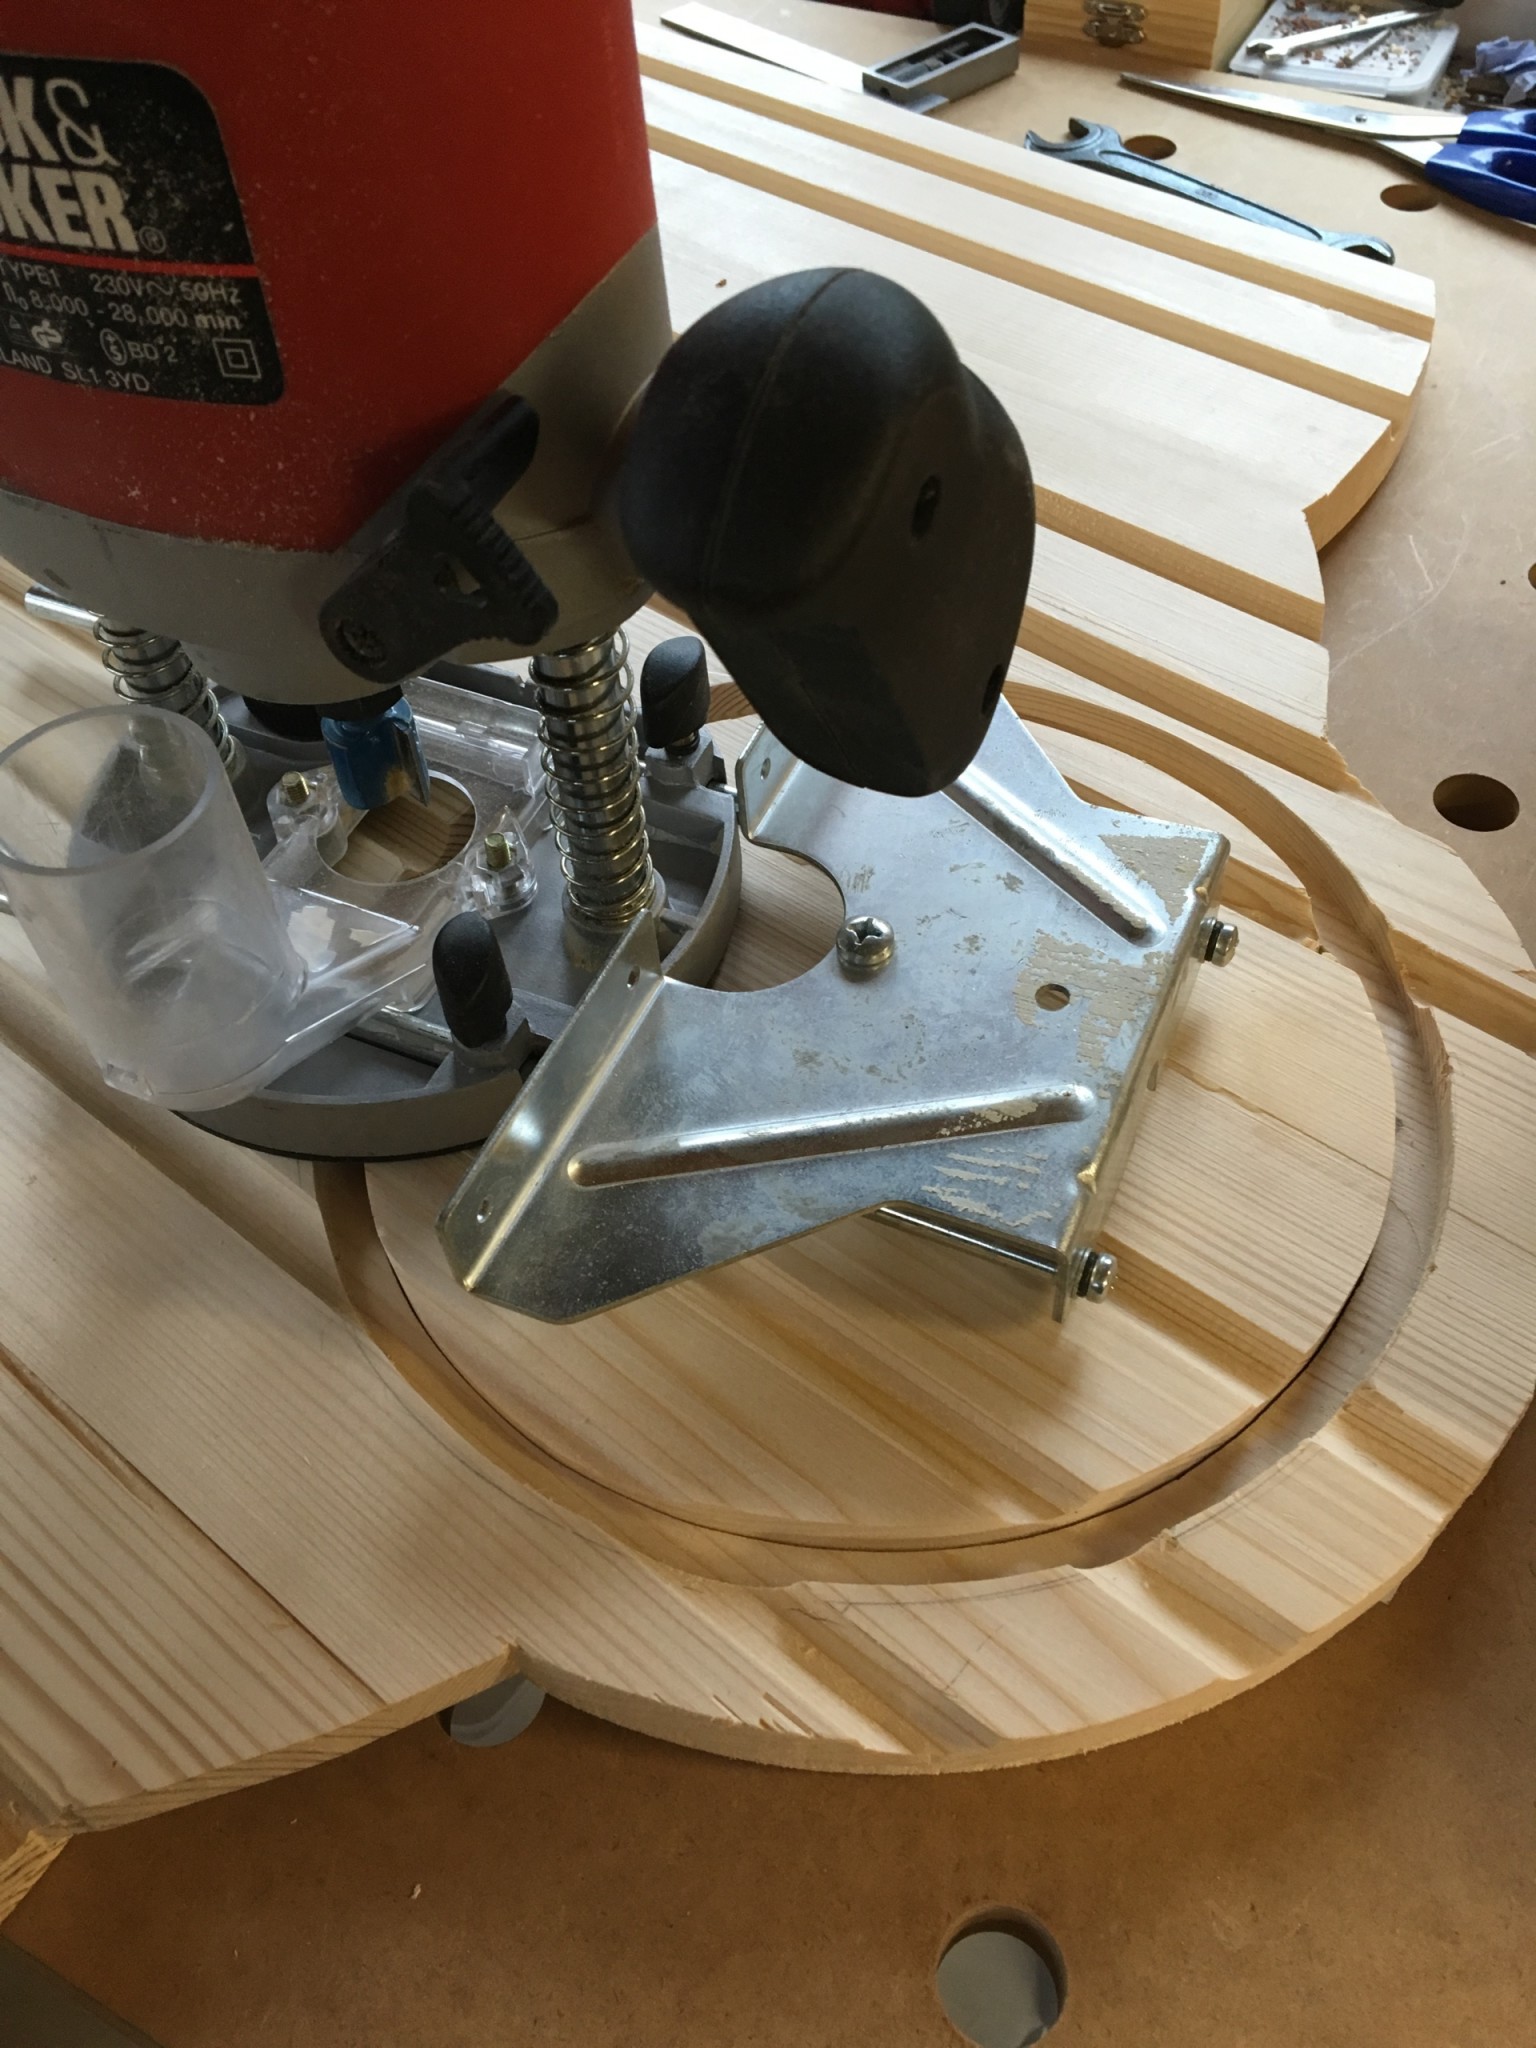
The picture would sit in a small rebate at the back, so that 210 mm of the 230 mm circle shows. I tested on a piece I had earlier cut off the headboard. I only have a few router bits and started with a 20 mm groove bit (bought when I routed channels for underfloor heating). The radius should be 105 mm, but after the first pass I realised you have to measure to the point on the bit furthest from the centre pin, not the nearest. The circle didn't come out at 210 mm. Second attempt, and now it was right.
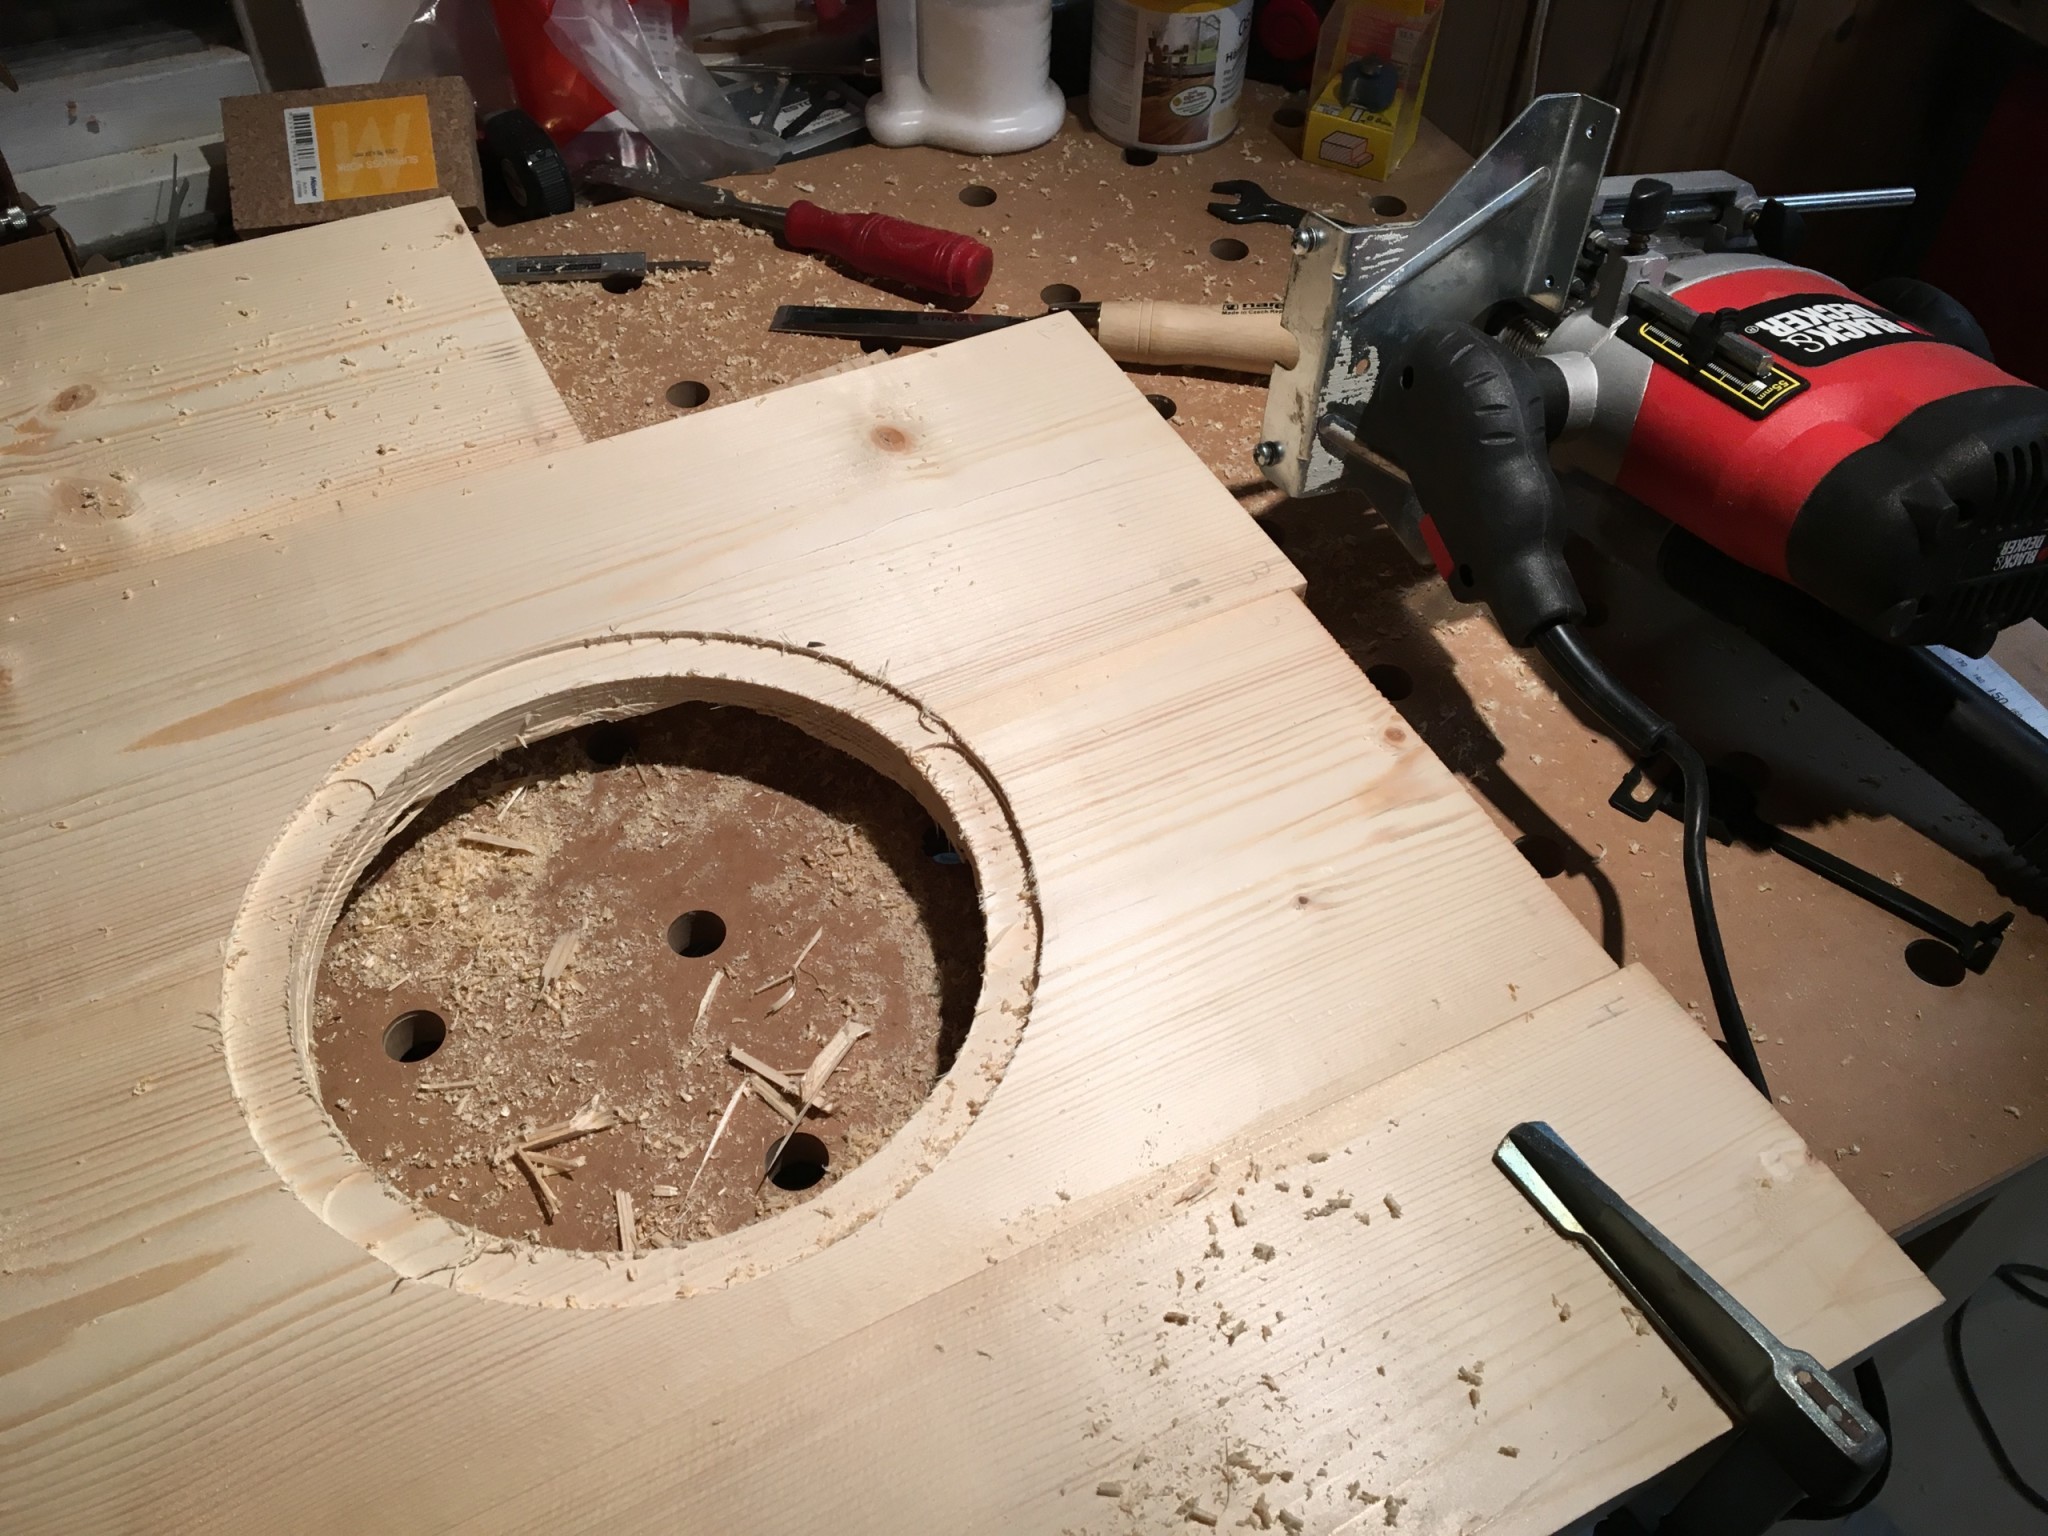
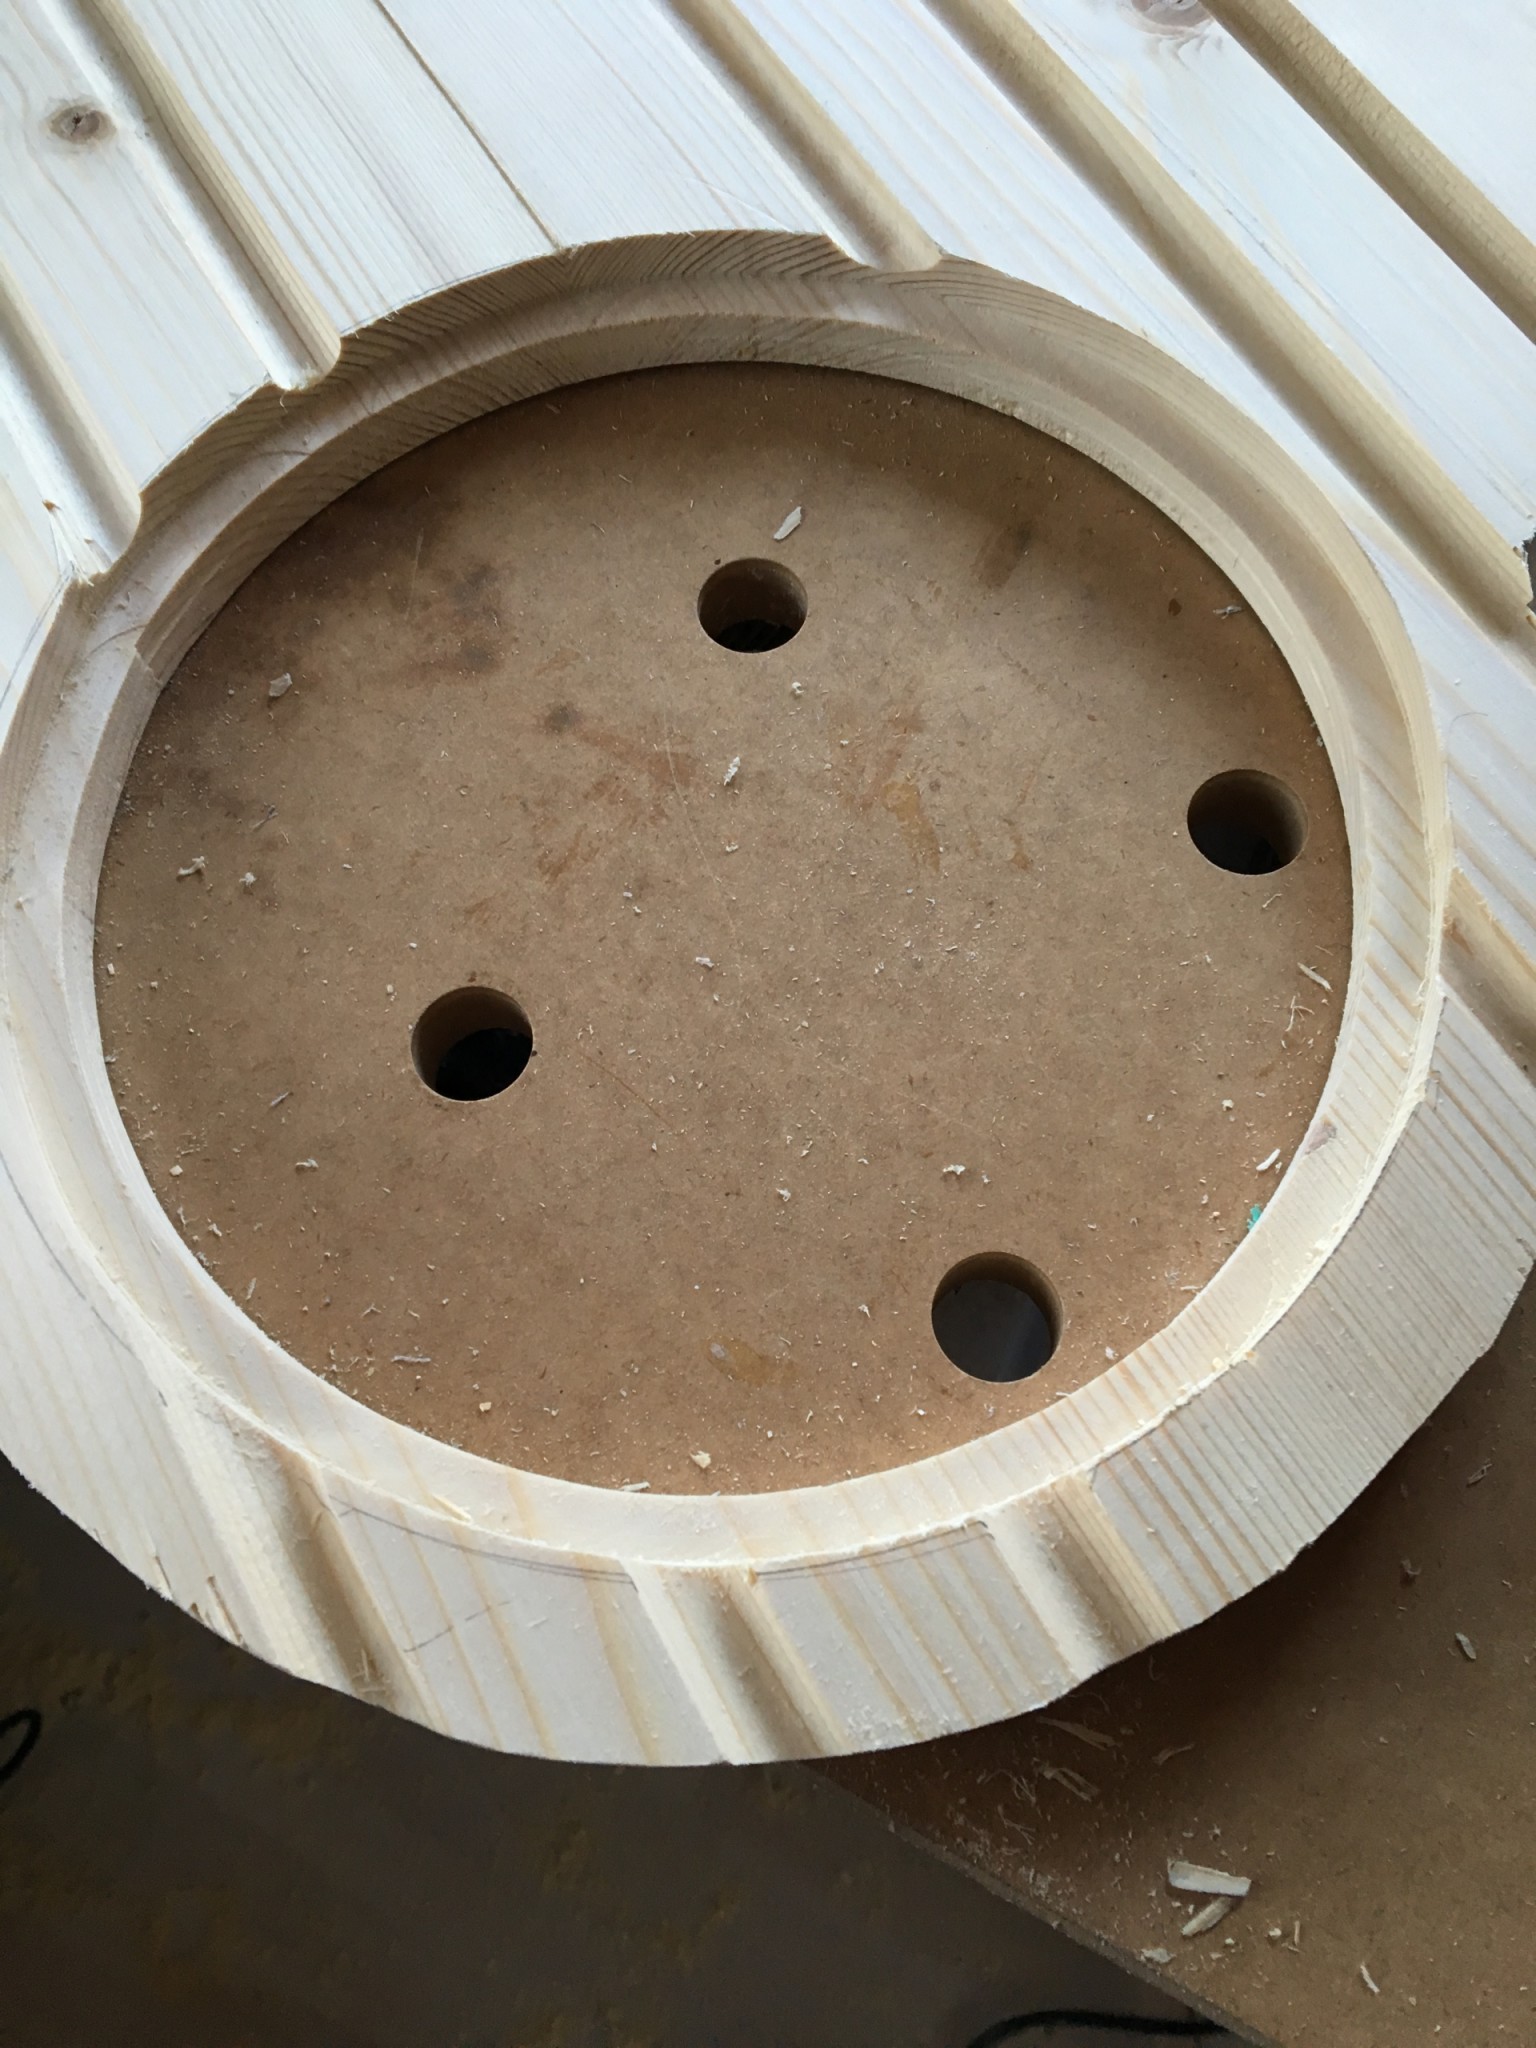
A bearing-guided bit that cuts 10 mm in from the edge gave a 10 × 10 mm rebate at the back.
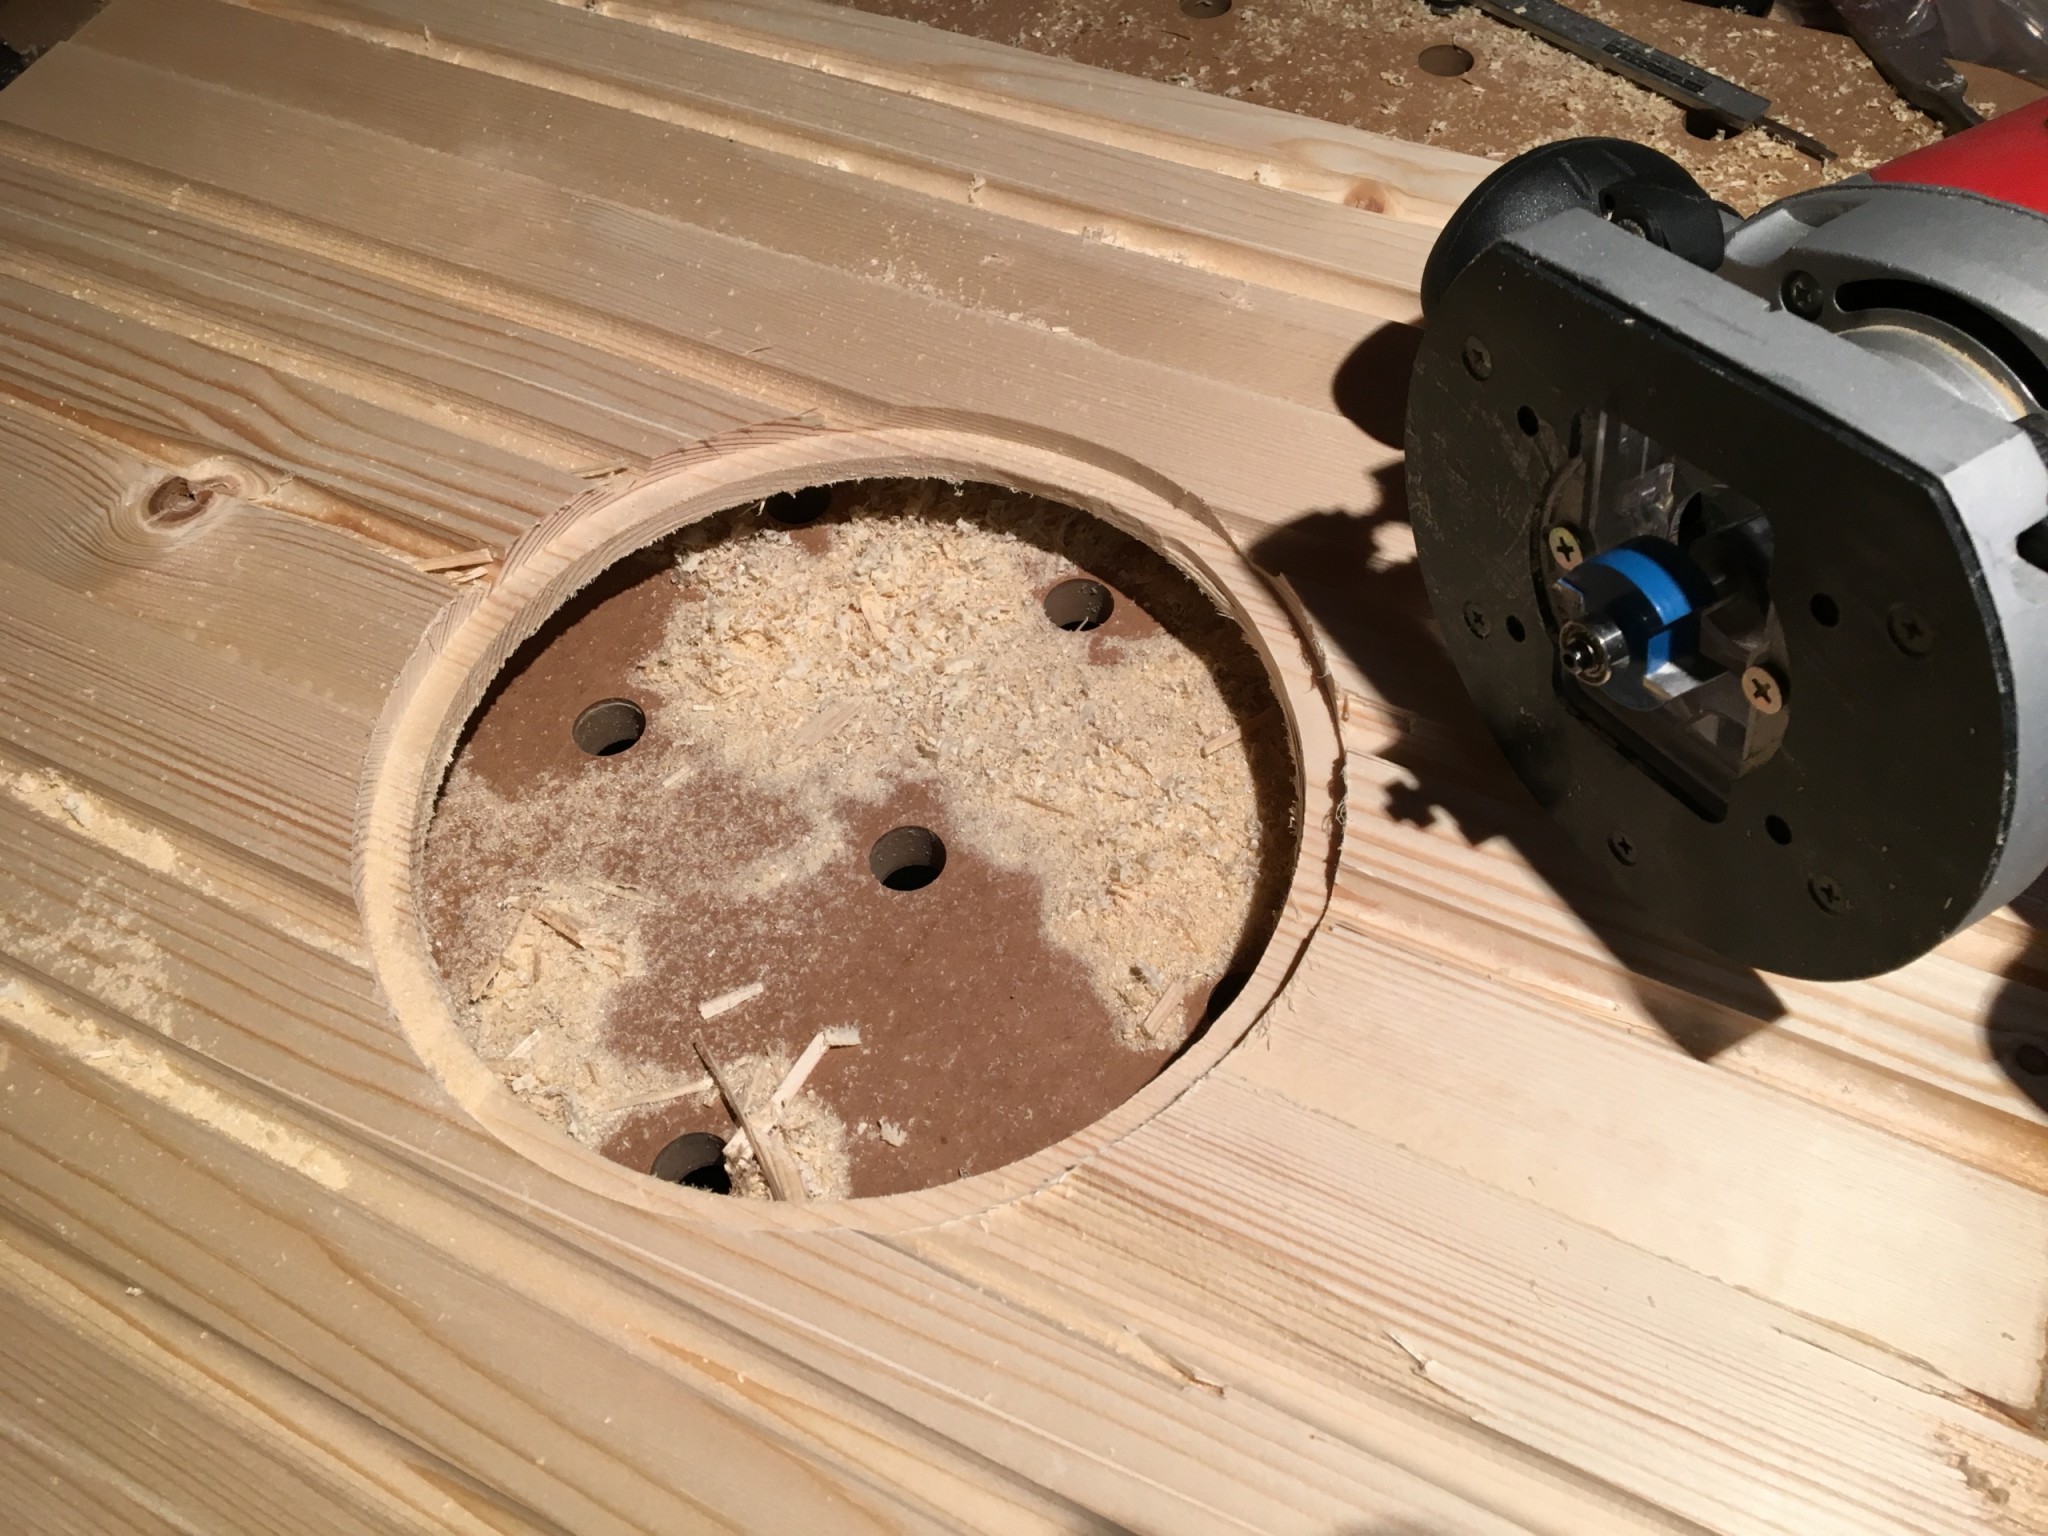
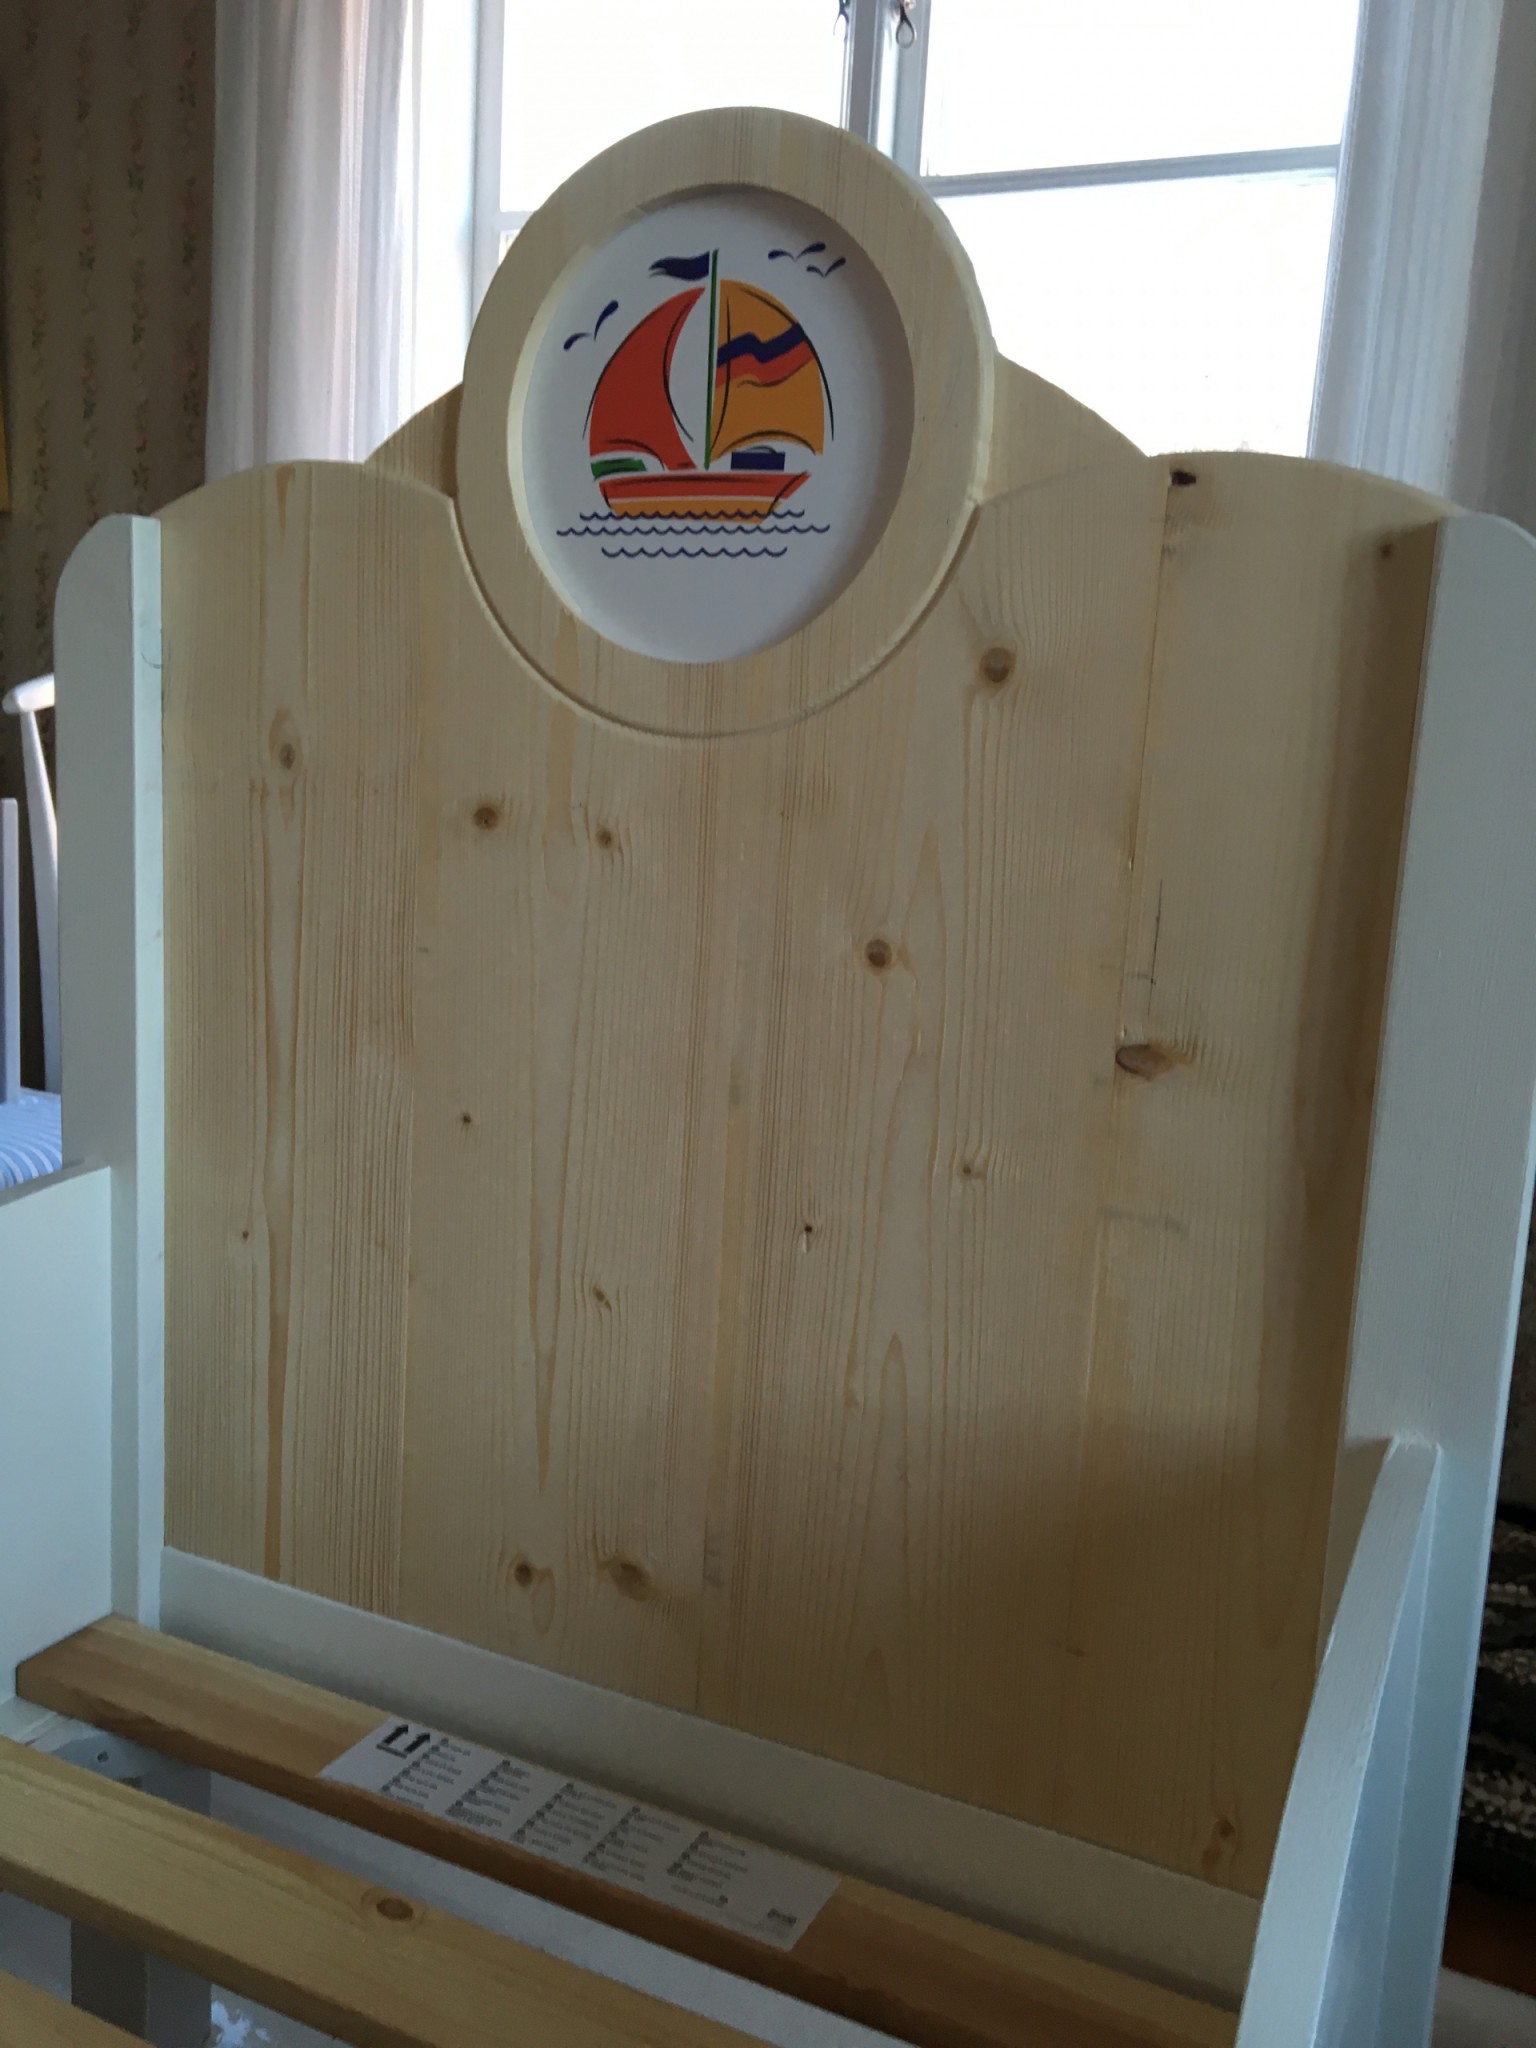
Then I tried laying in one of the test prints. This was going to work.
Cutting out the headboard
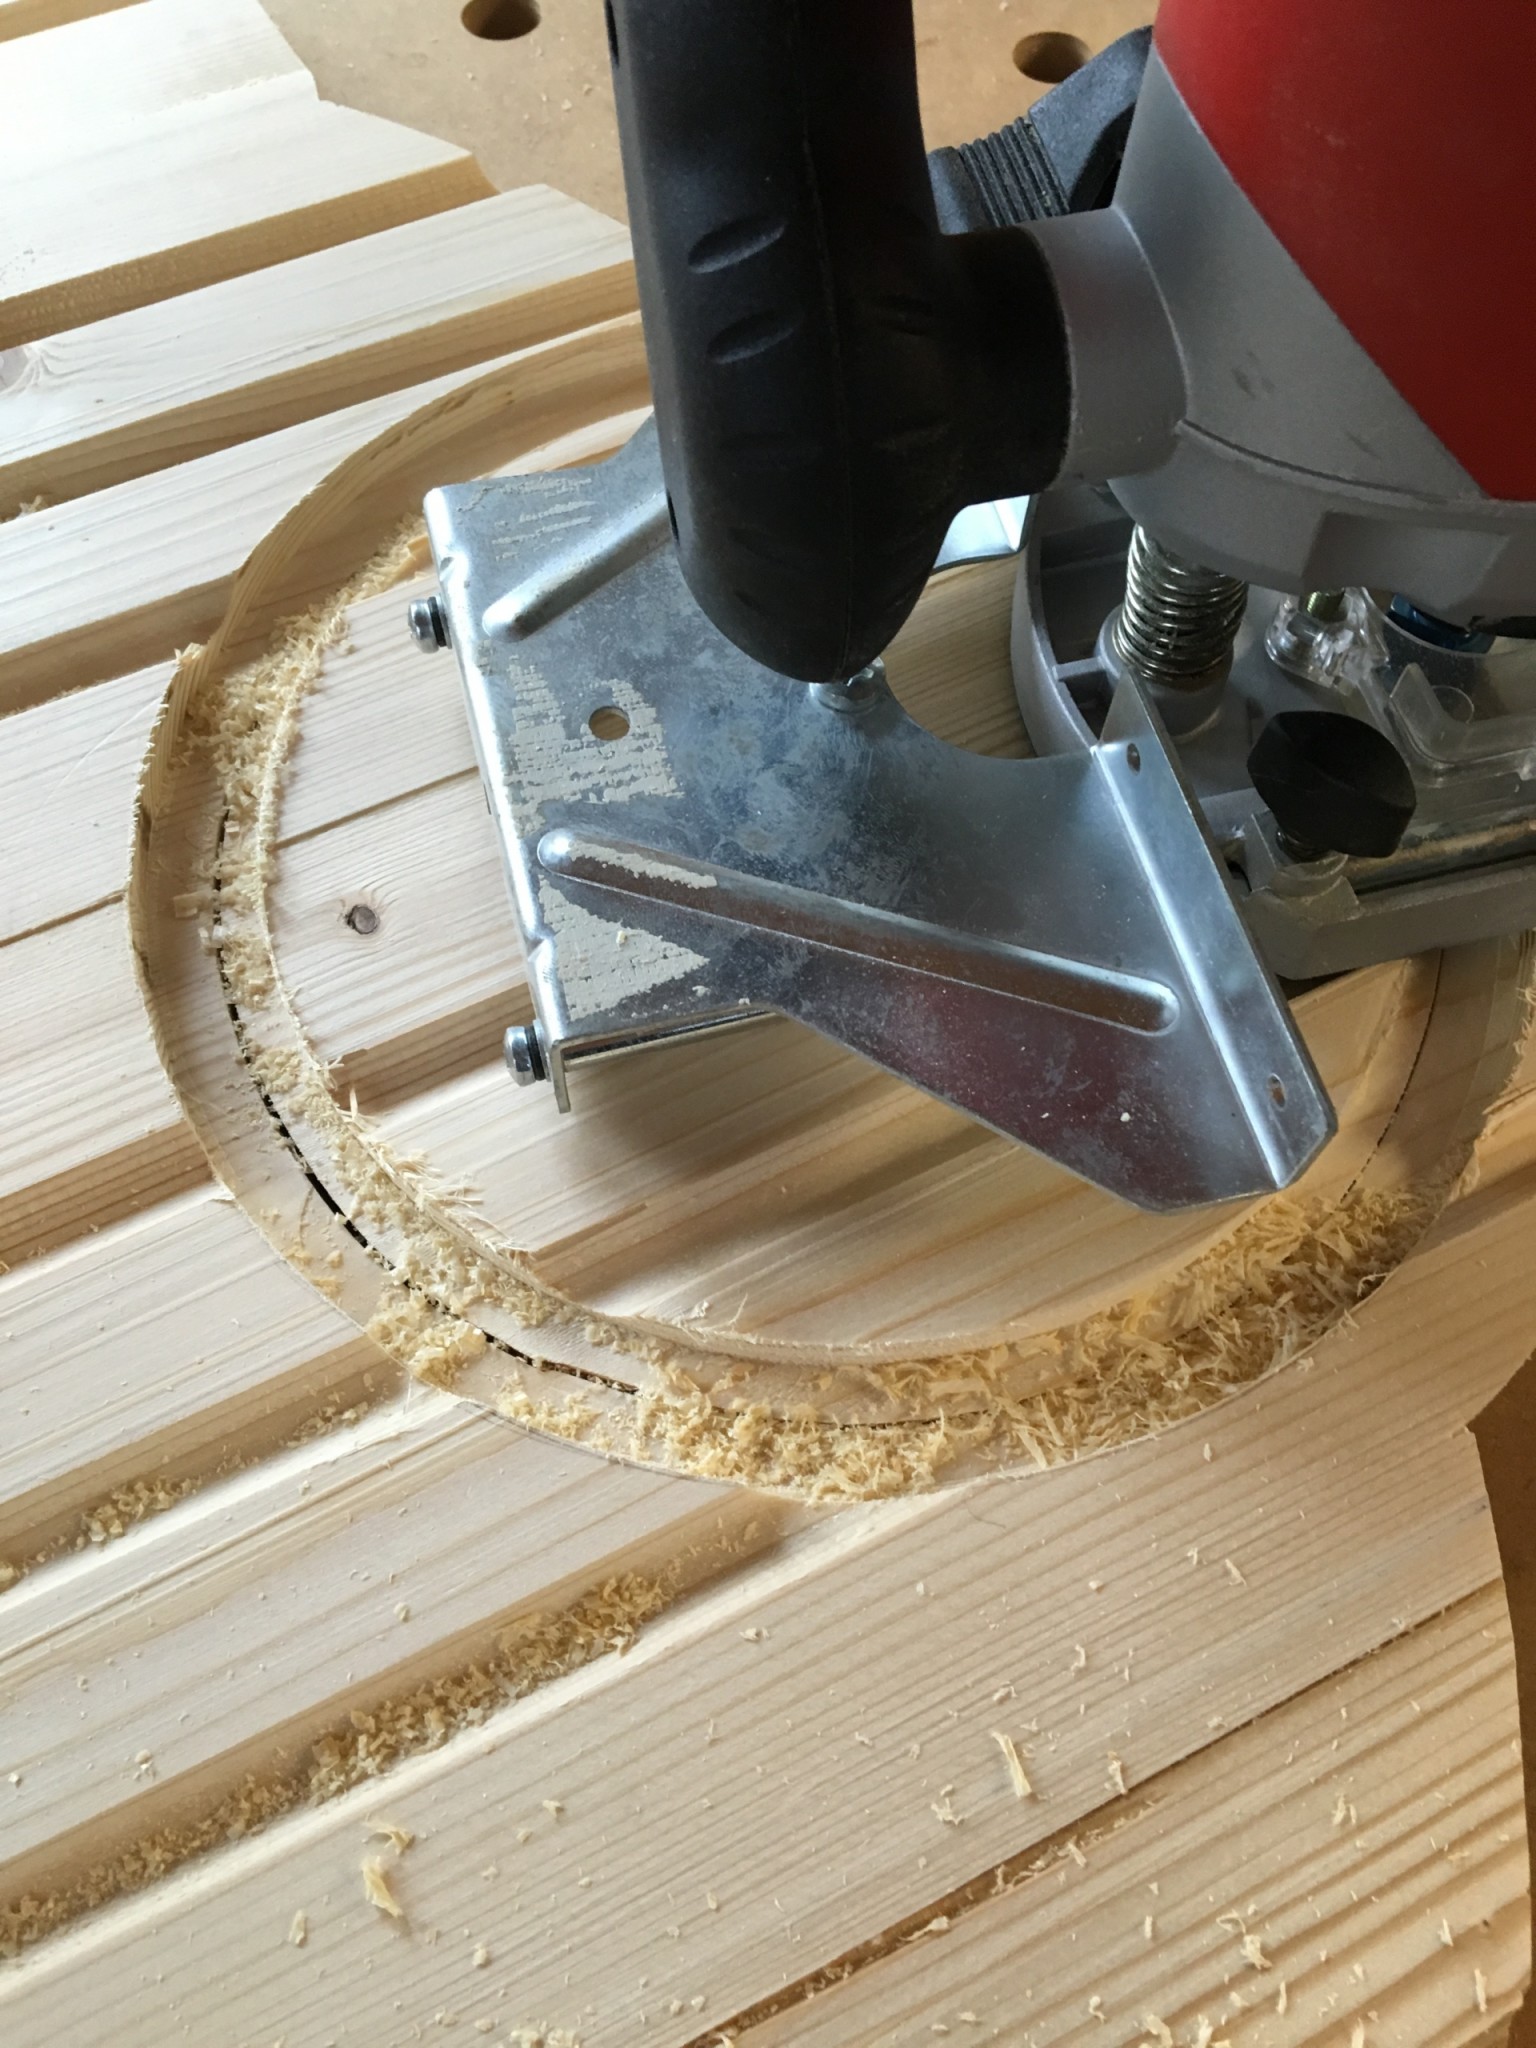
Then it was time for the headboard to get its shape. I enlarged the outer circle by a few centimetres and started routing the outline with Dremel's router bit kit in the Veritas Plunge Base for Rotary Tools. It worked really well.
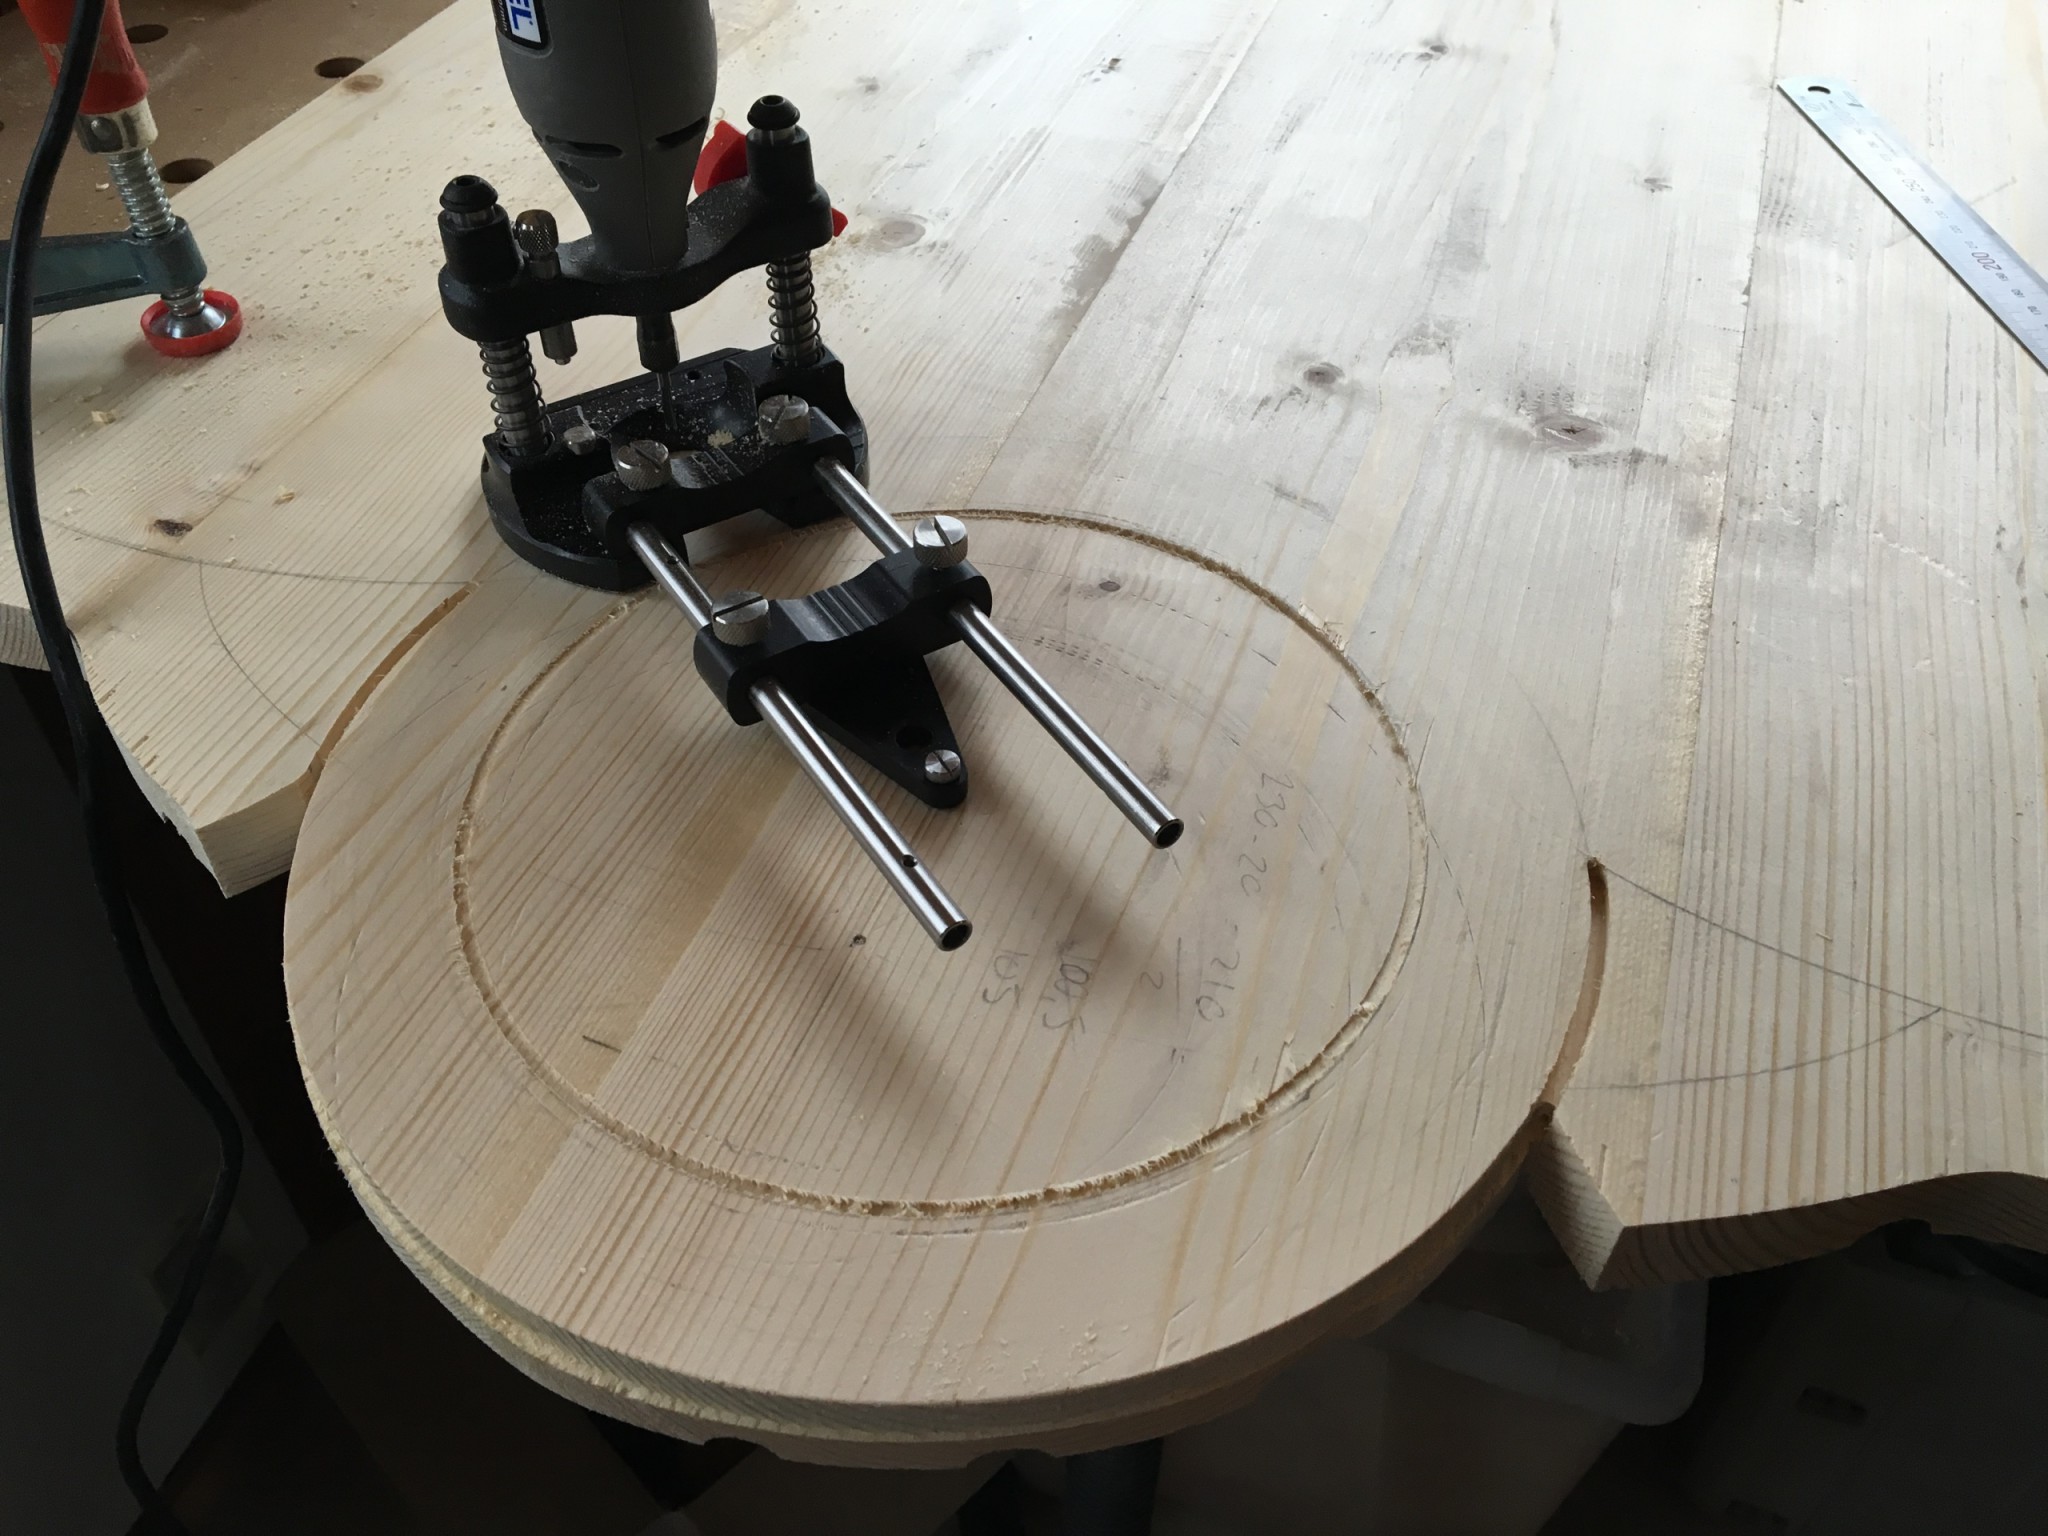
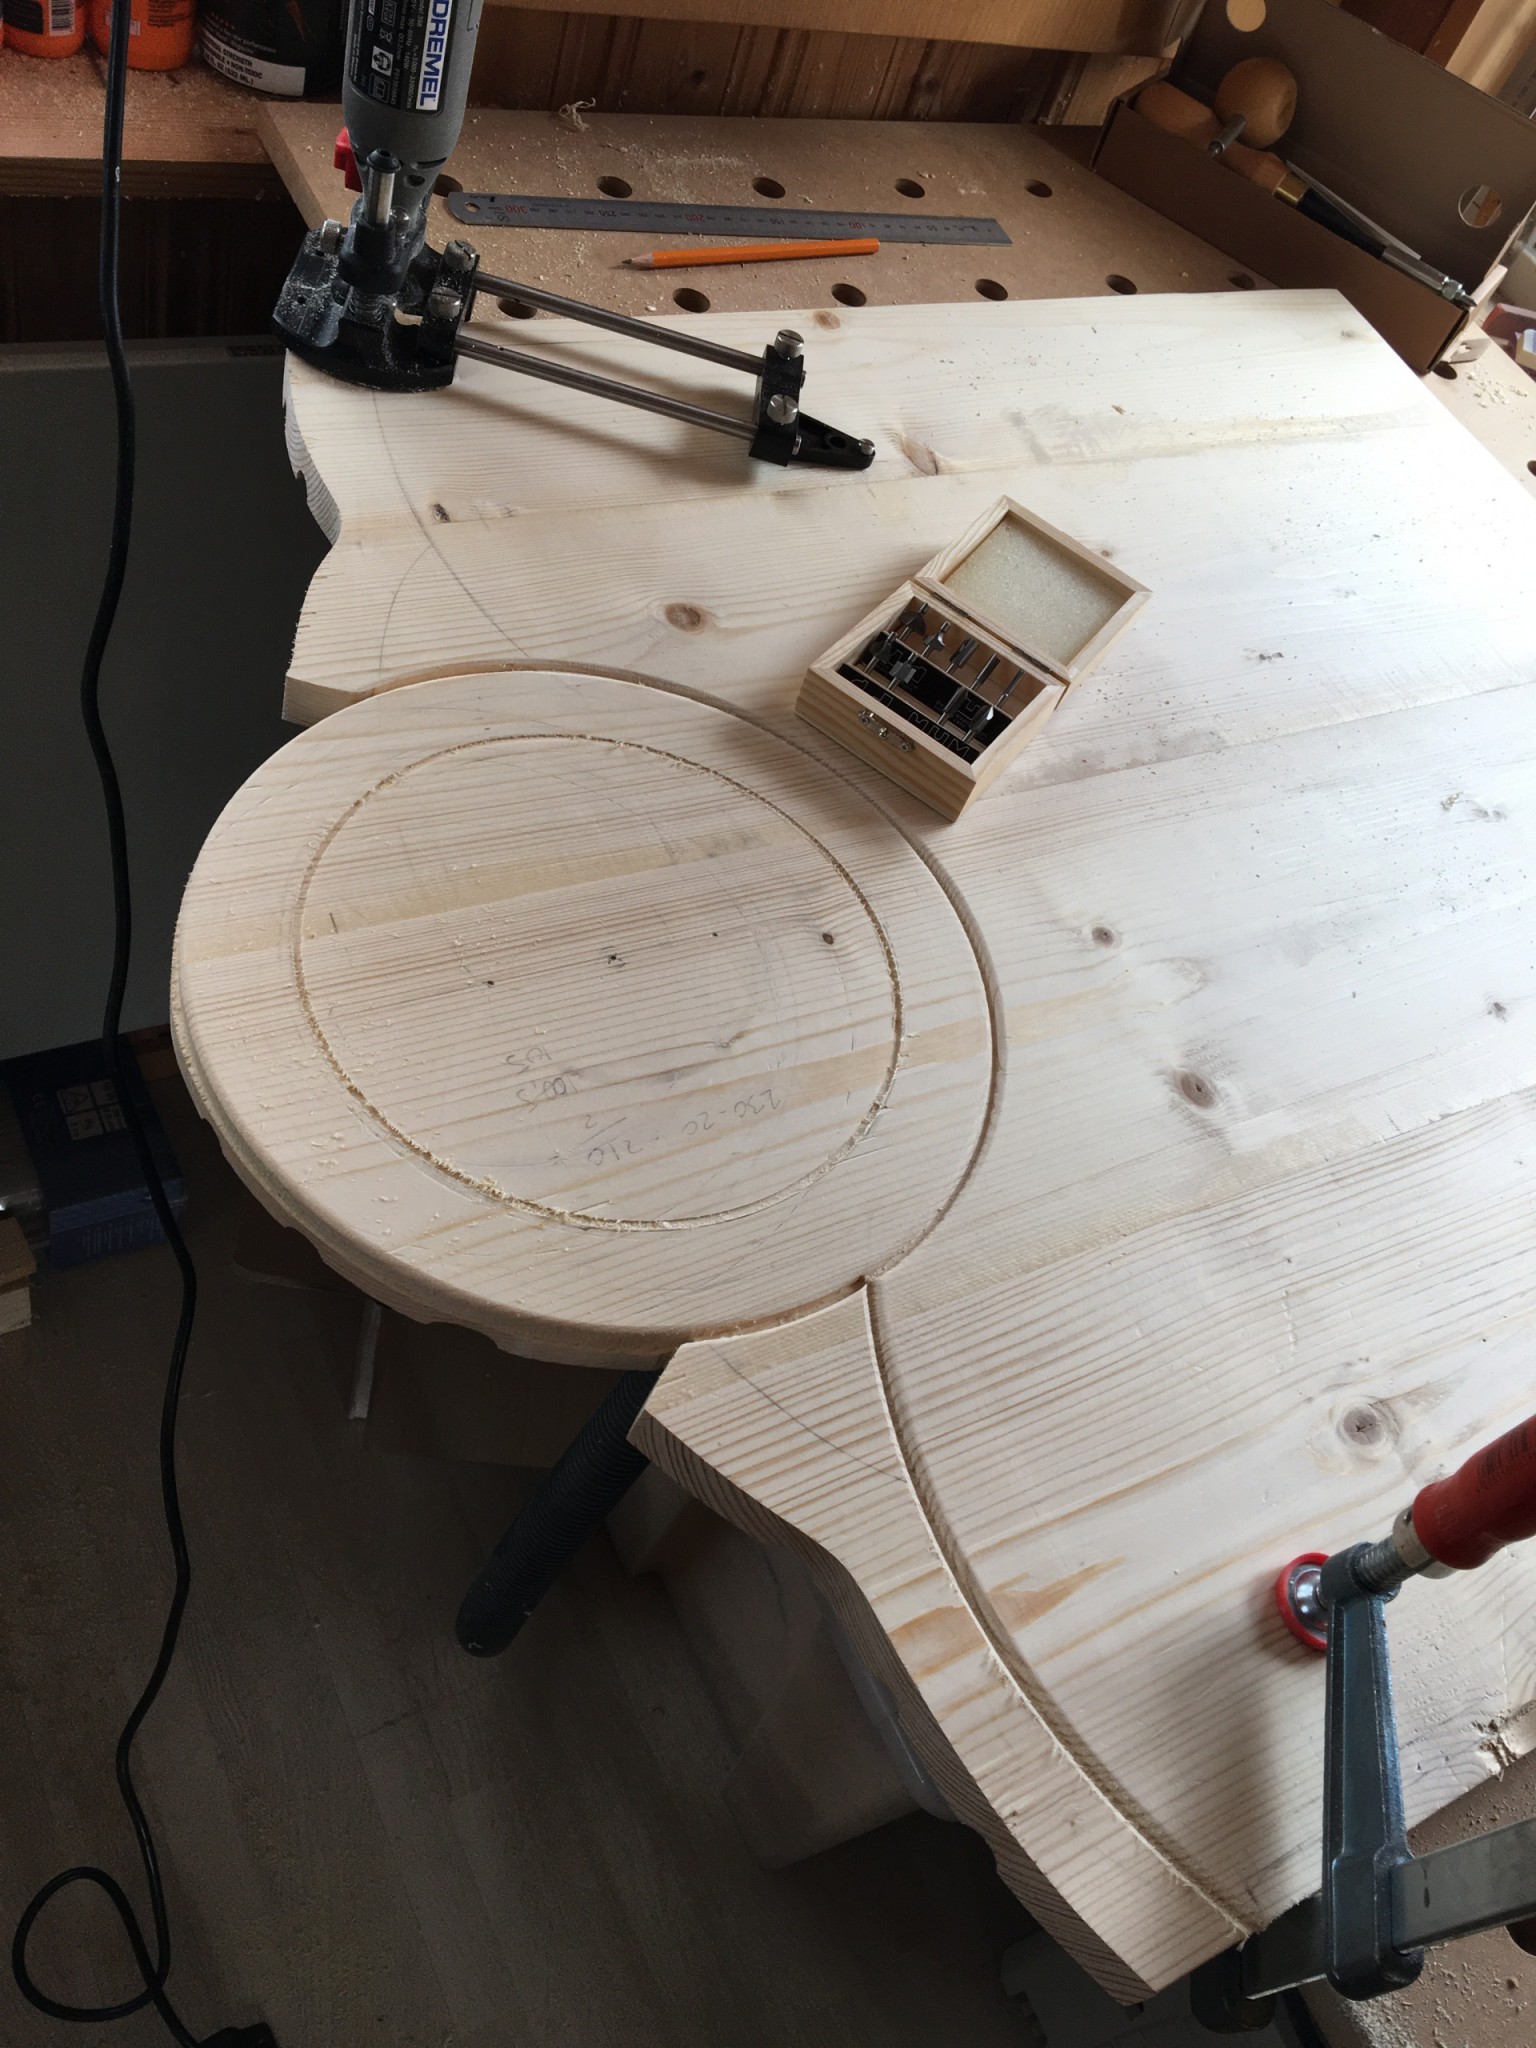
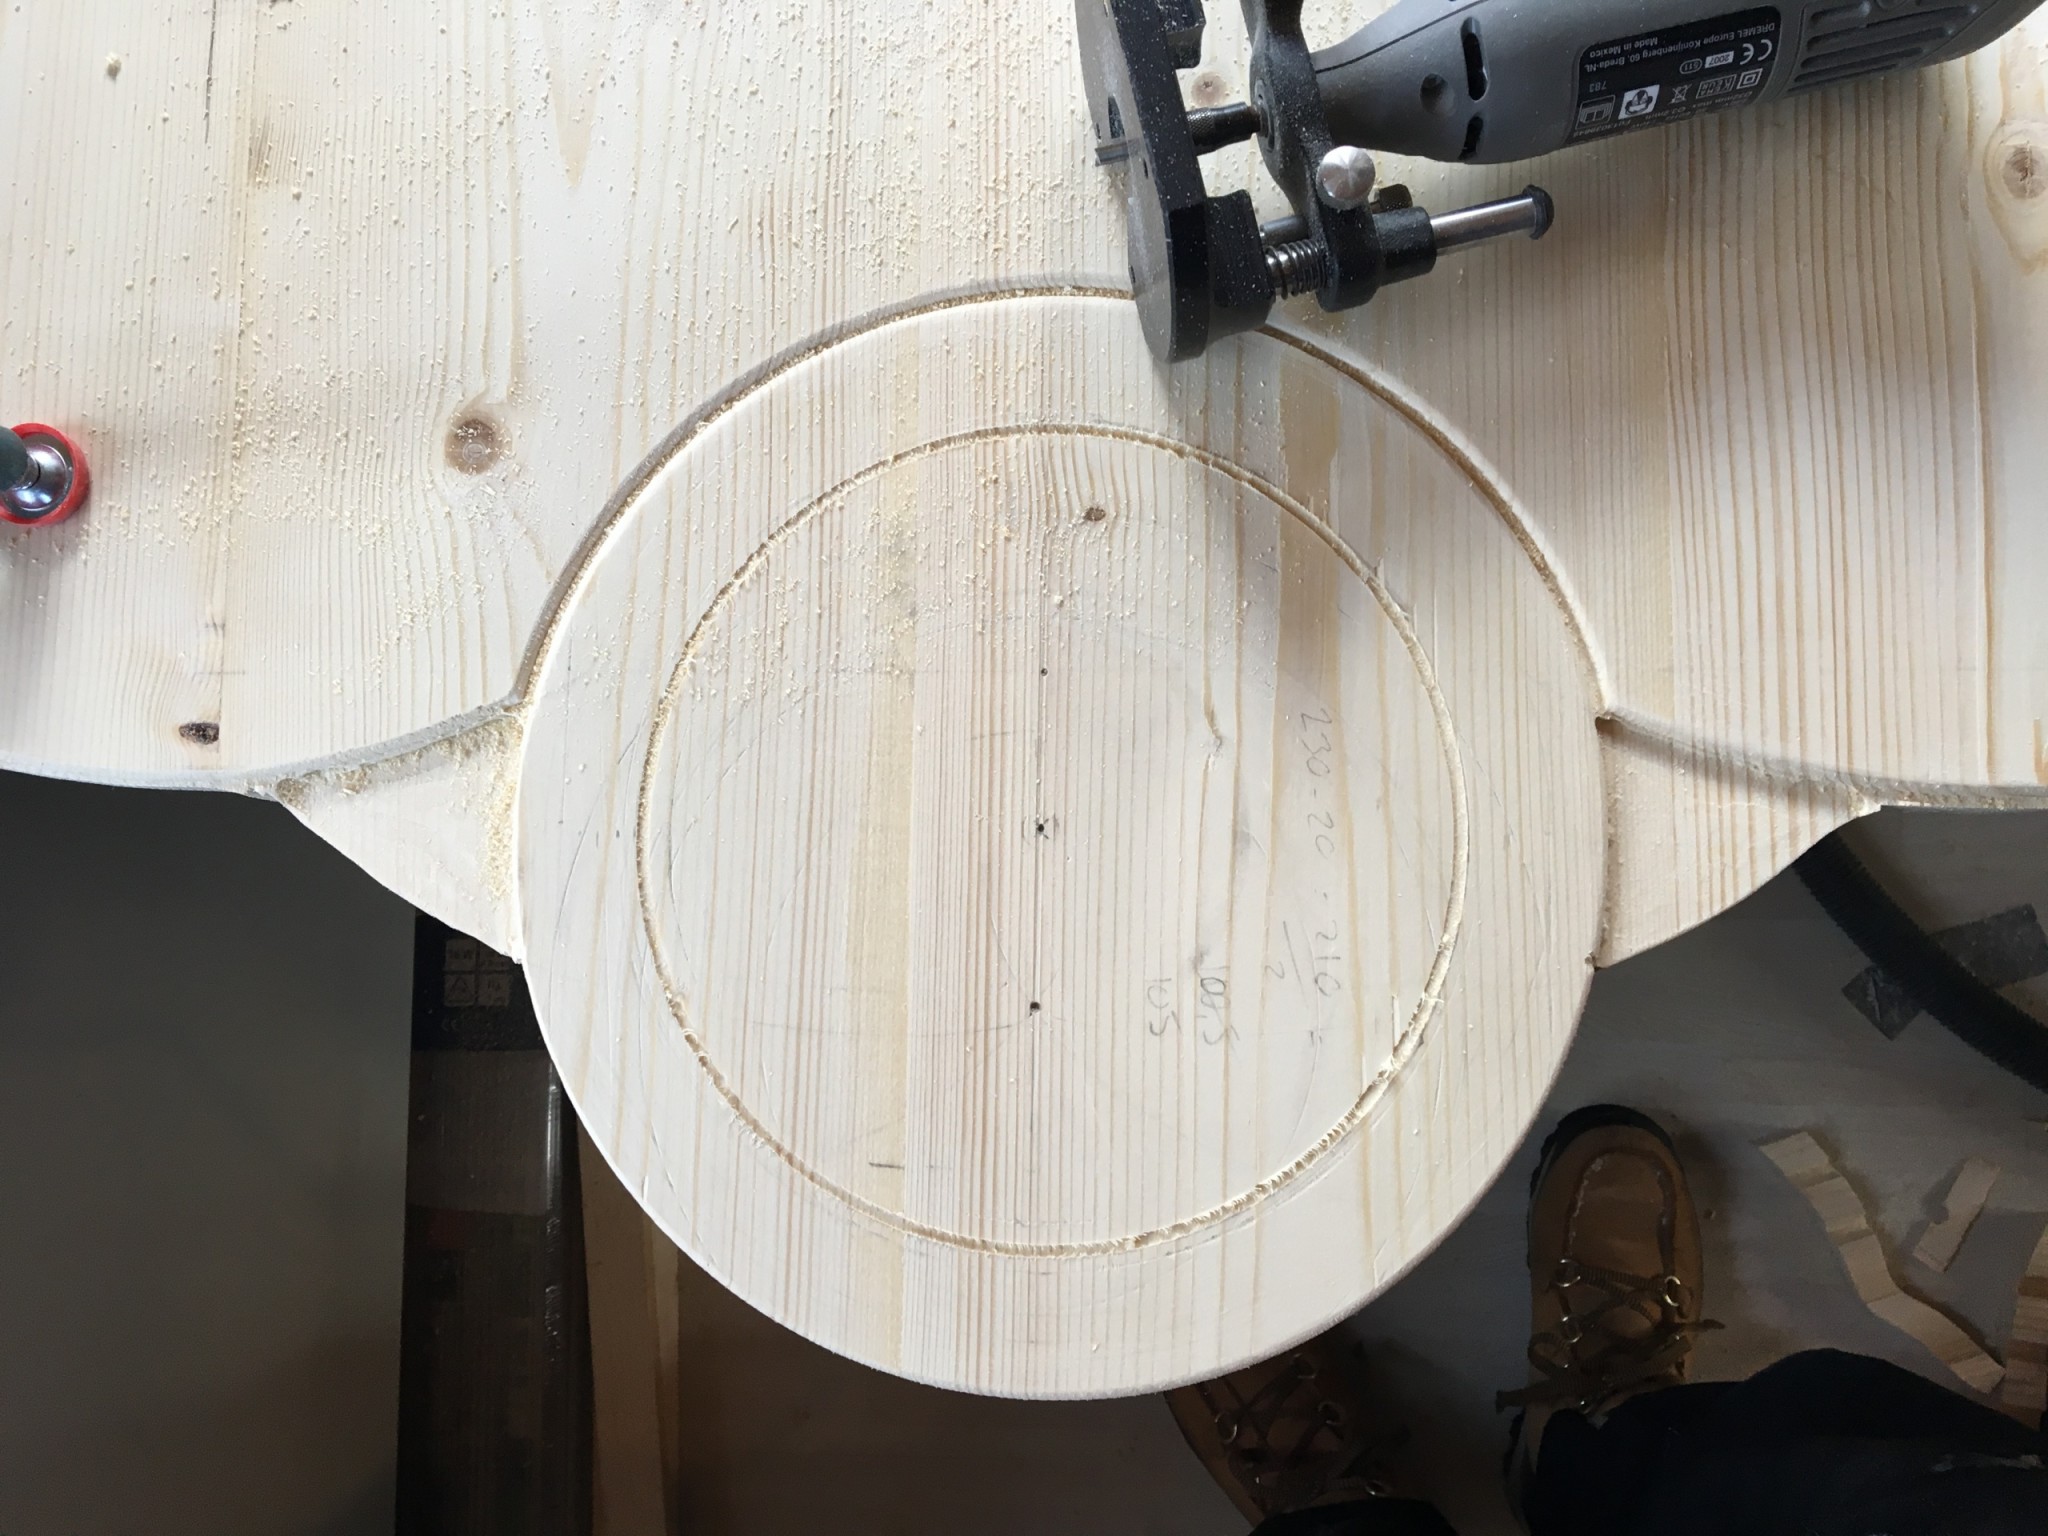
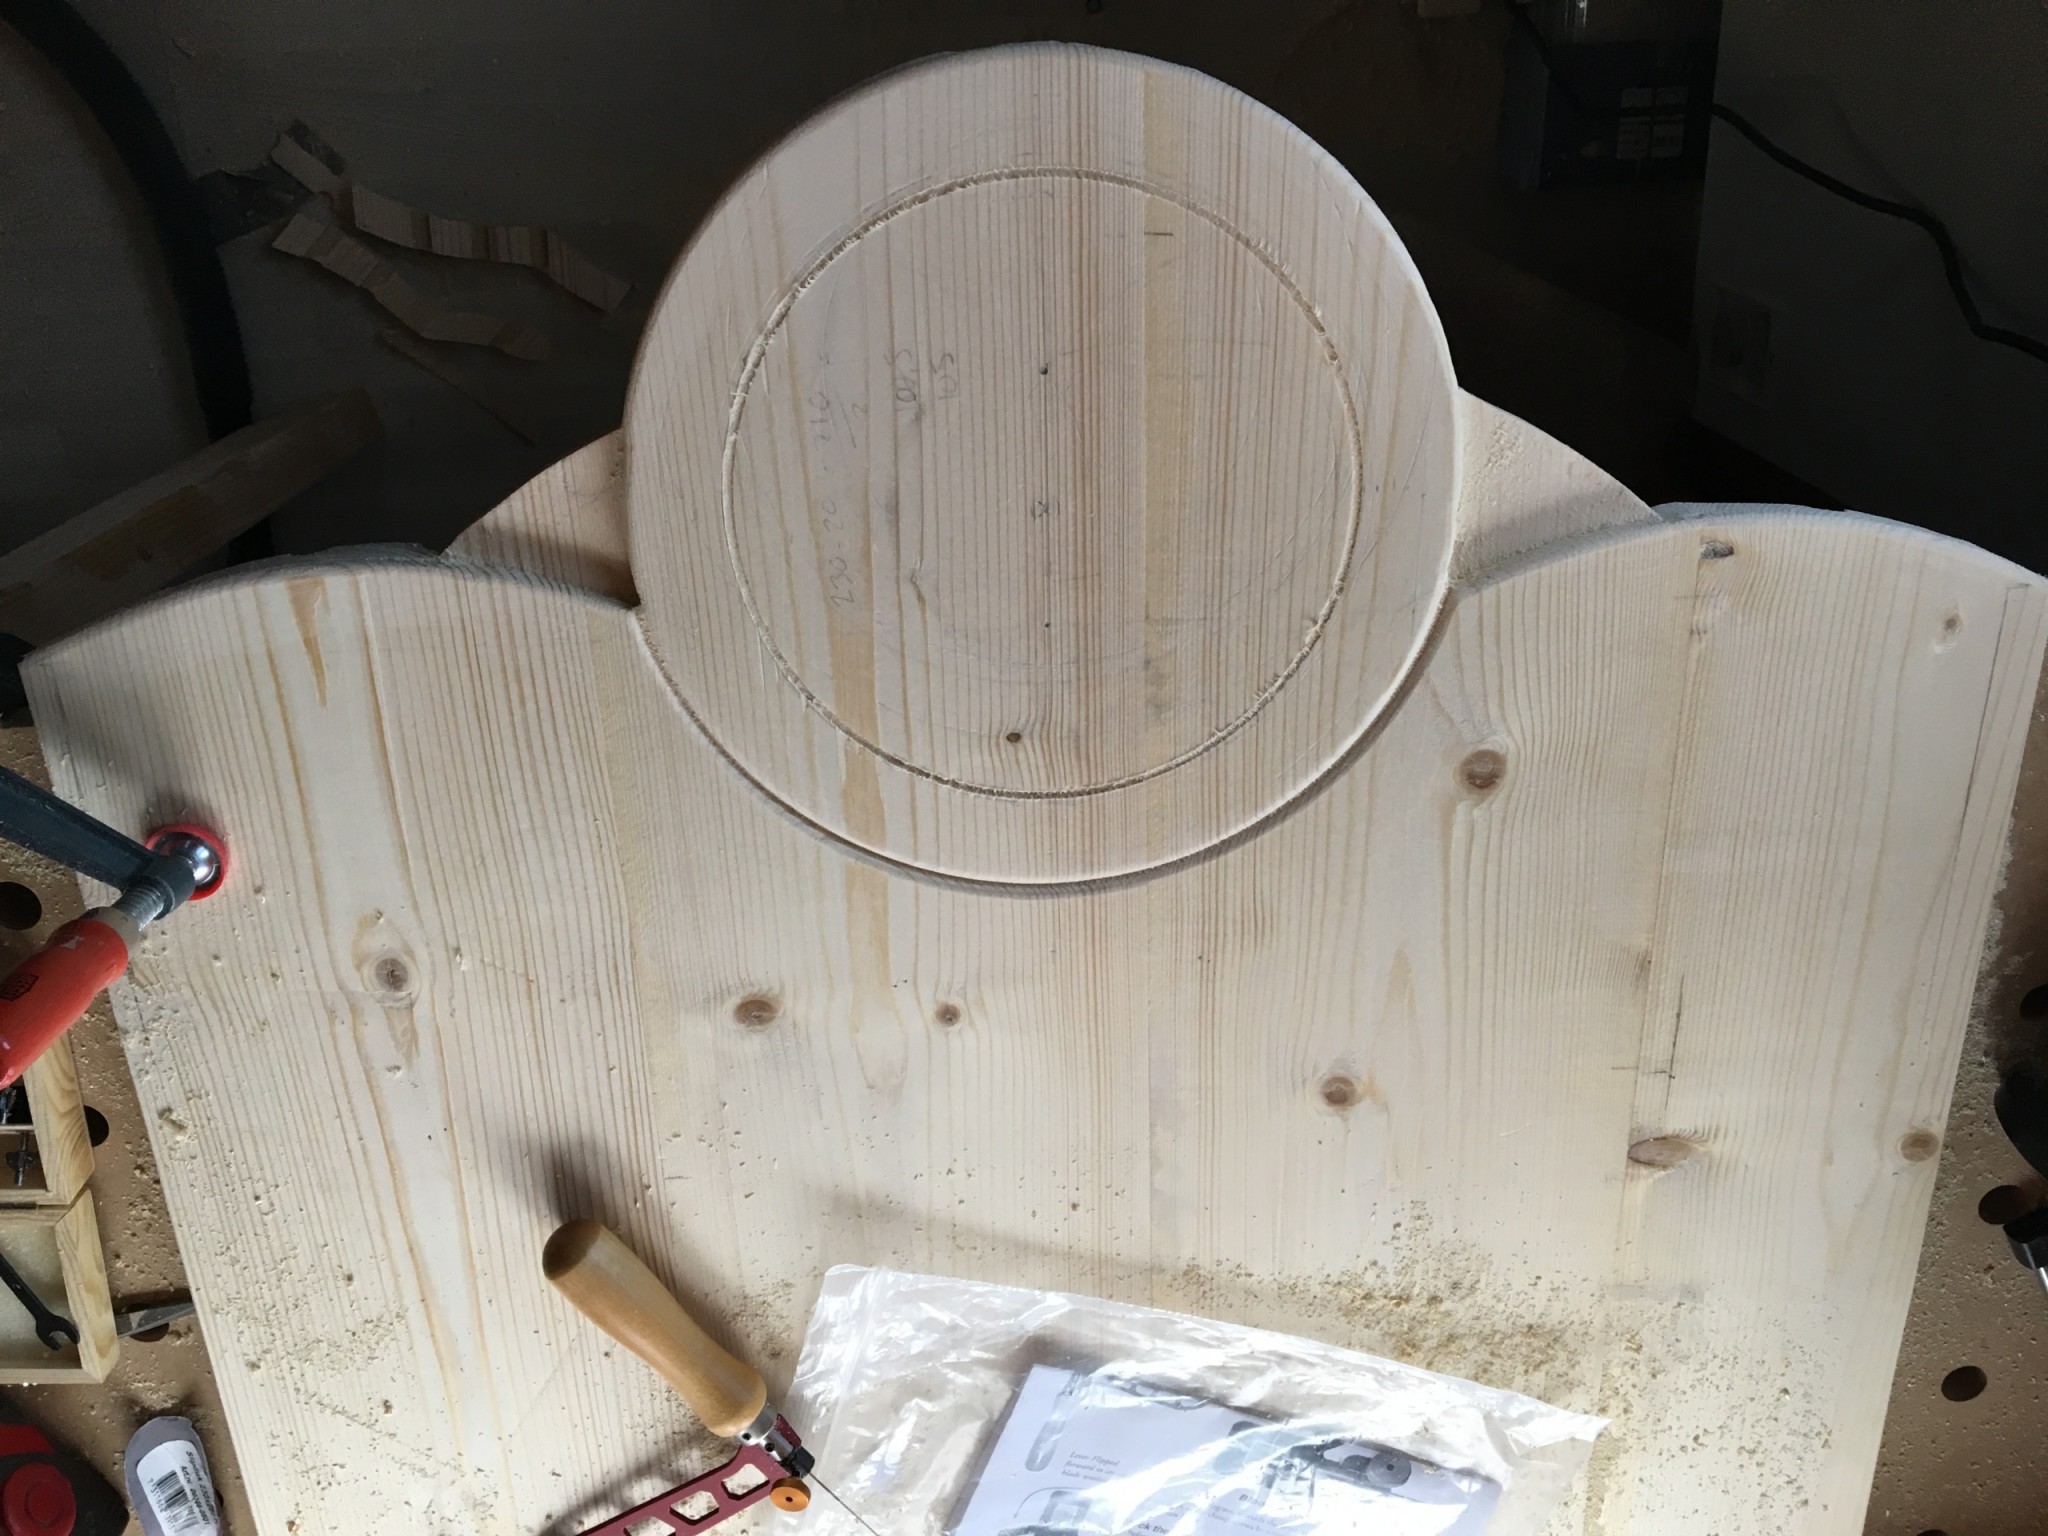
I didn't rout all the way through, but switched to the jigsaw once a section was routed, which gave clean edges to saw against. The inner circle was cut the same way: rout a bit, then the jigsaw.
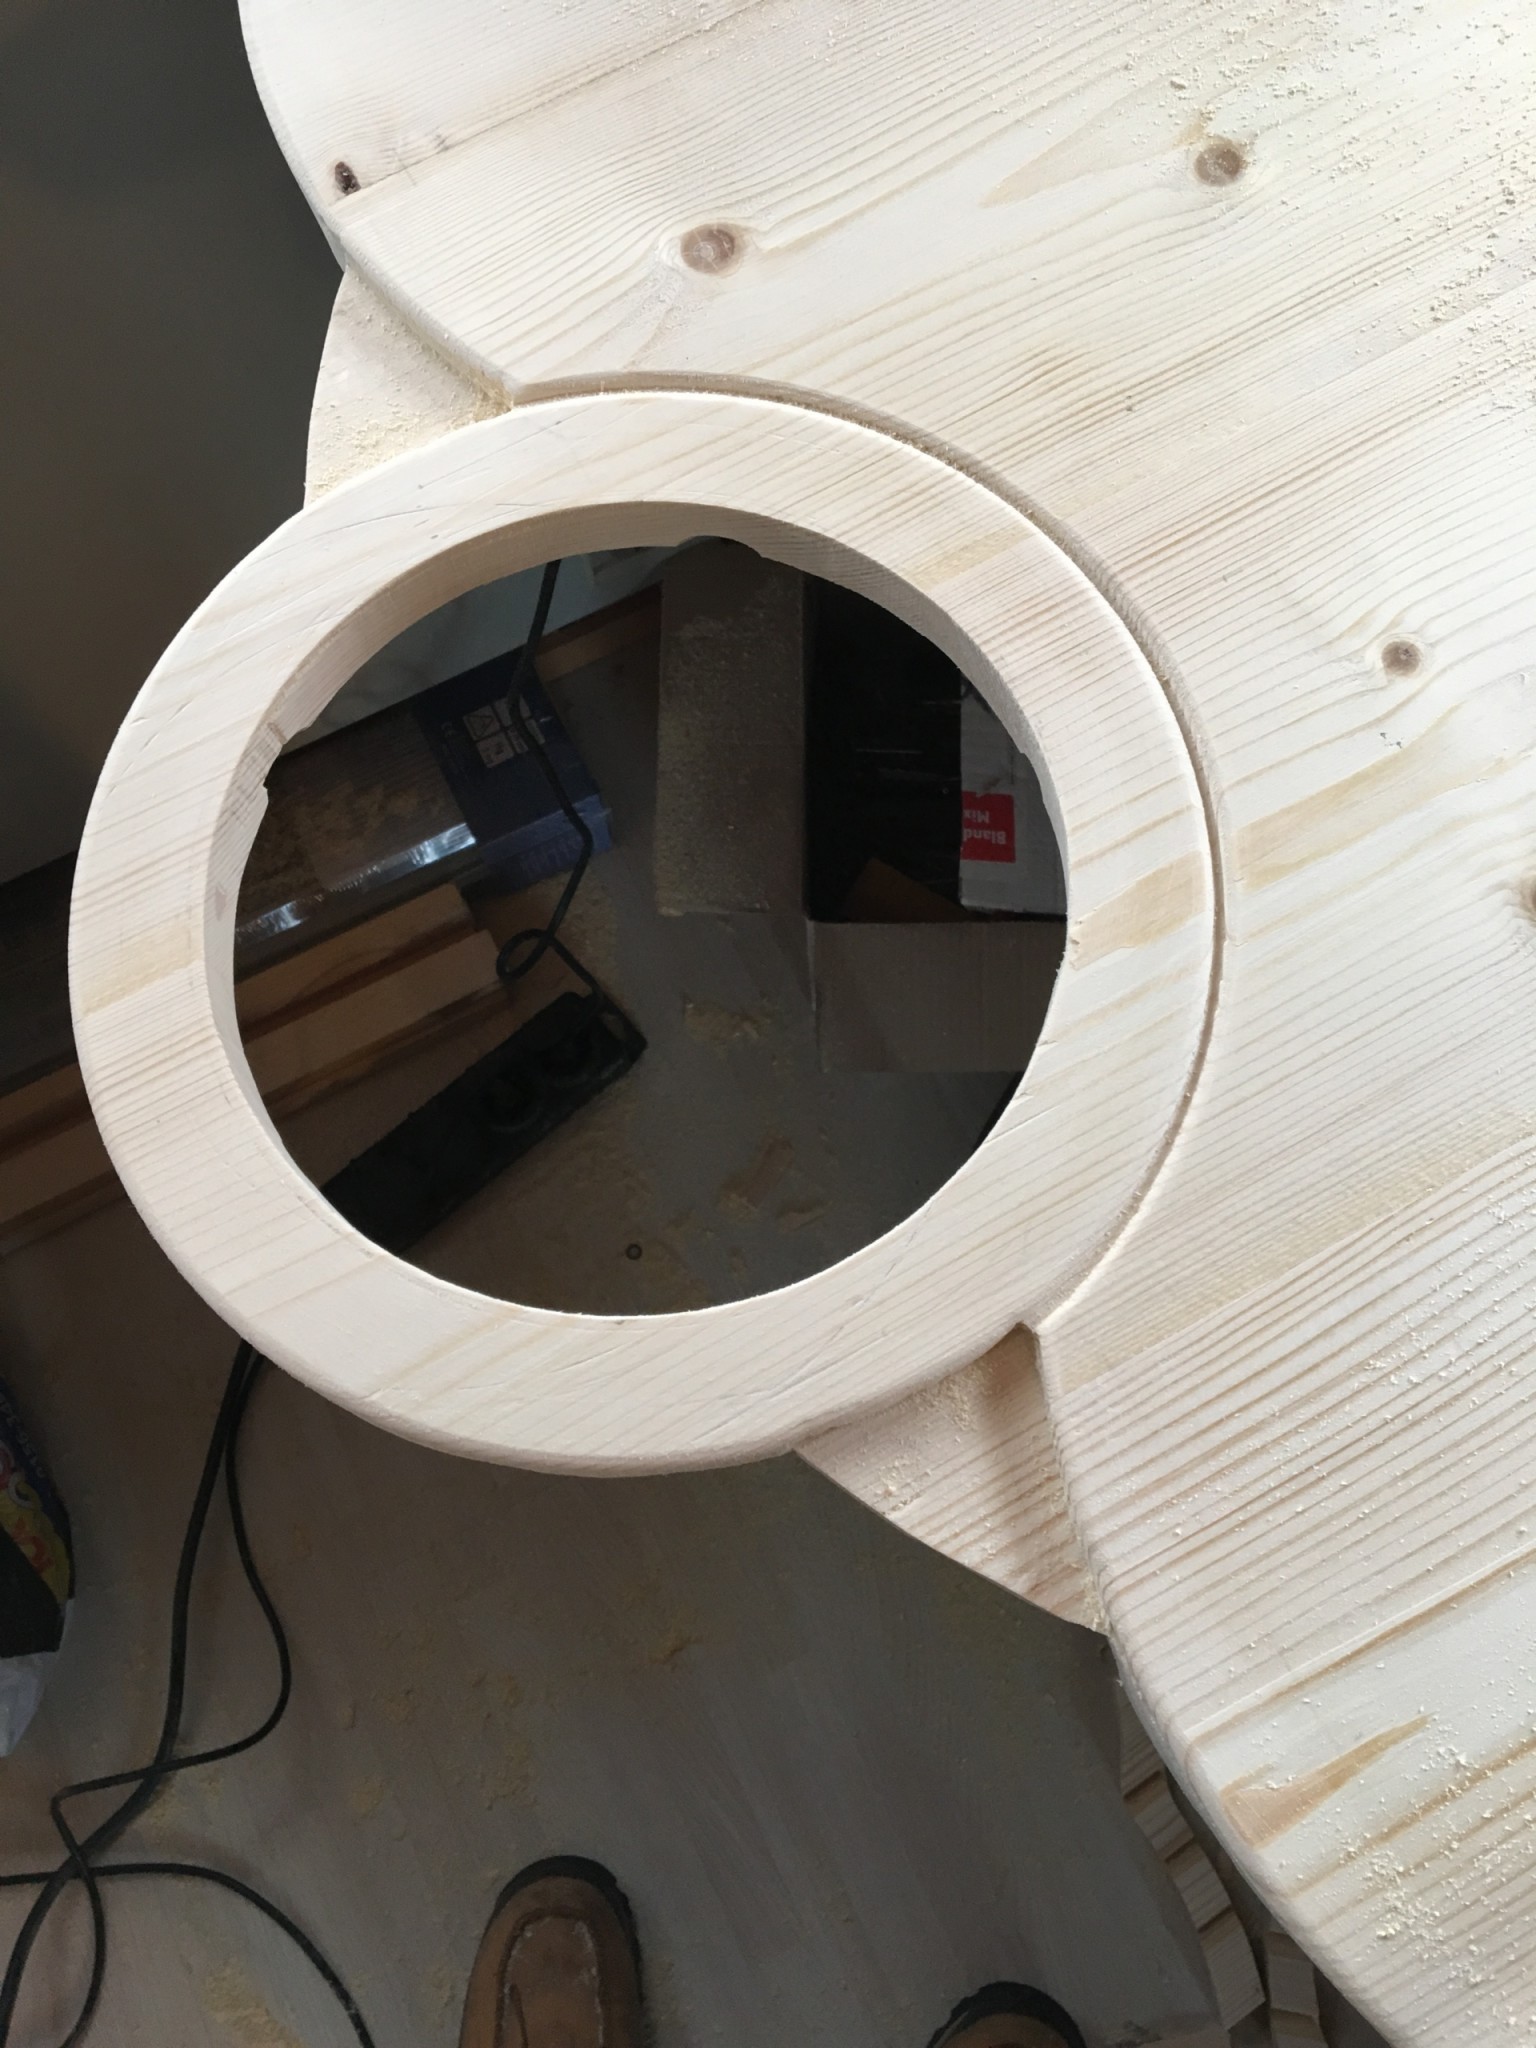
Then flip everything over and rout the rebate with the big router.
Up to the paint room to test the headboard on the bed, with one of the test prints fitted to get a feel for the picture. It turned out really well.
The hole for the picture needed to be a little bigger. I remembered I still had the disc I had cut out, which is only a jigsaw blade narrower than the hole. I fixed it and the headboard to the bench with double-sided tape, and that gave me a centre to work from.
I set the router for a slightly larger circle and it went without a hitch. The picture fitted very well.
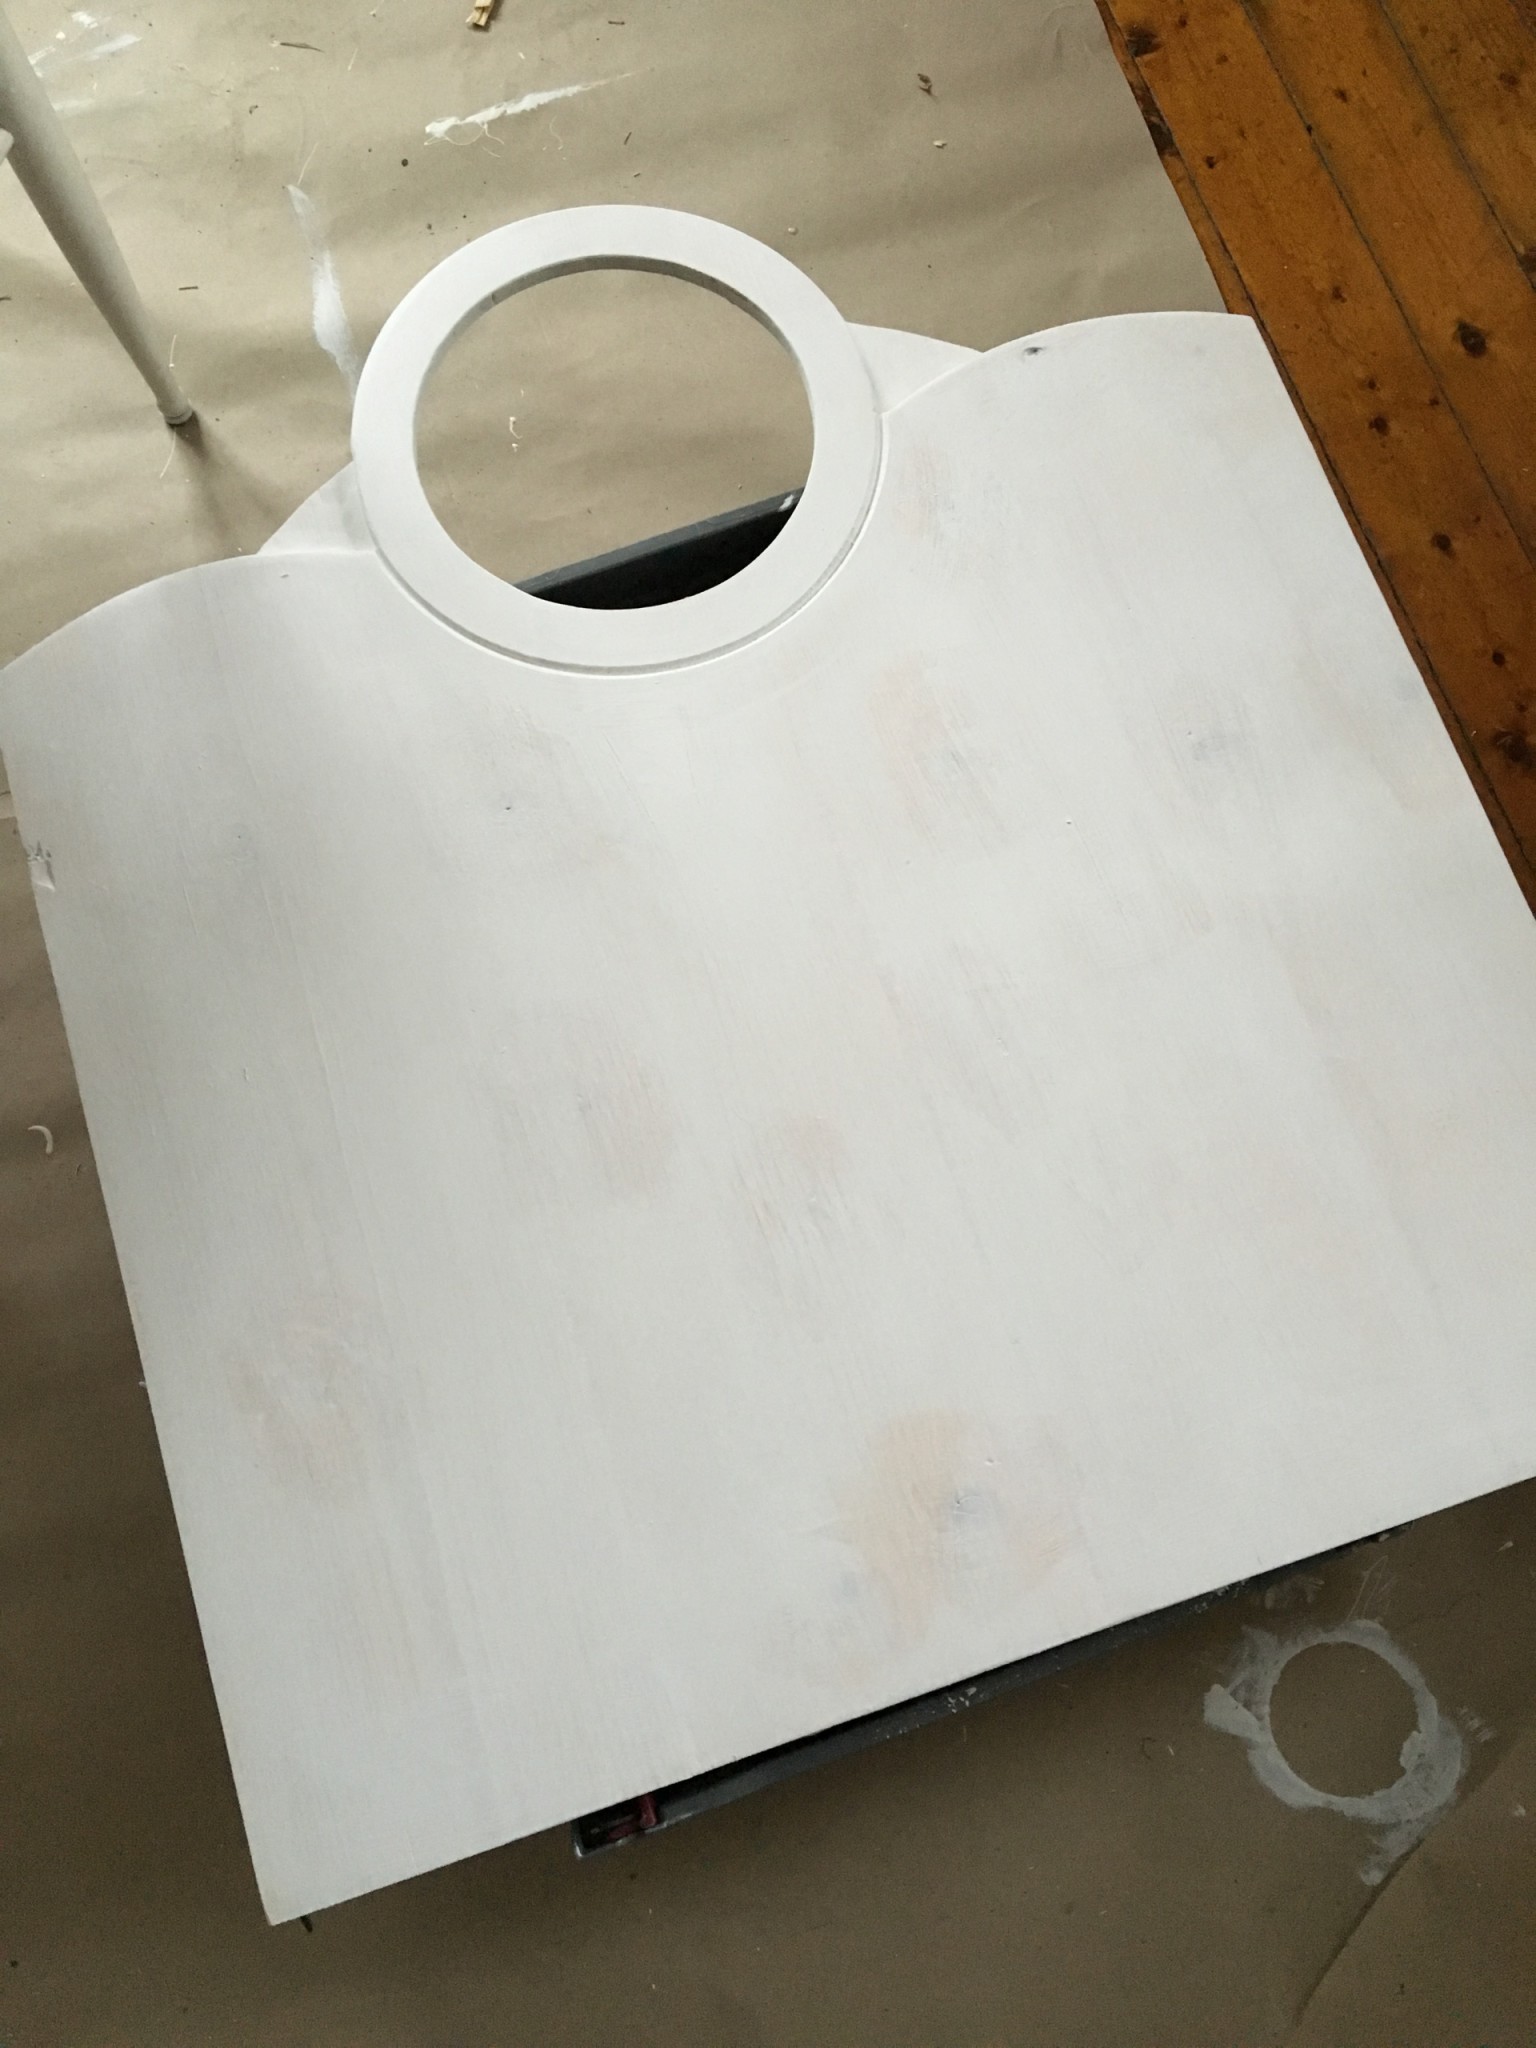
Then sanding, knot sealer and primer, followed by two coats of top coat before the headboard went on the bed.
Finished
By Easter the bed was in place and my son started sleeping in it. It worked better than expected: he slept more calmly and a little longer than before, and most evenings he hopped into bed without much protest.
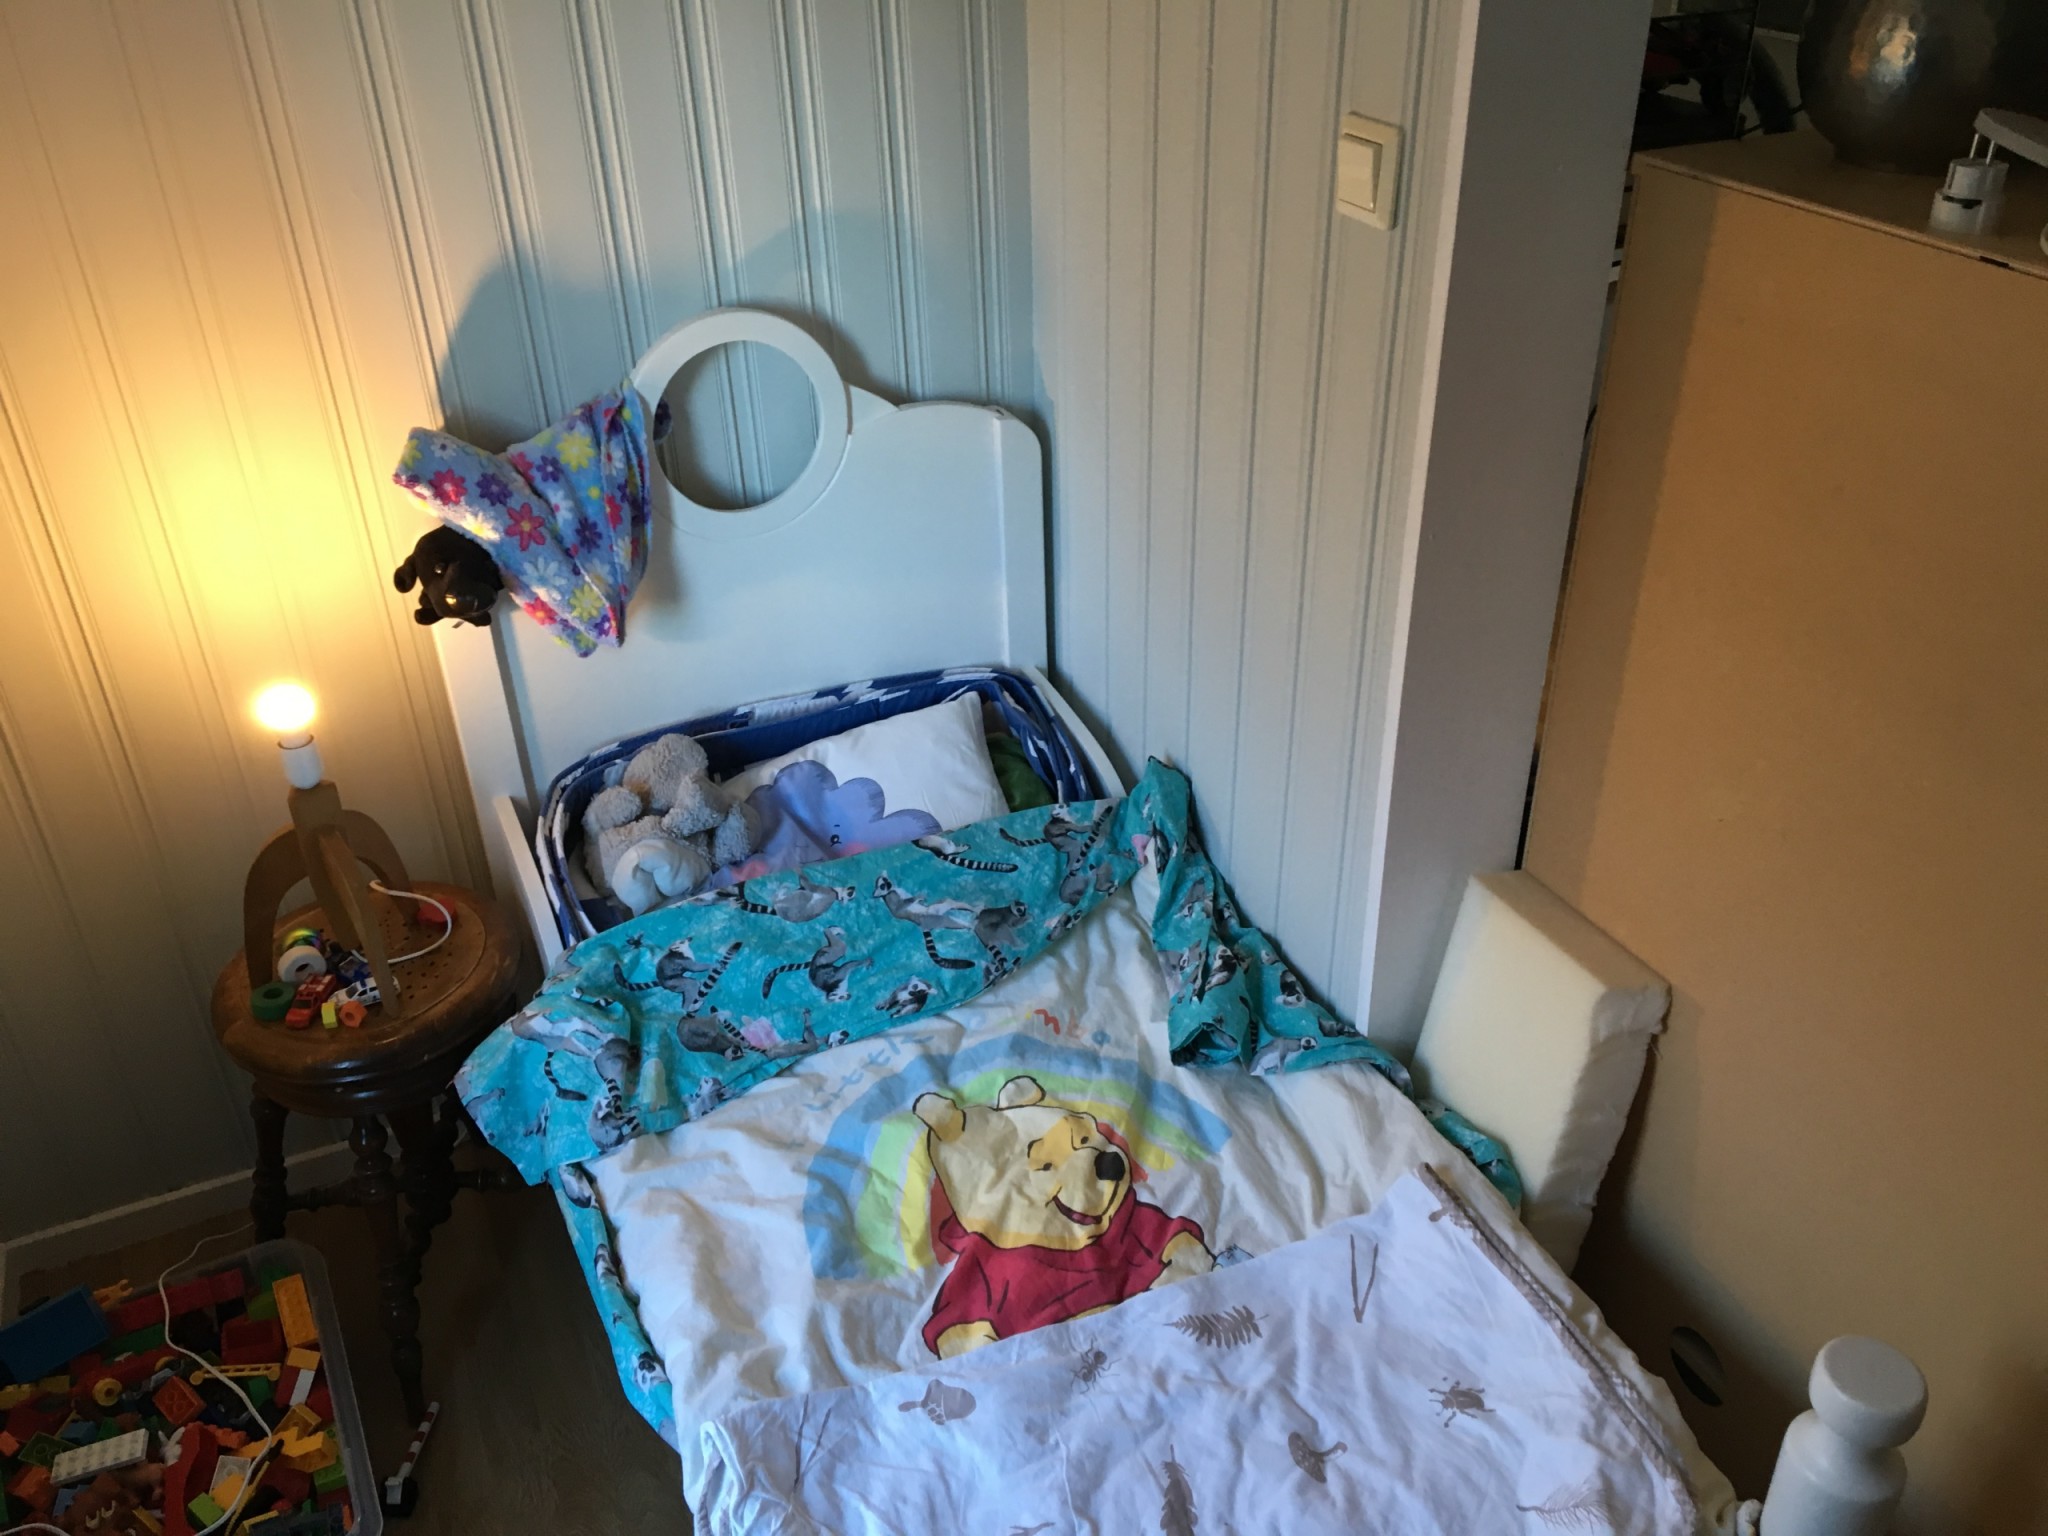
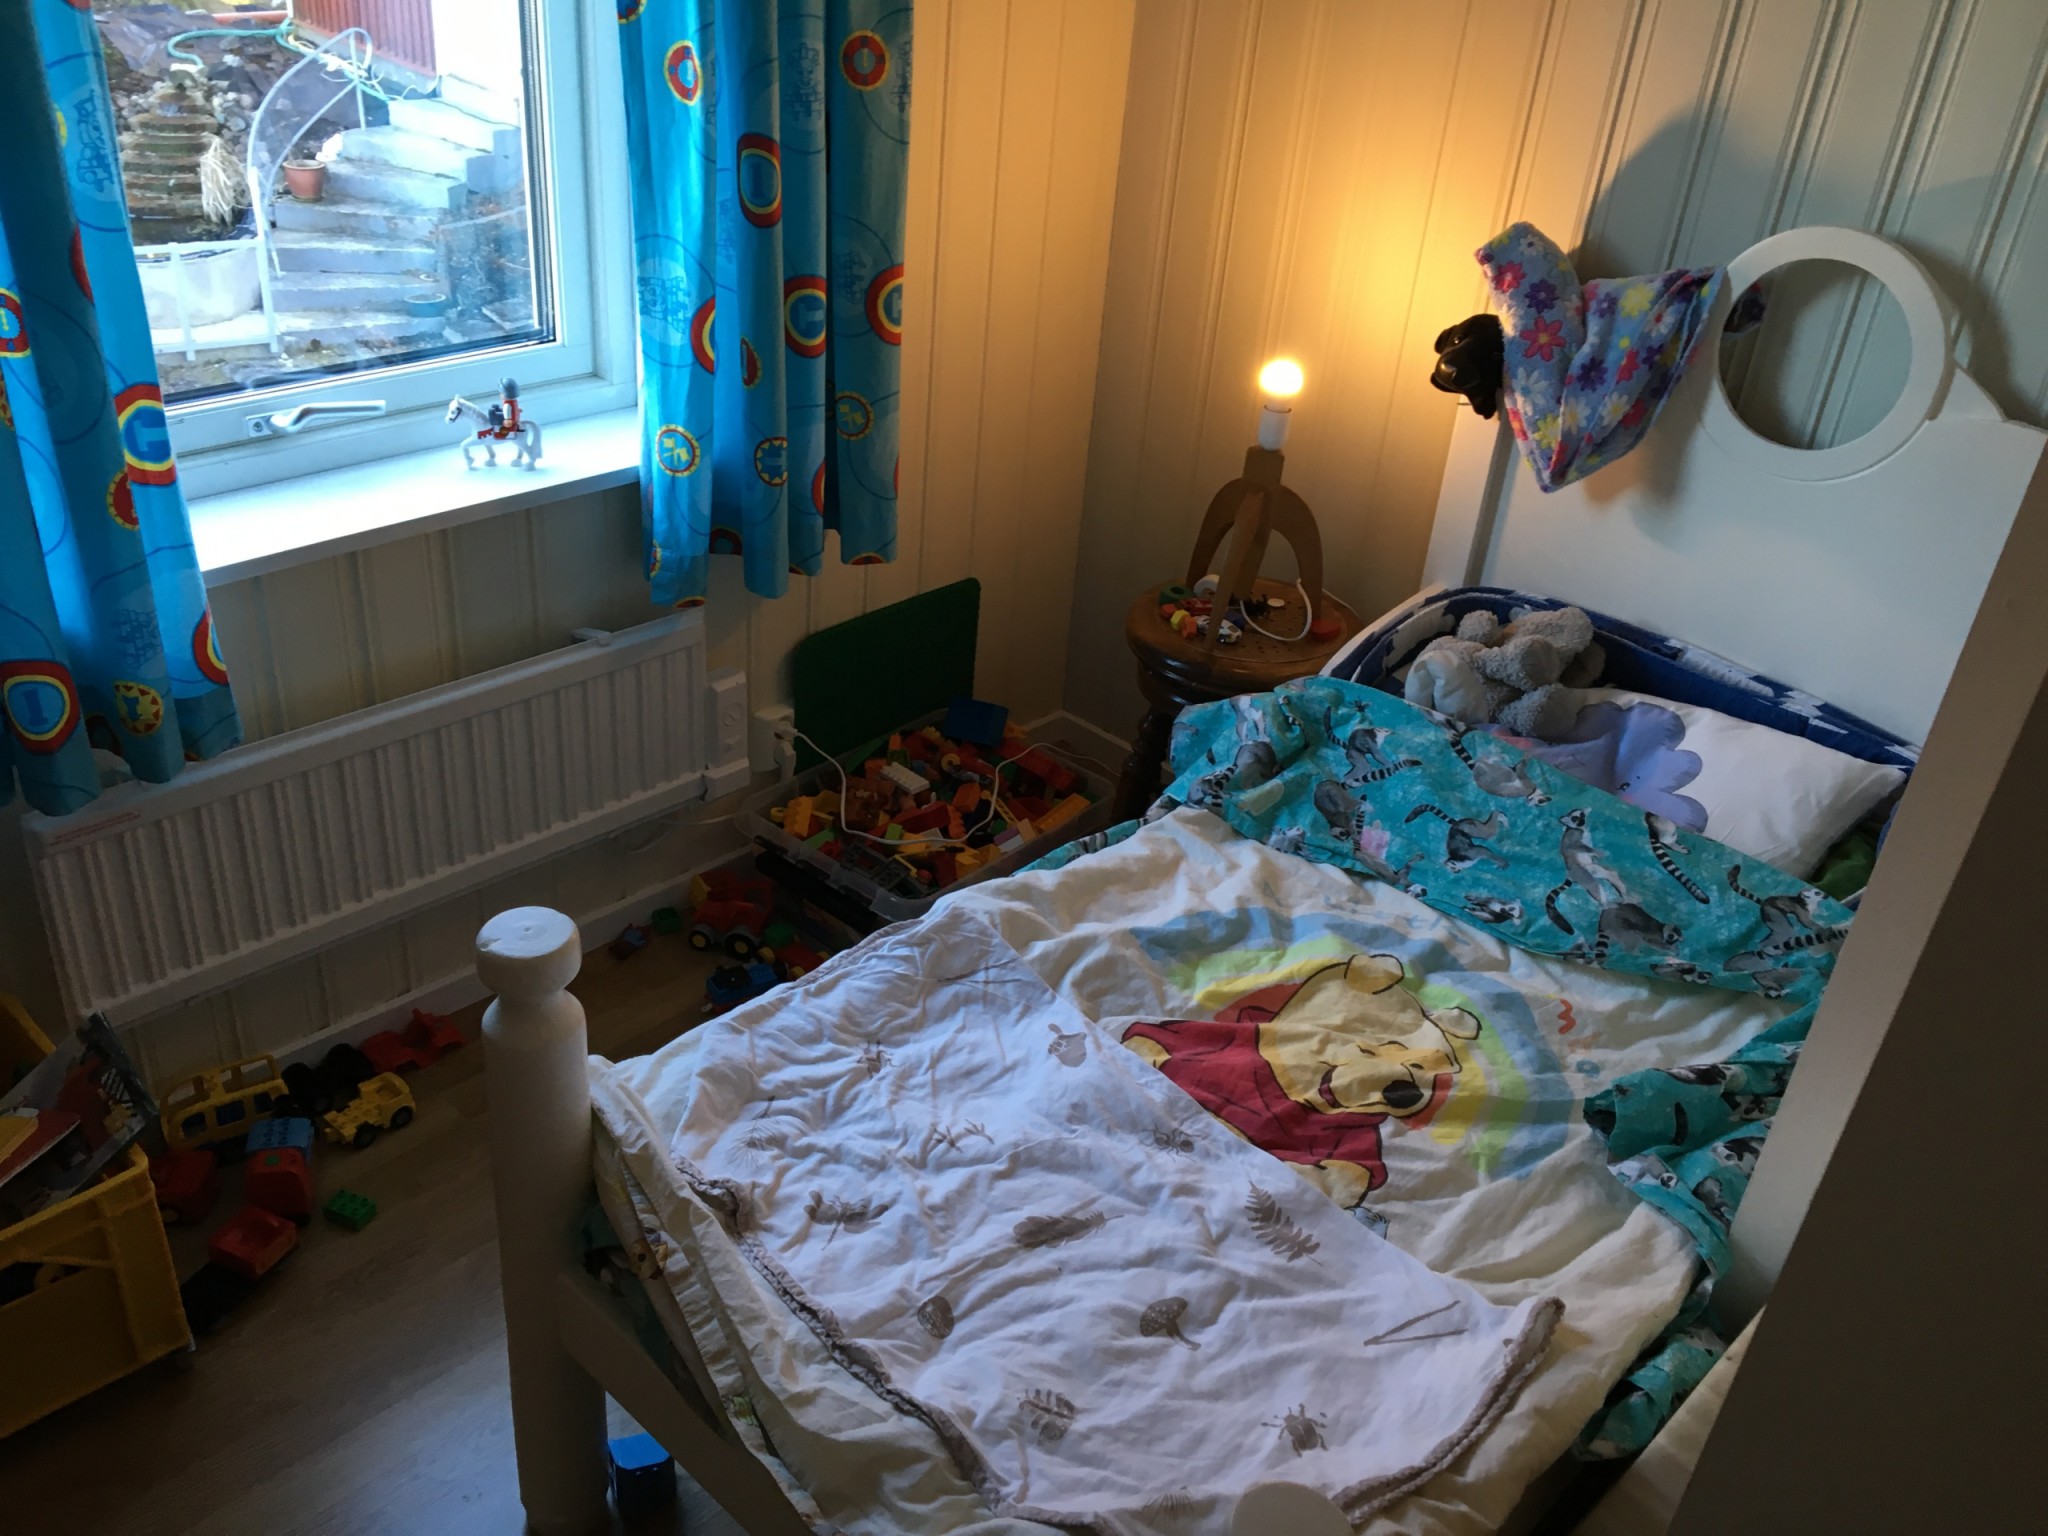
What remained was something to hold the "picture" in place. The plan was magnets and a piece behind.
I naively thought it would take a couple of weekends at most. It took almost four months, but it was great fun the whole way to watch the bed take shape. It all started with an idea I quickly tried to pin down while standing at the timber pile. The cost didn't end up much higher than at the start: a few battens, much was already at home, the paint was left over from the kitchen, and the slatted base and mattress came from Ikea. A rough estimate comes in under SEK 500.
A year later: shortening the bed
When the bed was built, the room was meant to be furnished in a particular way, so its position was fixed and its size didn't matter much. We soon realised the room was too small, so we extended it by 2.5 m² taken from the upstairs landing. That left the bed a little out of place: you had to play around it, and it was hopeless walking into the room with Duplo bricks everywhere.
Moving the bed to the other short wall would give a proper play area on the floor. The problem was that the bed didn't fit.
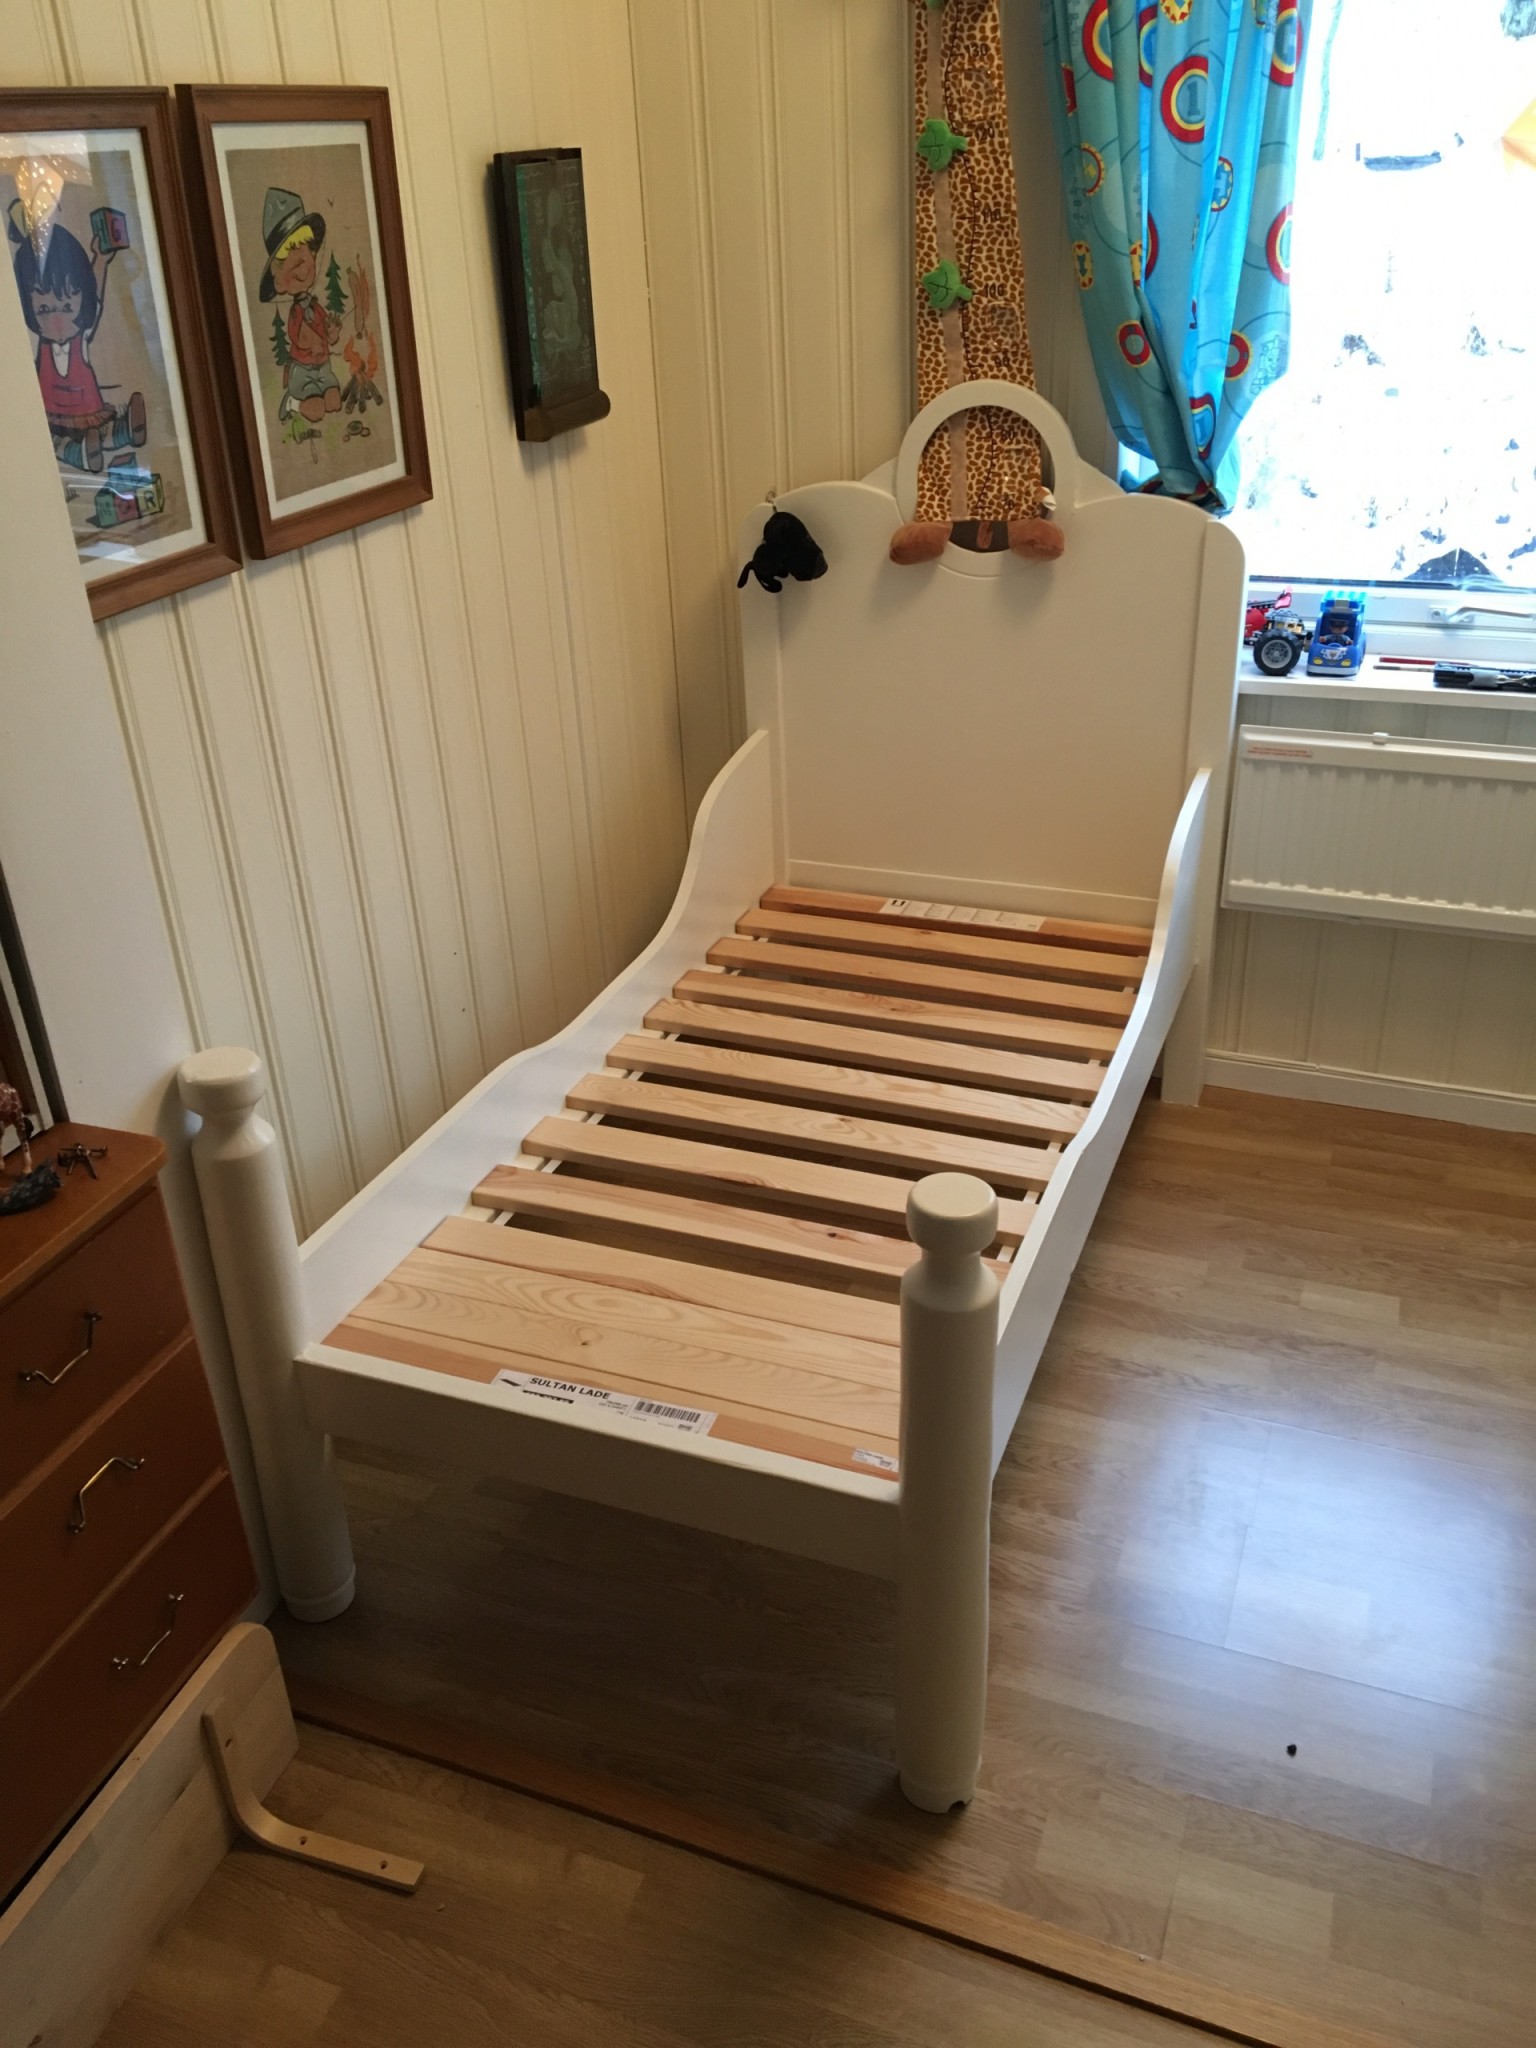
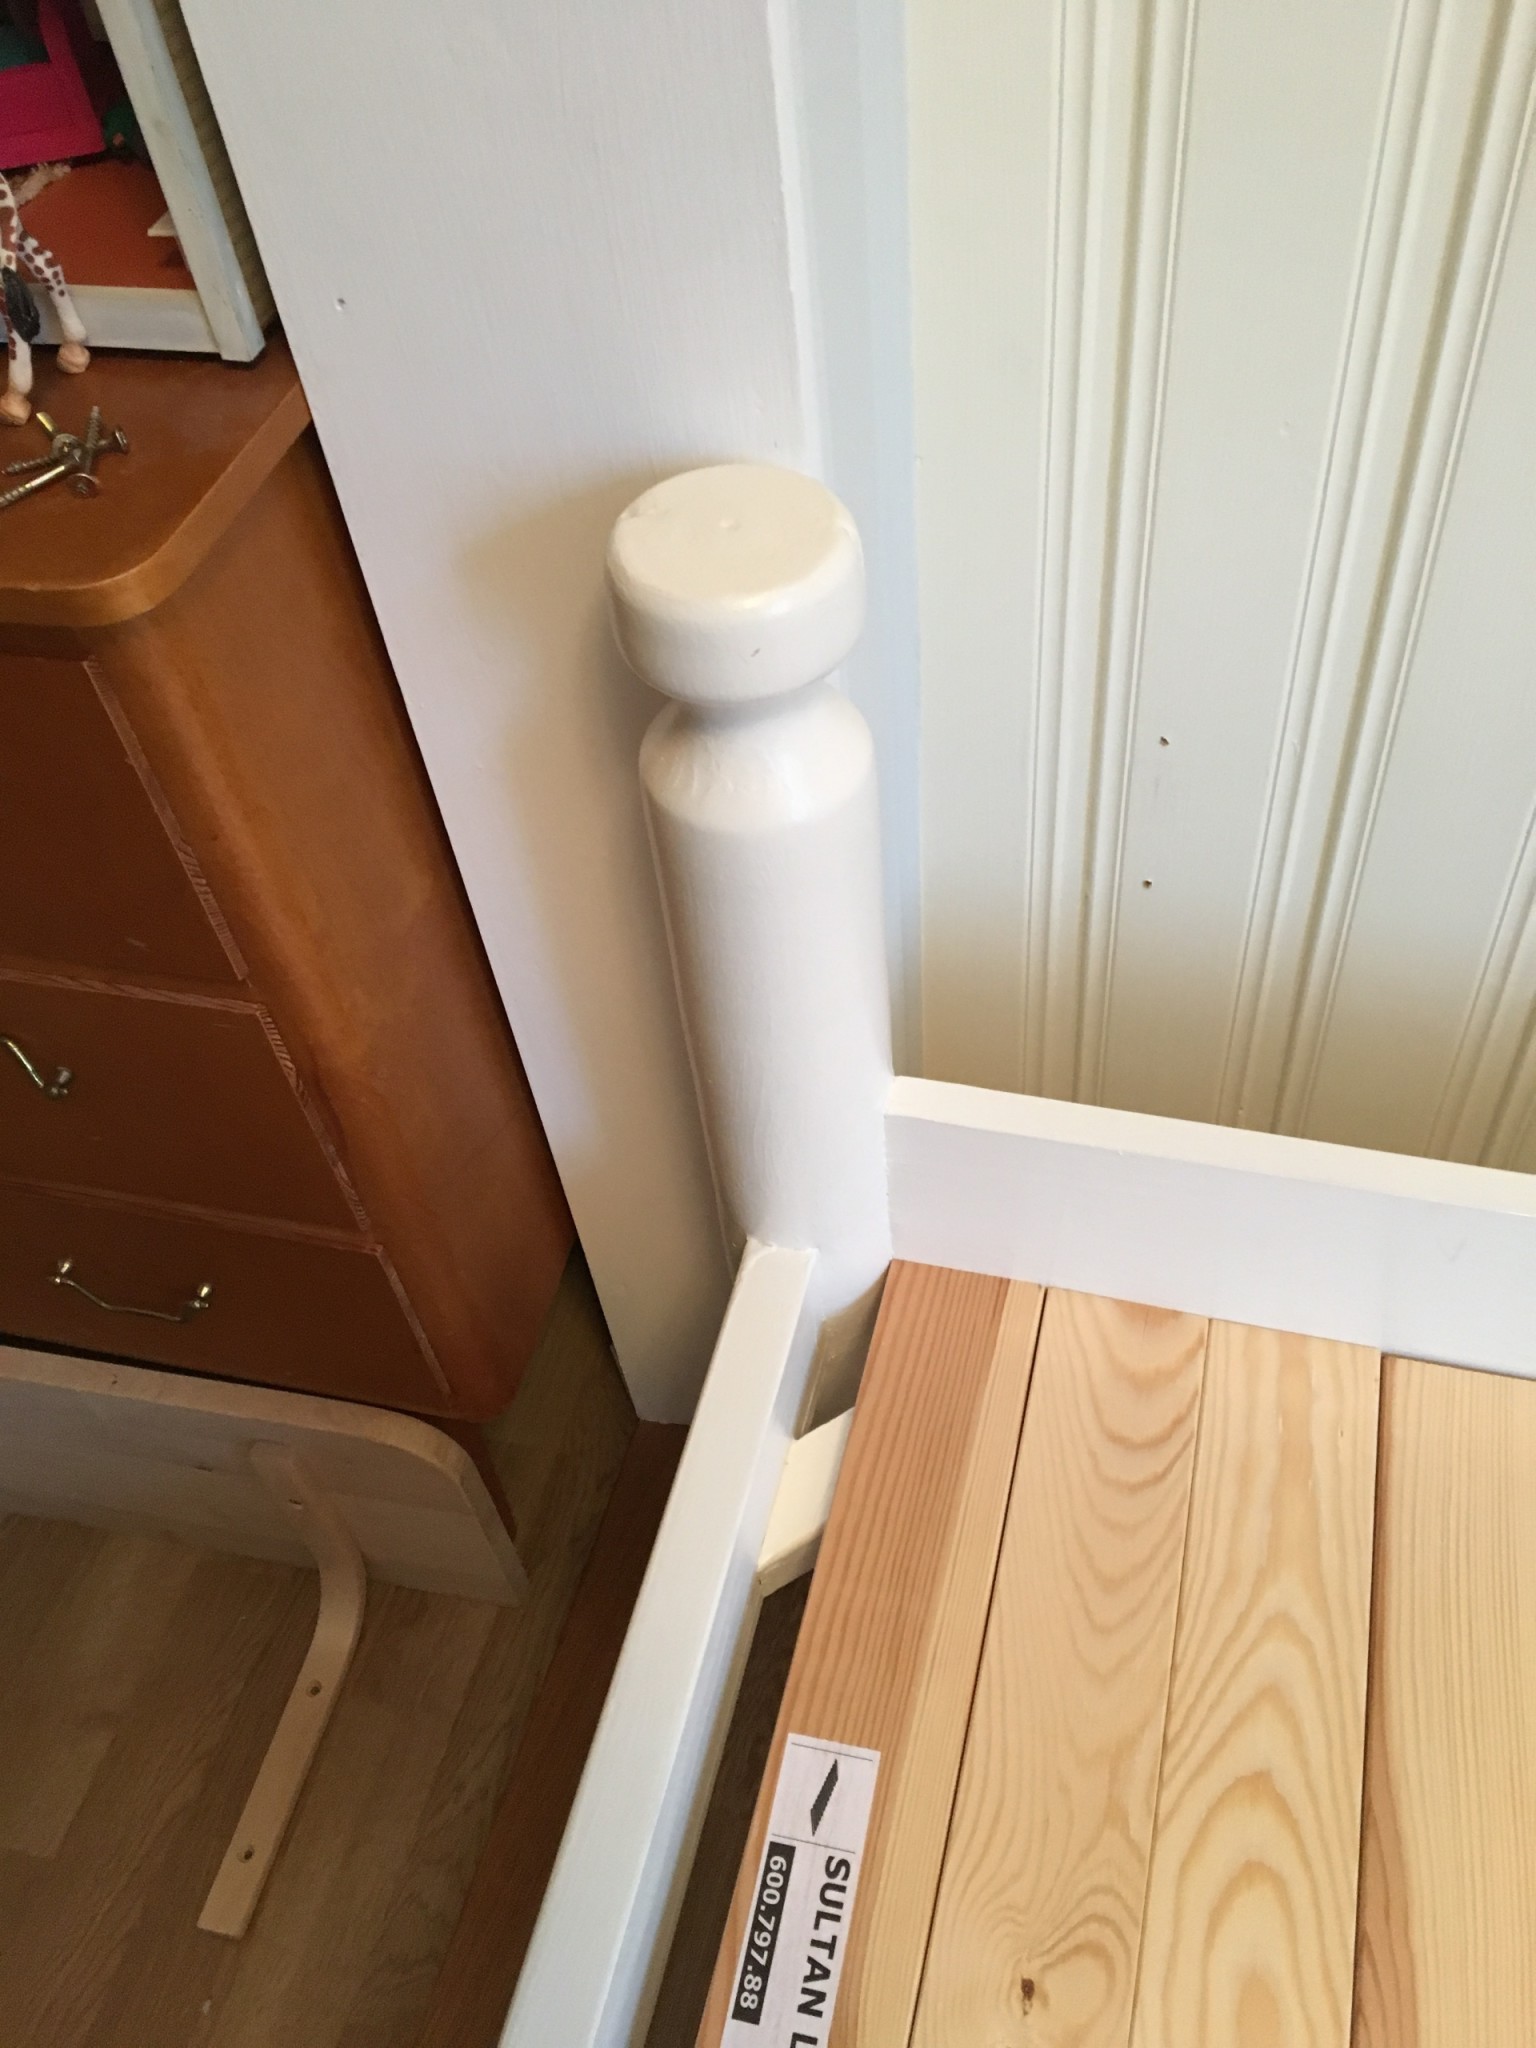
We discussed several solutions. One was to stand the bed a little away from the wall with a shelf of about 20 cm along it, but then it would block too much of the window and we would lose floor space. Another was to cut into the wall so the post would fit, possible but not the best choice. The third was to shorten the bed by 4–5 cm. That is what we did.
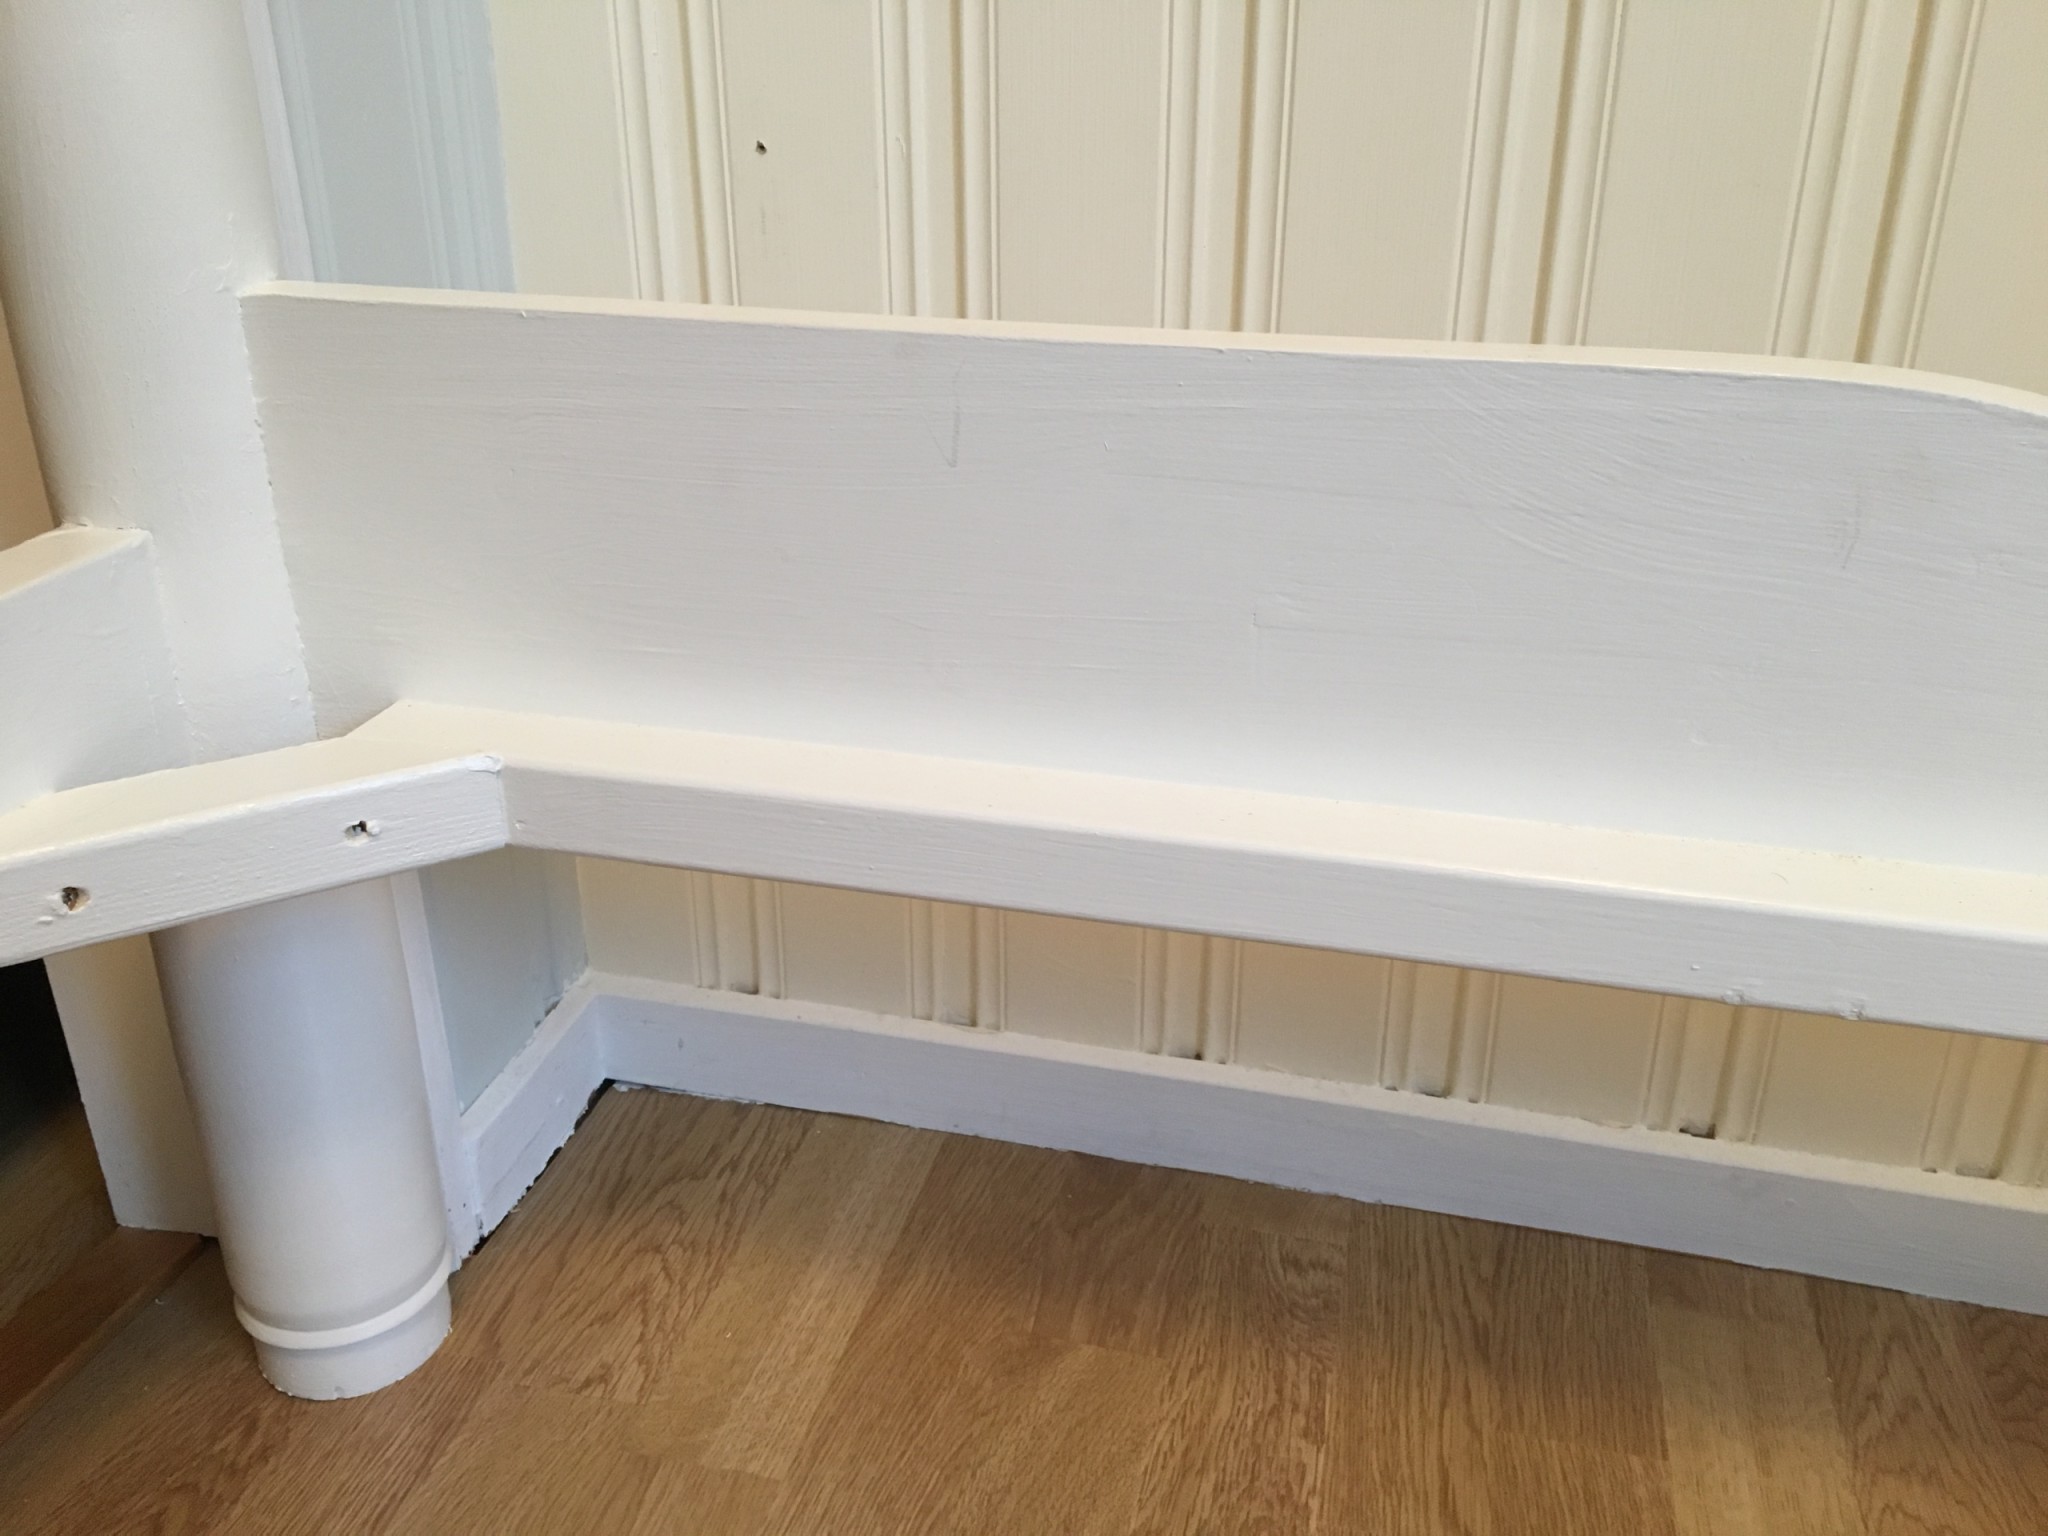
At the foot end there is a longer section where it could be shortened without looking odd.
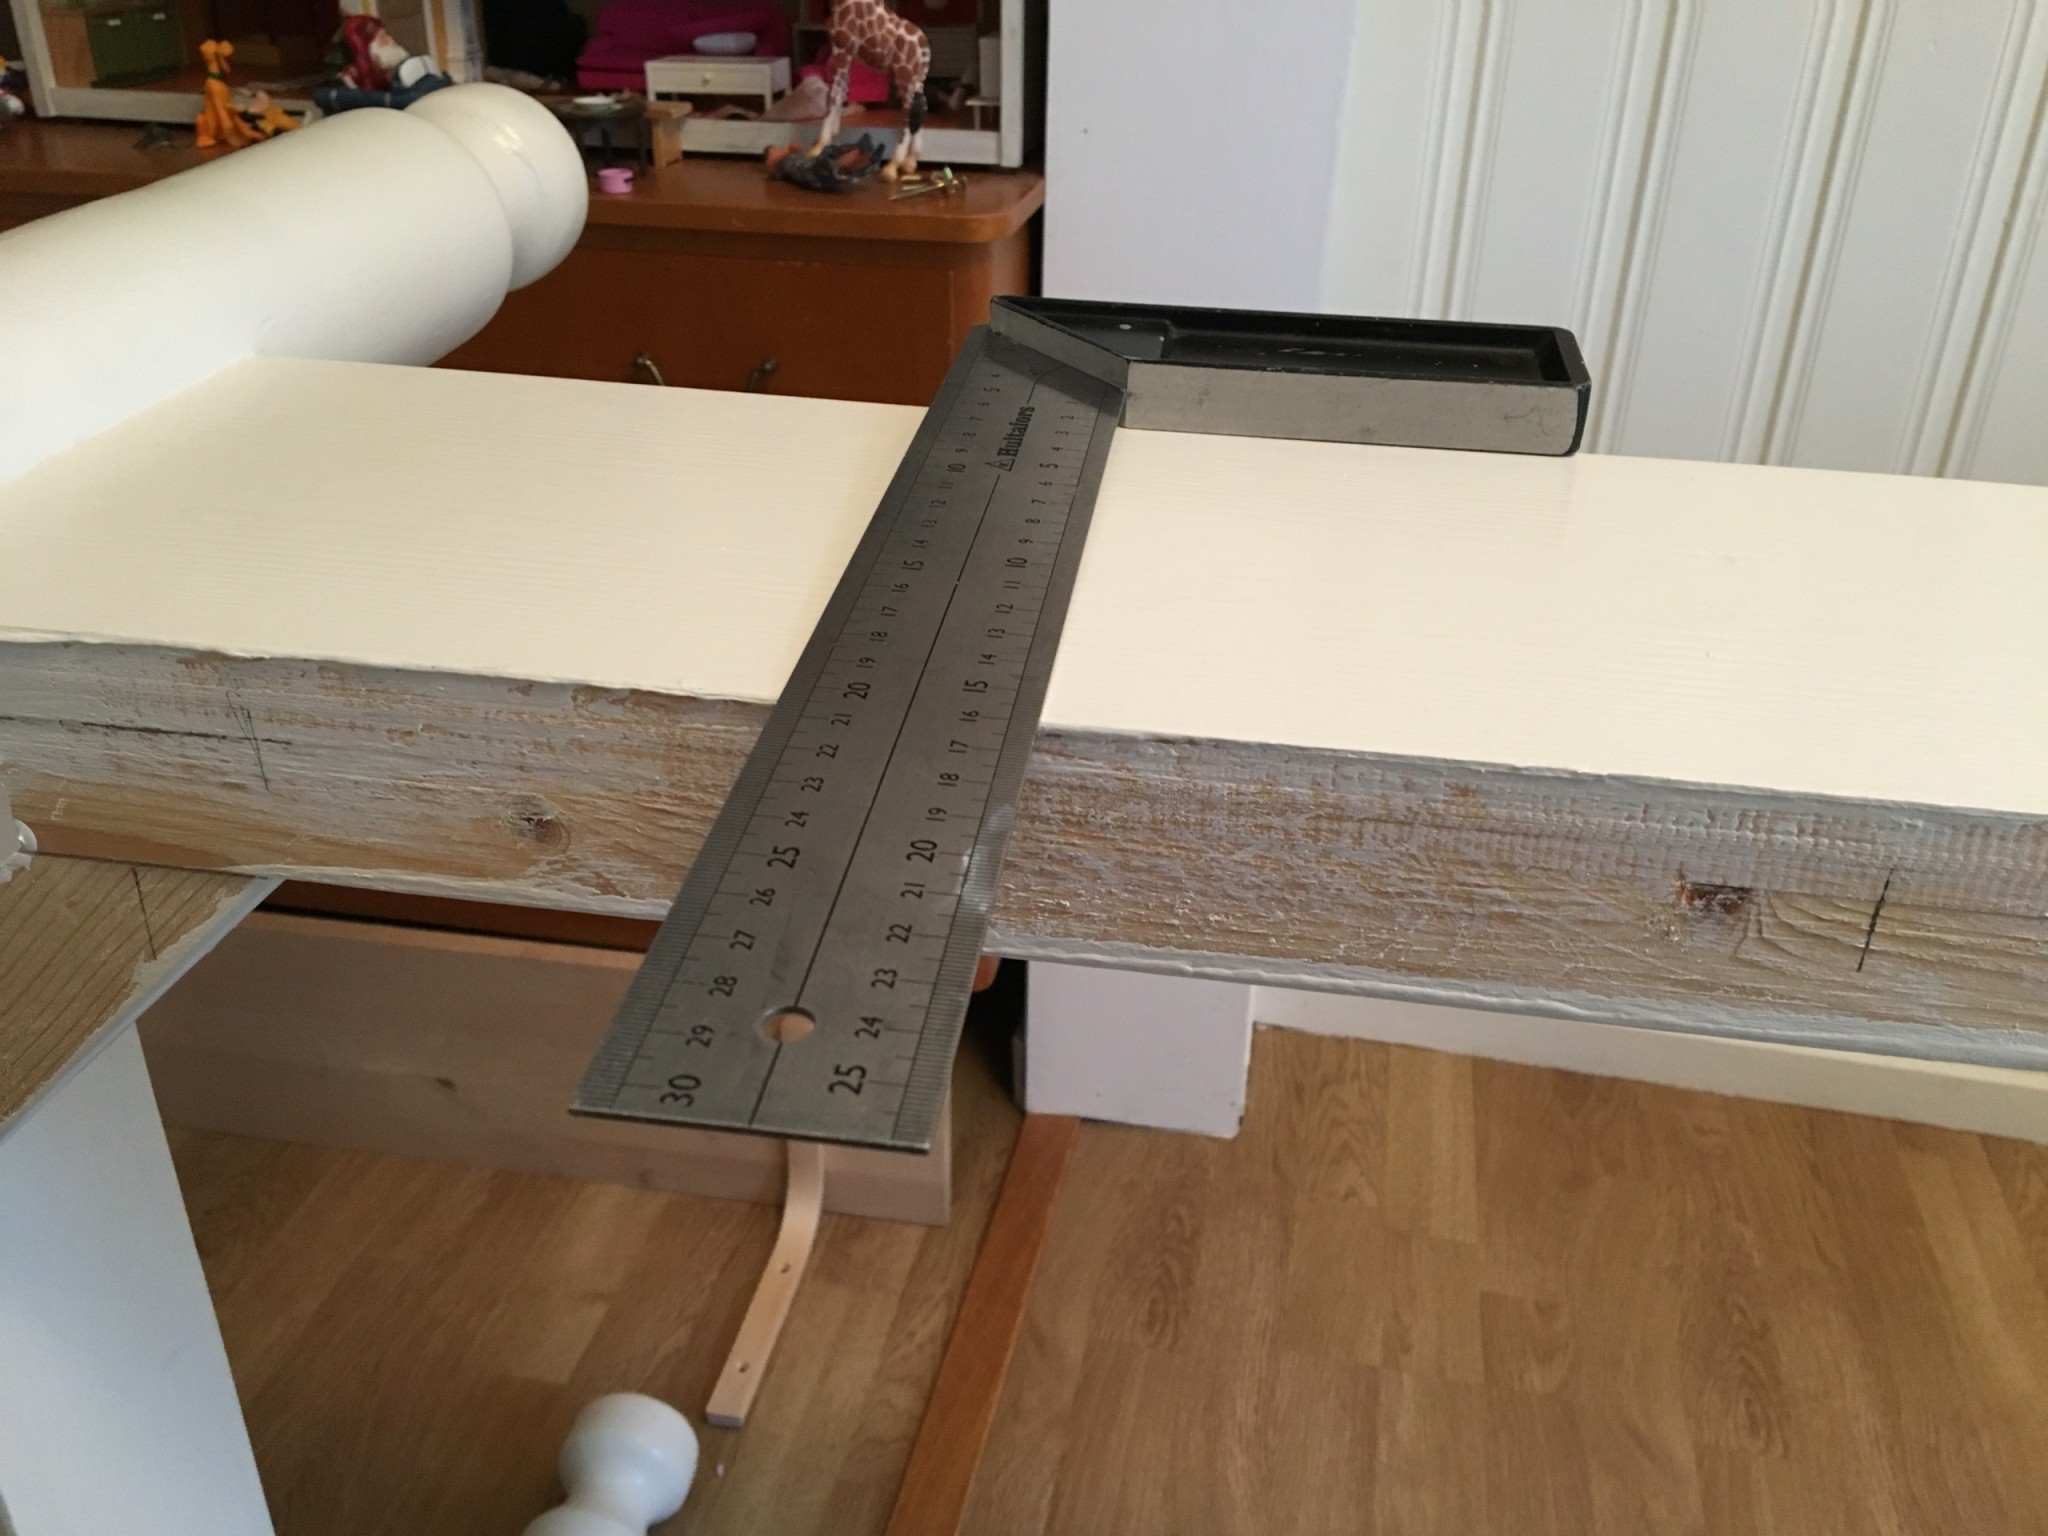
The square is 45 mm thick, perfect to use as a gauge.
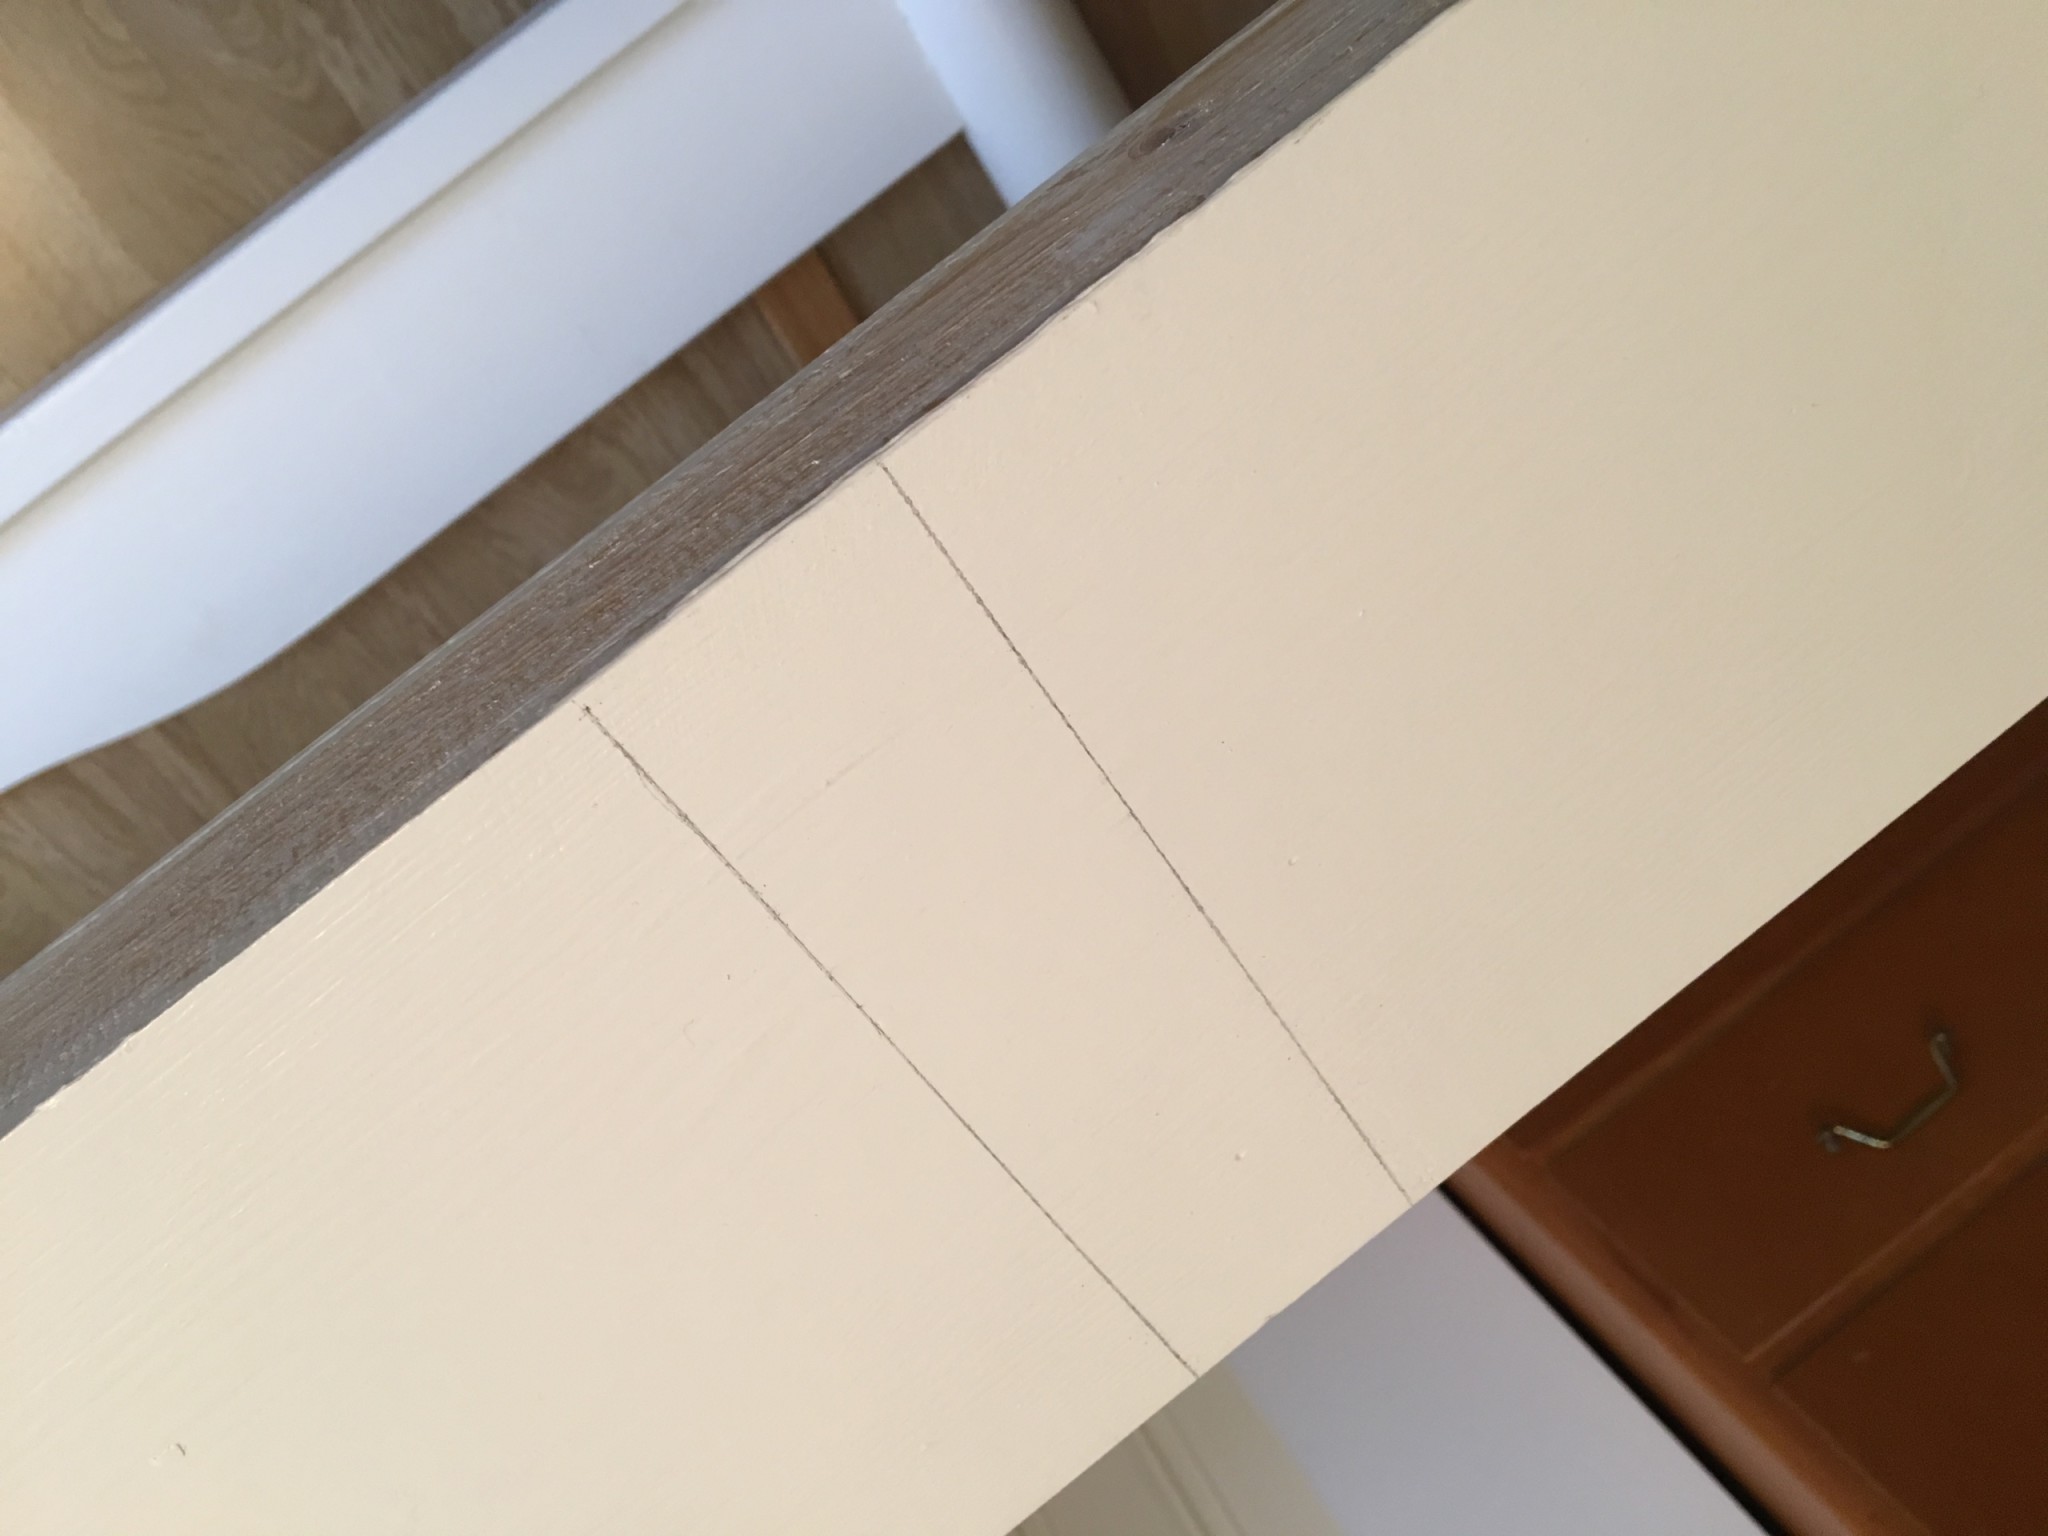
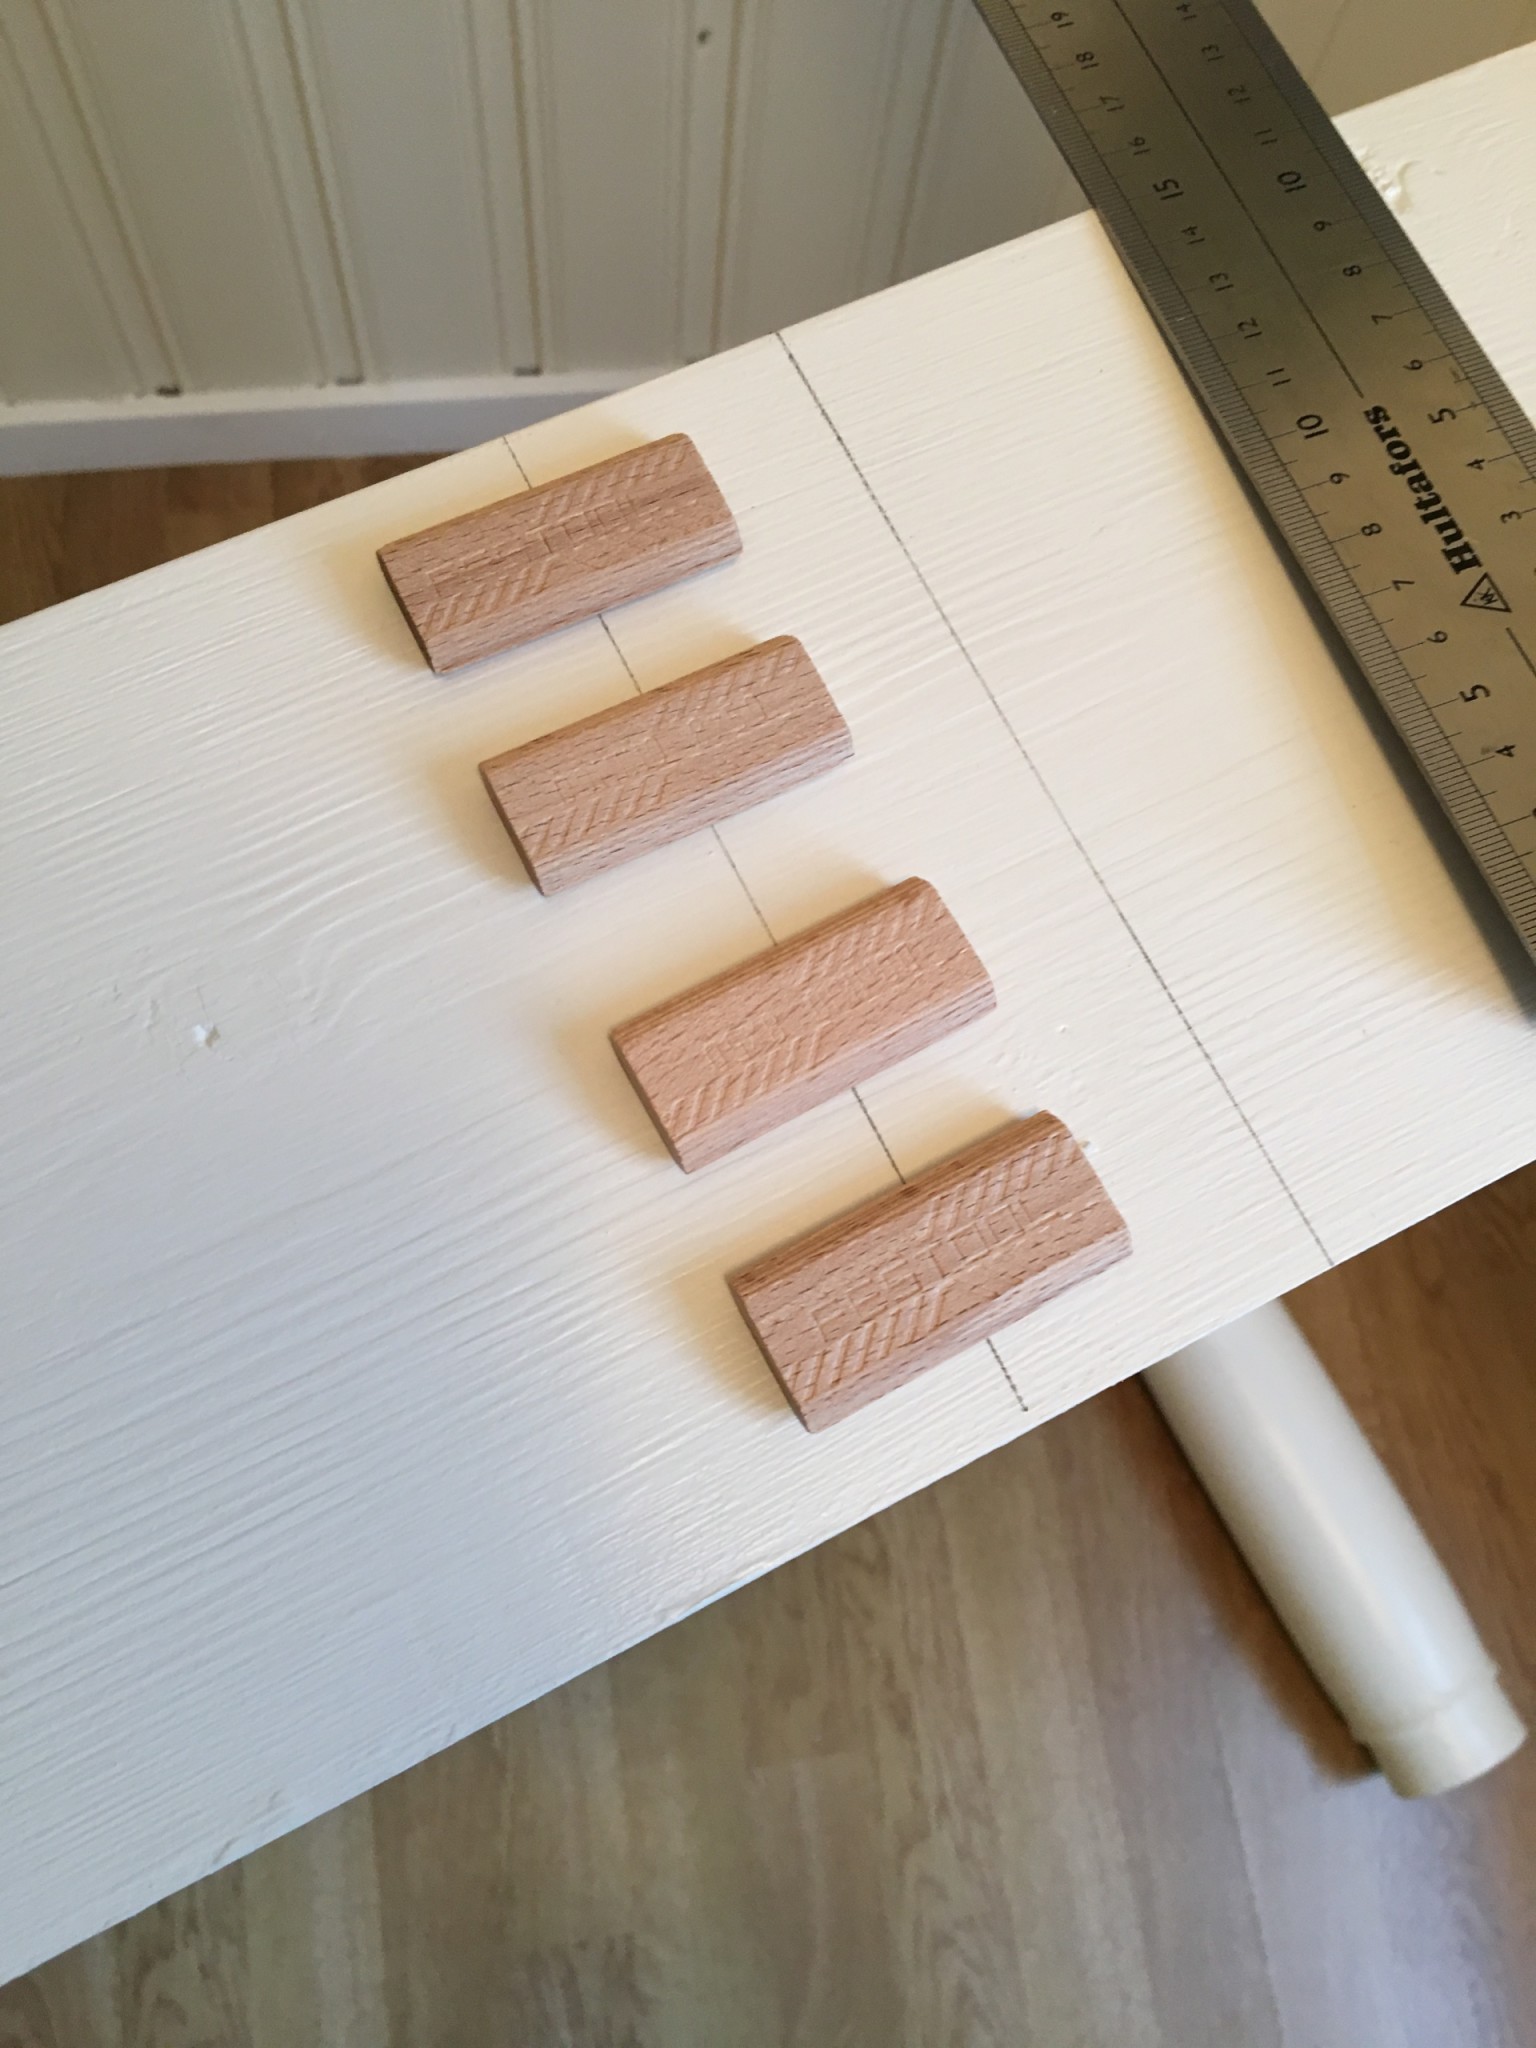
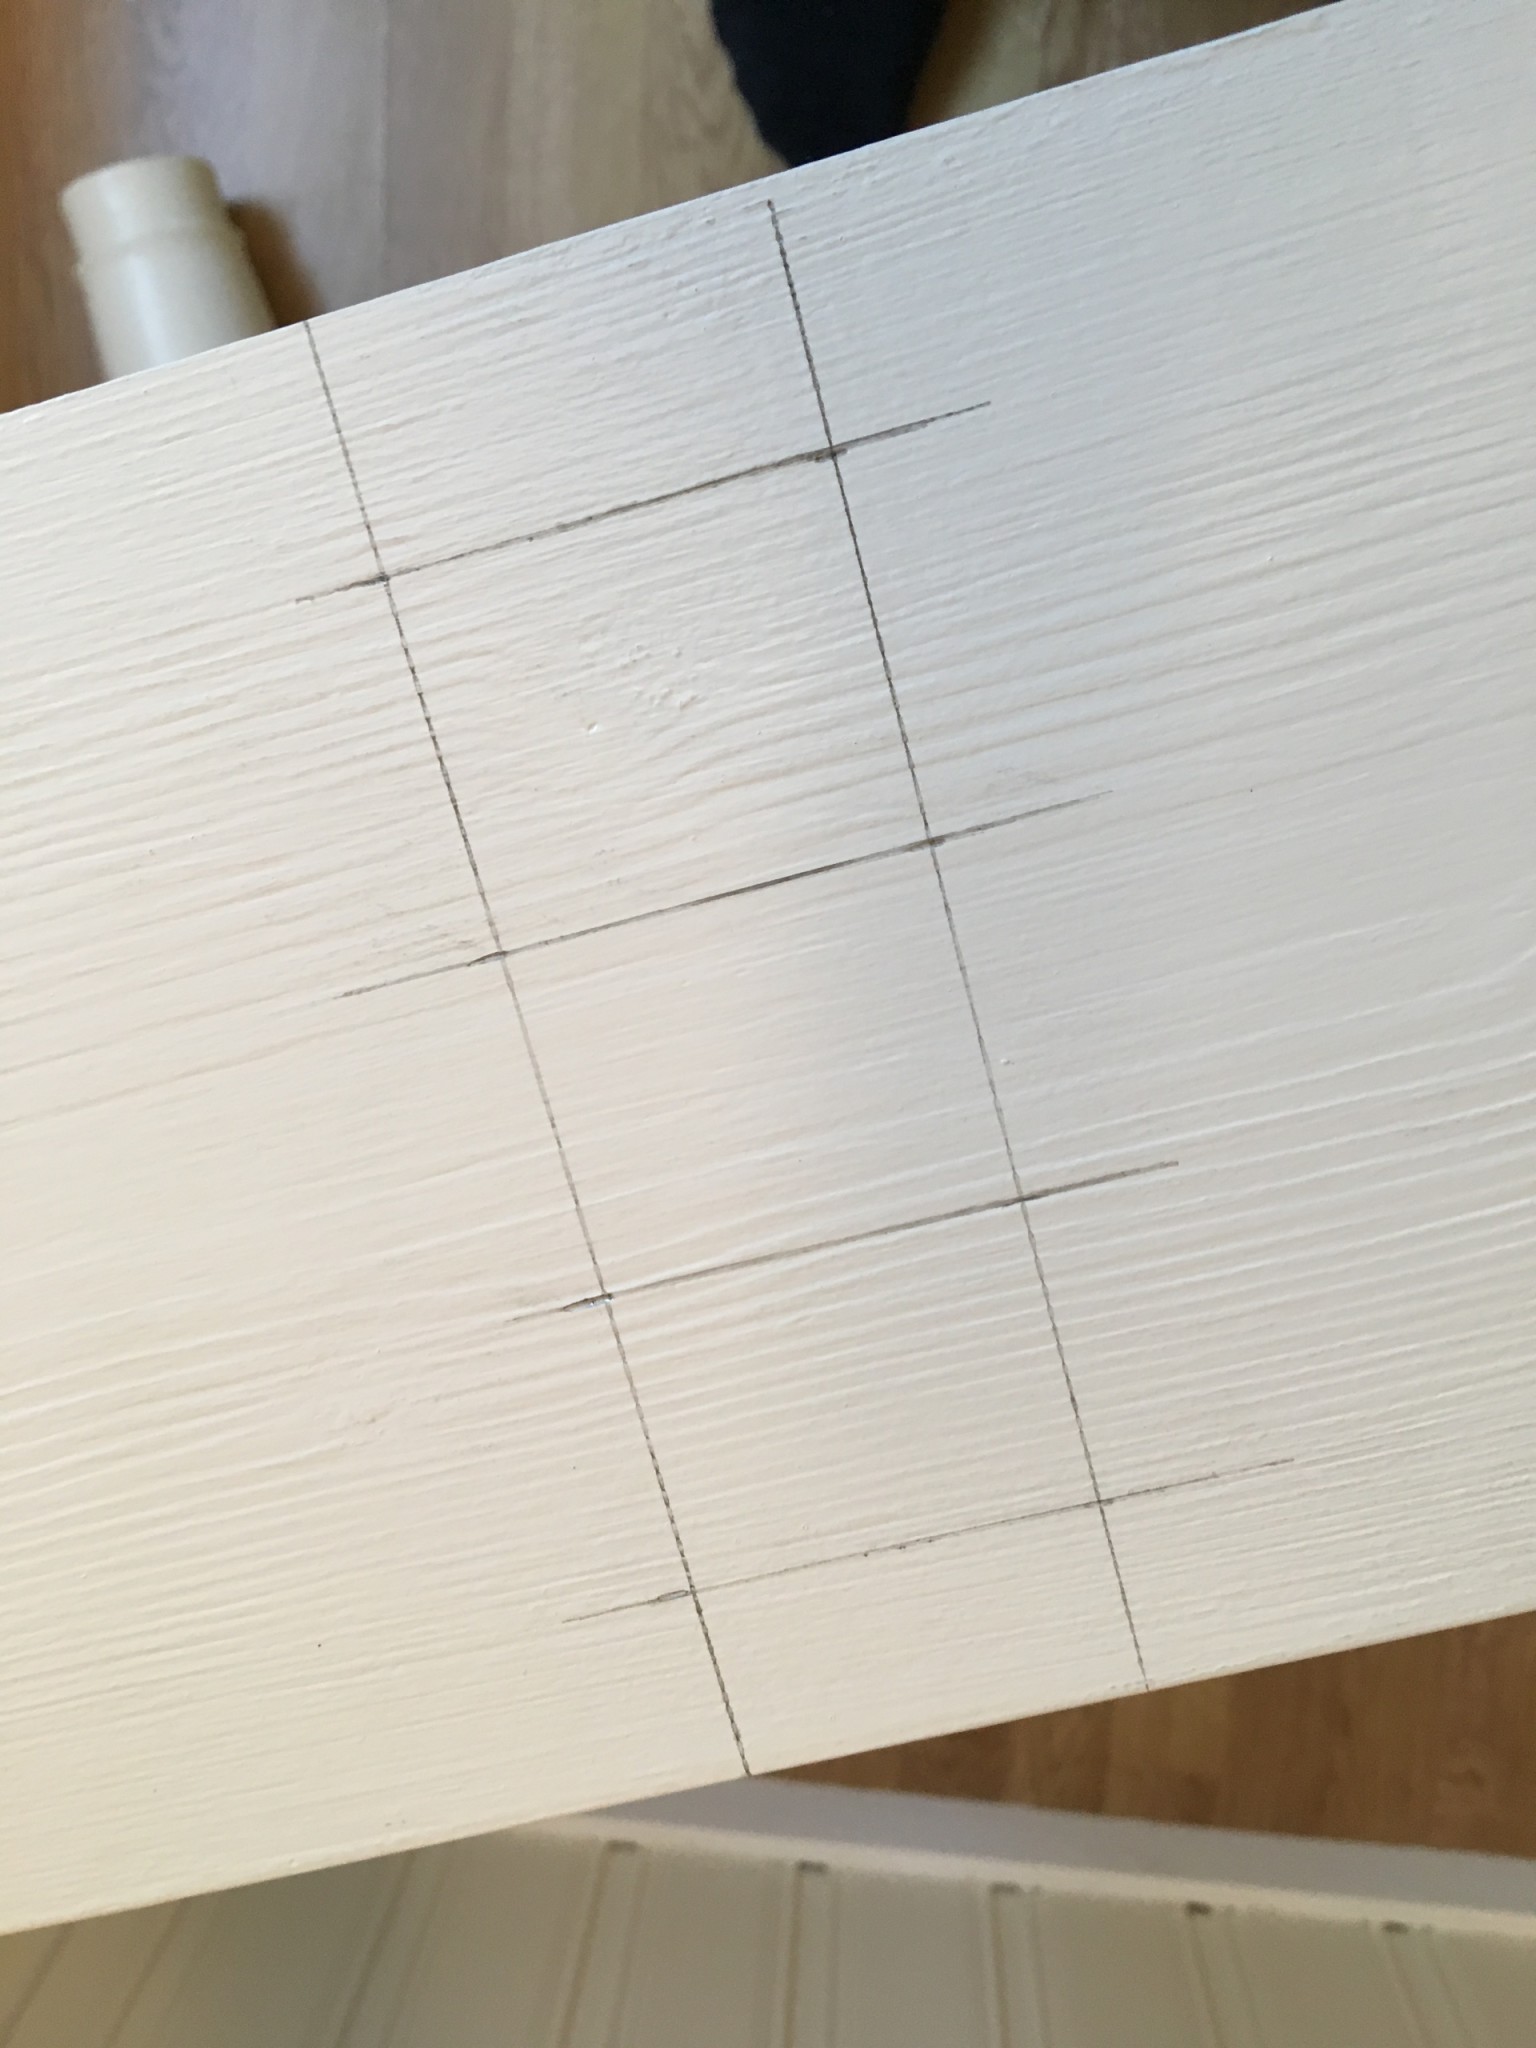
Four 50 × 8 mm dominos should be enough to join the parts.
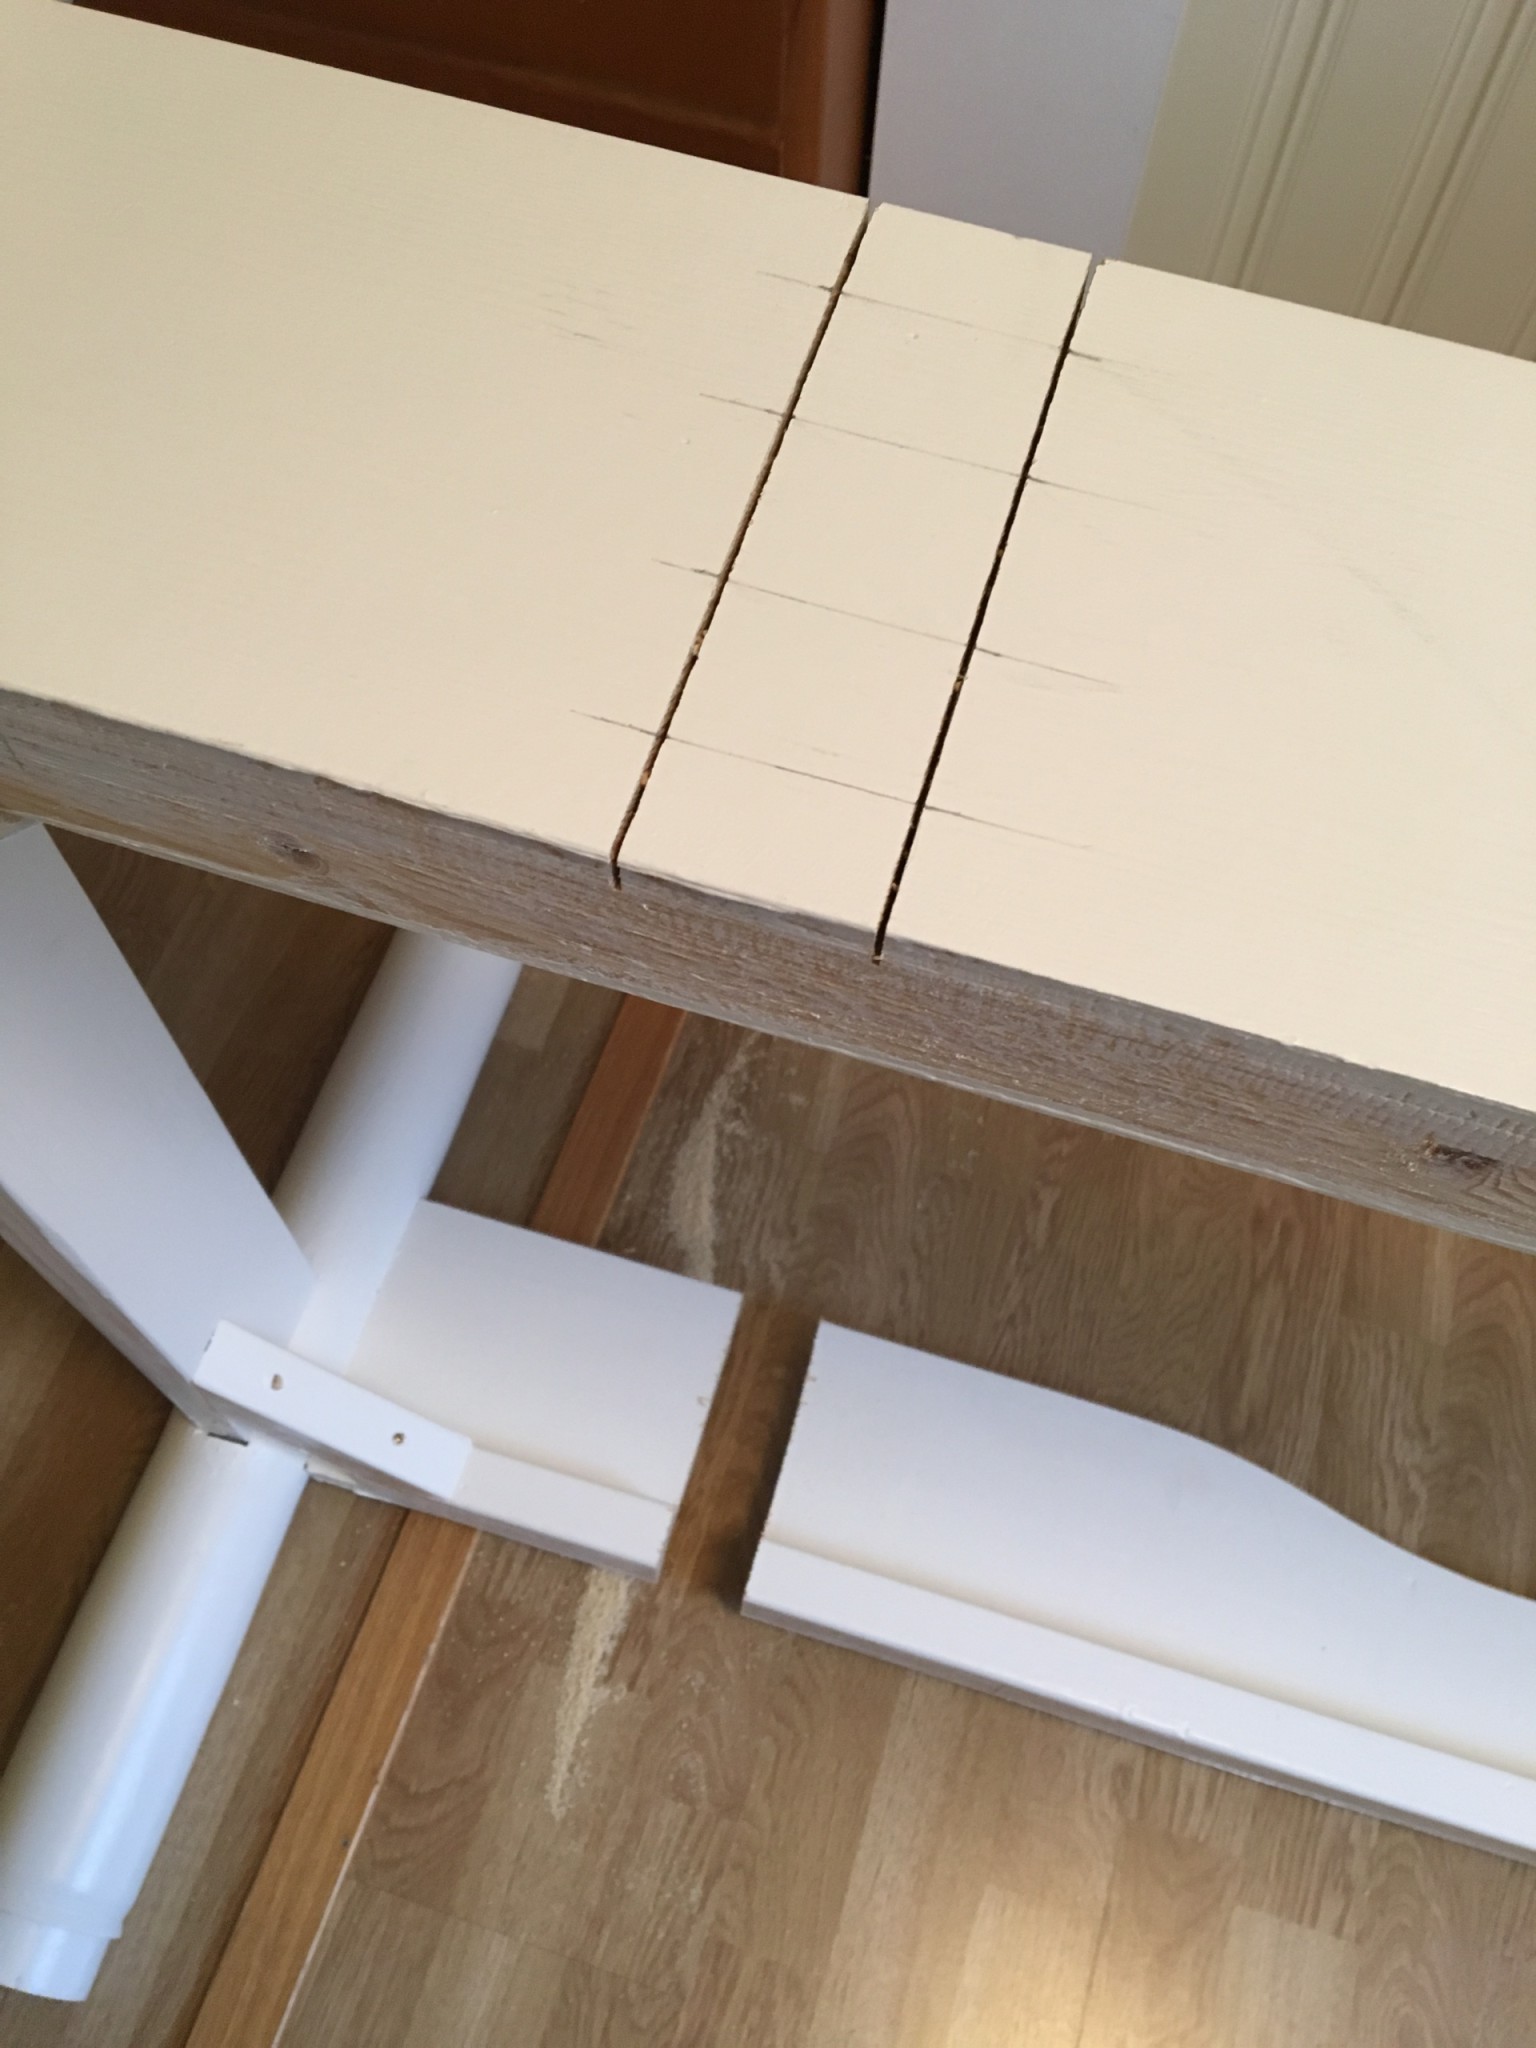
Then came the hard part: taking a saw to the bed. Lots of thinking about whether it would work, hold and look good. But there was nothing for it but to bite the bullet. I sawed through the whole wide piece, leaving only a small part of the batten the slats rest on, did the same on the other side and then cut the last bit. The bed was in two parts.
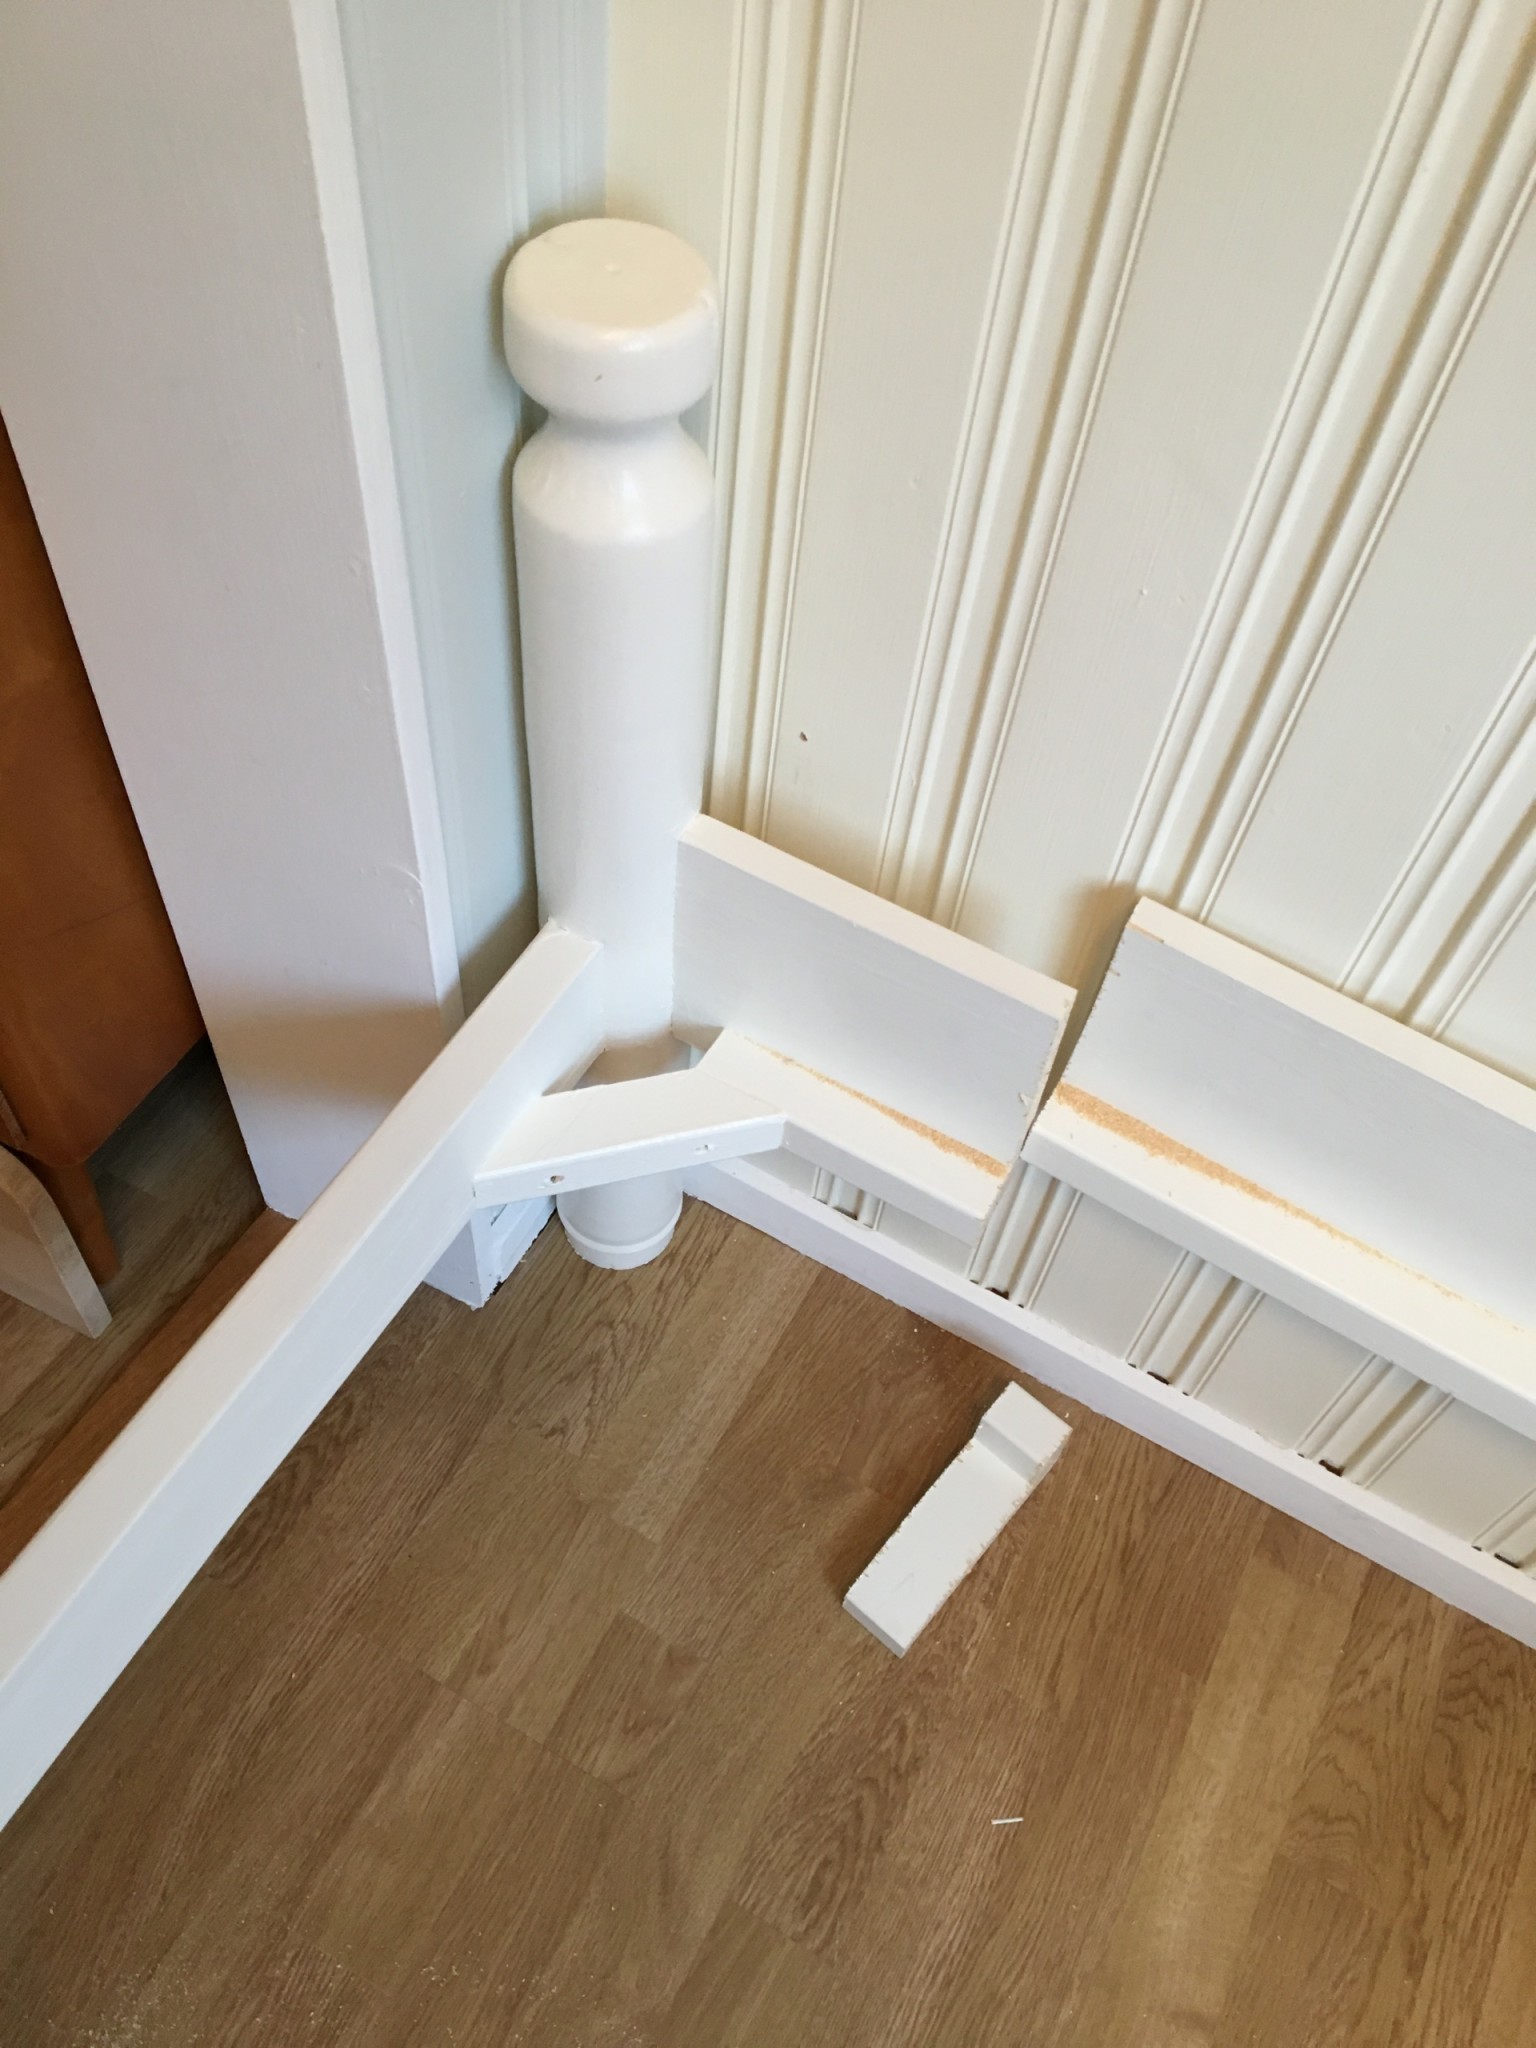
Next I checked that enough had been cut off. A small piece of the windowsill had to go so the bed could reach the wall, and then everything fitted.
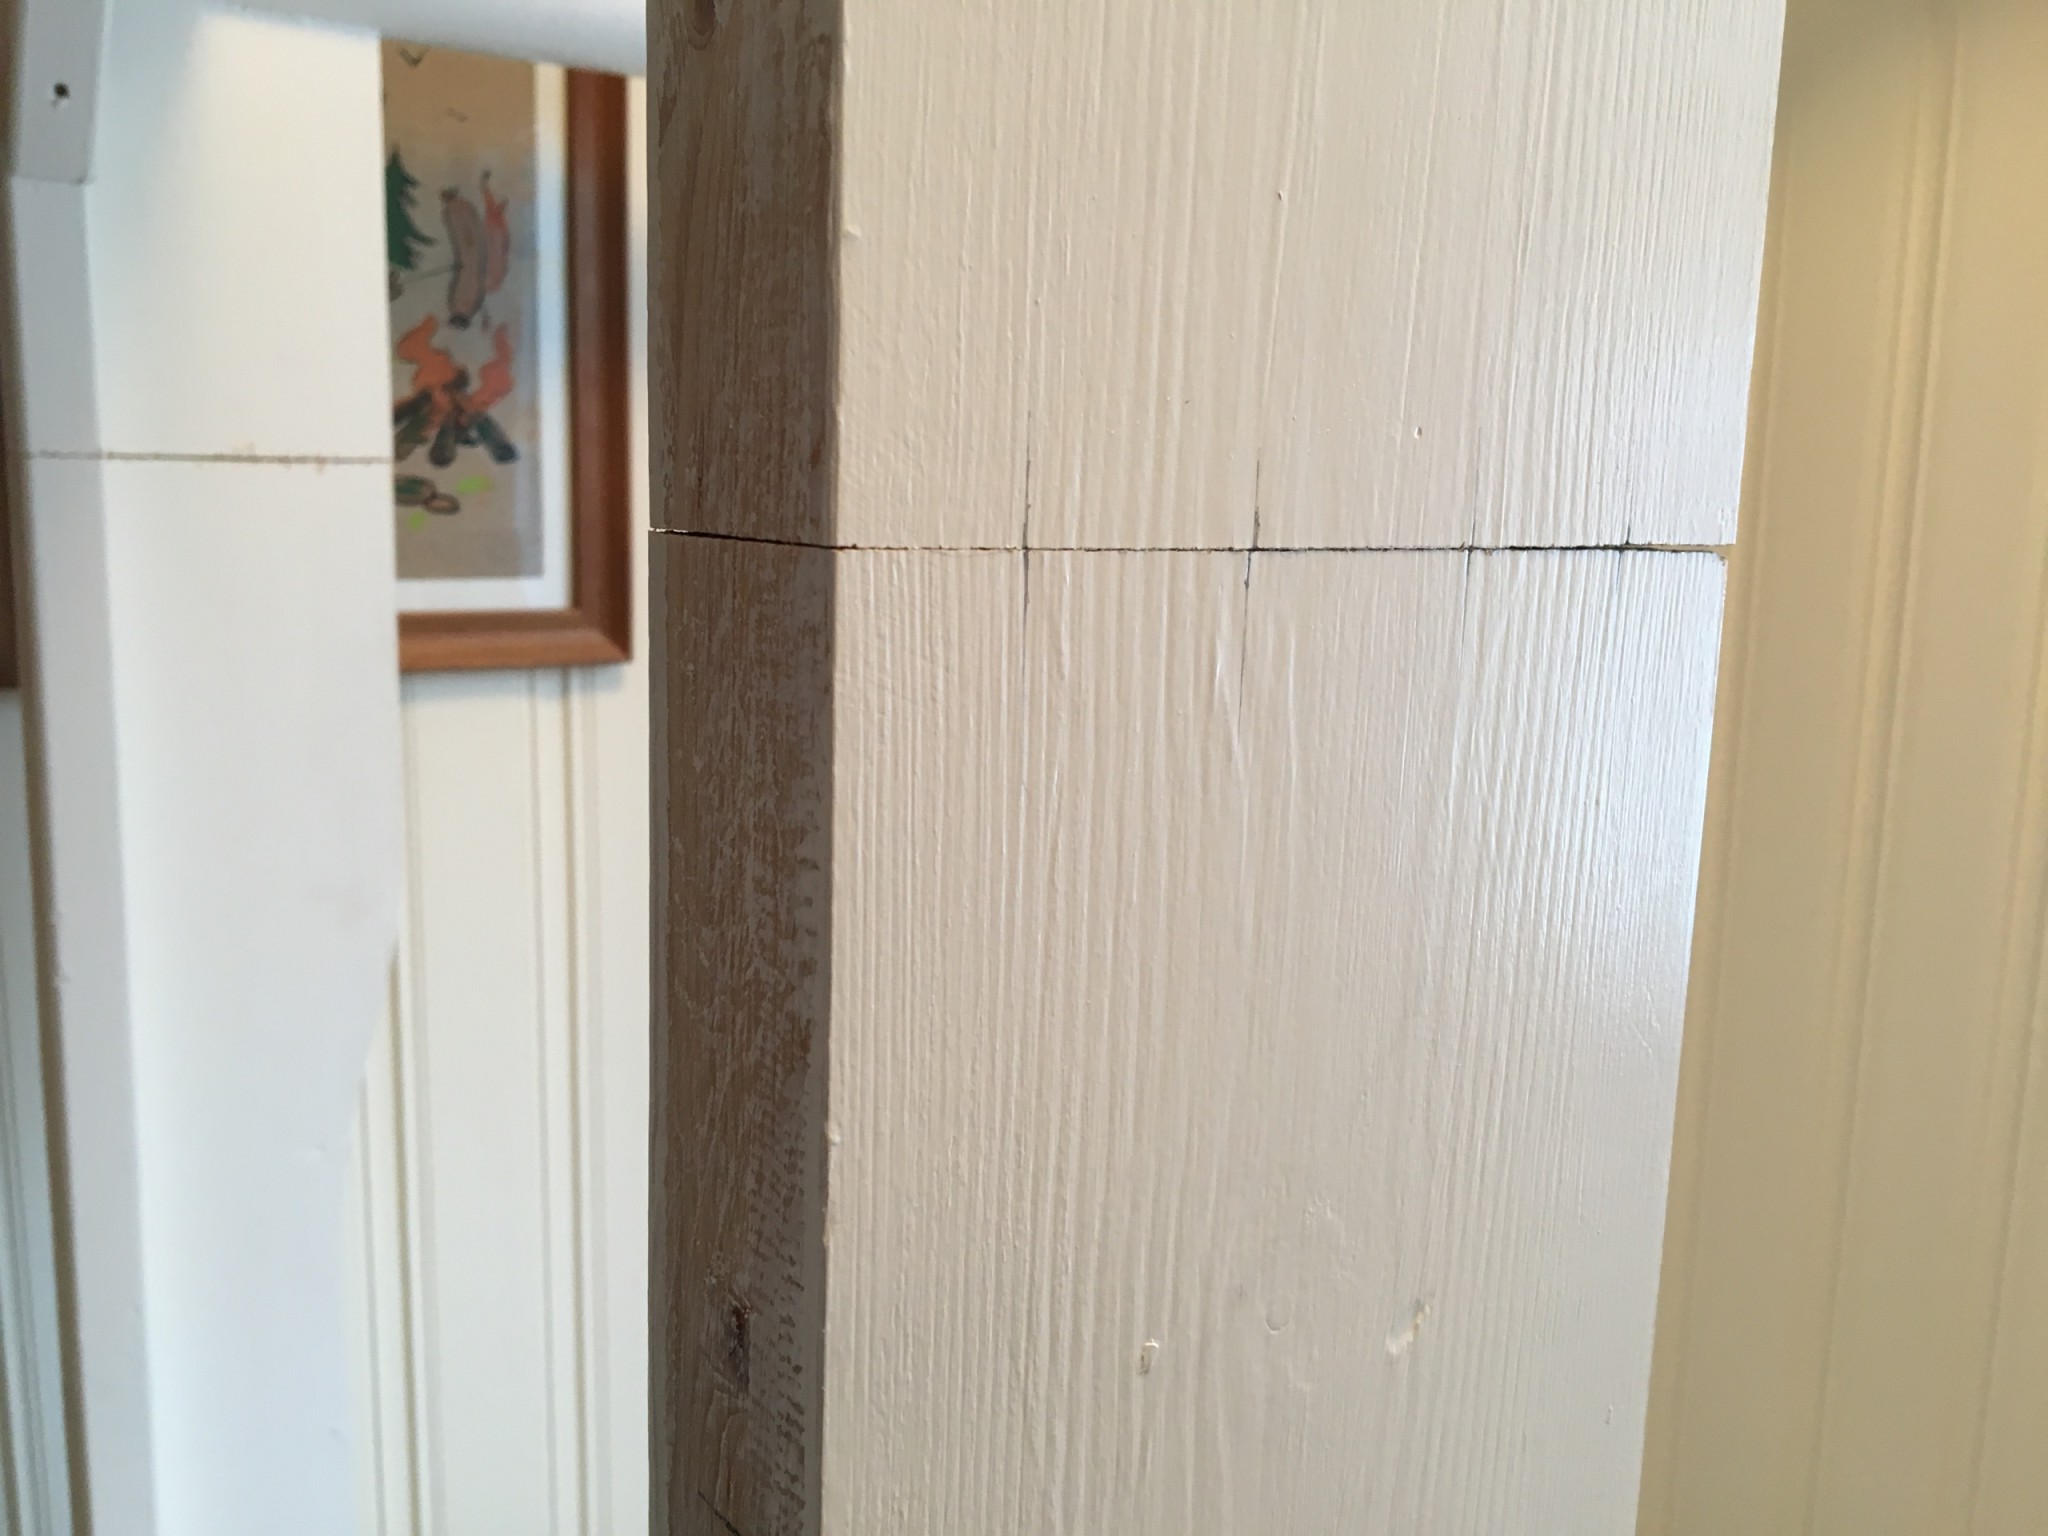
The bed was stood on end and the short offcut section laid on top of the other part. The domino marks lined up well.
The mortises went smoothly and all of them fitted. I made two of them slightly wider on one side, where the marking hadn't been quite perfect.

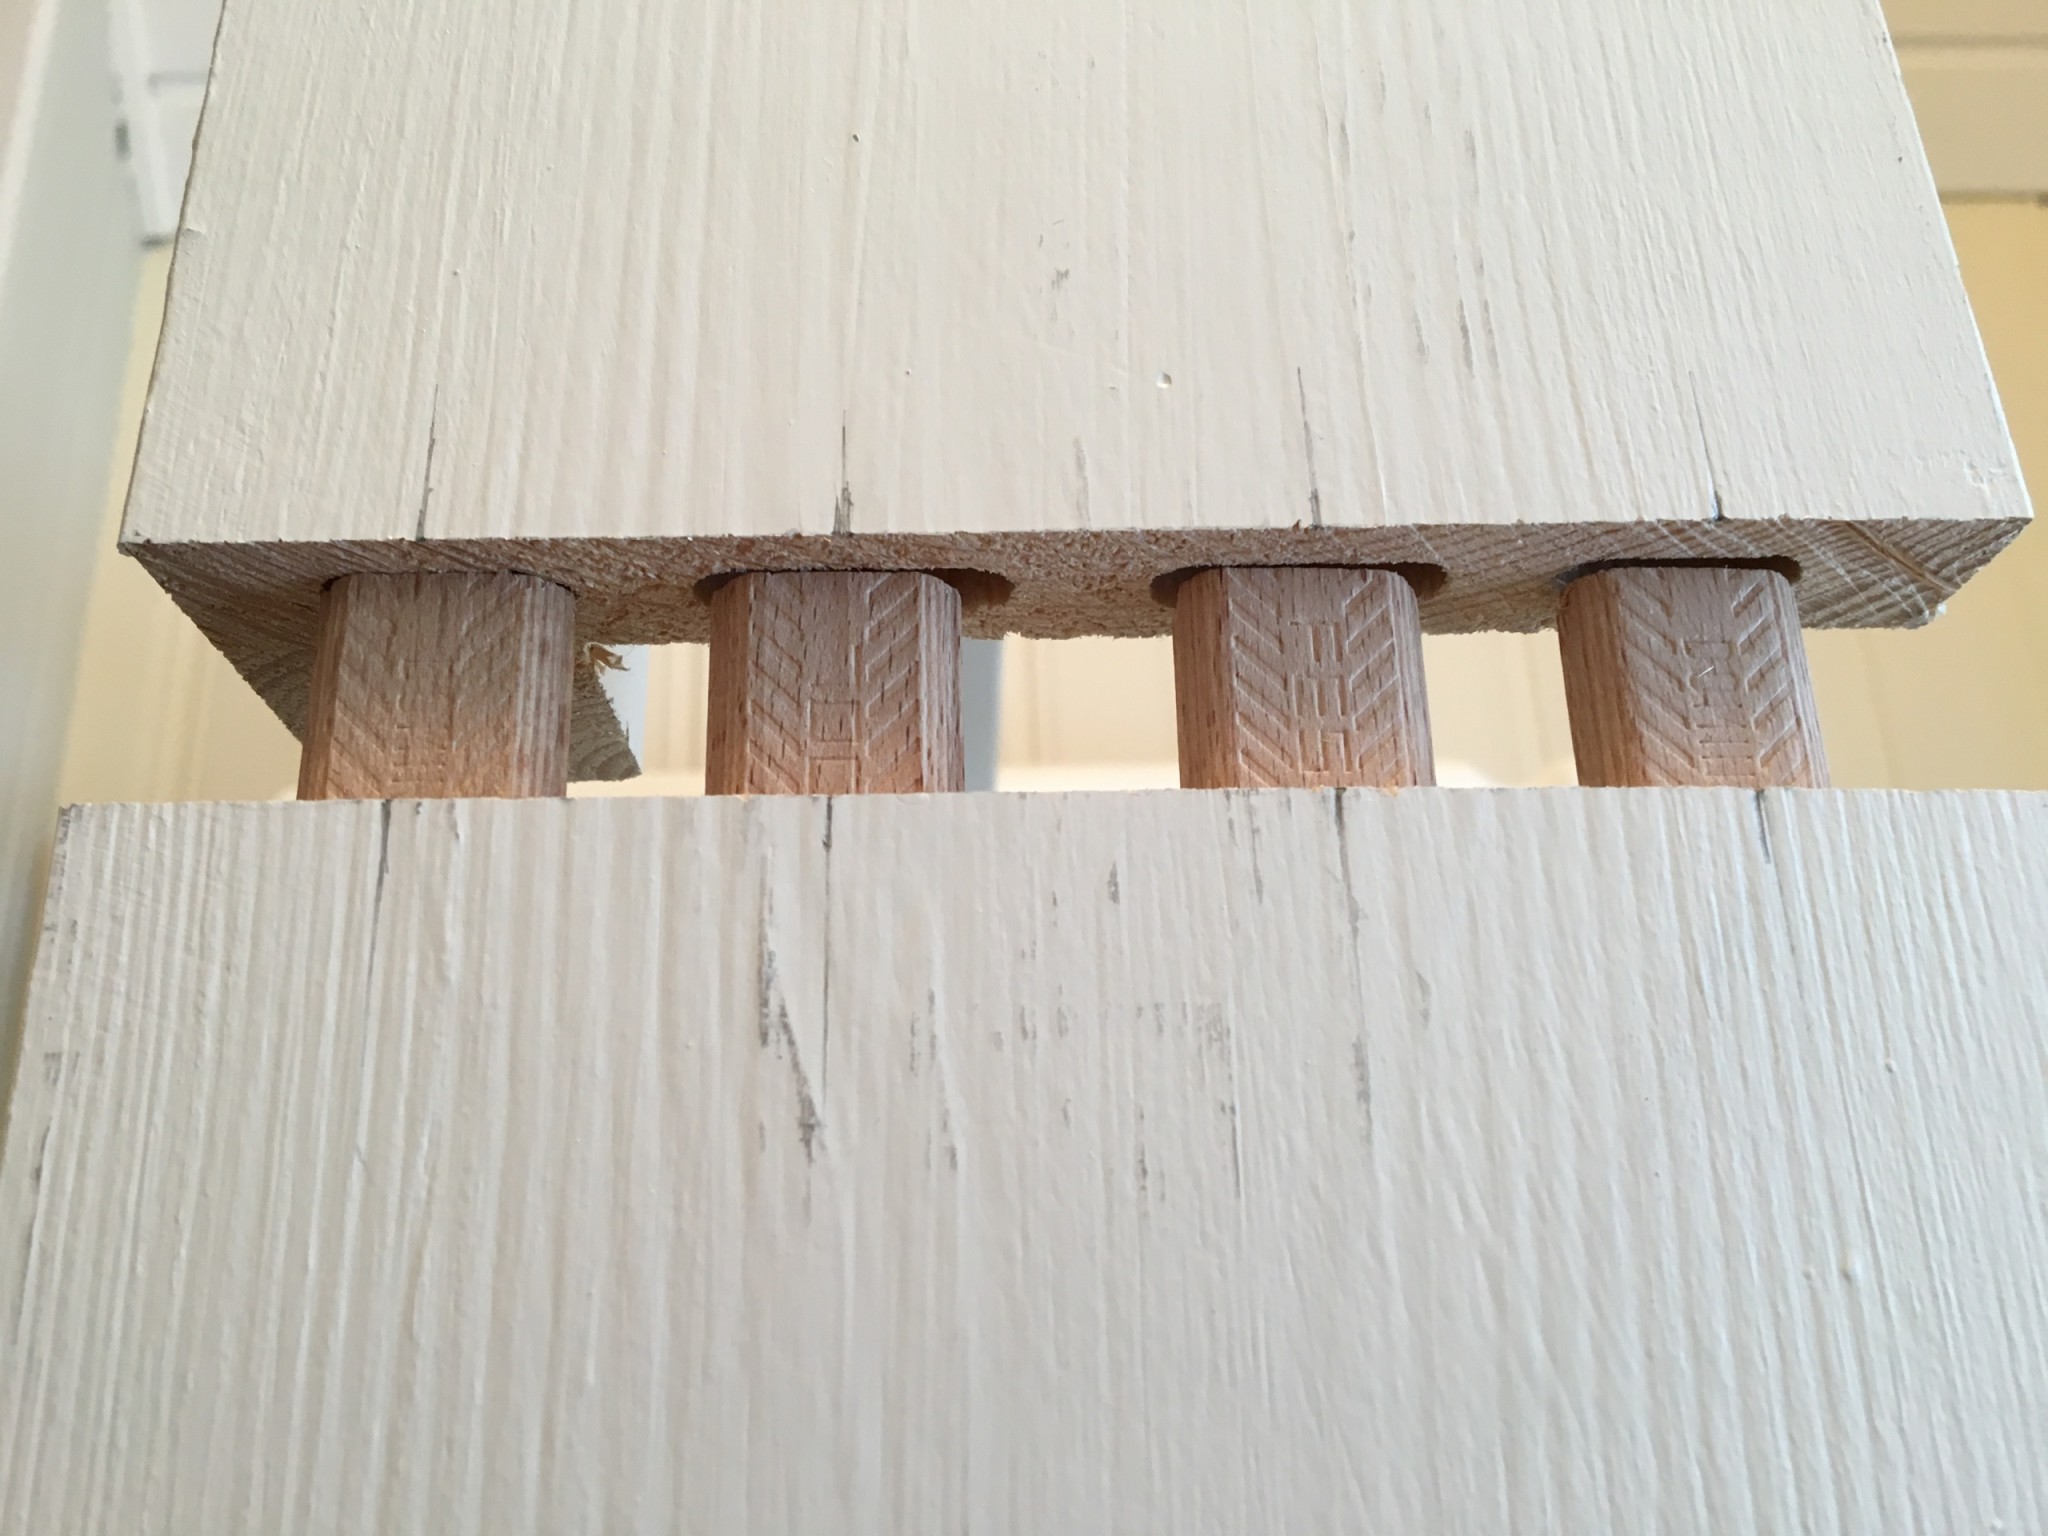
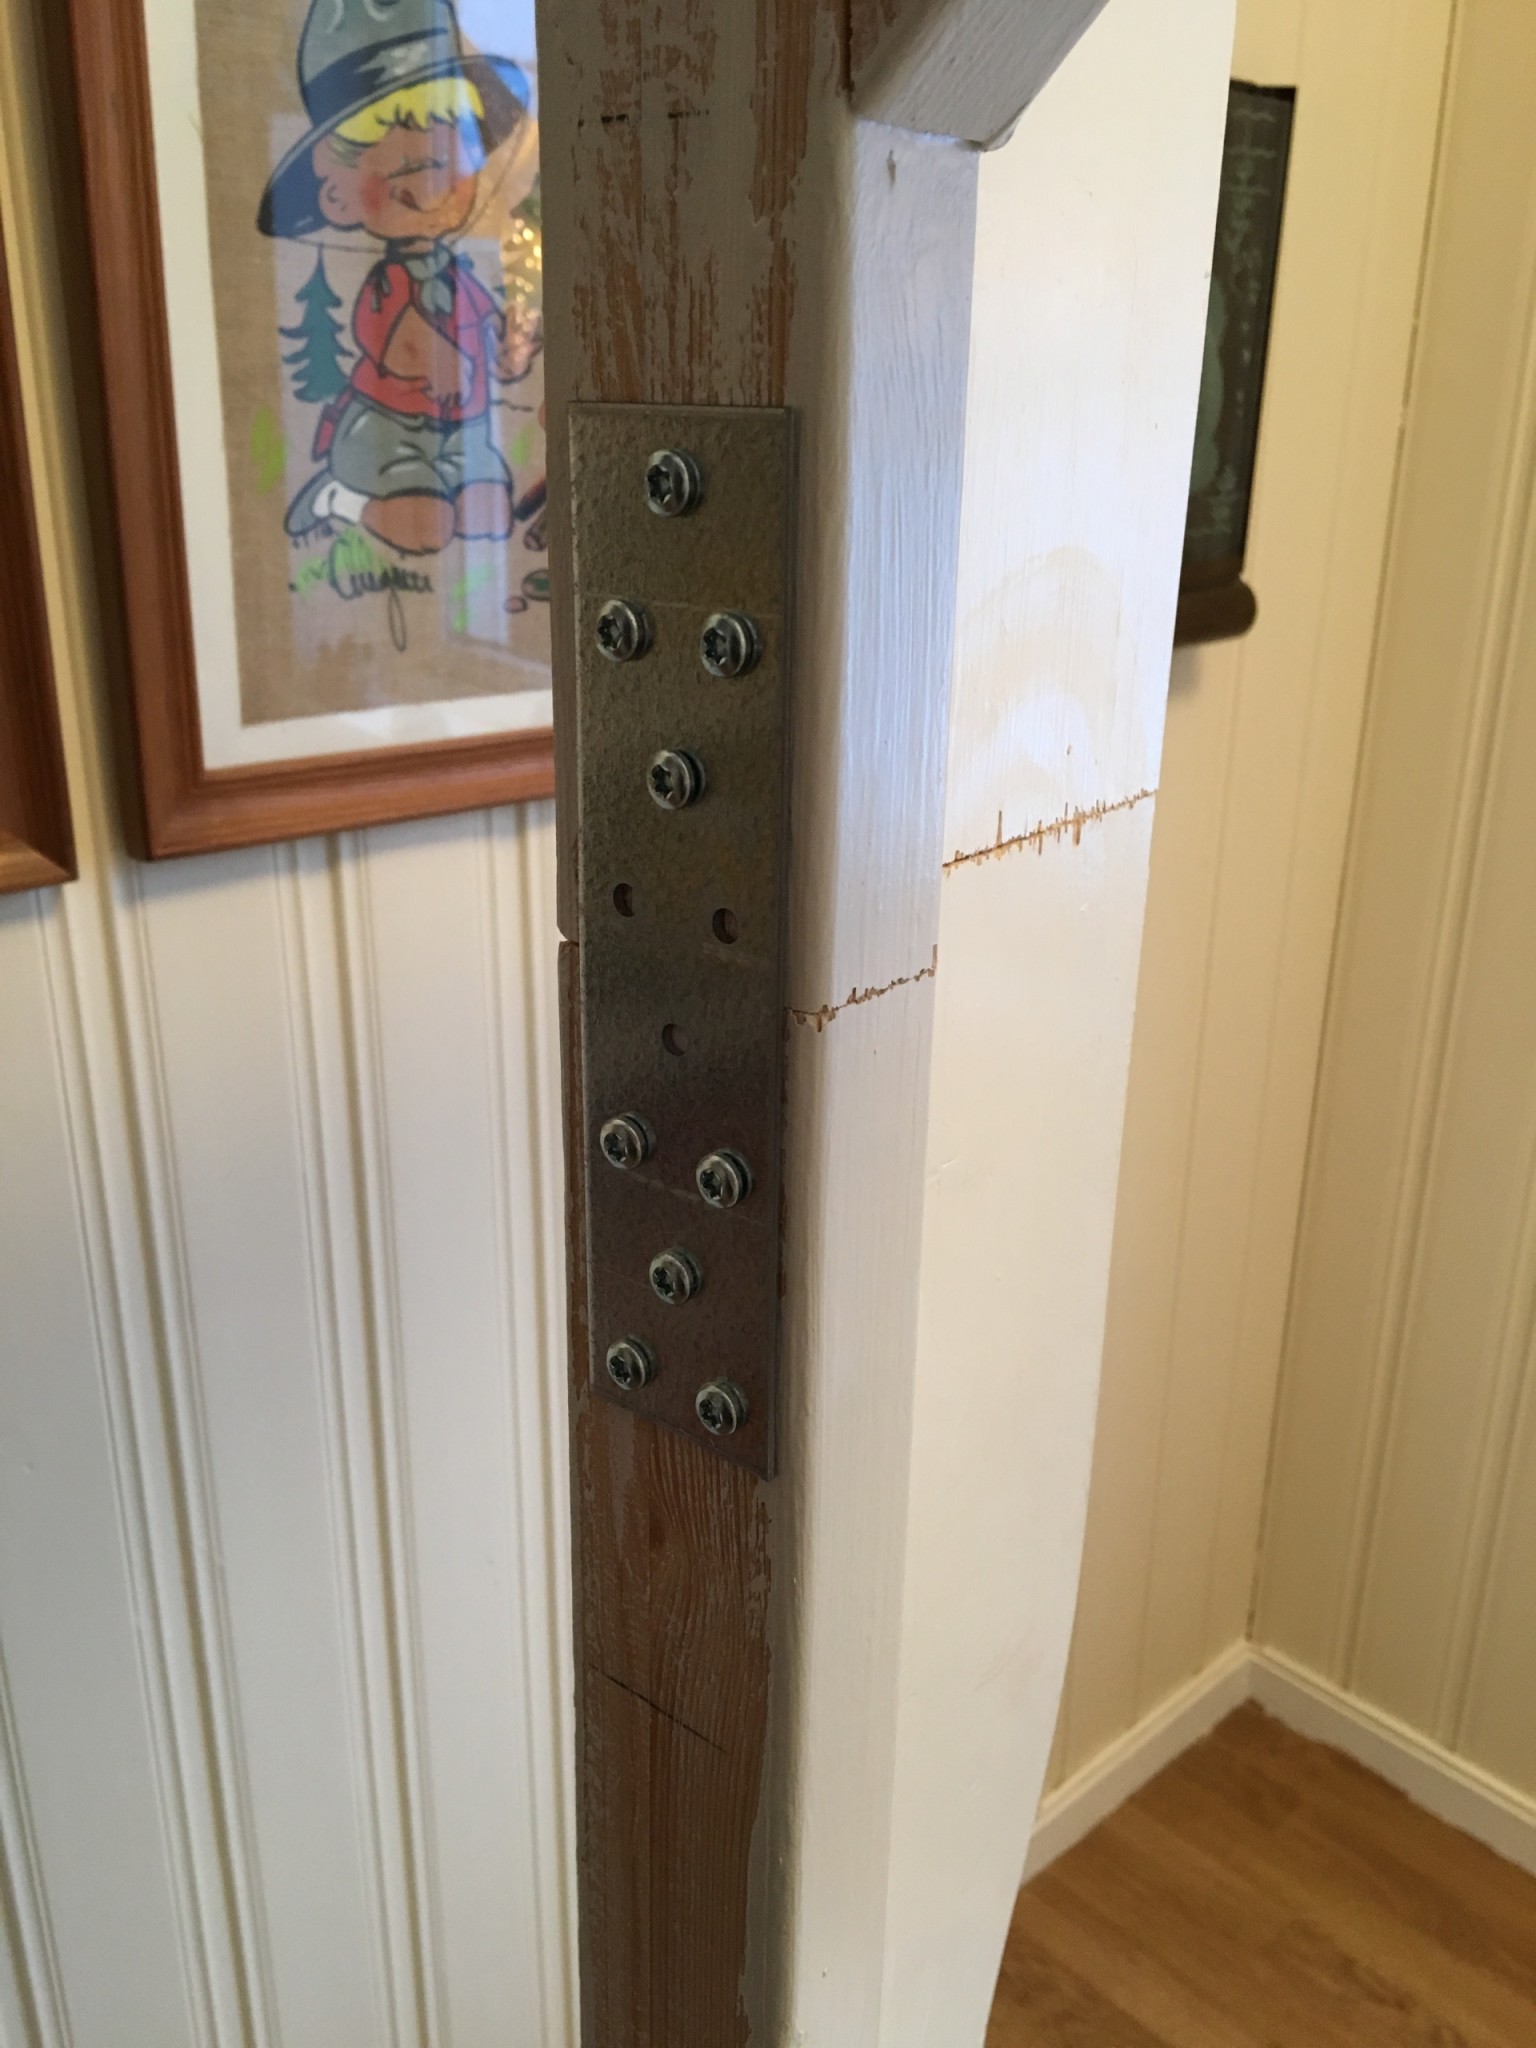
Then the glue: plenty of it, so it squeezed out everywhere, and the excess was wiped off. A few hours later I added two flat steel plates for extra strength.
Then it was time to put the bed back in place.
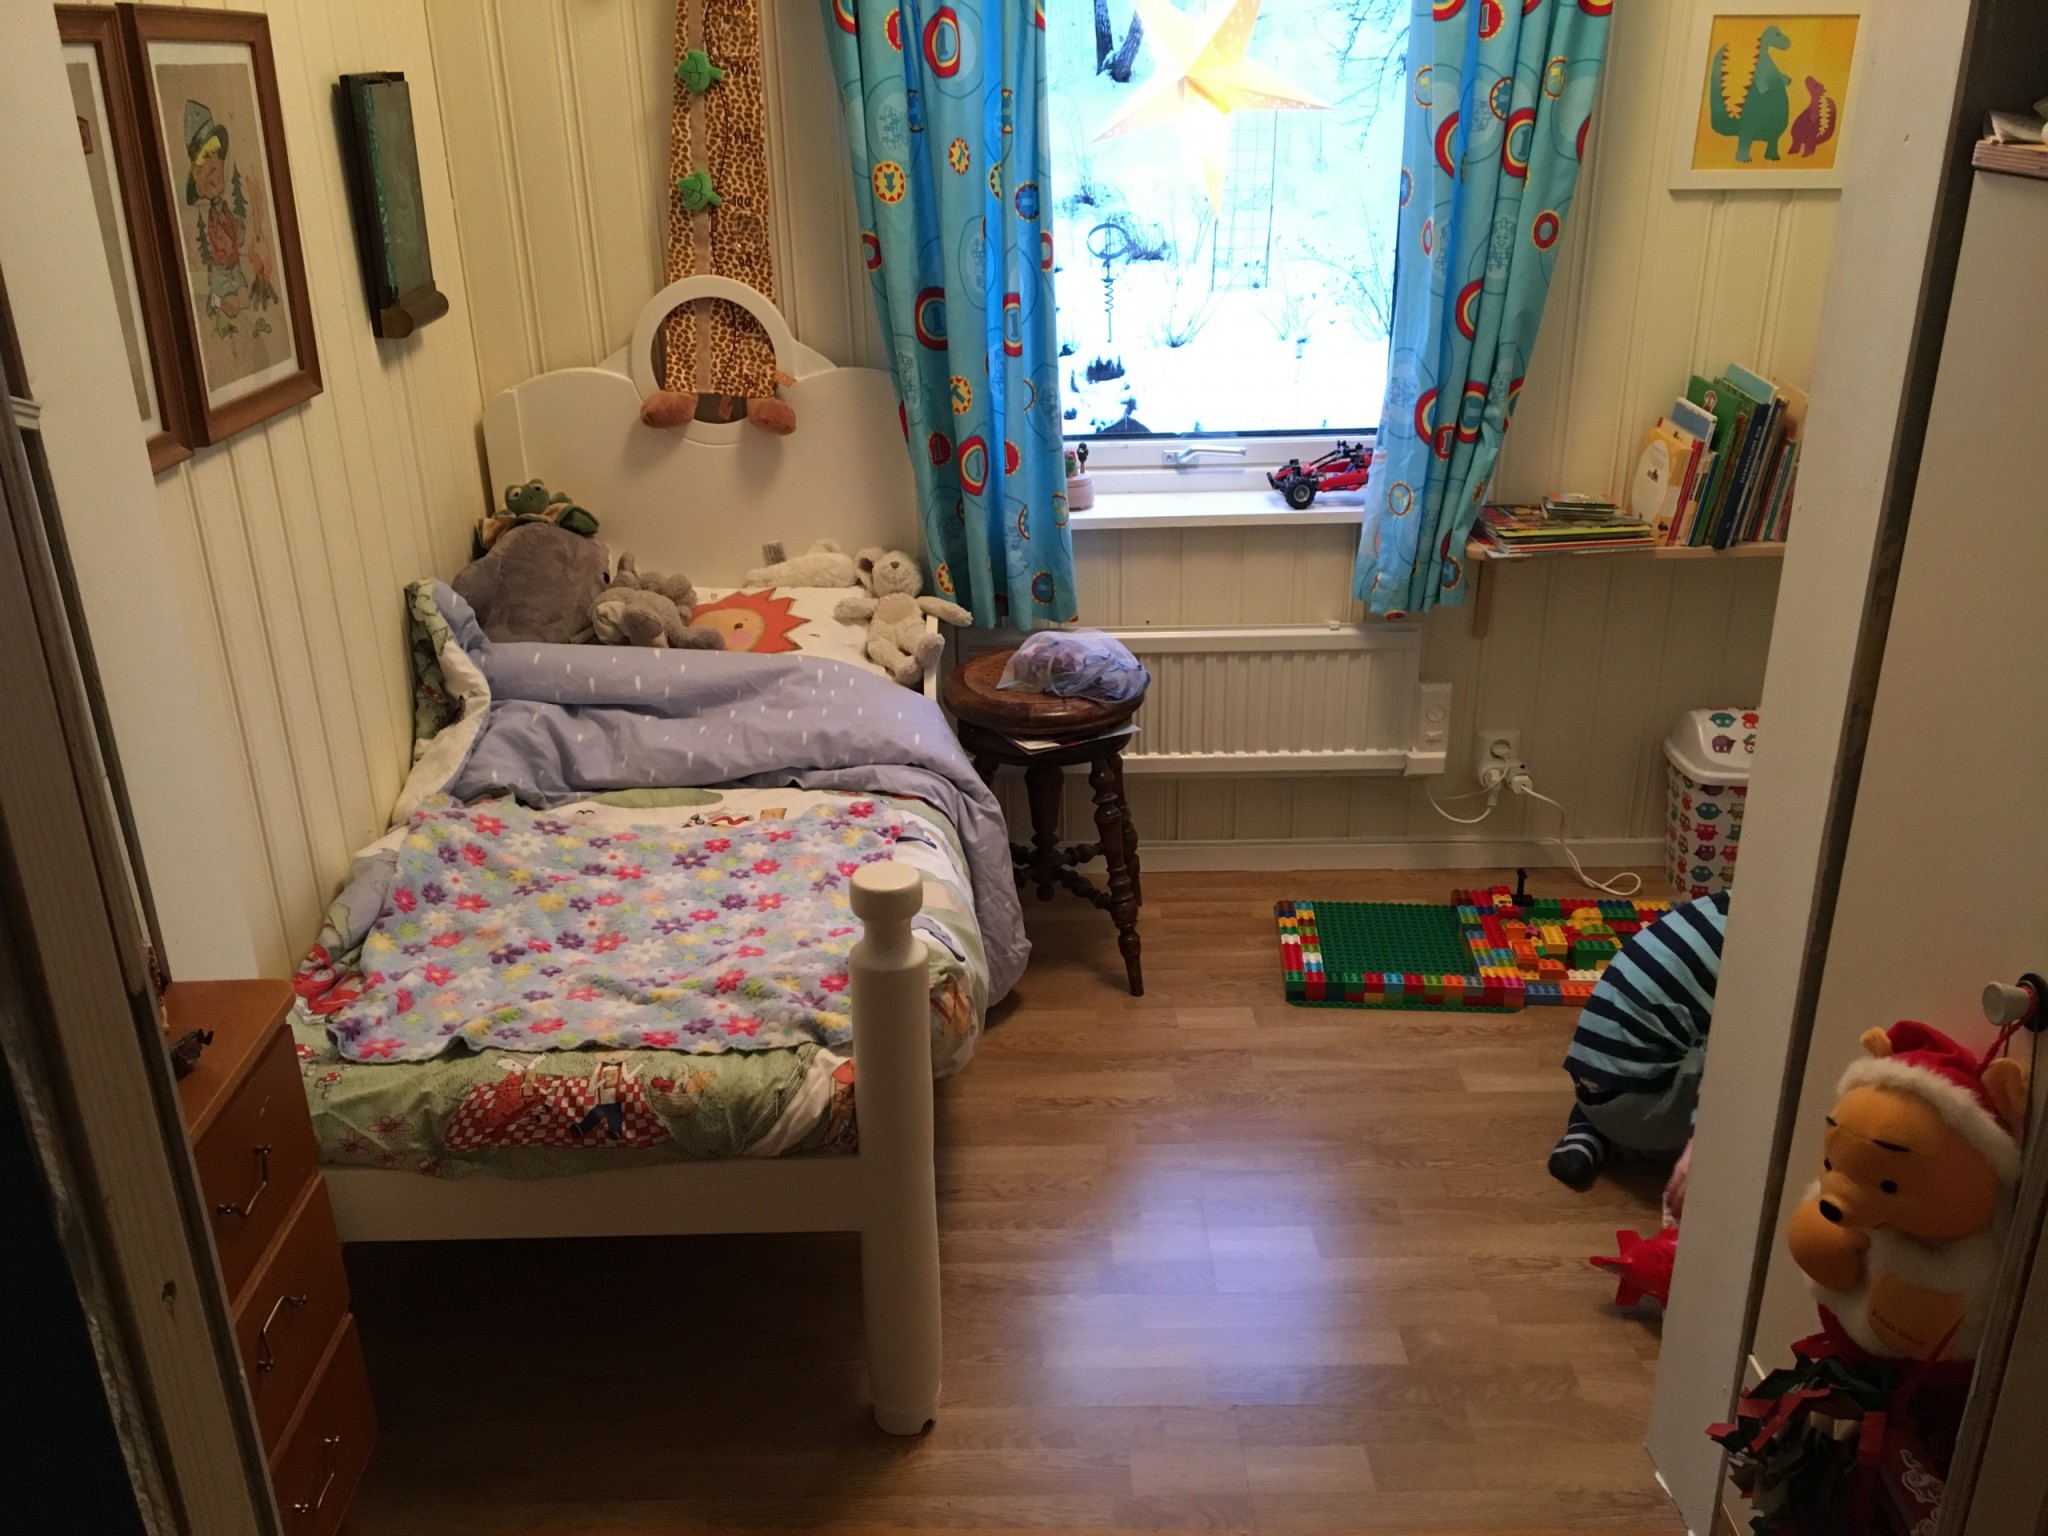
An hour or so later the bed was made up, I sat on it to test it, and it held. No problem for a 20 kg lad to sleep in it.
Share this content