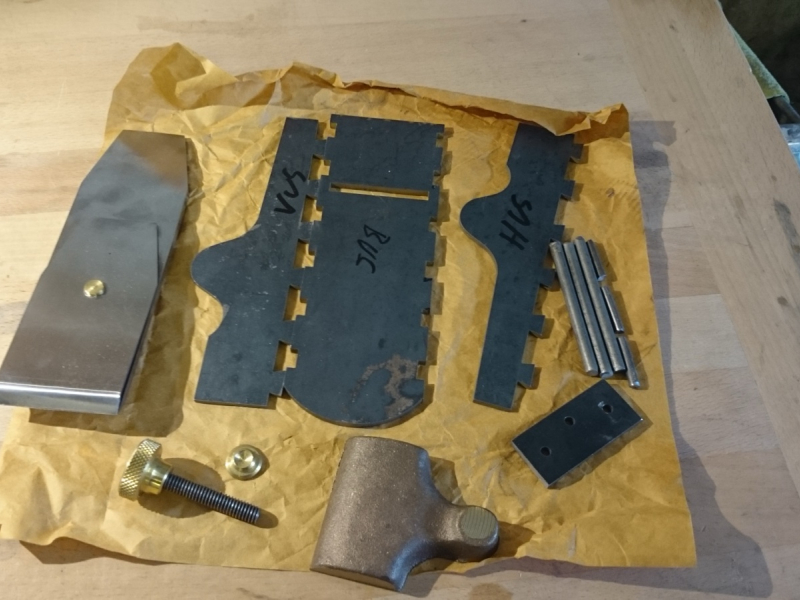
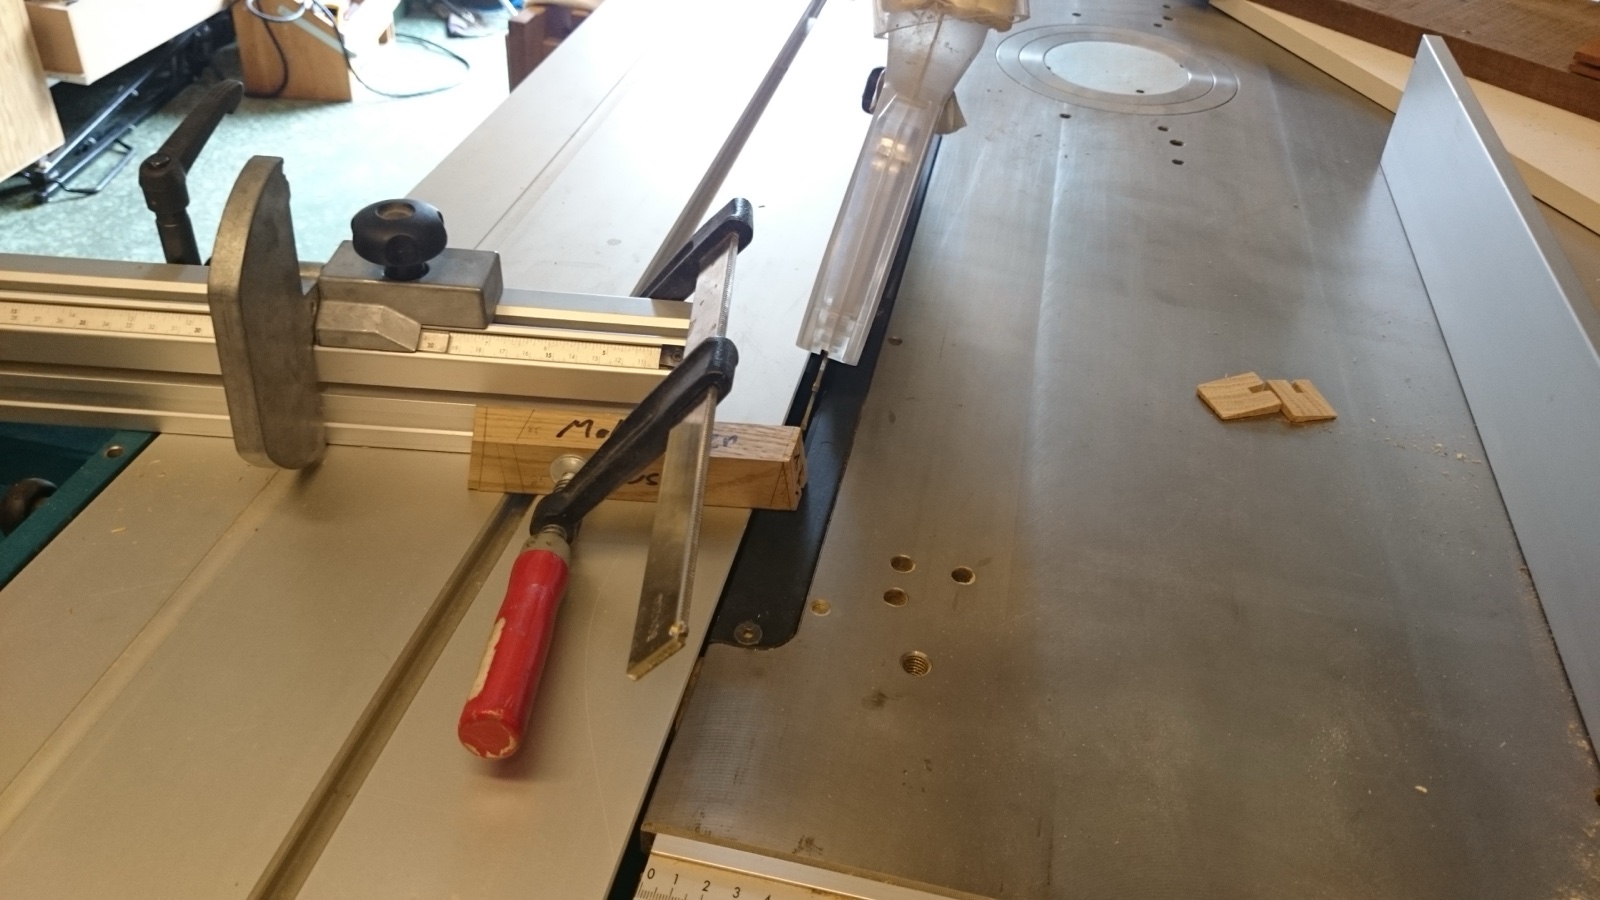
So it was time to get started on the filing. I had worried quite a bit about this stage, but it turned out to be fairly easy once I got going. Part of my confusion turned out to come from there being two schools, at least, on what the tails and pins should look like. I call the parts on the sides tails, since they had a dovetail shape from the start. So the pins are on the sole. One school says the pins should be filed so that the tail fits, and then a triangle should be filed in the pin where the tail is to be peened. The other school says the pin is filed so that the tail fits, and the side of the tail is filed at a suitable angle. (I hope that was reasonably clear.) I chose the second option.
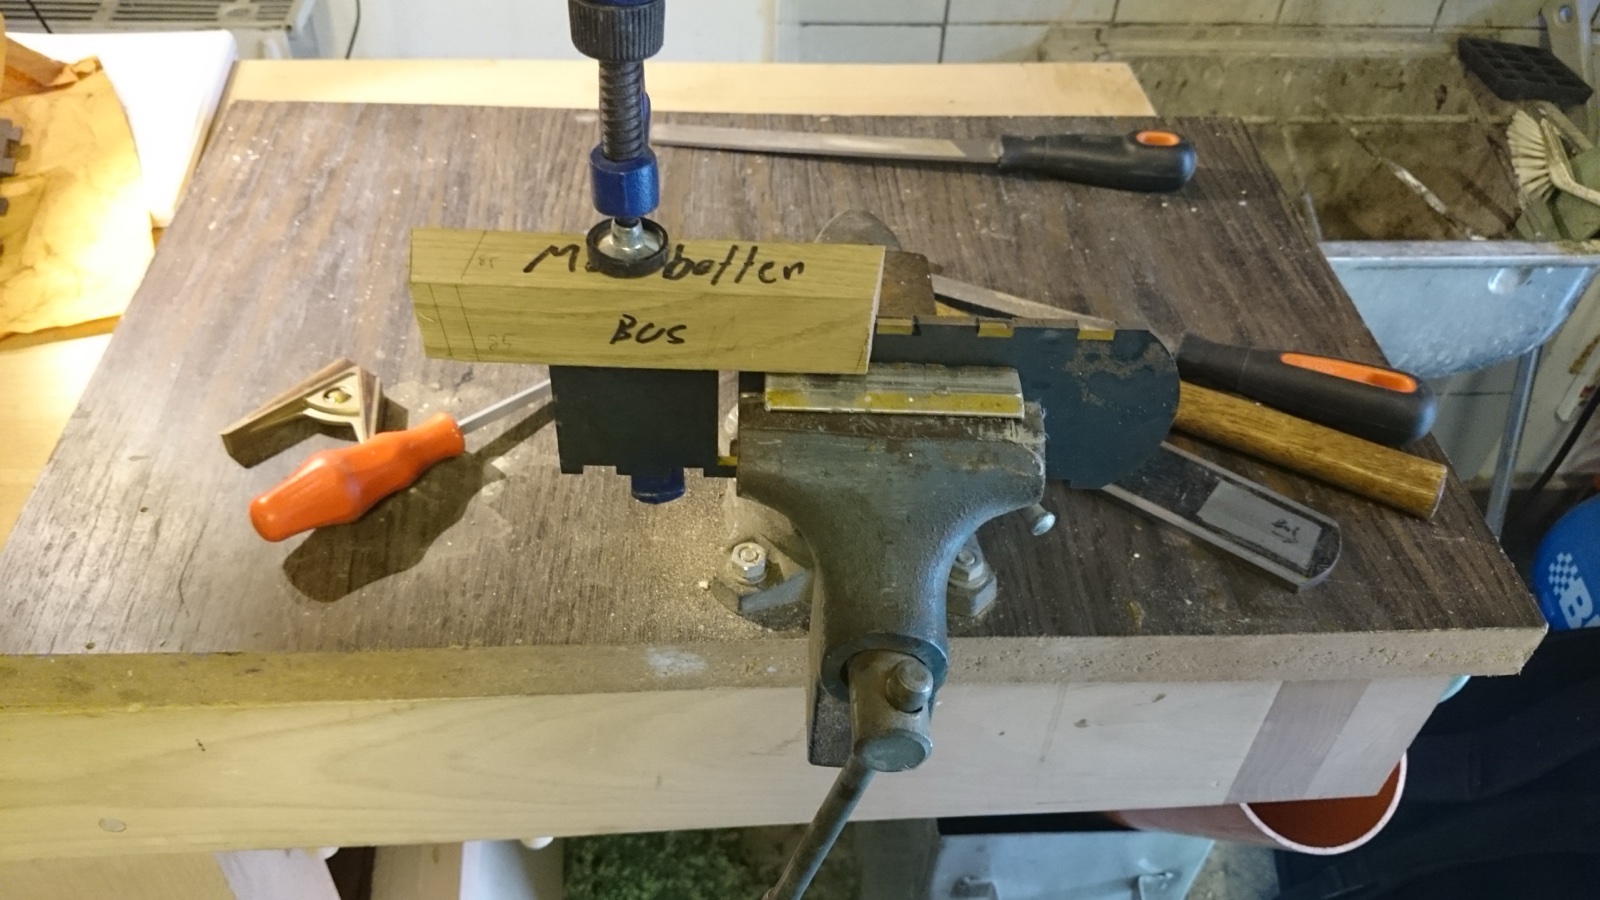
To make the filing easier I made a couple of simple filing guides in oak. For the pins, i.e. the sole, the guide is simply cut at an 80-degree angle. For the tails it was a little trickier, since the guide has to be angled in two directions: 80 degrees for the slope of the tails and 75 degrees the other way. It took a few attempts before I got it right. Working out angles in three dimensions is not really my strong point.
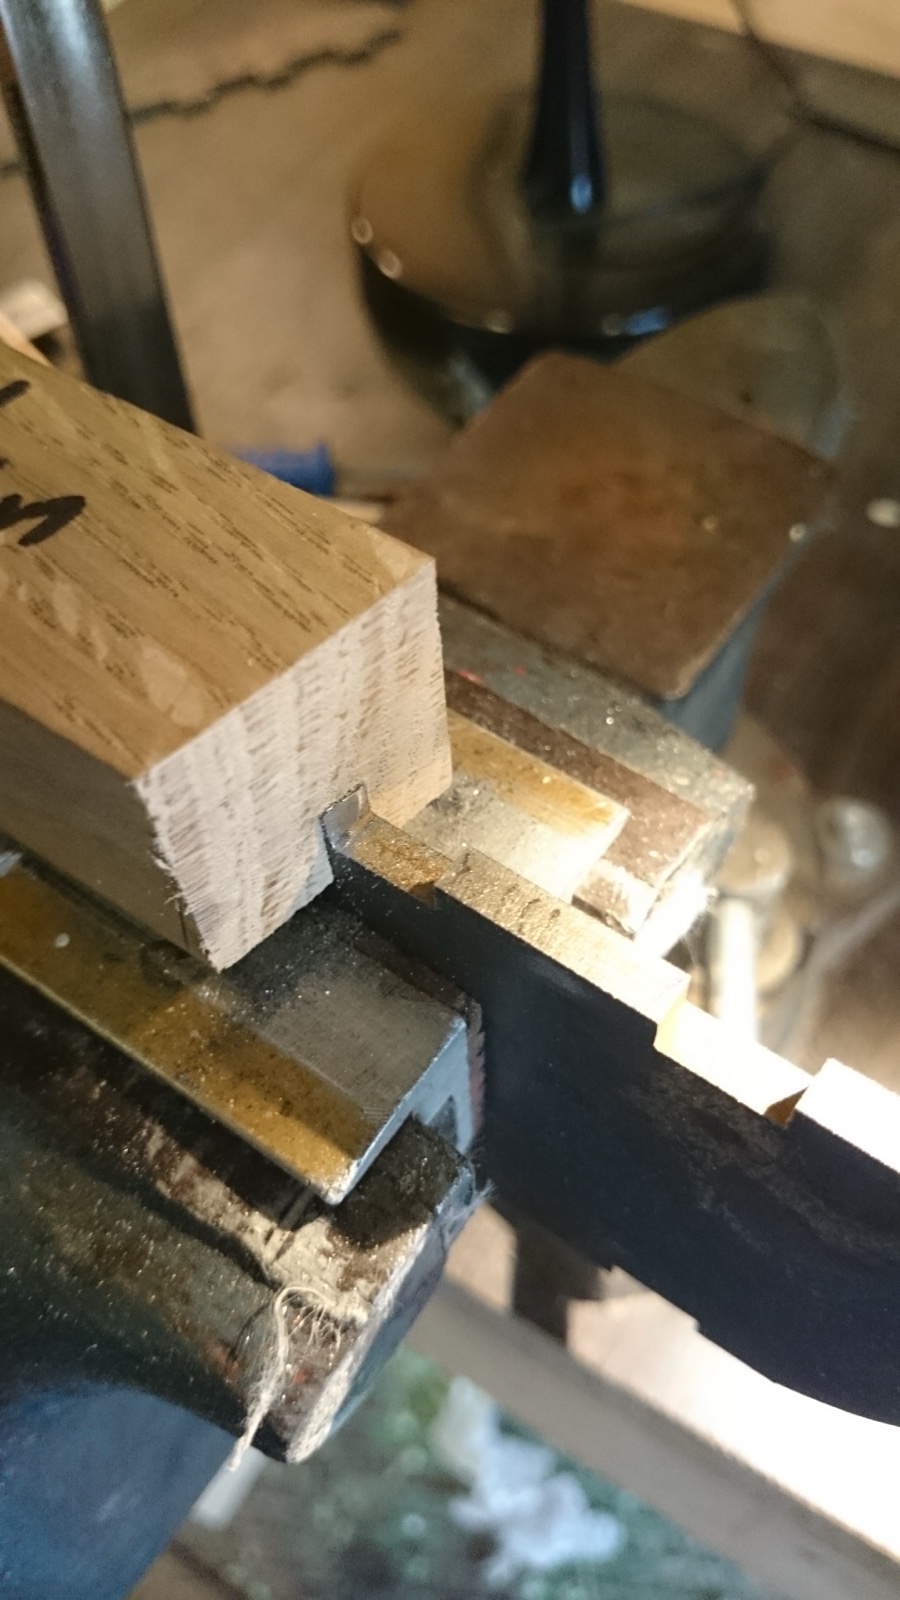
I clamped the guide in place and then it was just a matter of filing. After the first round on the pins of the sole, the side pieces almost fitted. As you can see, the guide, the sole and the sides are marked with a secret code: BUS = bottom underside, BIS = bottom inside, and HUS, HIS, VIS and VUS = right and left inside and outside (in Swedish). Obviously.
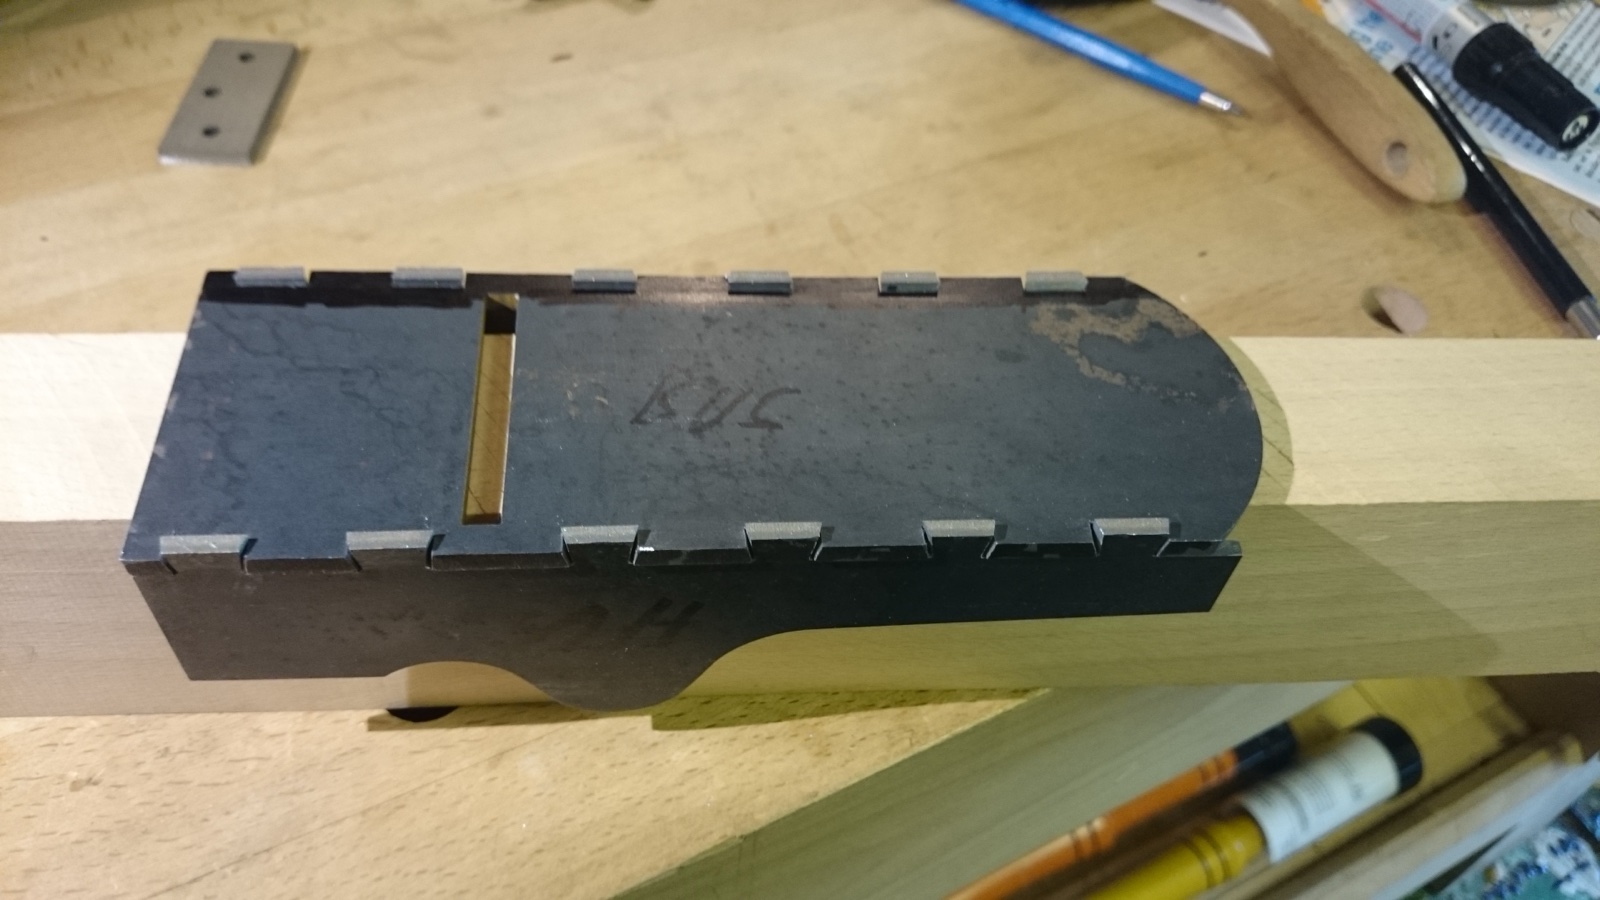
Then it was just a matter of carefully filing a little here and there to fine-tune the fit. Easy peasy.
There we are. I think I have finished the filing and now it is just a matter of peening them together. First, though, I need to fit the bed plate and make a block to hold the parts while they are hammered together.
Read part 1: Building a St James Infill Kit.
Share this content