So now the chest is nearly finished. The lid is made and I have started painting the chest.
The lid is a fairly simple frame and panel construction. I cheated a little with the frame and put a couple of Domino tenons in the corners instead of making a traditional mortise and tenon joint.
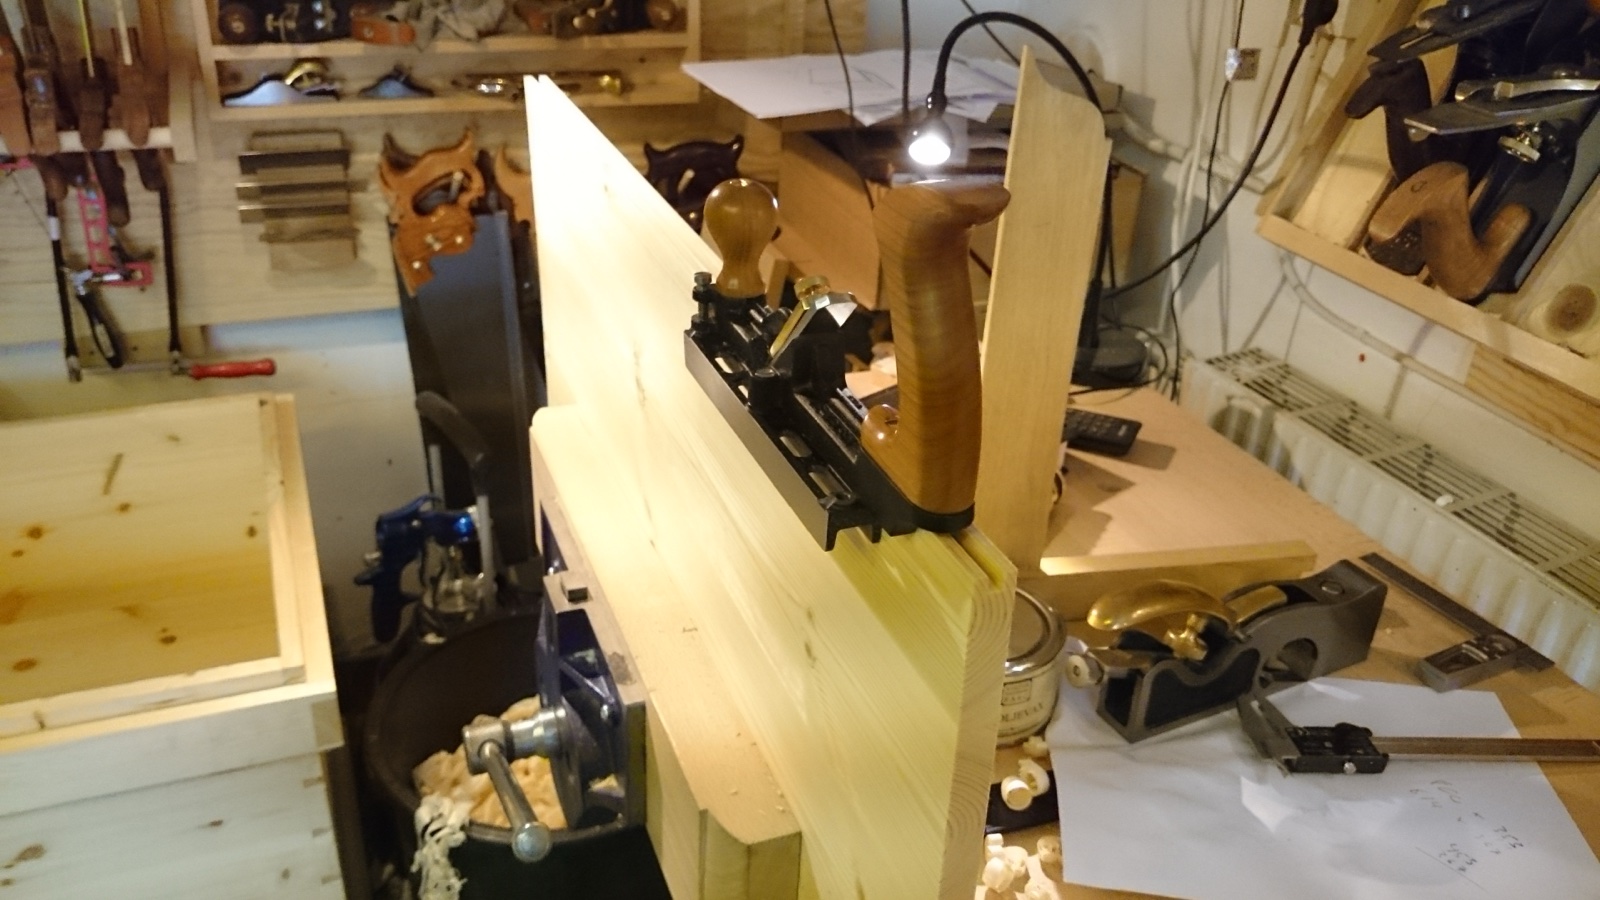
The panel has a groove that fits a matching groove in the frame. That helps make a sturdy lid. After all, you want to be able to sit on it and have a coffee break, for example.
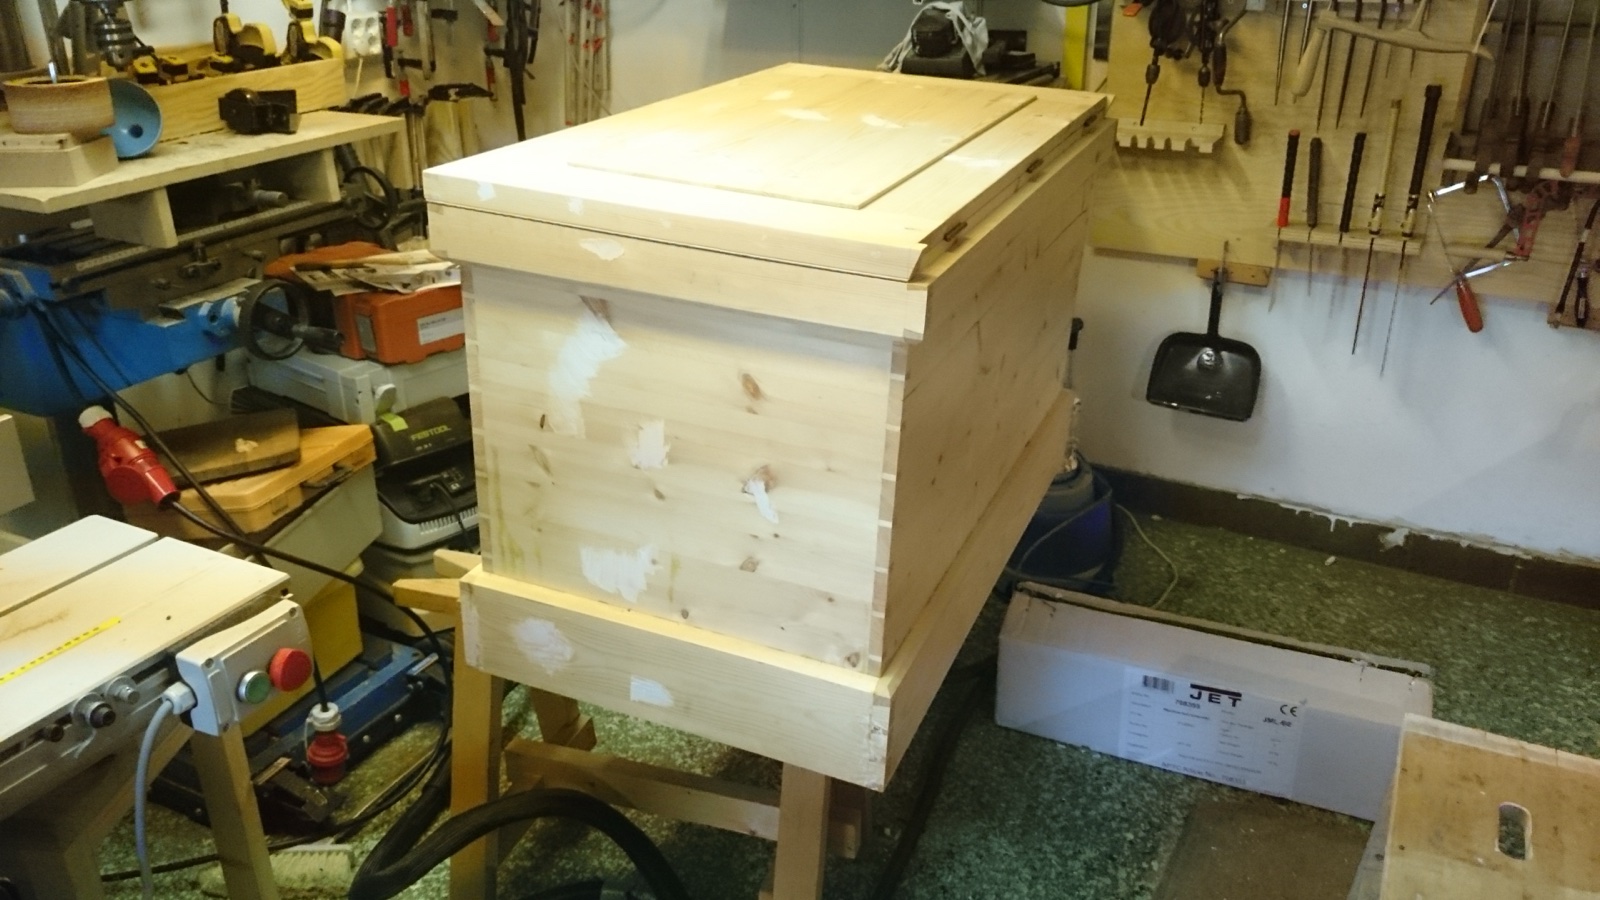
Here the hinges are installed and the lid test-fitted. It takes a few rounds of screwing the hinges on and off before the fitting is done. The chest and lid have also been filled and are ready for painting. Now it is just a matter of removing the hinges again and starting to paint.
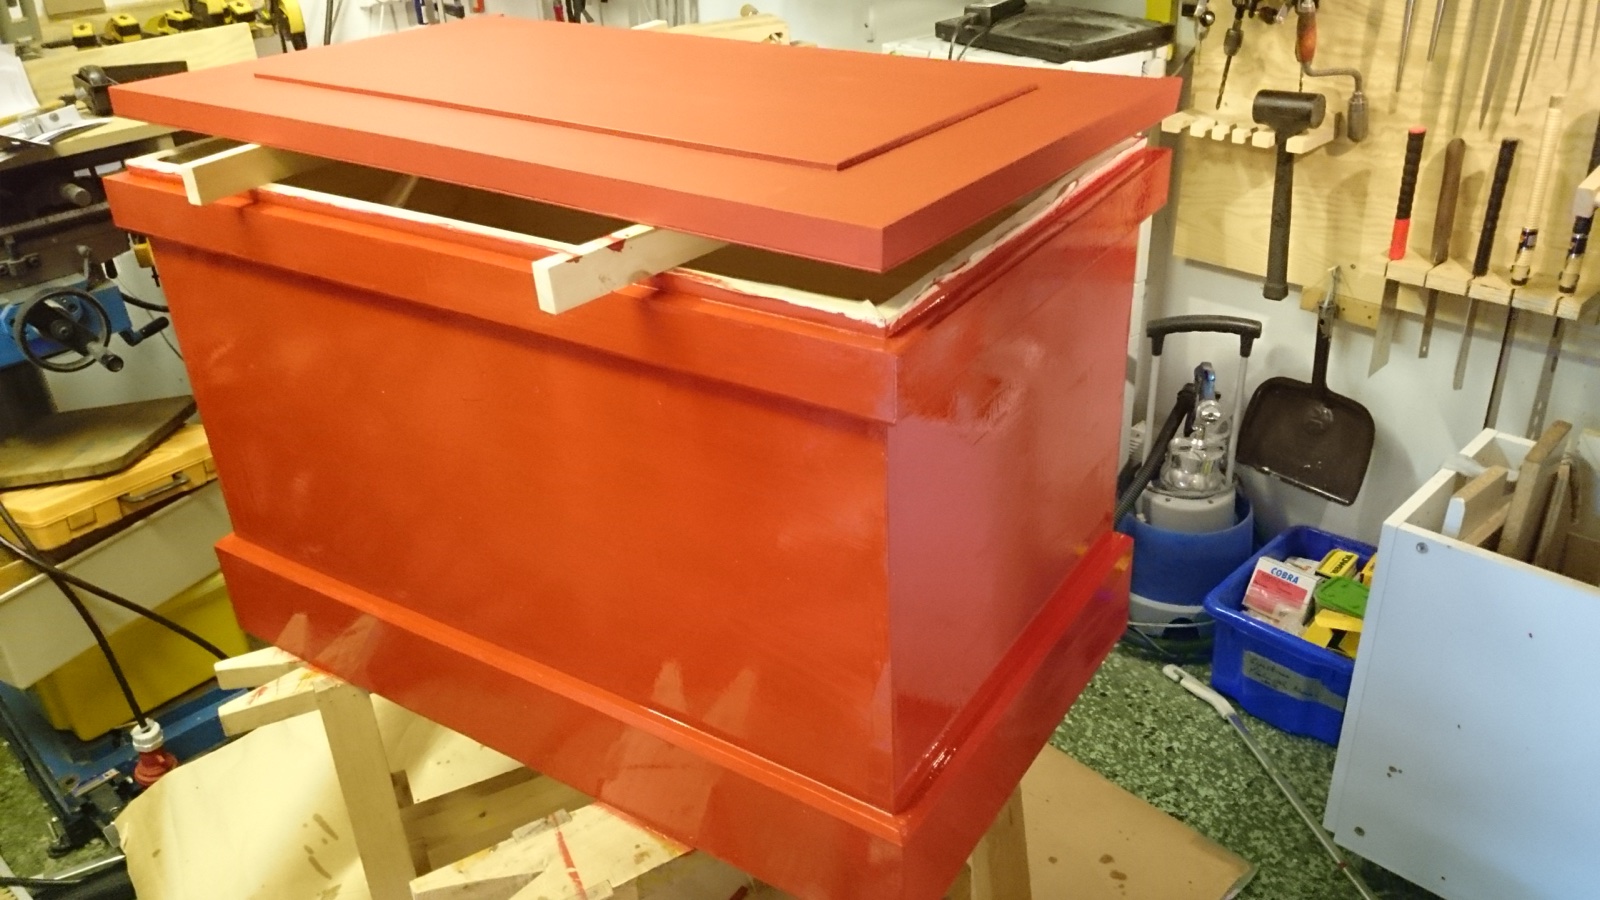
Here it has two coats of "Brick Red" milk paint and one coat of linseed oil. It looked rather nice, so I hesitated a little, but in the end I decided to follow the book and put black paint over it.
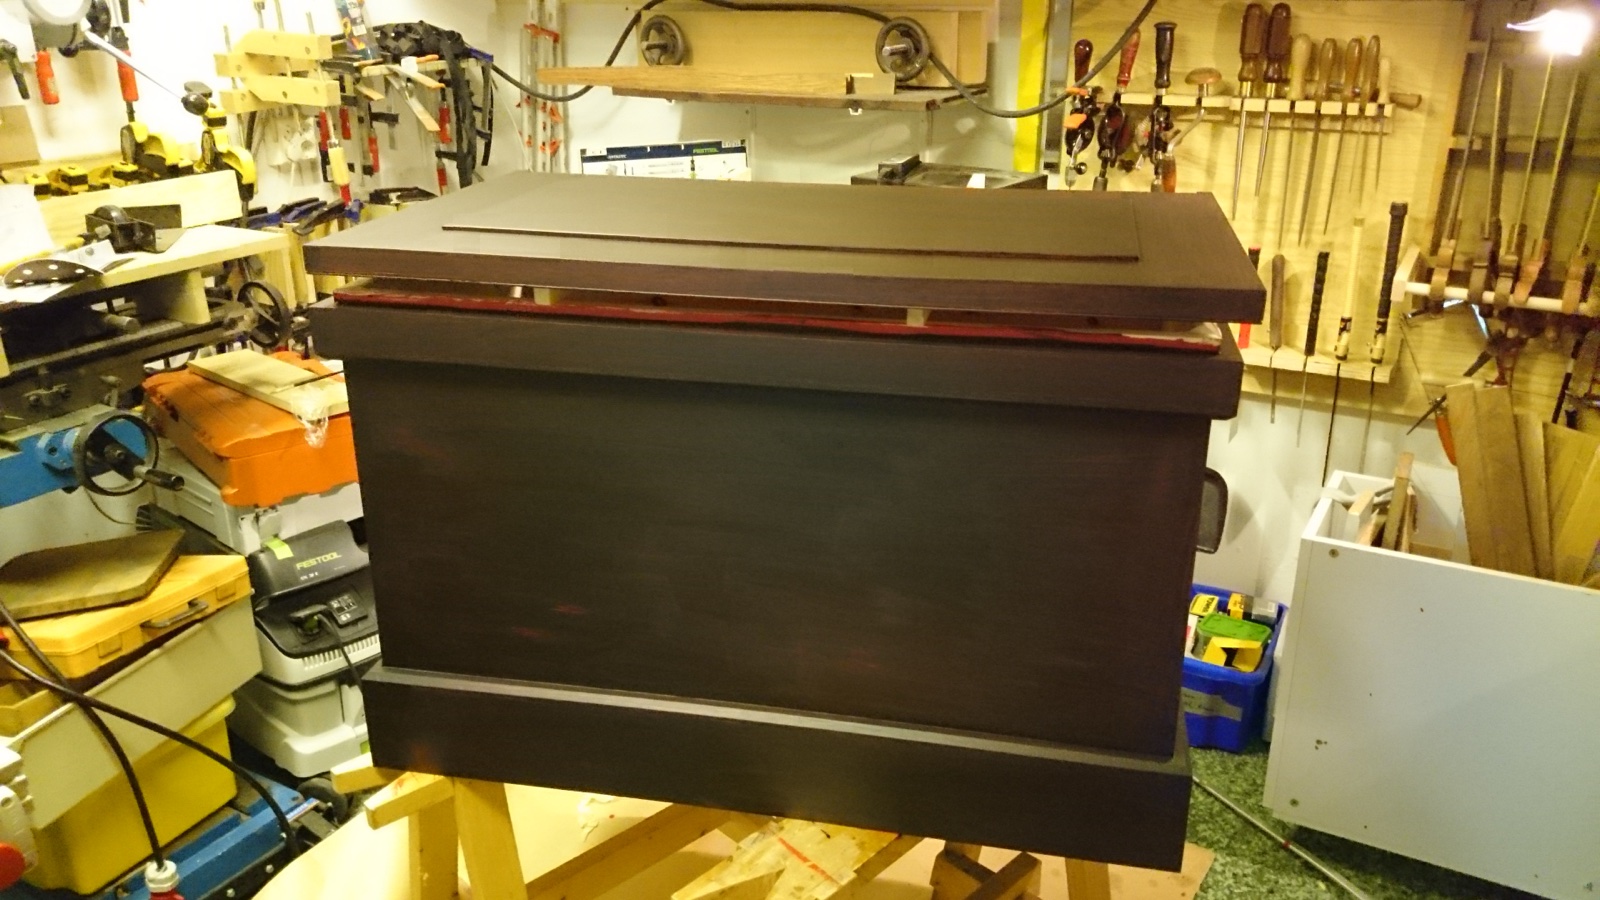
The same type of paint here too; the colour is called "Lamp Black".
My plan is to apply at least four coats of black, followed by a couple of coats of linseed oil, and finish with a coat of hardwax oil.
Previous part: Almost Done With the Chest Itself! Continued: It's Starting to Come Together.
Share this content