
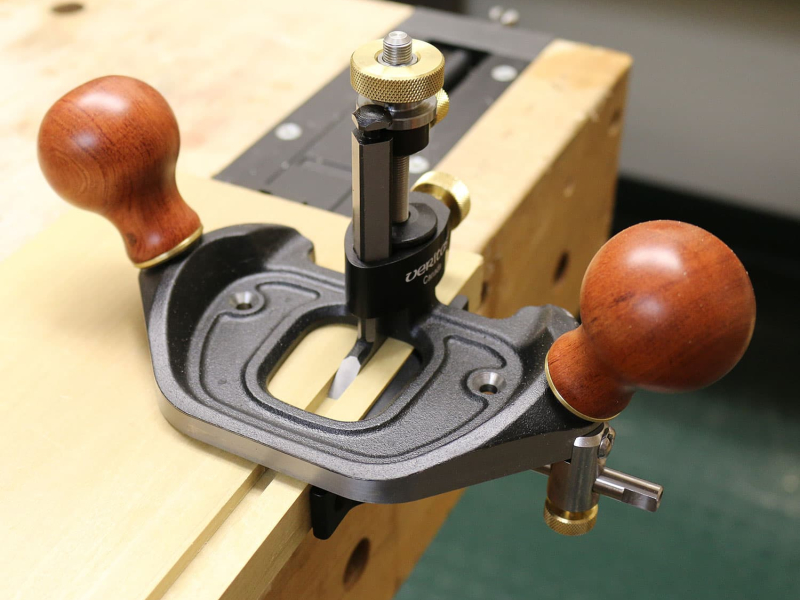


A well-tuned and correctly used router plane can cut a groove 10” long, 1/4” wide and 1/4" deep in just a few minutes. But sometimes it just won't. Sometimes it starts, stalls and jams, and it takes far too long to get the job done. A few simple tricks can make the difference between a stubborn router plane and one that glides along smoothly and quietly.
Keep it sharp
It is hardly surprising that the single most important factor in how well a plane performs is the sharpness of the blade. A dull blade digs into the material and refuses to cut. And it always seems to dig in really deep just as the front of the plane reaches the end of the board. I have often thought: “Well, it's only a short job. I'll struggle through it and sharpen it later.” But this way of doing things inevitably turns a short job into a long one.
Waxing
Waxing the sole of the plane makes almost as big a difference as sharpening the blade. I don't know how many woodworkers wax their planes regularly, but I suspect that if you try it once, you will never regret it. According to my rough measurements, the coefficient of kinetic friction for an unwaxed plane on dry wood is about 0.2. If you wax the sole, this drops to about 0.1. I suspect the latter figure becomes even lower when the plane moves quickly over the wood, due to an effect similar to ice melting under skate blades. This means the plane is easier to push and takes noticeably less effort to use.
Making the mechanics work in your favour
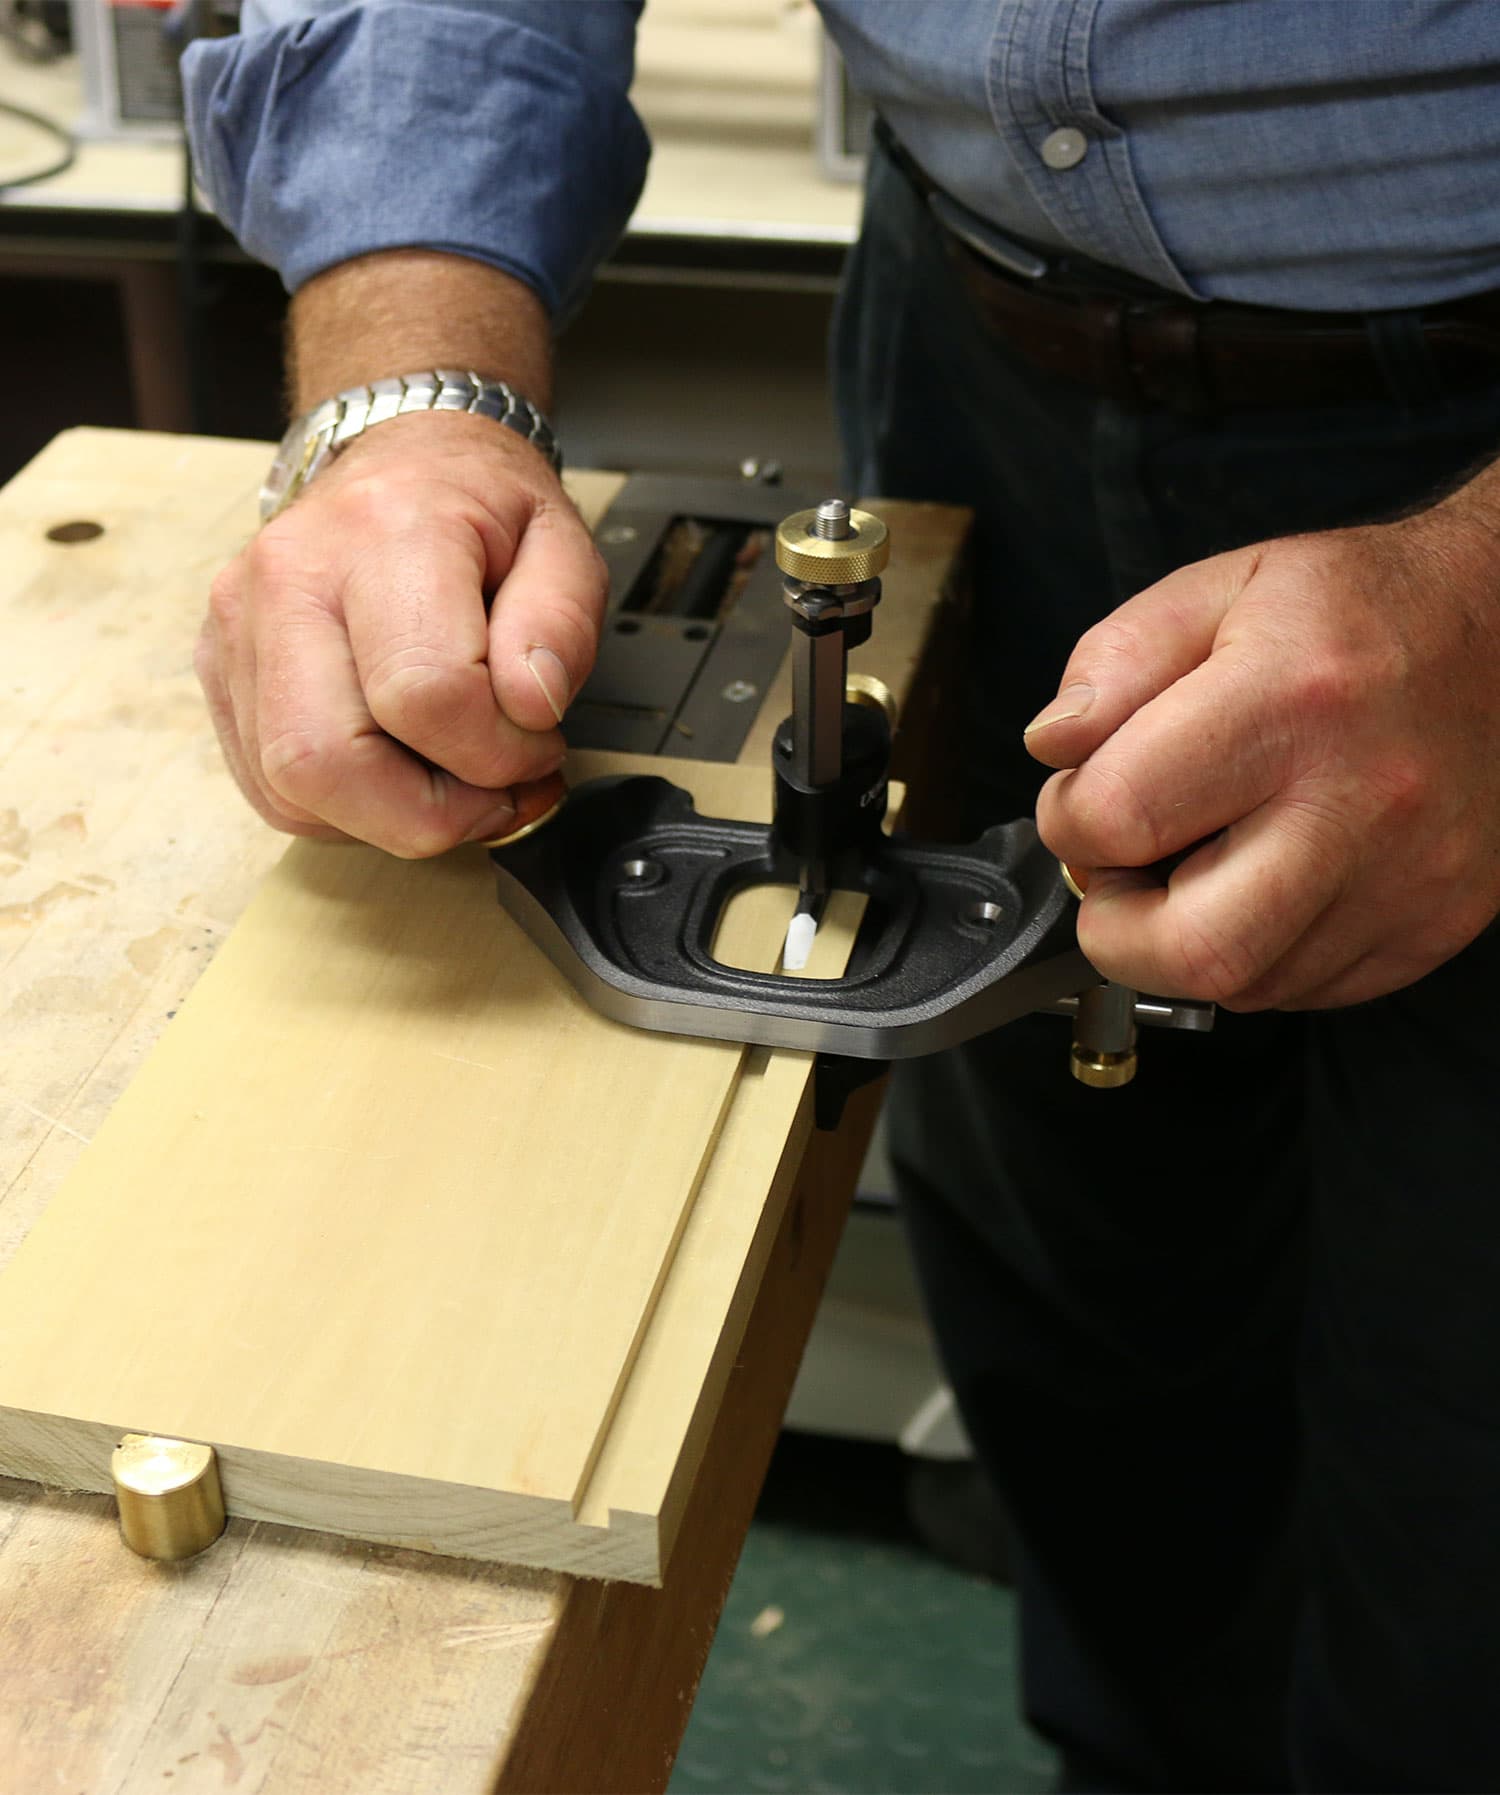
If you use a router plane the wrong way, it is all too easy to end up fighting yourself. I prefer to push the router plane. The reason is that if I pull, I have to apply two opposing forces; the first pulls the plane along the board towards me, but also tends to lift it out of the groove. Then I have to apply a counter-force to press it down. In practice this means you end up leaning forward over the work and finish the day with an unnecessarily tired back and sore arms.
Another way to make the mechanics work in your favour is to keep the fence between you and the wood. When you push the plane along the board, you don't just press it down, you also automatically hold the fence against the wood.
You don't have to exert yourself as much if you push your plane instead of pulling it.
Lying flat on the wood
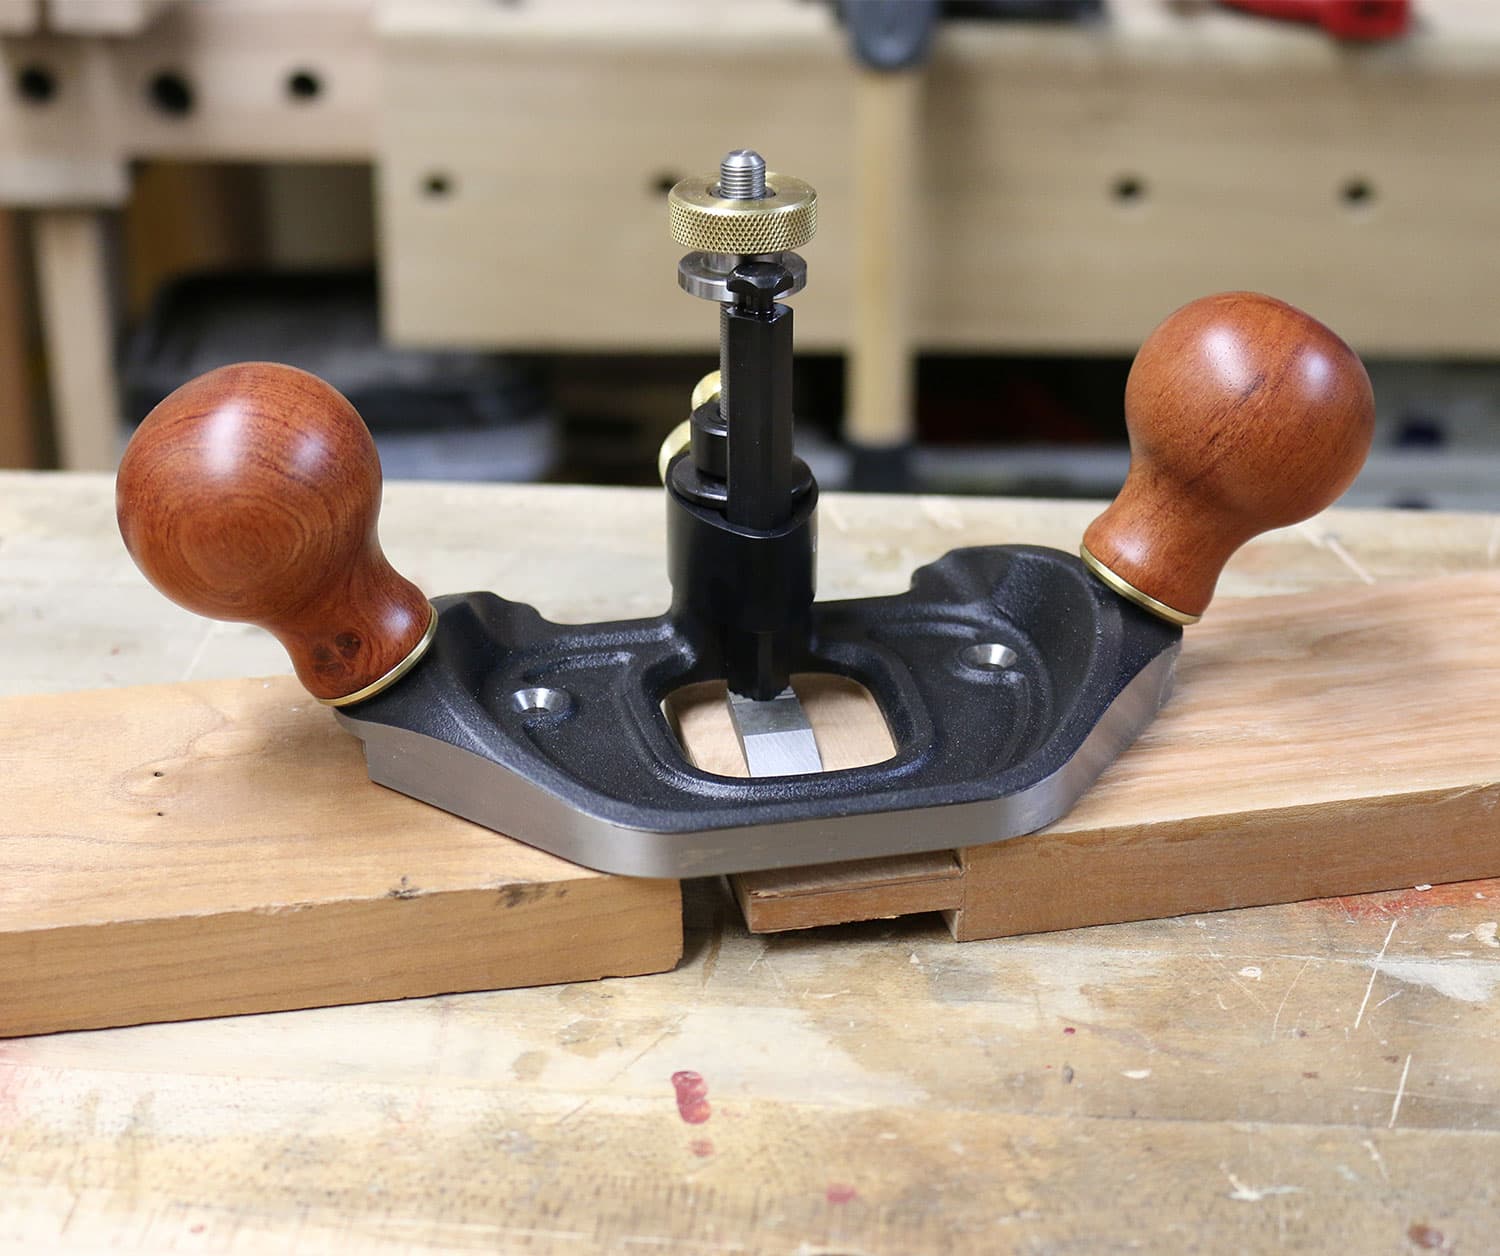
When you work near the edge of a board so that more than about a third of the width of the plane has no support beneath it, the plane tends to tip. A long afternoon with a plane that tips easily can be frustrating, but if you keep your dominant hand on top of the wood you can stabilise it quite a lot. Since we use our dominant hand more often, that arm is a little stronger and therefore presses the plane down a little harder, tipping the balance in our favour.
Another way to keep the sole flat against the wood is to use a board under the unsupported edge of the plane. This works well, but the boards must be within 1/32” of each other in thickness. This is not particularly difficult with standard-sized lumber, and if you have an odd piece you can make a support by planing down a thicker board.
Keeping the sole flat against the wood by using another board as support.
Adjusting the depth stop with precision
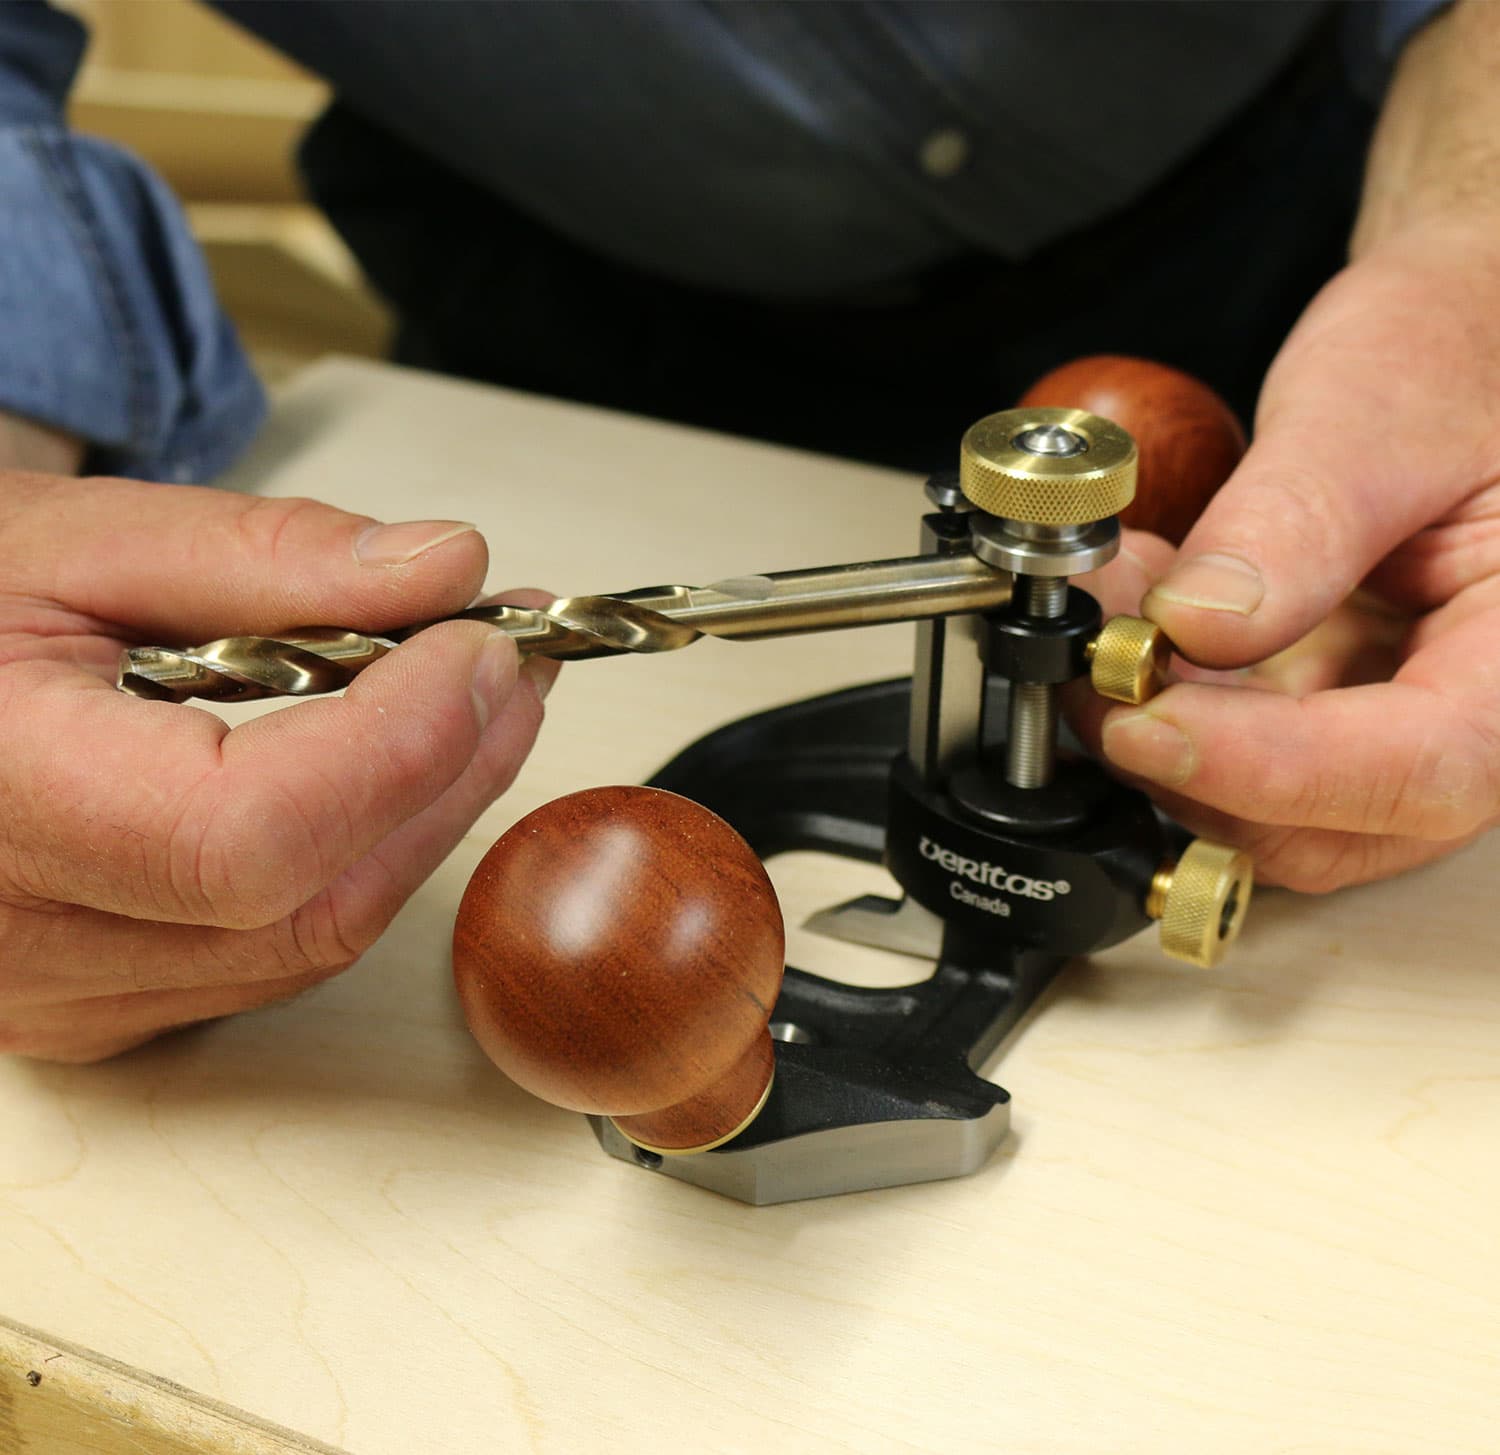
When setting the depth stop, your first instinct may be to measure the depth of cut and place the stop collar against the underside of the height-adjustment nut. This method works, but it is rather imprecise and seems to require two and a half hands to hold everything in place.
A better way is to place the plane on a flat board and slowly lower the blade until it just touches the surface. Then insert something with the same thickness as the total depth of cut between the nut and the stop collar and tighten. It could be a feeler gauge or a drill bit shank. The latter are readily available in most woodworking shops, usually come in steps of 1/64” or 1/32” and have an accuracy of 0.003” or better. Their only drawback is that they stop at 1/2” or 3/8”. You can also use a dial caliper (photo).
Use something with the same thickness as the depth of cut.

Knowing the depth of cut
When you want to know how long a job might take, or work out how quickly you can process different species of wood, it is useful to know the depth of cut. One way is to calculate it from the pitch of the blade adjustment screw. On the Veritas model this is 32 tpi, so if you turn it 1/8 of a turn, the depth of cut is 1/32” x 1/8” = 1/256” or about 0.004”. A quicker way is to take out a caliper or micrometer and measure several of the shavings from your most recent cuts.
All these tricks make your router plane a joy to use. But before you rush off to the workshop to make your plane hum, there is just one more thing…
Using a dial caliper.
When you want to know how long a job might take, or work out how quickly you can process different species of wood, it is useful to know the depth of cut. One way is to calculate it from the pitch of the blade adjustment screw. On the Veritas model this is 32 tpi, so if you turn the screw 1/8 of a turn, the depth of cut is 1/32” x 1/8” = 1/256” or about 0.004”. A quicker way is to take out a caliper or micrometer and measure several of the shavings from your most recent cuts.
All these tricks make your router plane a joy to use. But before you rush off to the workshop to make your plane hum, there is just one more thing…
Using a dial caliper.

A “docking station”
For most woodworkers, their hand planes make more beautiful music than their iPods ever could. Your router plane will, however, stay sharp much longer between sharpenings if you build a docking station where you can park it when you are not using it. Without the docking station you have to 1) retract the blade every time you put it down, 2) lay it on its back with the sharp edge of the blade exposed, or 3) lay the blade on the workbench where it quickly gets dull. So take a board about the size of the plane's base and drill a hole 1-1/4” in diameter and 1” deep in the middle. The blade will fit into this hole when you set the plane down.
A “docking station” protects the blade of your plane.
Text by Lewis Hein
Photos by Lee Valley
Share this content