

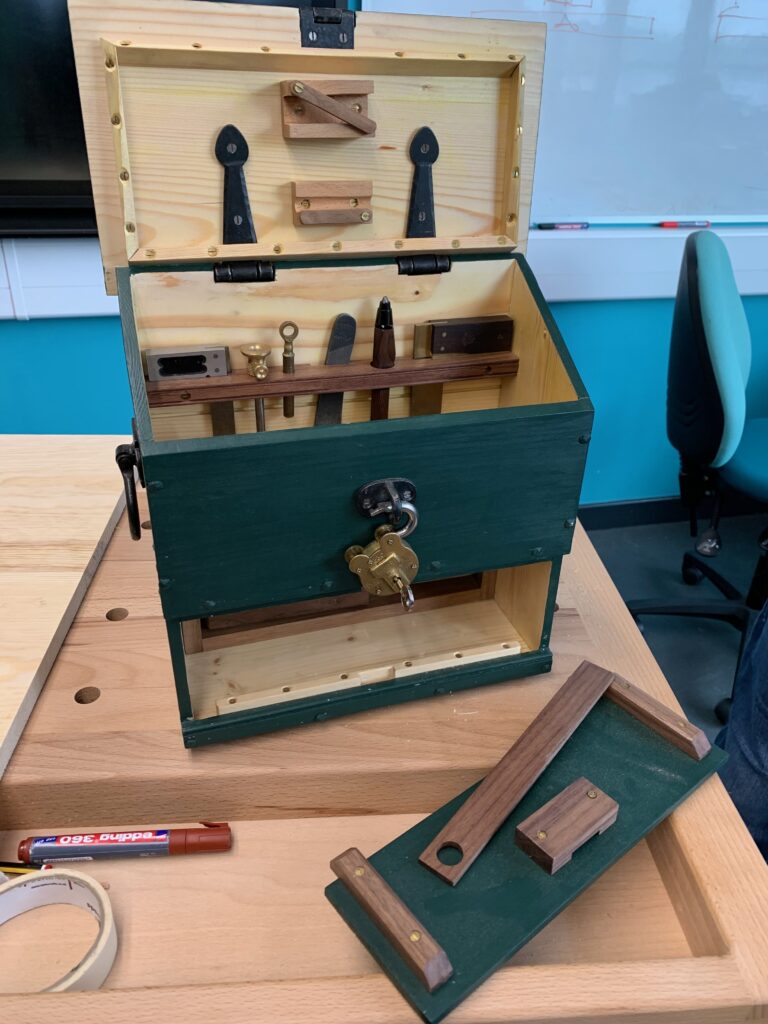
Building your own tool chest is something you perhaps only do once, but after building the first one you get a taste for it, so there will probably be more. You just have to find uses for them. But that probably won't be a problem. Making a miniature version like the one in the picture above is probably one of them. And if you can get it as fine as this one, you must be satisfied. But this time a full-size version is made. After all the material, which is pine and oak, has been sawn and formed to size, you start with the only dovetail joint that is used. The one that holds the bottom and the sides together. It is a rough piece of furniture, so a somewhat coarser design language is fine, I think. I go with 14-degree dovetails, and fairly wide ones. 4 turned out quite OK. The important thing is to keep track of which way they should go. You need to mark your baseline, the one that shows how deep to saw; it is the thickness of the board that is to lie perpendicular to this. In this case they are equally thick. Use a marking gauge to measure the thickness and run the line on all four sides.

Here we start with the sides, so it is OK to saw slightly wrong. Having a so-called Moxon vise makes this much easier, so it can be a good idea to make one if you don't have one. It works of course in the regular vise on the bench too, or you can clamp the board to the side of a bench. It is important to get it up to a suitable height so you don't get tired in your back and arms.
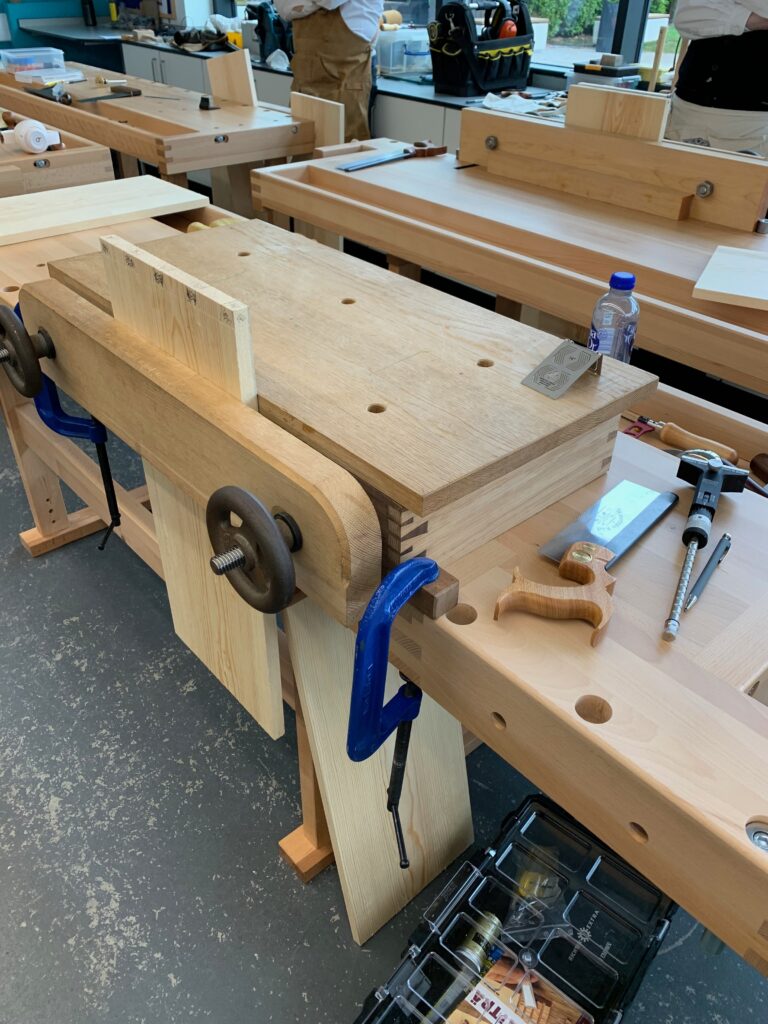
After sawing, you need to remove the material between the saw kerfs. You can use a chisel entirely, but it takes a bit longer, so a coping saw is a good alternative. Try to saw 1-2 mm above the baseline. Then you chop your way slowly towards the baseline; a rule of thumb is half the length each time, and about half the depth. The last time you set the chisel in the scribed line of the baseline and chop away the last bit. Turn it over and do the same on that side. Check that it is square and an even surface.
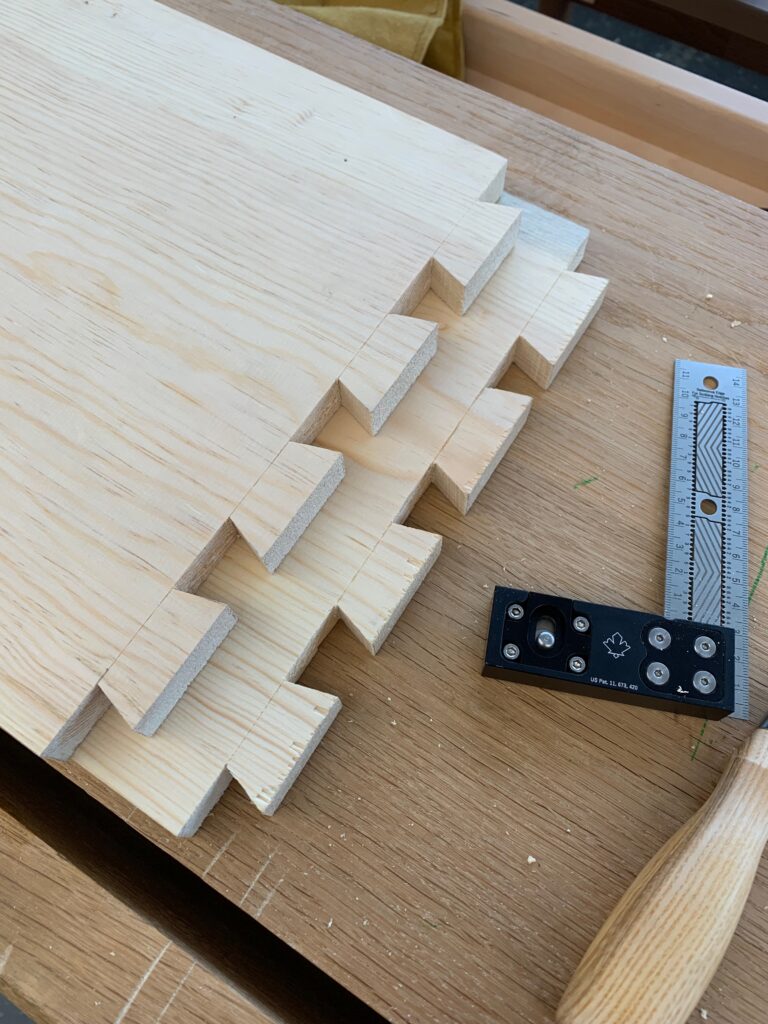
Now mark a baseline on the bottom board, the thickness of the sides. Fix the bottom and use a support so the sides lie square to each other. Use a marking knife, one that has a bevel on one side only; it can be one with a bevel on both sides, but it should be flat on the back. If you make large dovetails like these, a large thick marking knife works perfectly. If you make finer dovetails, you may need a narrower and thinner one. Make sure the pieces don't move when you draw the knife. In pine the marking is hard to see, so you can fill it in with a pencil, but it is important that you then saw in the knife line, not by the pencil.
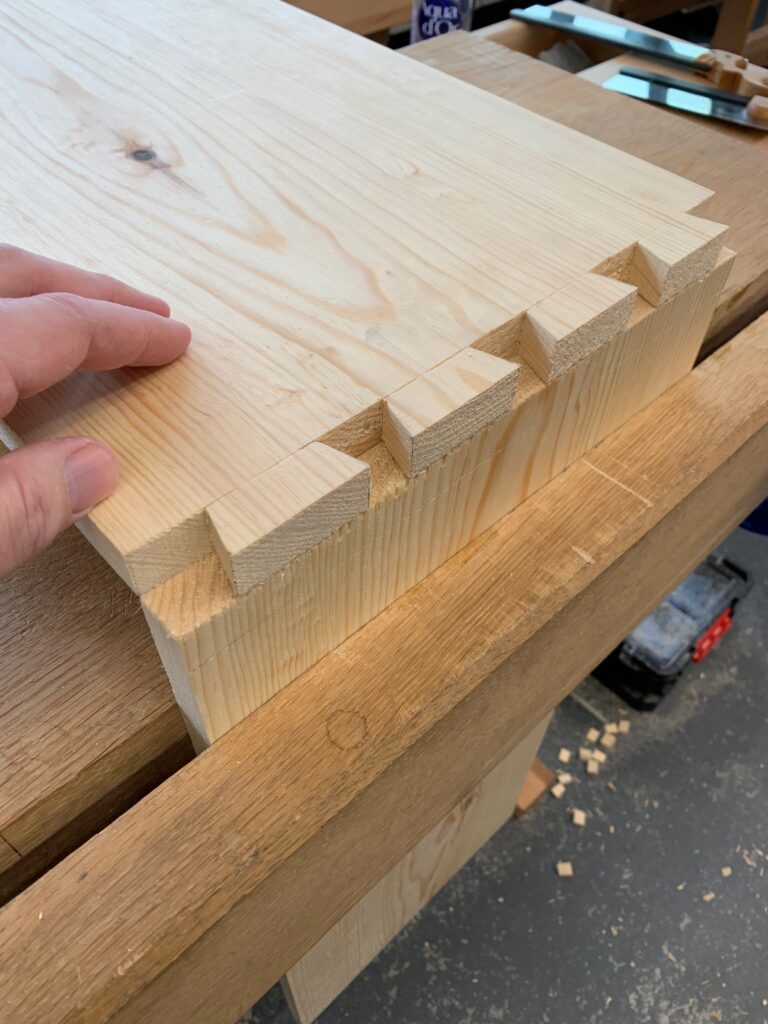
If you want, it is fine to use a saw guide to get it perfect, but it is quite easy to get a decent fit freehand too. Remember that the set of the saw has to be taken into account, so you don't saw along the "middle" of the saw. Then it becomes too large. Better to saw a hair inside the line. After sawing, saw with the coping saw and chisel away the rest in the same way as before. Test and see whether it seems to fit. Be careful when testing; it risks splitting. If it is done correctly and fits, you can do the first assembly when you glue the boards together. But before gluing, a few more things need to be done to the sides.
We are going to have a shelf in the chest, as the bottom part is a hidden compartment. There is a simple locking mechanism on the inside so it looks as if there is no extra space. Measure out where the shelf should go, mark with a pencil. Mark both sides, but it isn't necessary, since you mark the other board from the sawn groove so it becomes more exact.
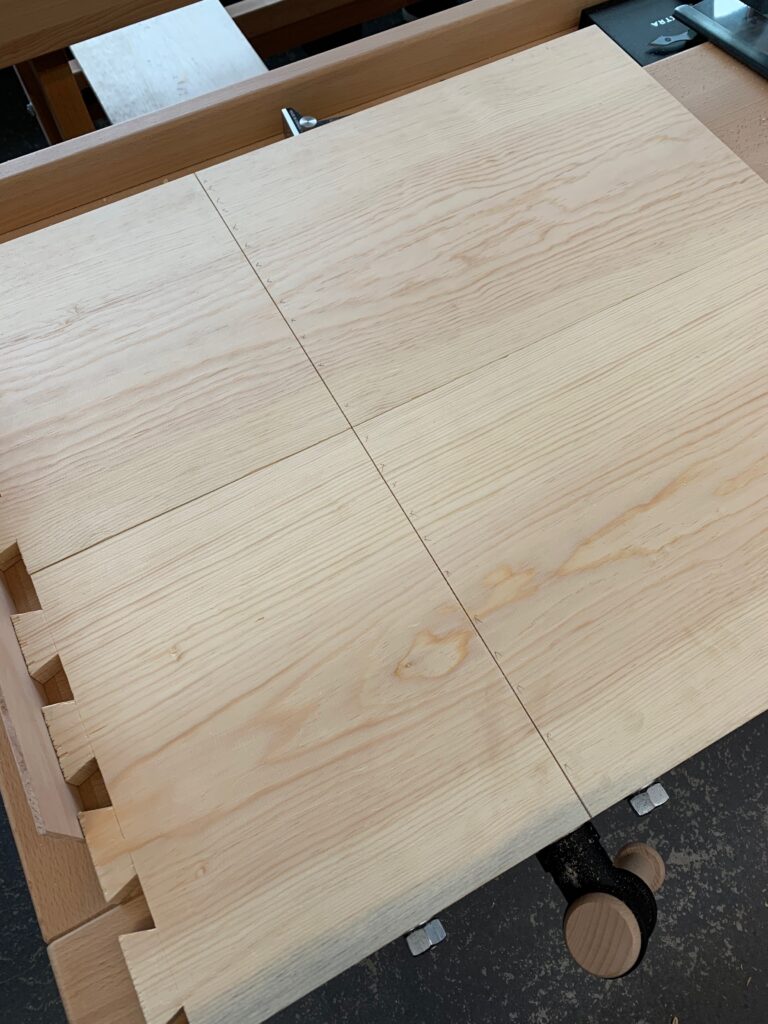
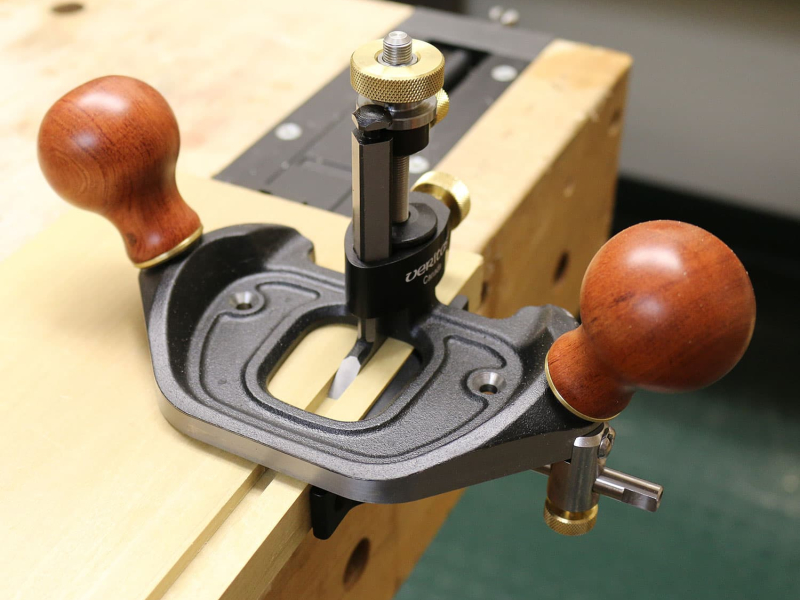
Saw along the line, down to about 1/8 of the thickness of the board. You mark it with your marking gauge so you get a good baseline to use later when you chop out the groove. When you have sawn the first groove, place the shelf as close to the groove as you can, use the marking knife and draw the second line. Now saw that one out too, and then chop out the groove. If you like, you can use a router plane for the last bit. Test whether the shelf fits; if you get it right, you should be able to lift the shelf and the side follows up with it. If it is too loose it can be solved later; the shelf will be surrounded by other boards so it will stay where it is.
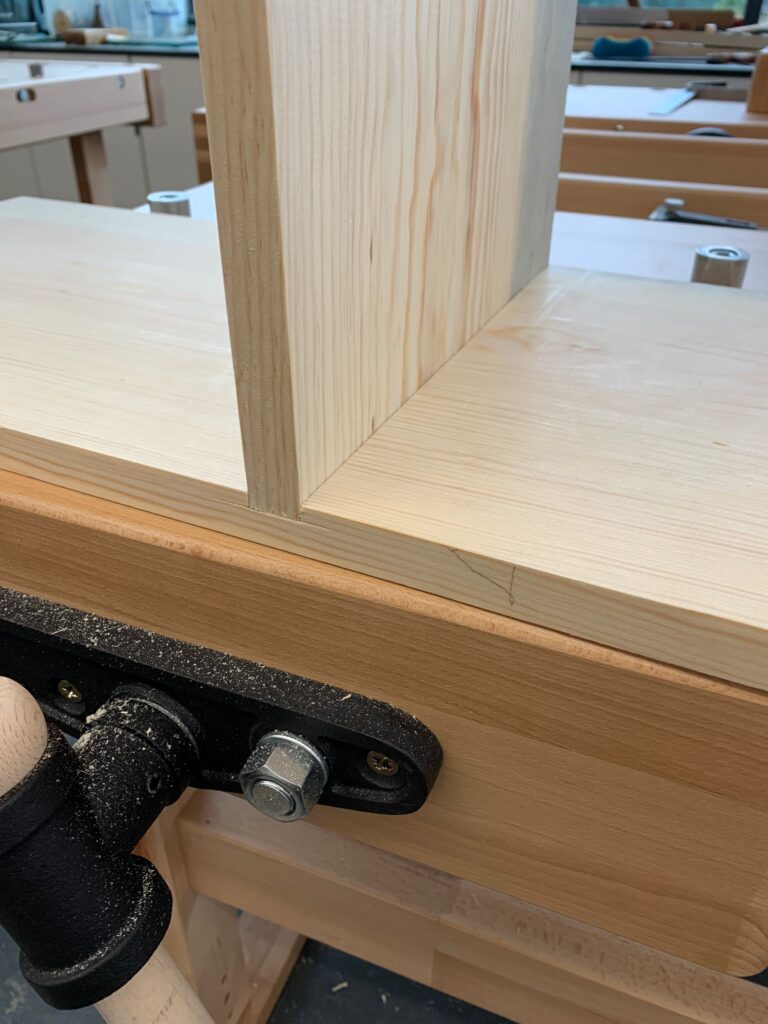
Even if you don't need to test-assemble the four pieces now, I couldn't help it. Everything worked well and it was more or less square.

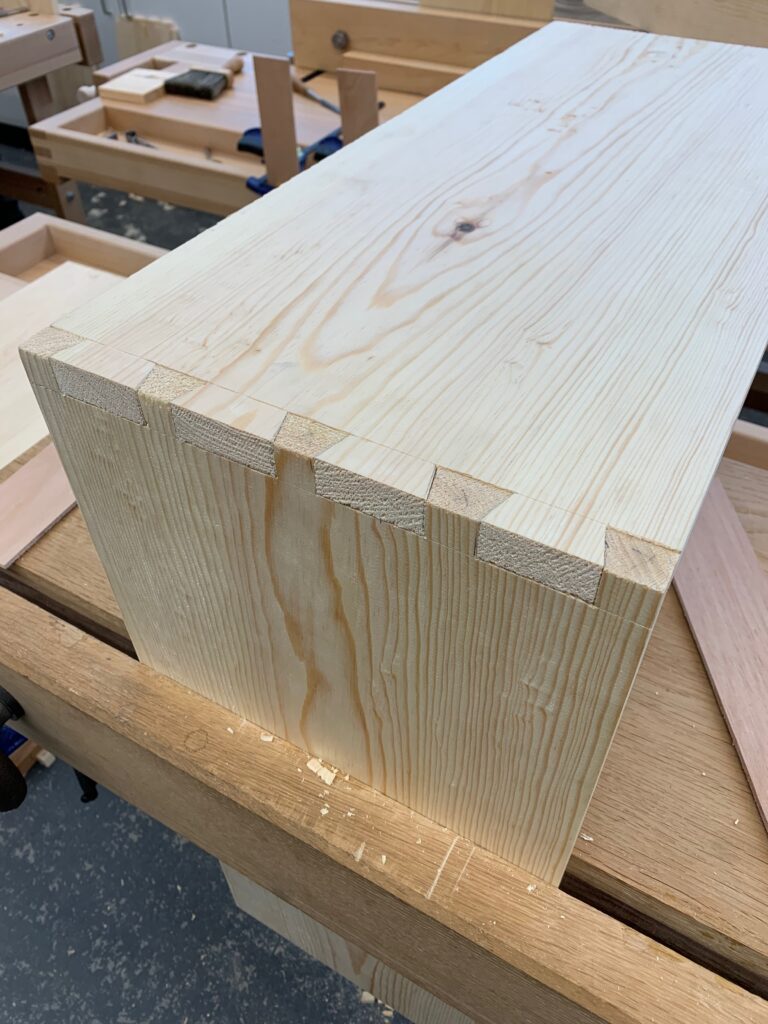
Finally, you need to glue the sides together so you can move on. The boards were a bit cupped, so 4 clamps worked well. One in each dovetail.
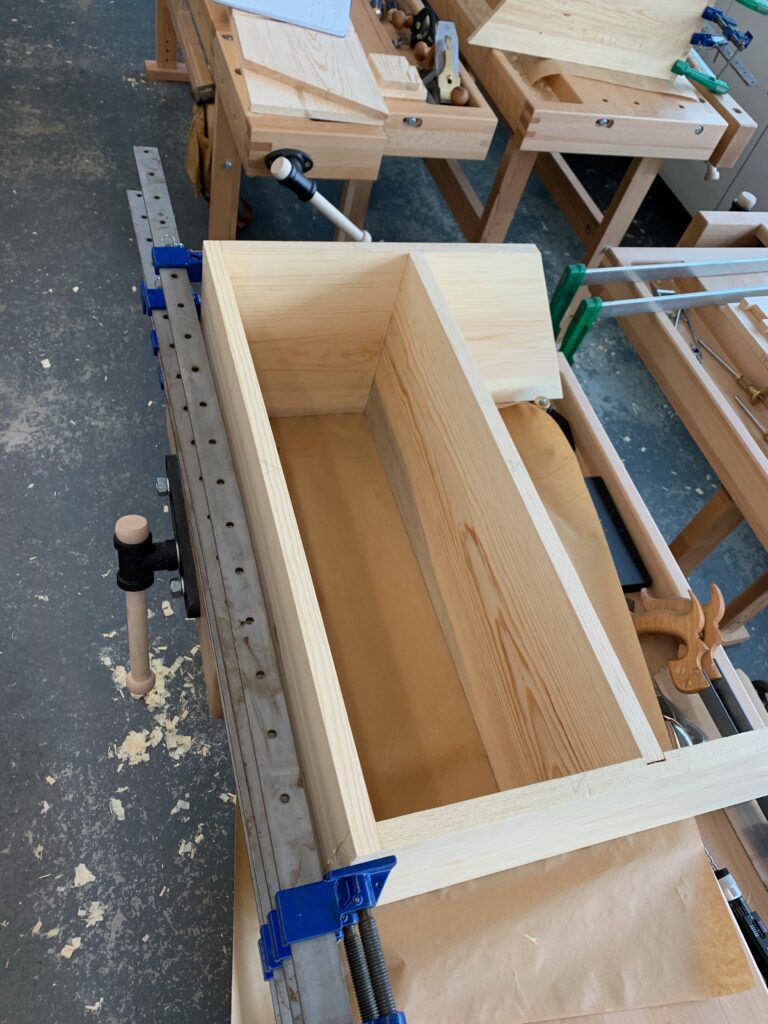
The next step is to make the lock. It is a piece of oak that sits in several notches in each piece. I made the groove relatively tight, 1-2 mm wider than the oak piece and perhaps 0.5-1 mm deeper than the piece. At the bottom a small metal piece is used; you can also choose not to chop all the way through and leave a small piece, or use a piece of wood.
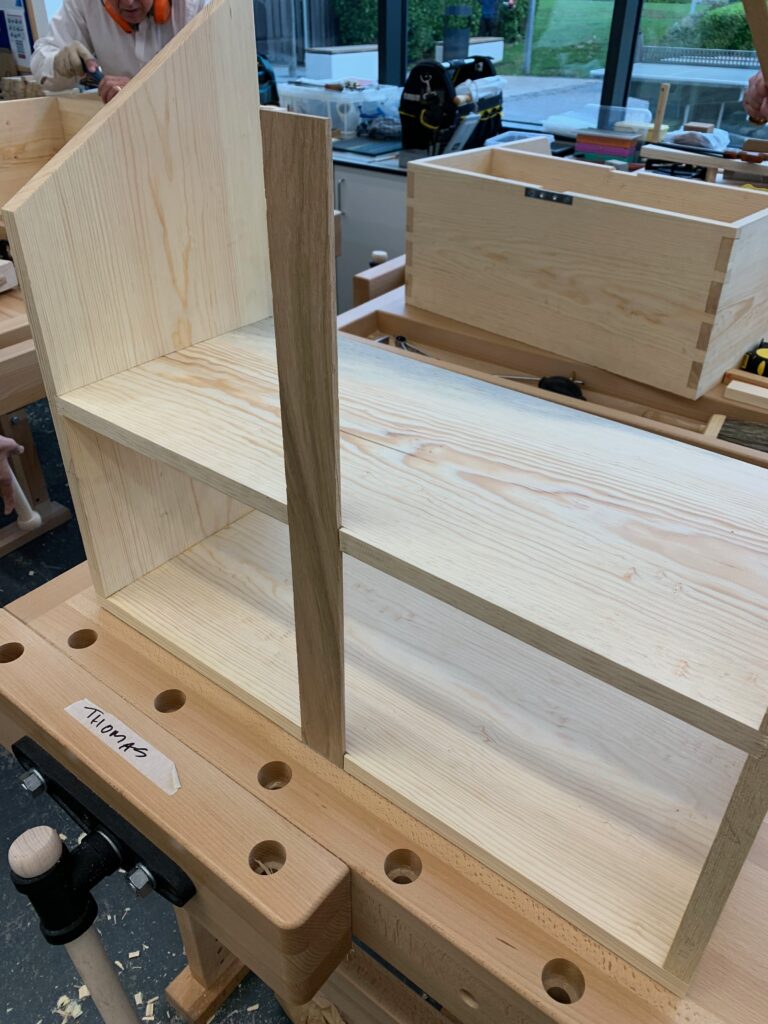
Then you need the piece that sits on the door and holds it in place with the help of the oak locking piece. The same size of notch as the others.

It then sits under the shelf on the door.

I also fit two oak pieces that act as "feet", so it comes up off the floor. I have also fitted a small strip at the bottom that holds the door in at the lower edge. The front piece that will be attached is also laid in place to get the angle from the edges. Mark it with a rule, marking knife and a long rule, saw or chop it away with a chisel. Then plane it down to fit the sides.

When the top board is nailed on, you can fit the door. This can be done in lots of different ways; I wanted the door to feel like it hangs in the surface, so I chose to have a gap in the lower part too. The dovetail guides were perfect spacers. I used two of them on each, but should have used just one, then the gap would have been even neater. But I am still pleased with it. I also chamfered the edges of the lower and upper piece at 45 degrees, 3 mm, so it gets a little shadow line.
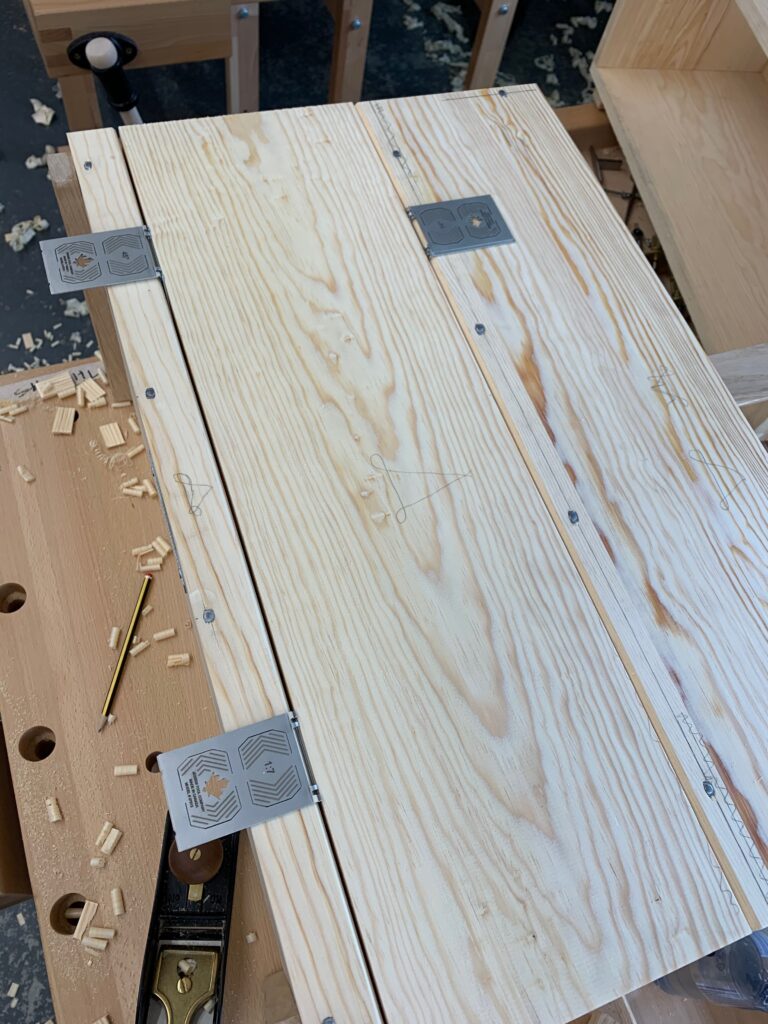
The door can also be designed a bit as you wish; you can make patterns, rabbets, or other things.
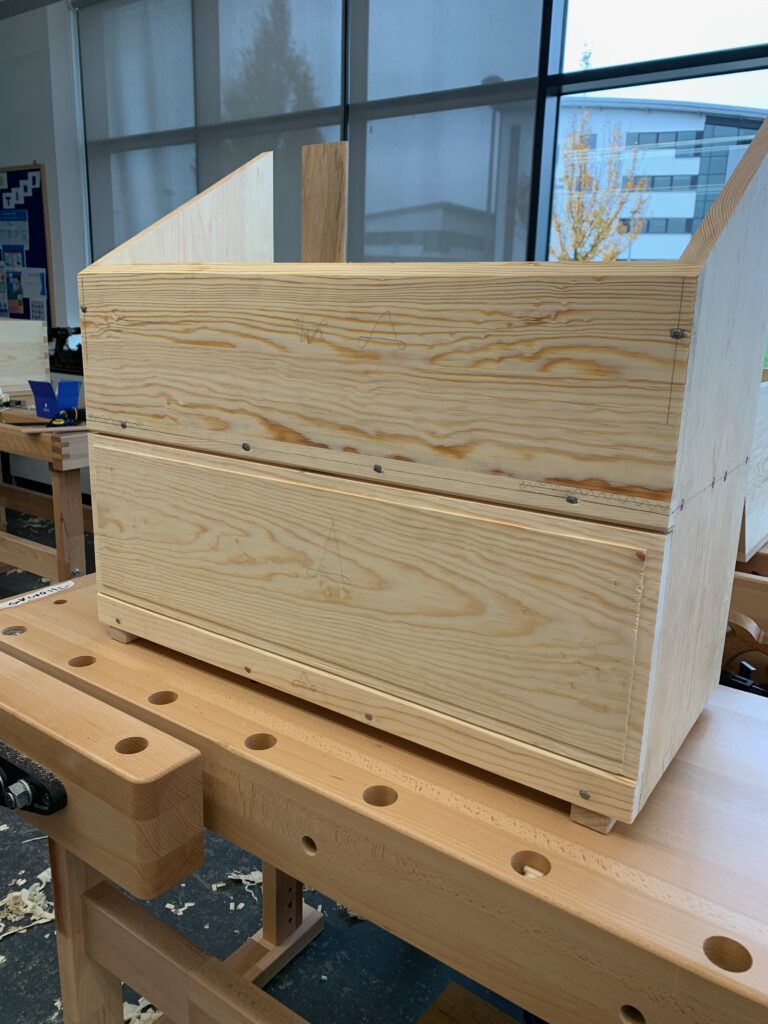
Lay the cabinet on its front, lay the door in place and screw on the oak pieces that hold the door. In my case the long pieces go down to the bottom, so I keep the lower gap. Normally you let the door rest on the lower strip, and then you set your pieces so they hang in the air a little. Also fit the lock.
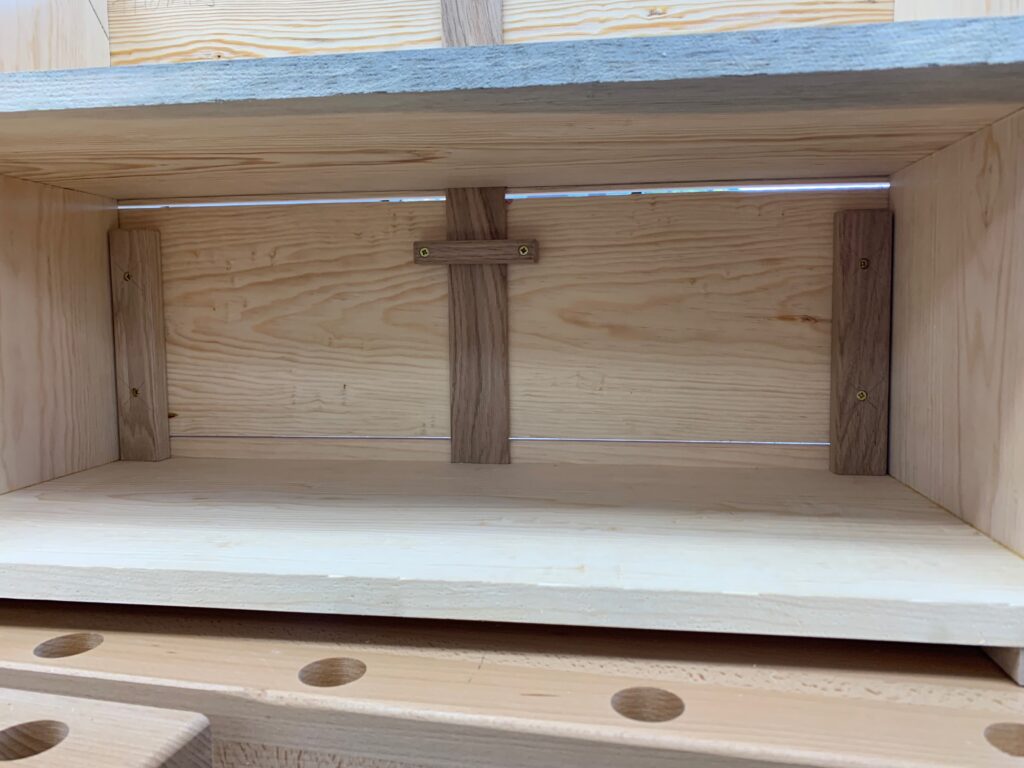
When it is done you release the door when you pull up the "pin".

Time for the back. It consists of a number of tongue-and-groove boards; I chose to have the chamfer facing inwards, normally it is outwards, so you have a smooth inside.

They are nailed on in the same way as before. You just have to be careful so it doesn't split; pre-drilling probably avoids it. I use classic cut nails, and could also use forged nails.

The last piece of the back must also be sawn down at the same angle as the sides. This was done on a mitre saw, as time got a bit short and I had no good panel saw to use. It was then planed down to the same level as the side.

The last thing to do is to attach the lid. This is to be done at home, when I have picked out suitable hinges. The lid also has two oak pieces fixed on the edges to keep the lid flat and give an extra detail. The lid can also be decorated as you see fit. I will redo the door and the lid a bit when the chest is home. I want somewhat clearer reliefs. I will widen them to the same size as the thickness of the boards.

Share this content